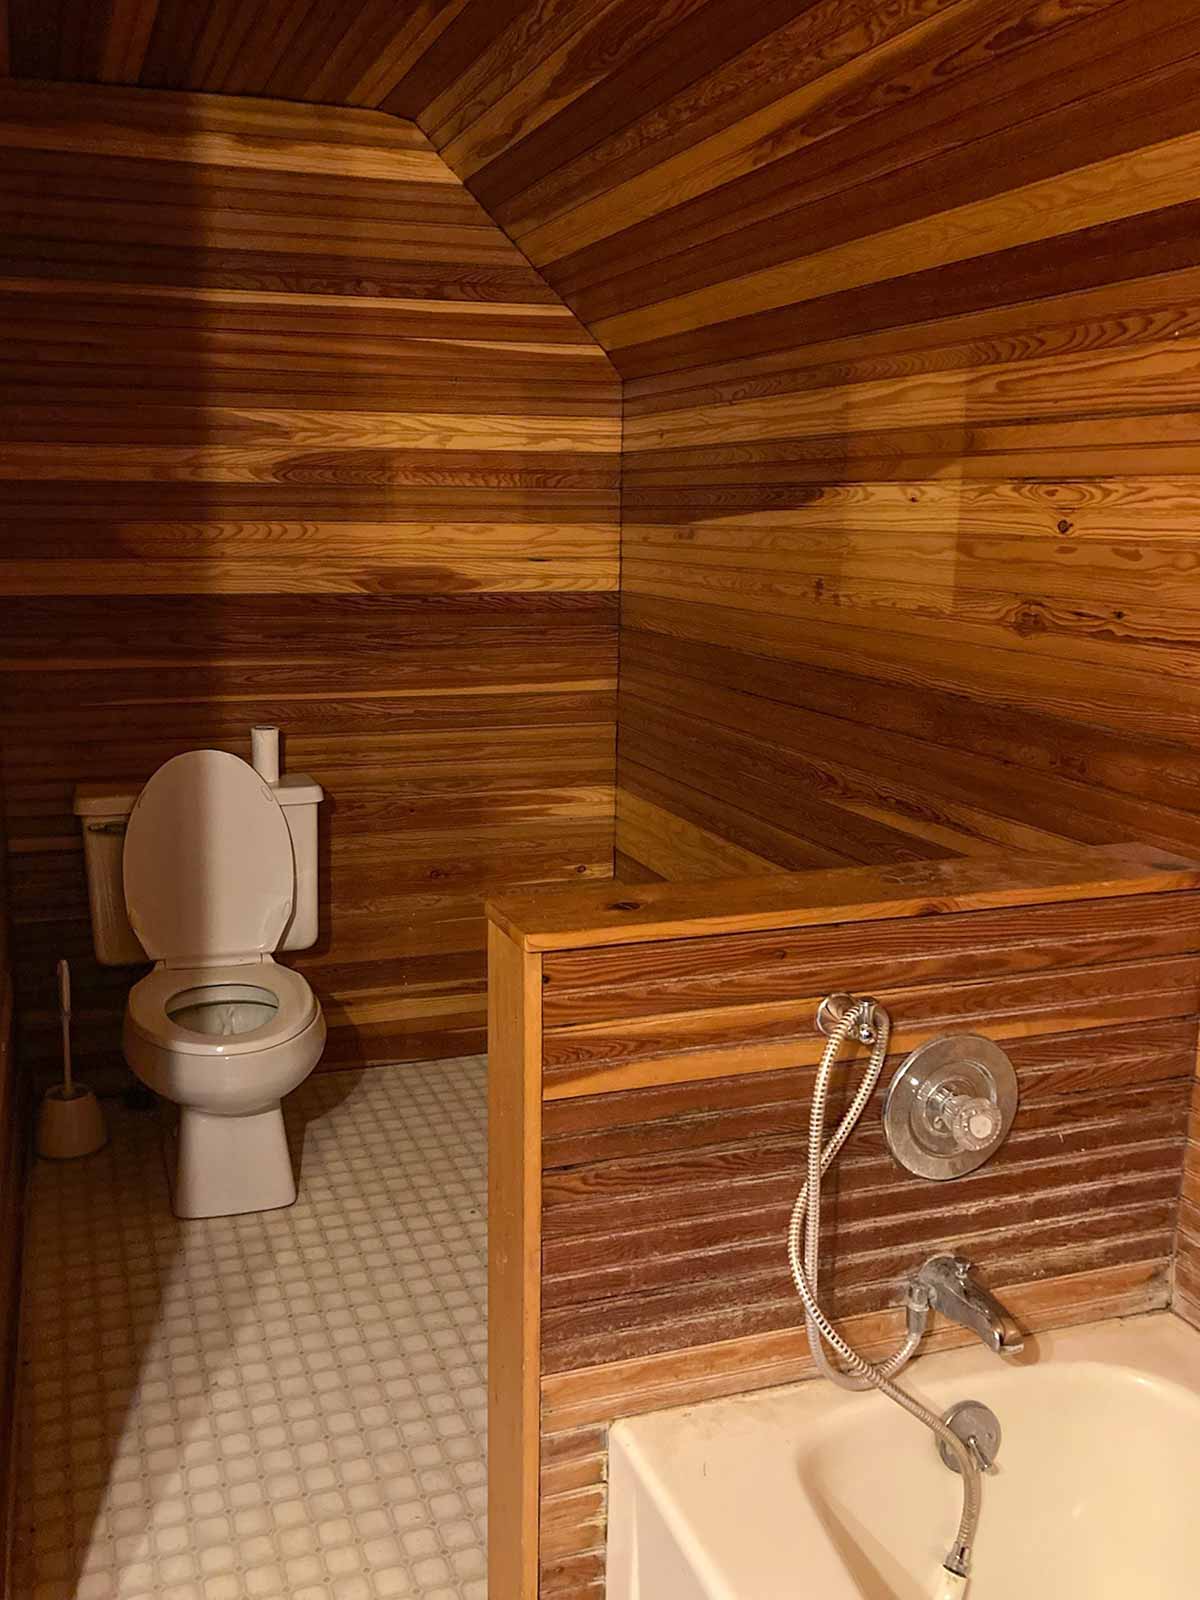
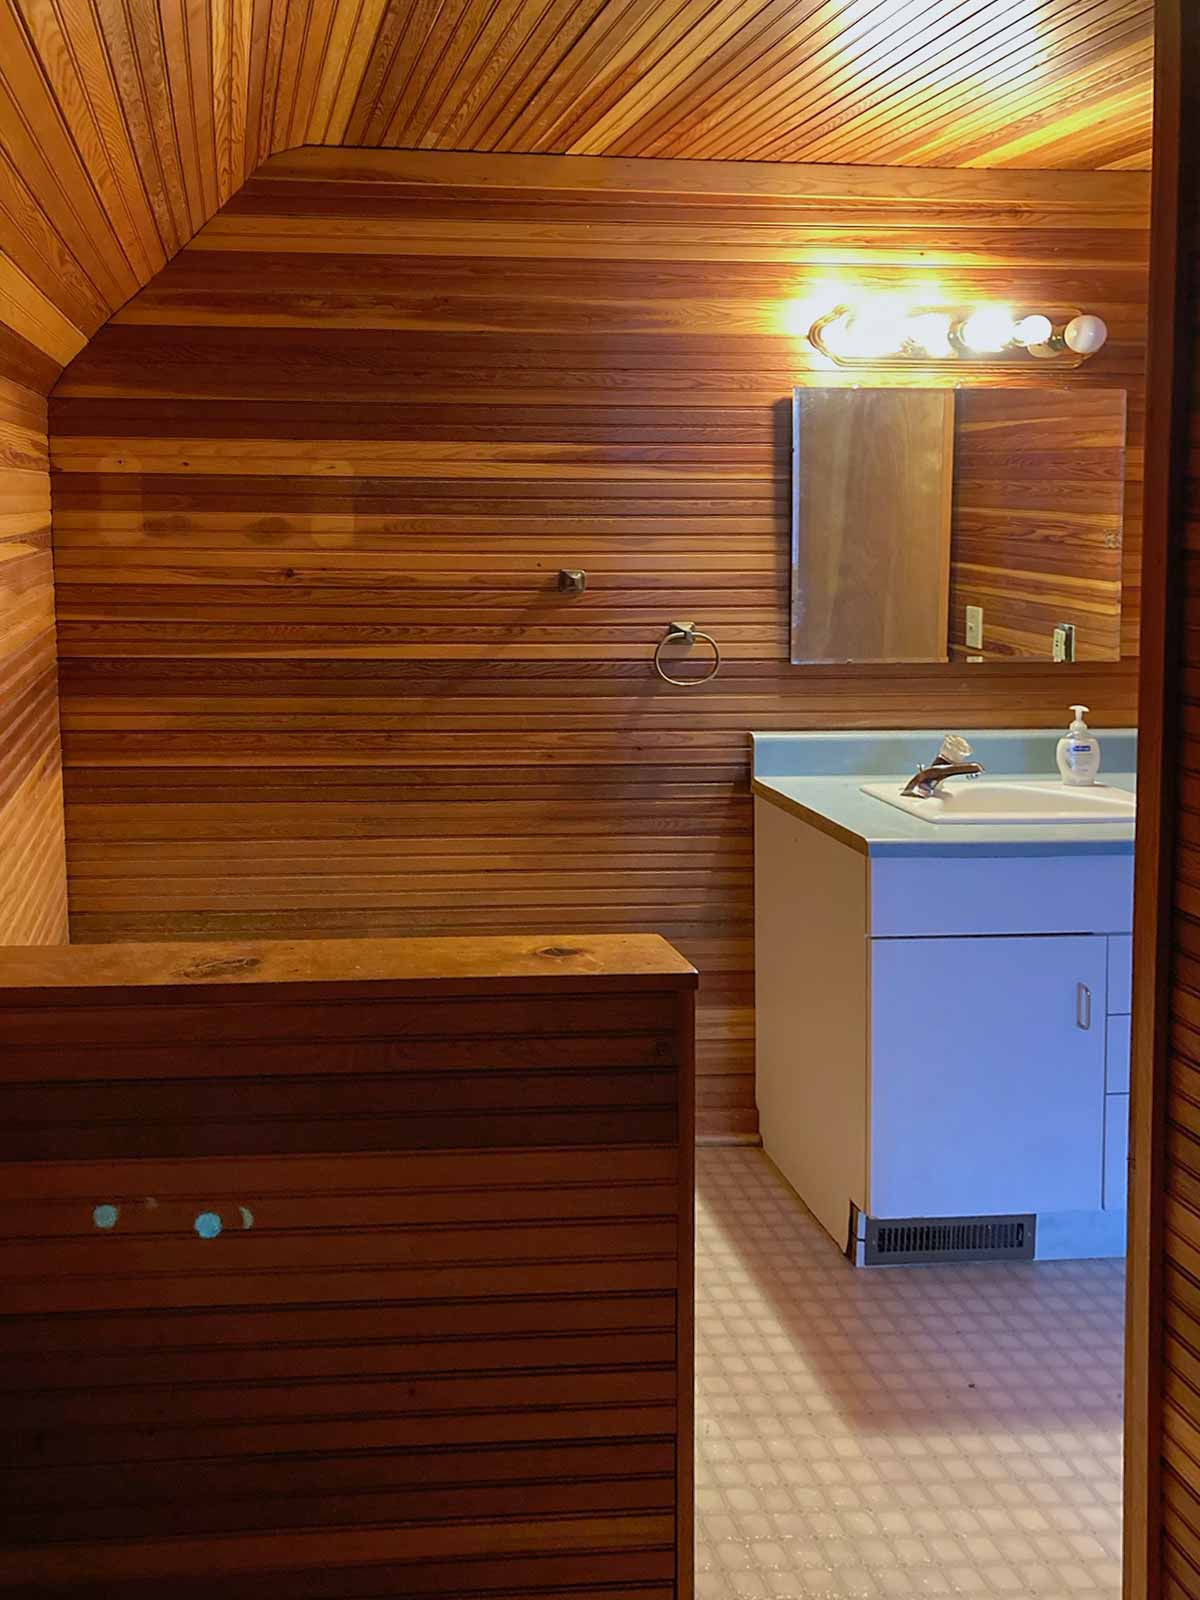
Yuck. That was the word to describe the bathroom. The layout was awful, a complete waste of space. The toilet was back in an area all by itself. Wood walls. A little sink. A tub without a shower. A complete gut job.
Layout Plan
As we saw in the February 2024 blog (#10 Upstairs Begins), we added an entrance into the guest bedroom where the sink used to be located. We added a wall to make the bathroom space a rectangle, instead of an L-shape, and changed the entrance into the bathroom, to be in line with the top of the stairs. The shower will be roughly where the tub was located. The vanity will be where the half wall was, against the exterior wall. The toilet will be moved against the exterior wall, next to the new vanity.
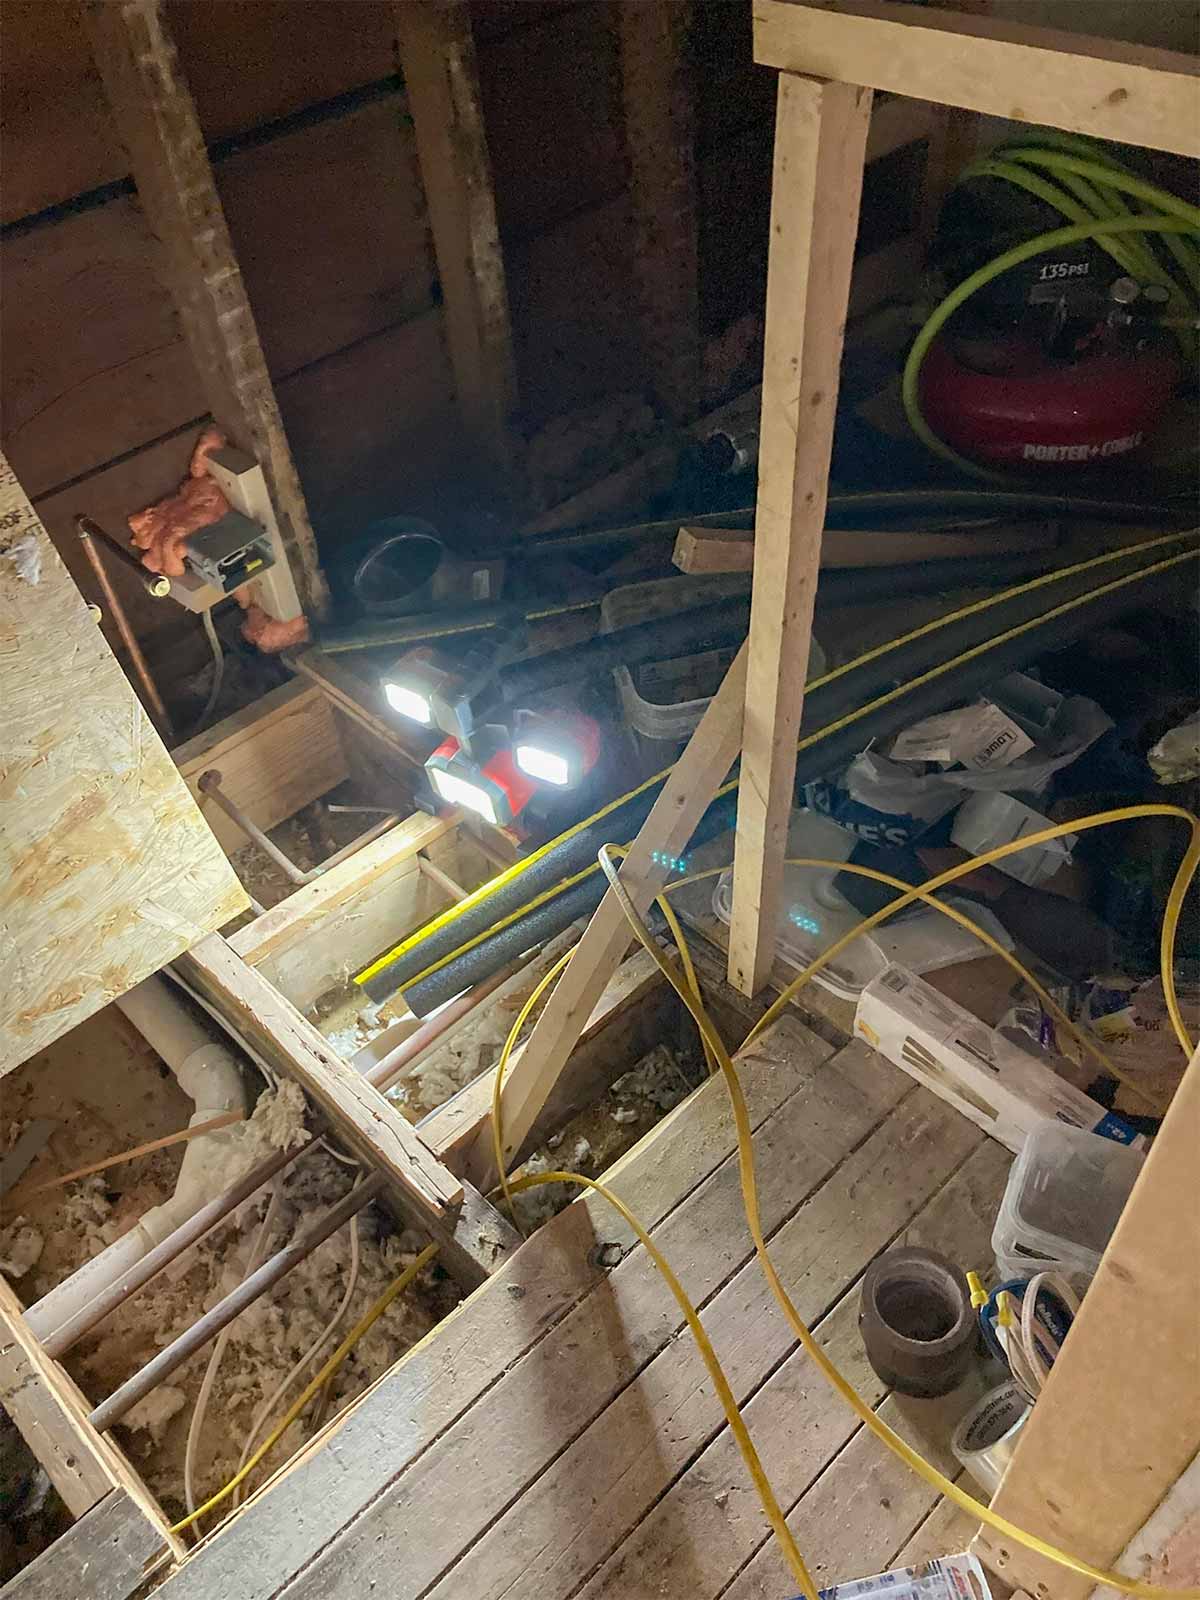
Demo Day
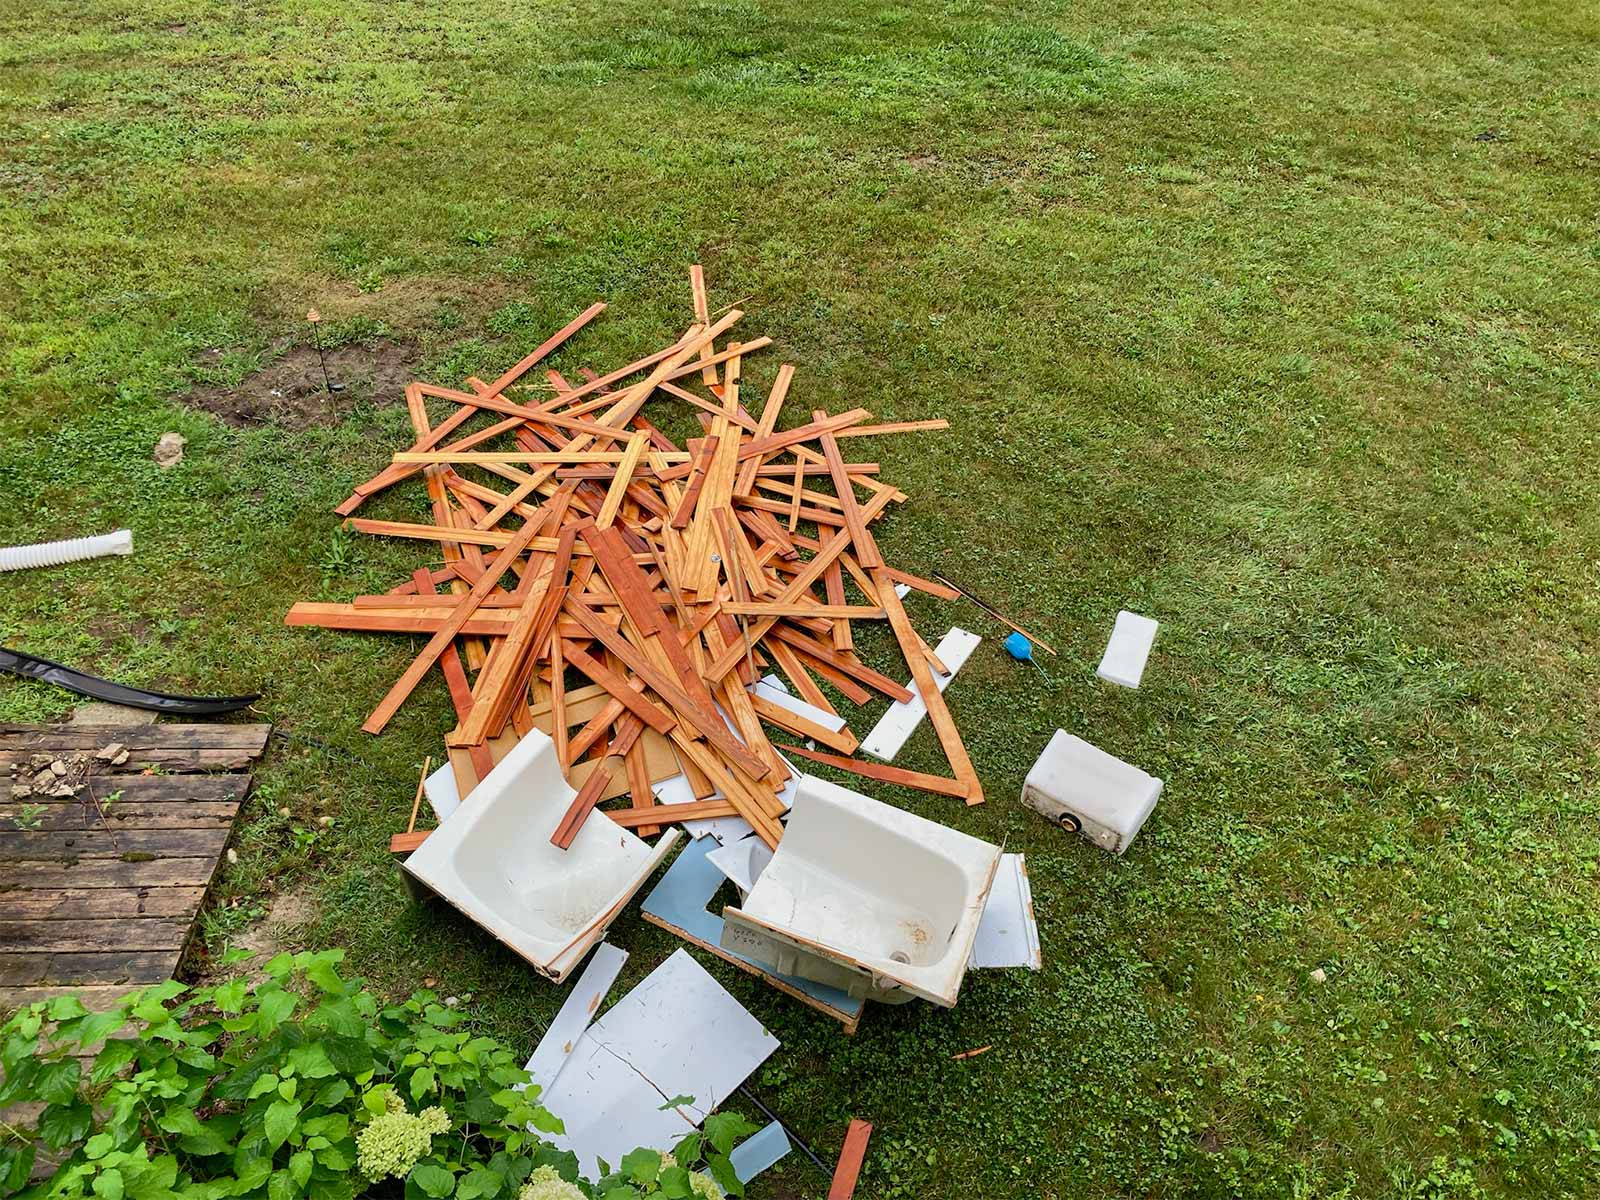
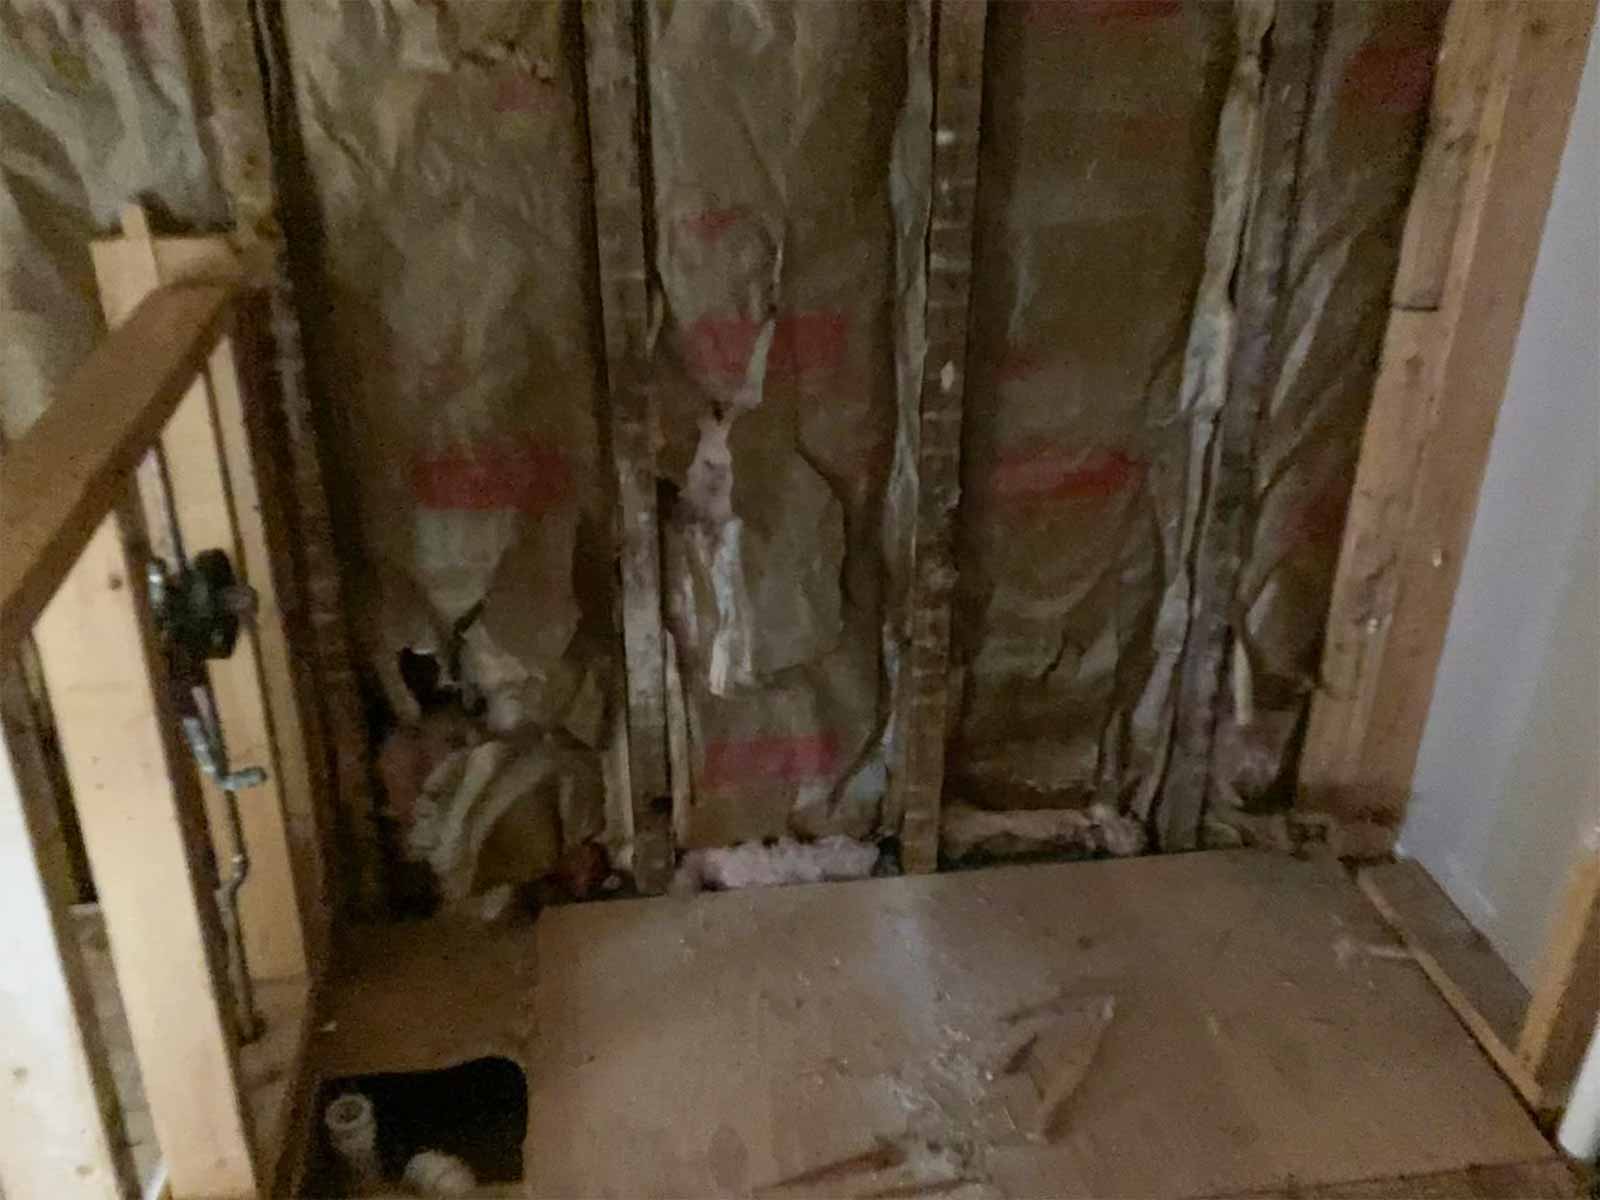
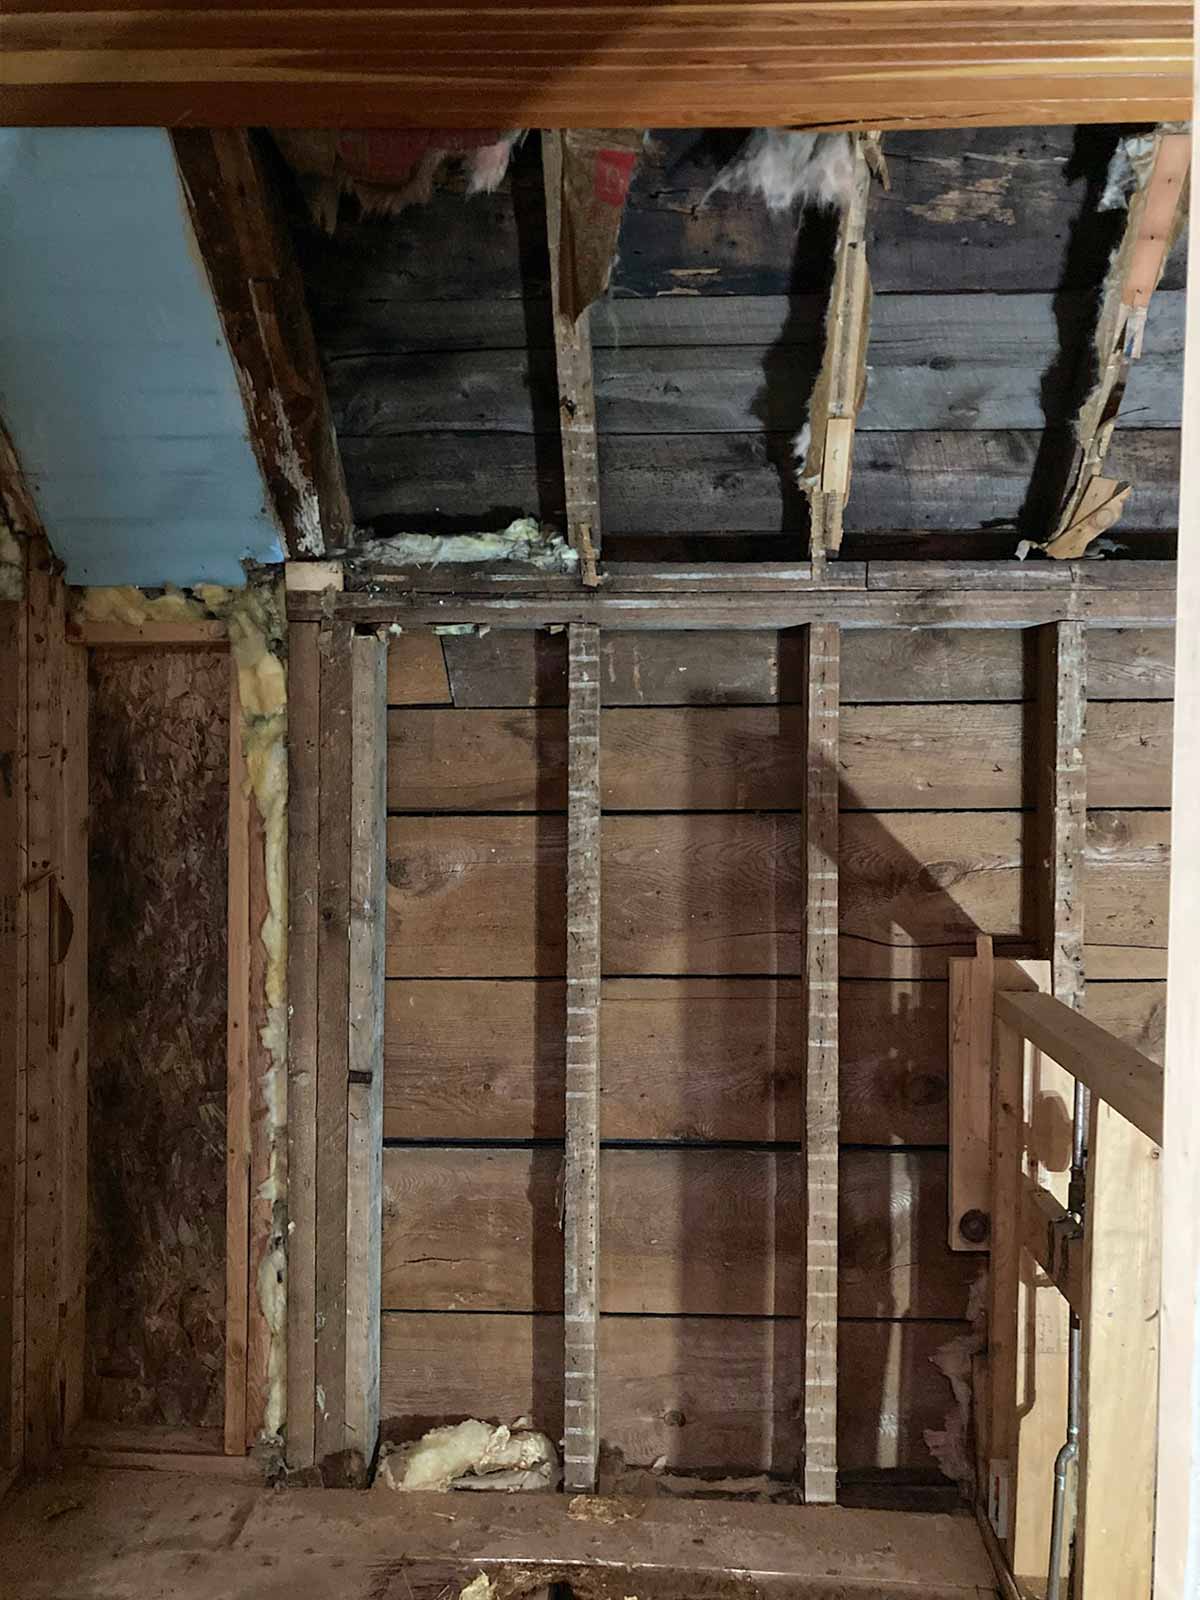
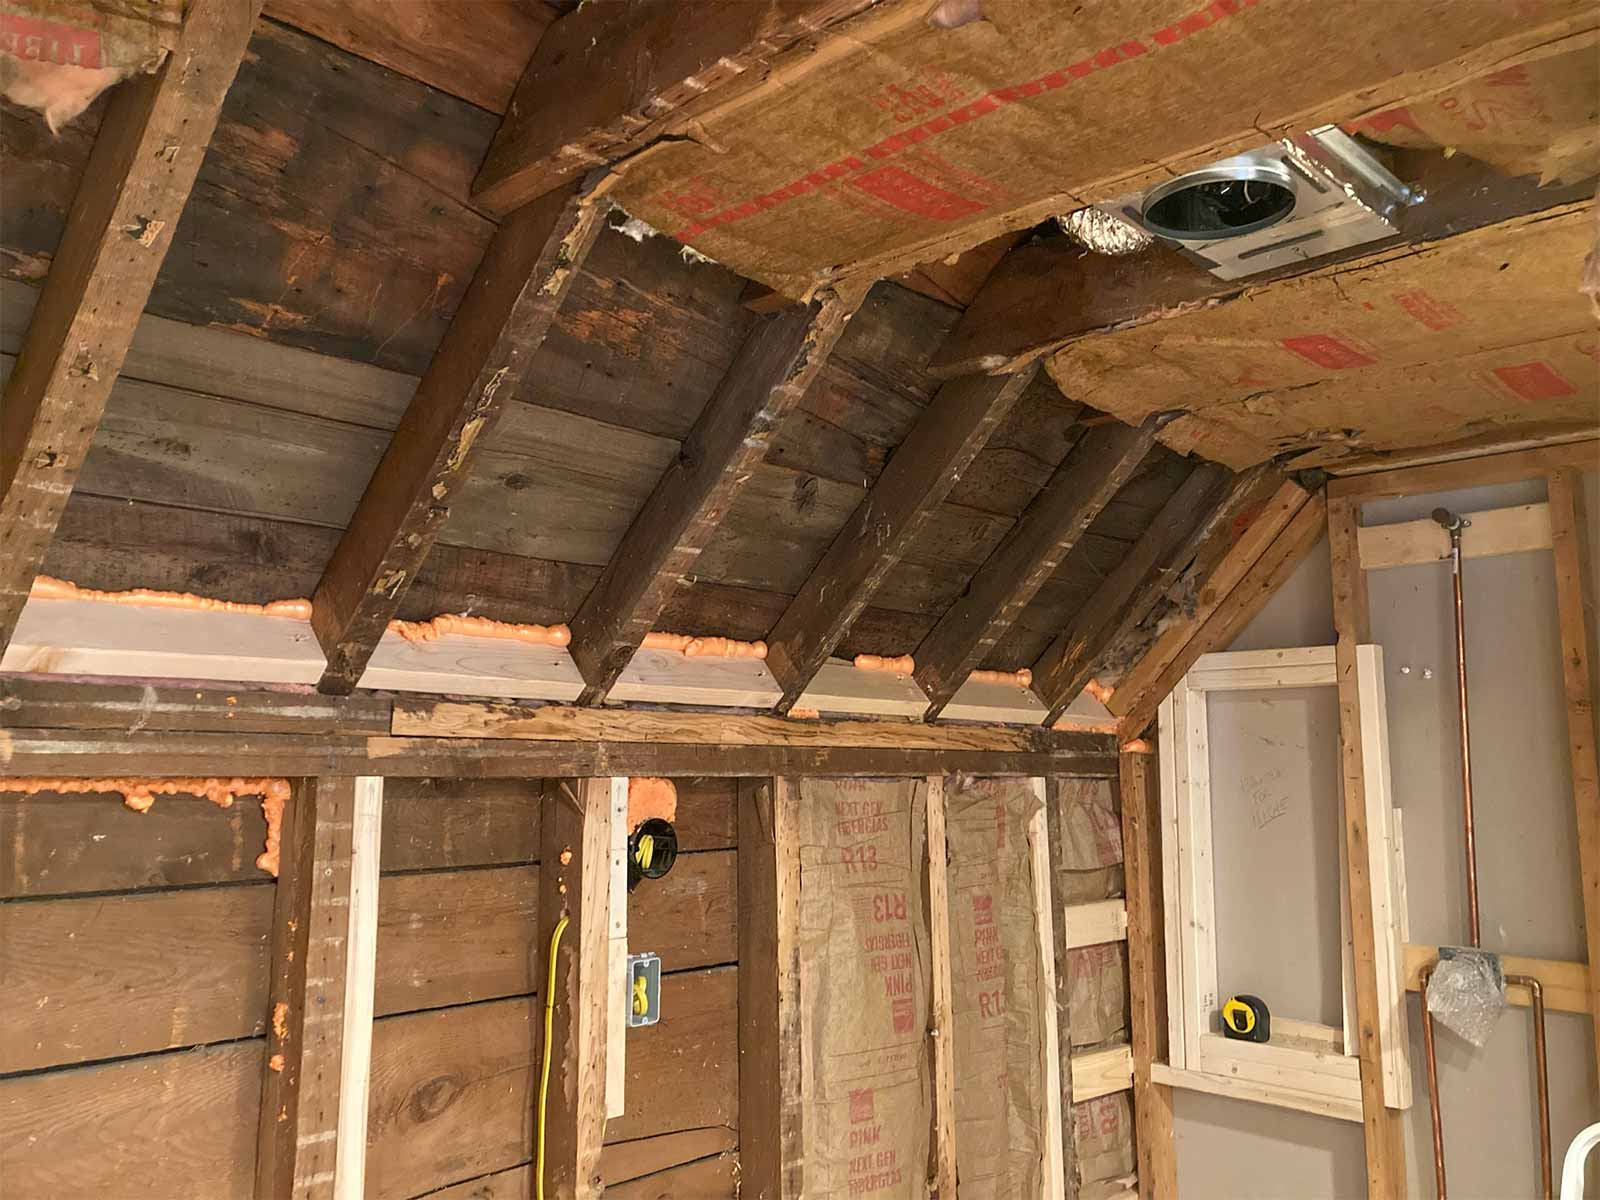
We began by getting rid of the old sink and tub, and all the wood tongue and groove. Last, was the removal of the toilet. We had fun throwing the materials out the bedroom window. We also removed all the old insulation (mostly water damaged).

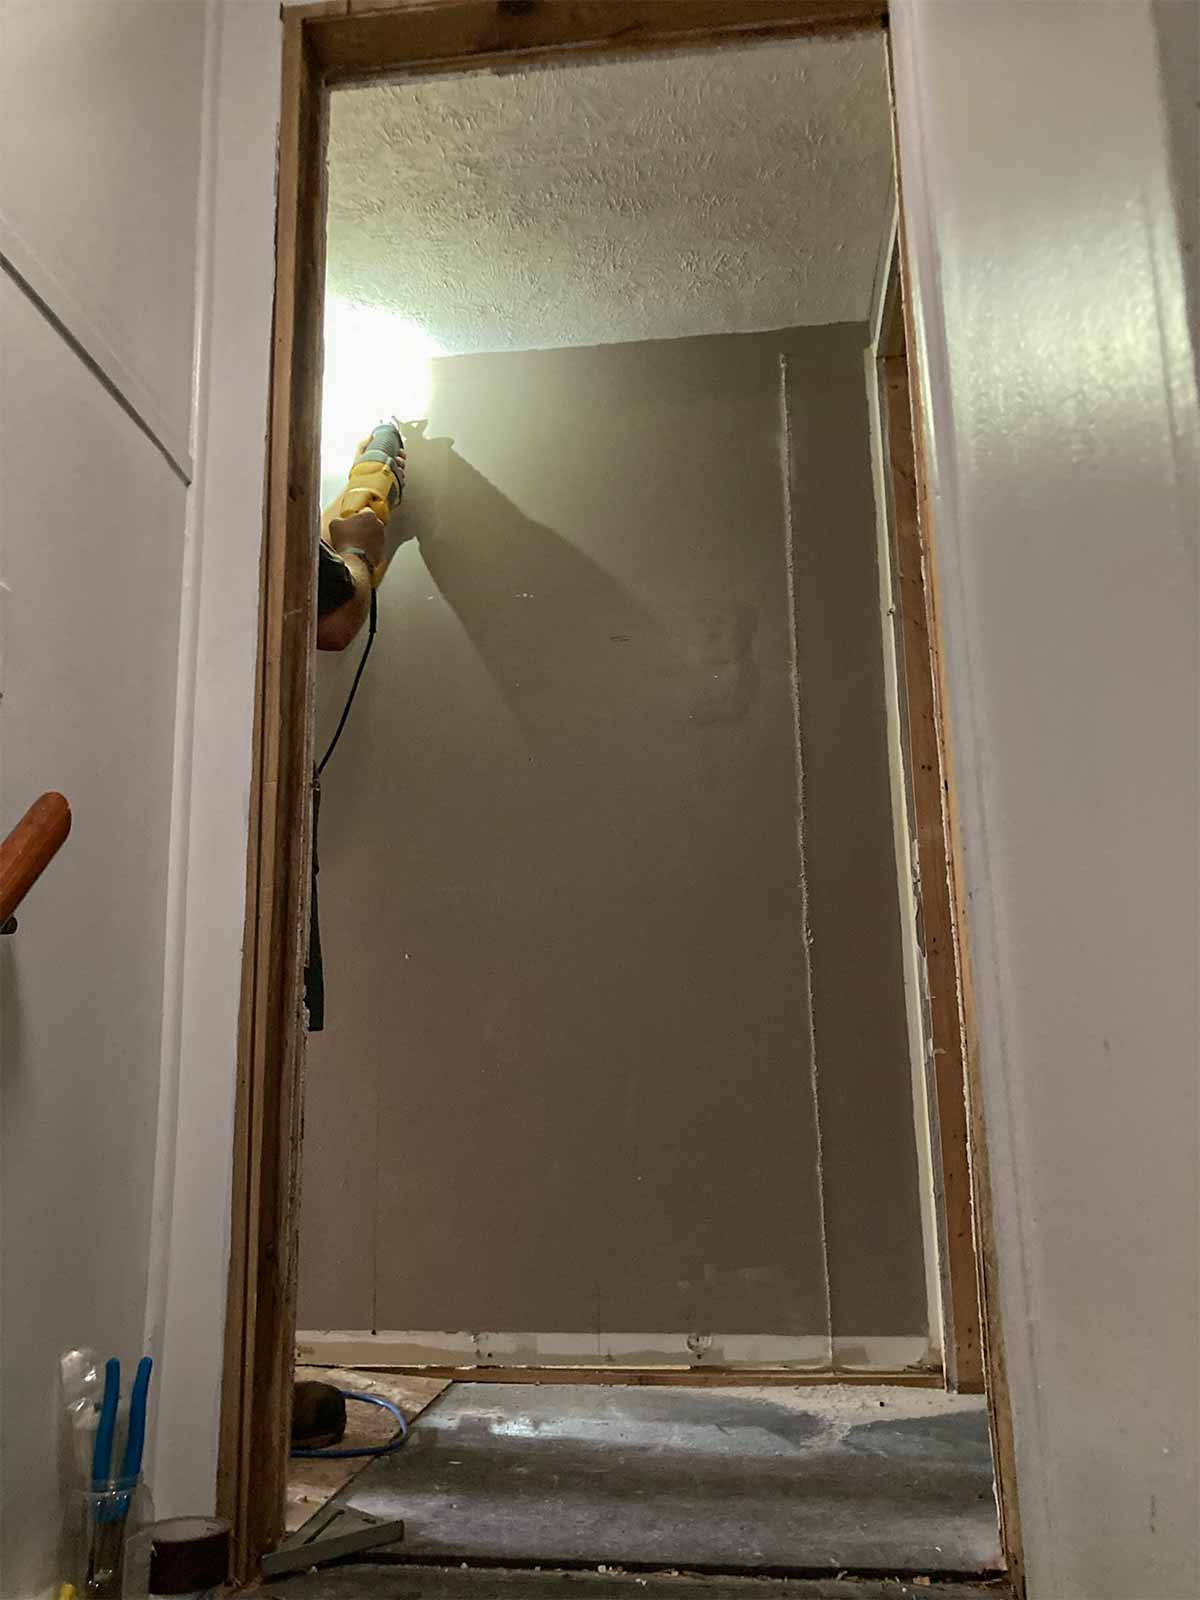
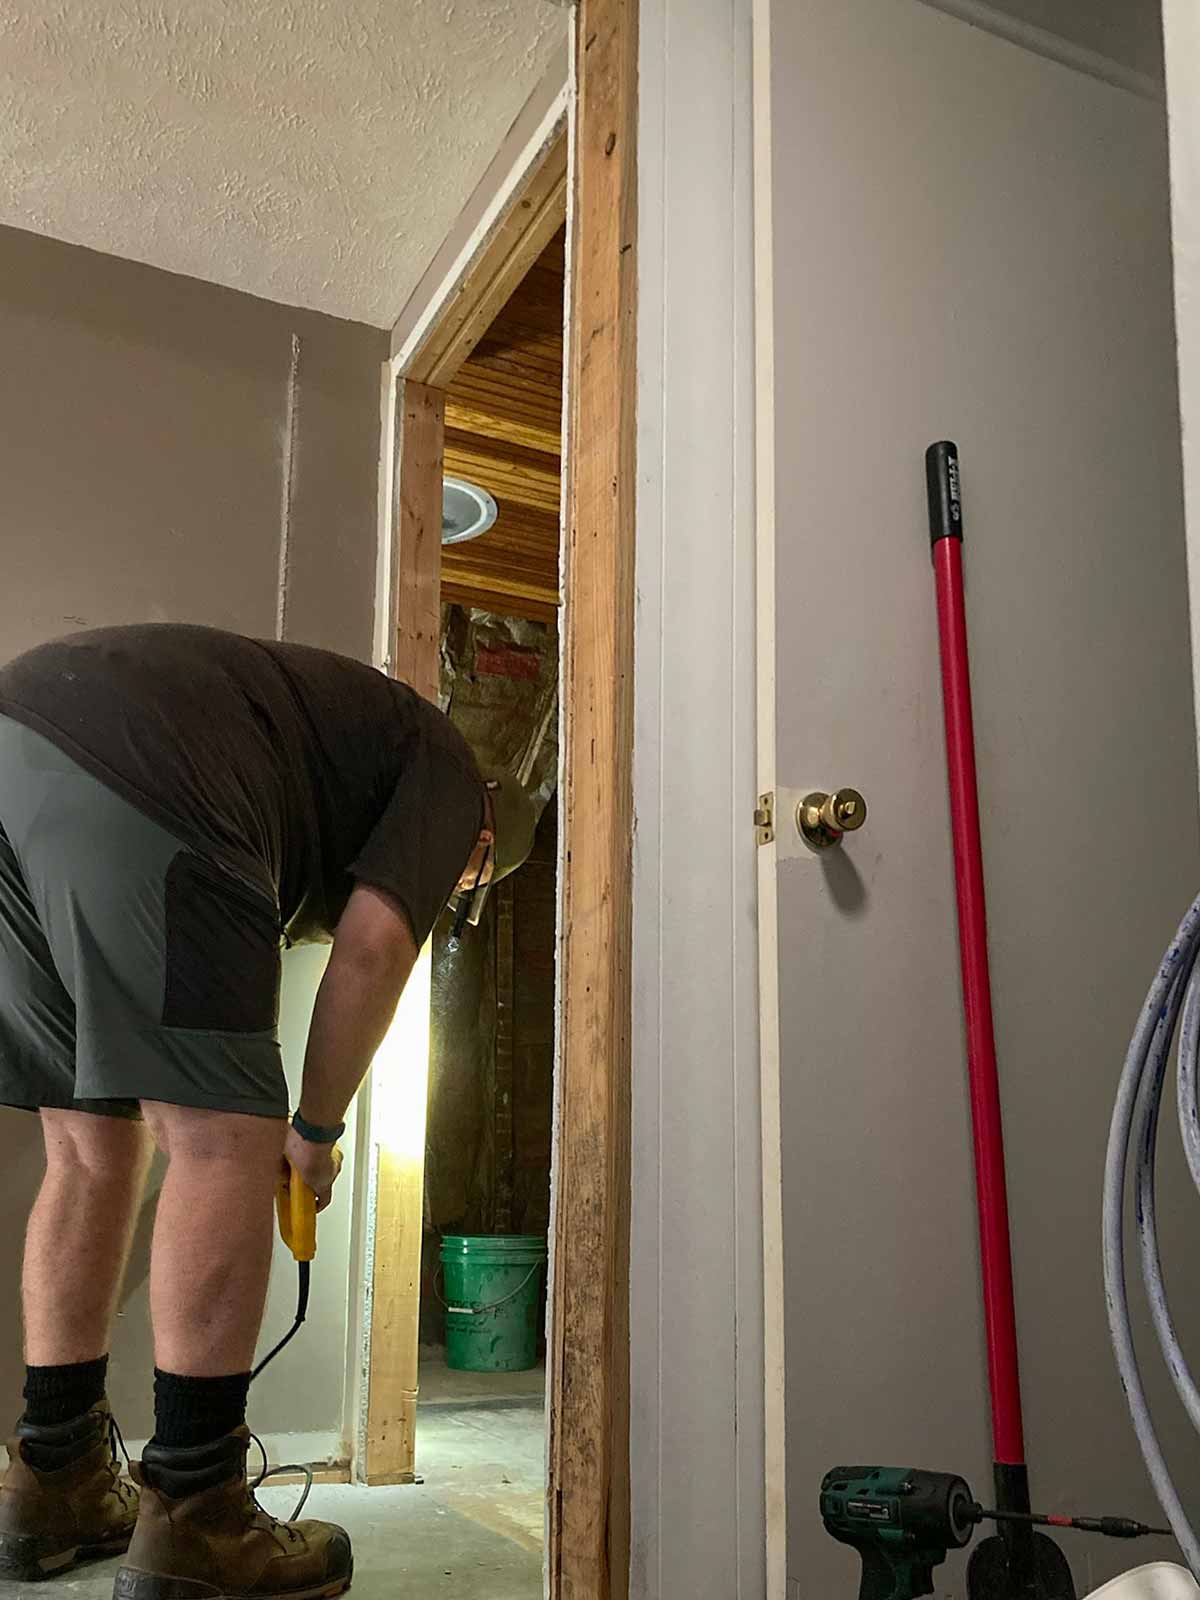
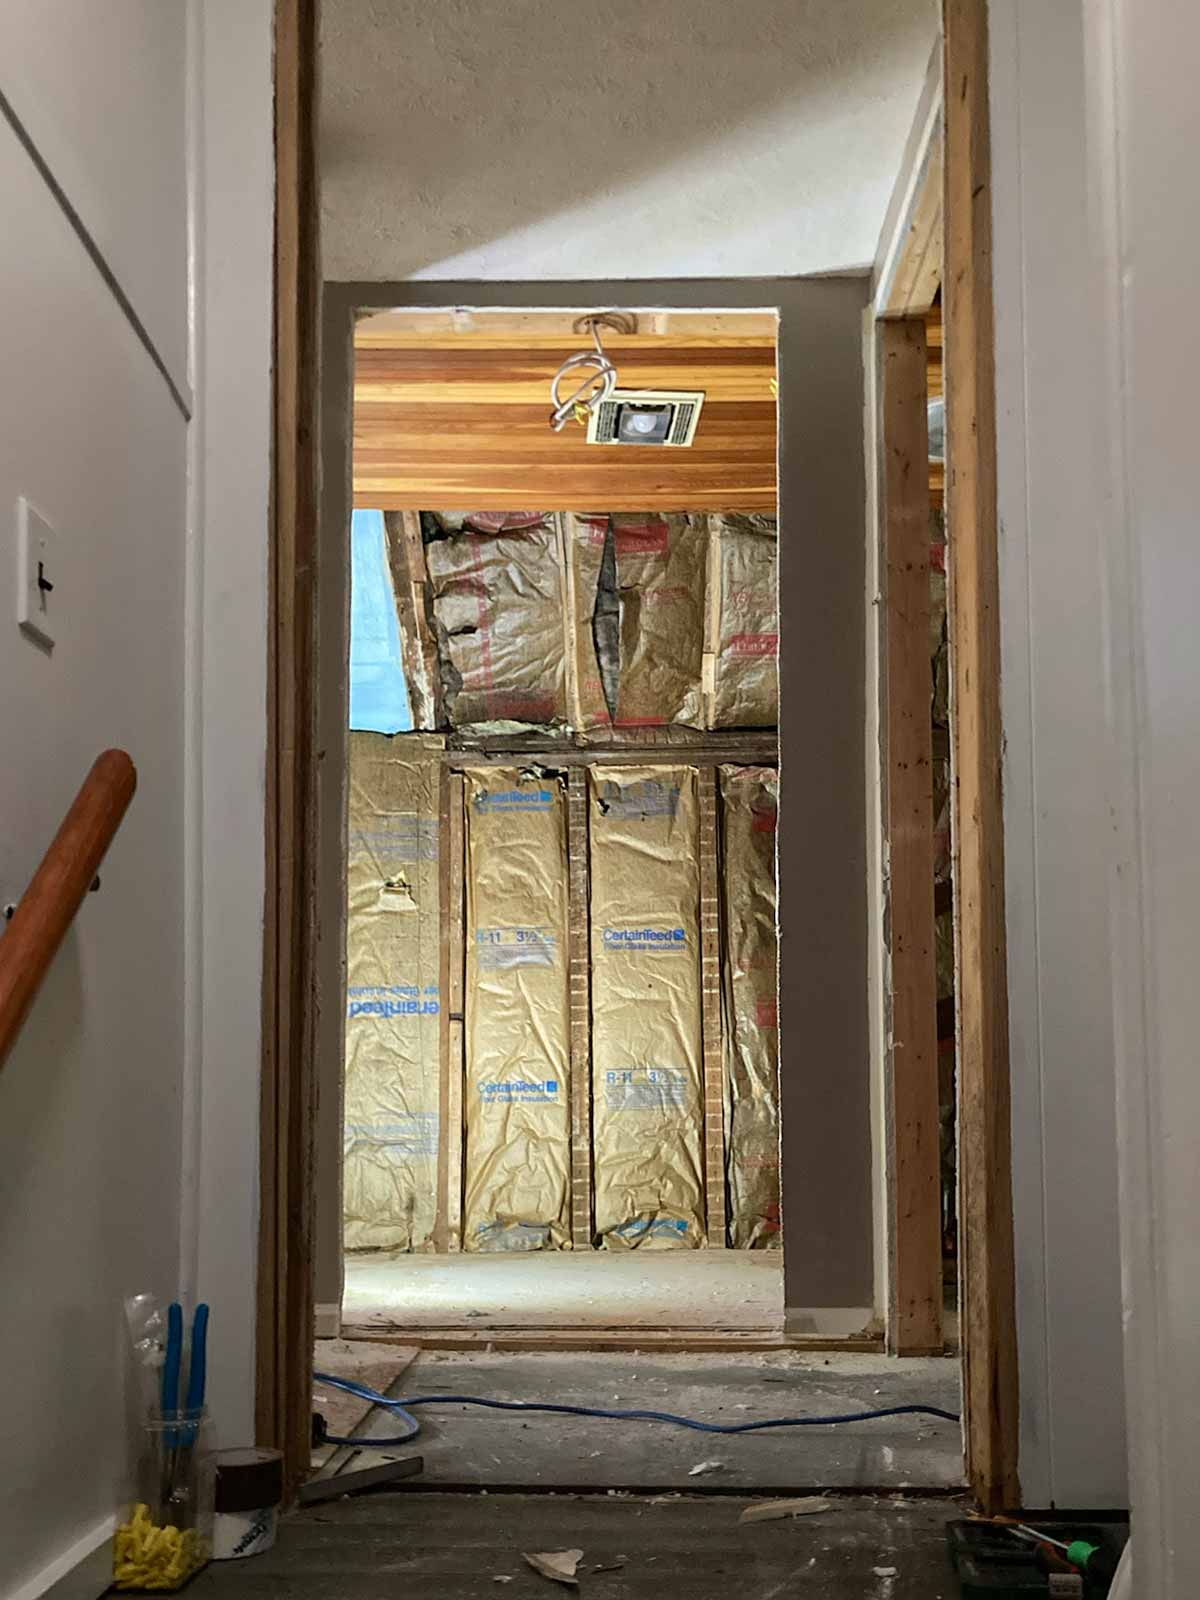
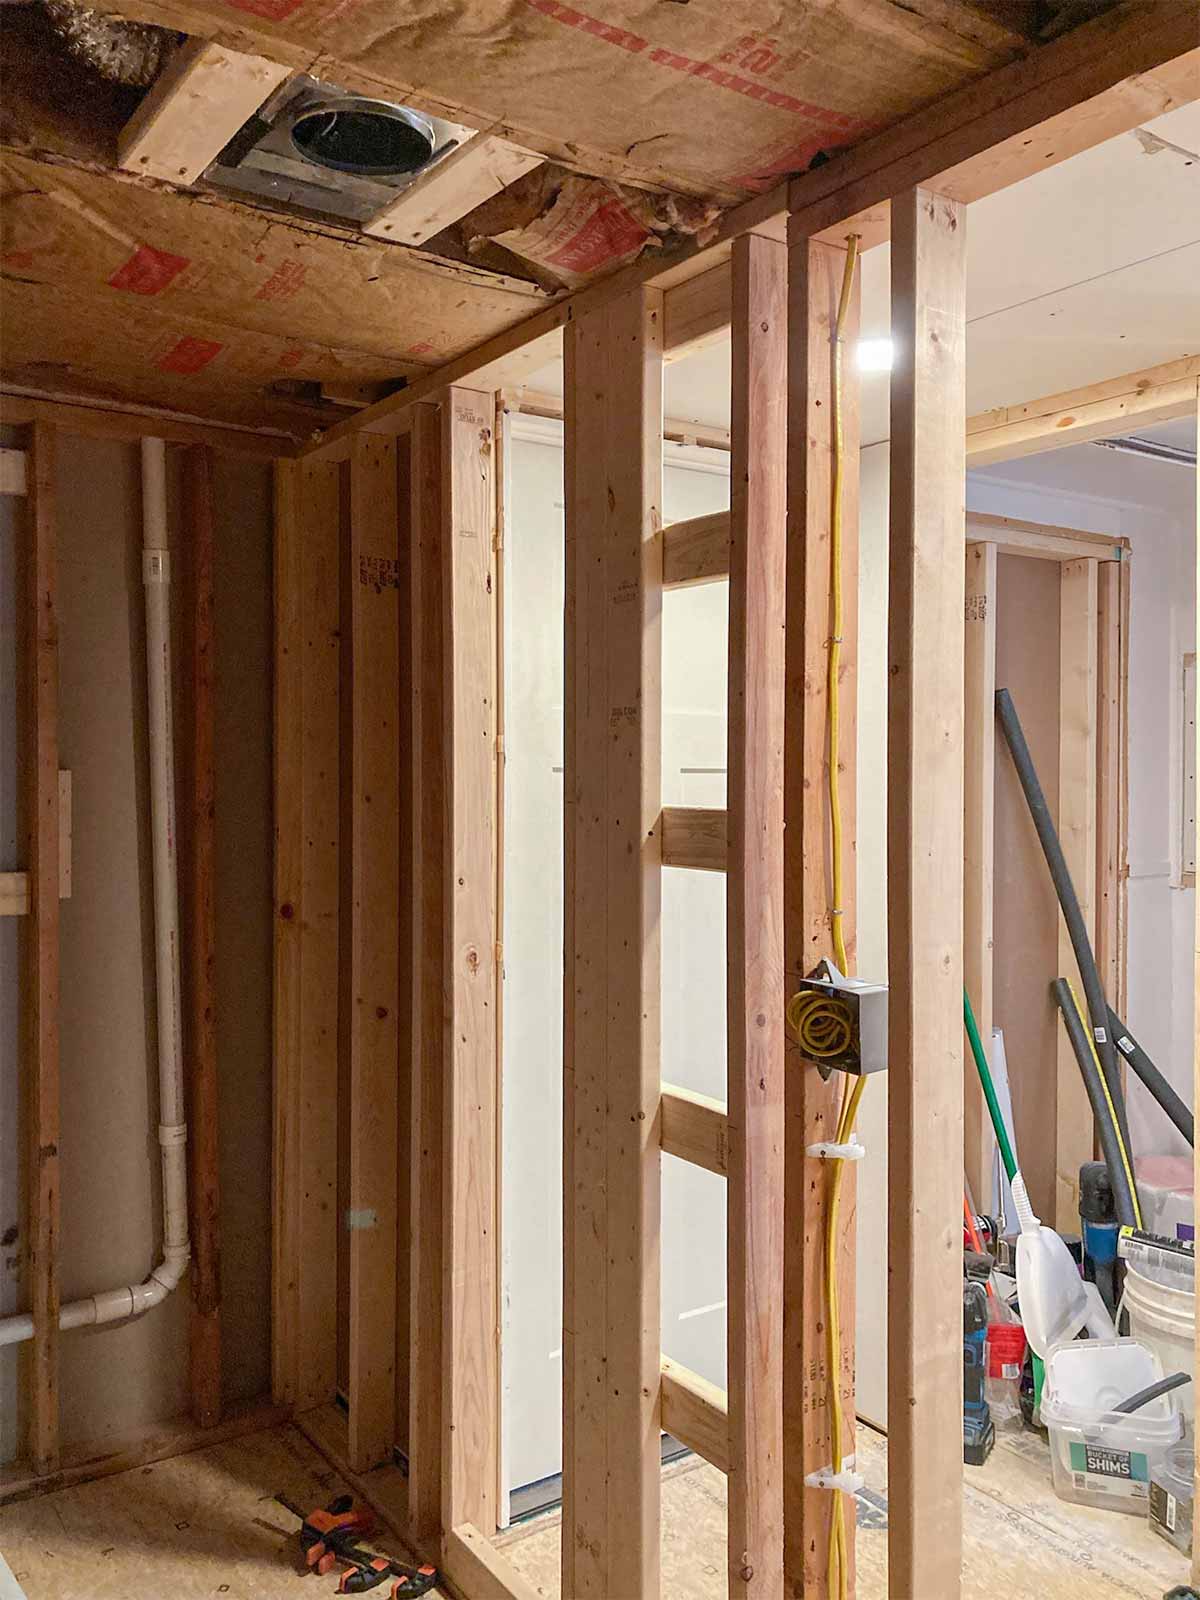
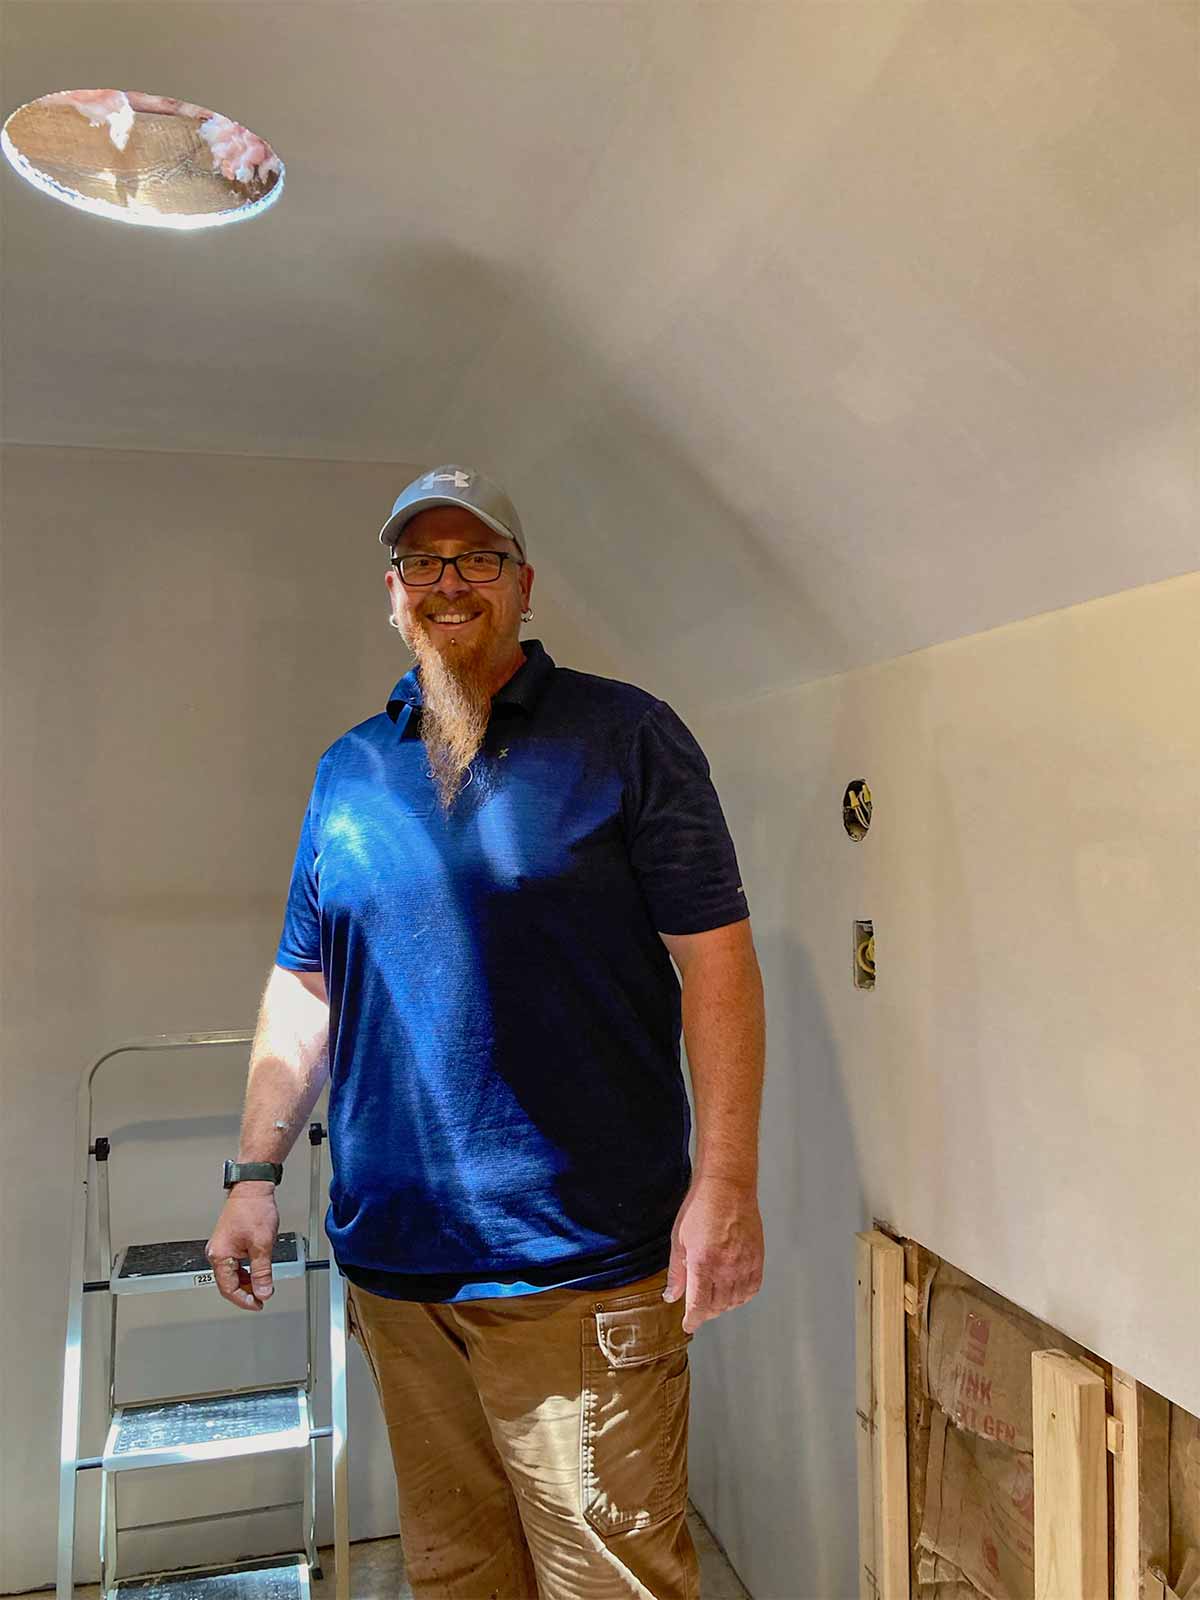
Bathroom Entrance
Cutting the new bathroom entrance…
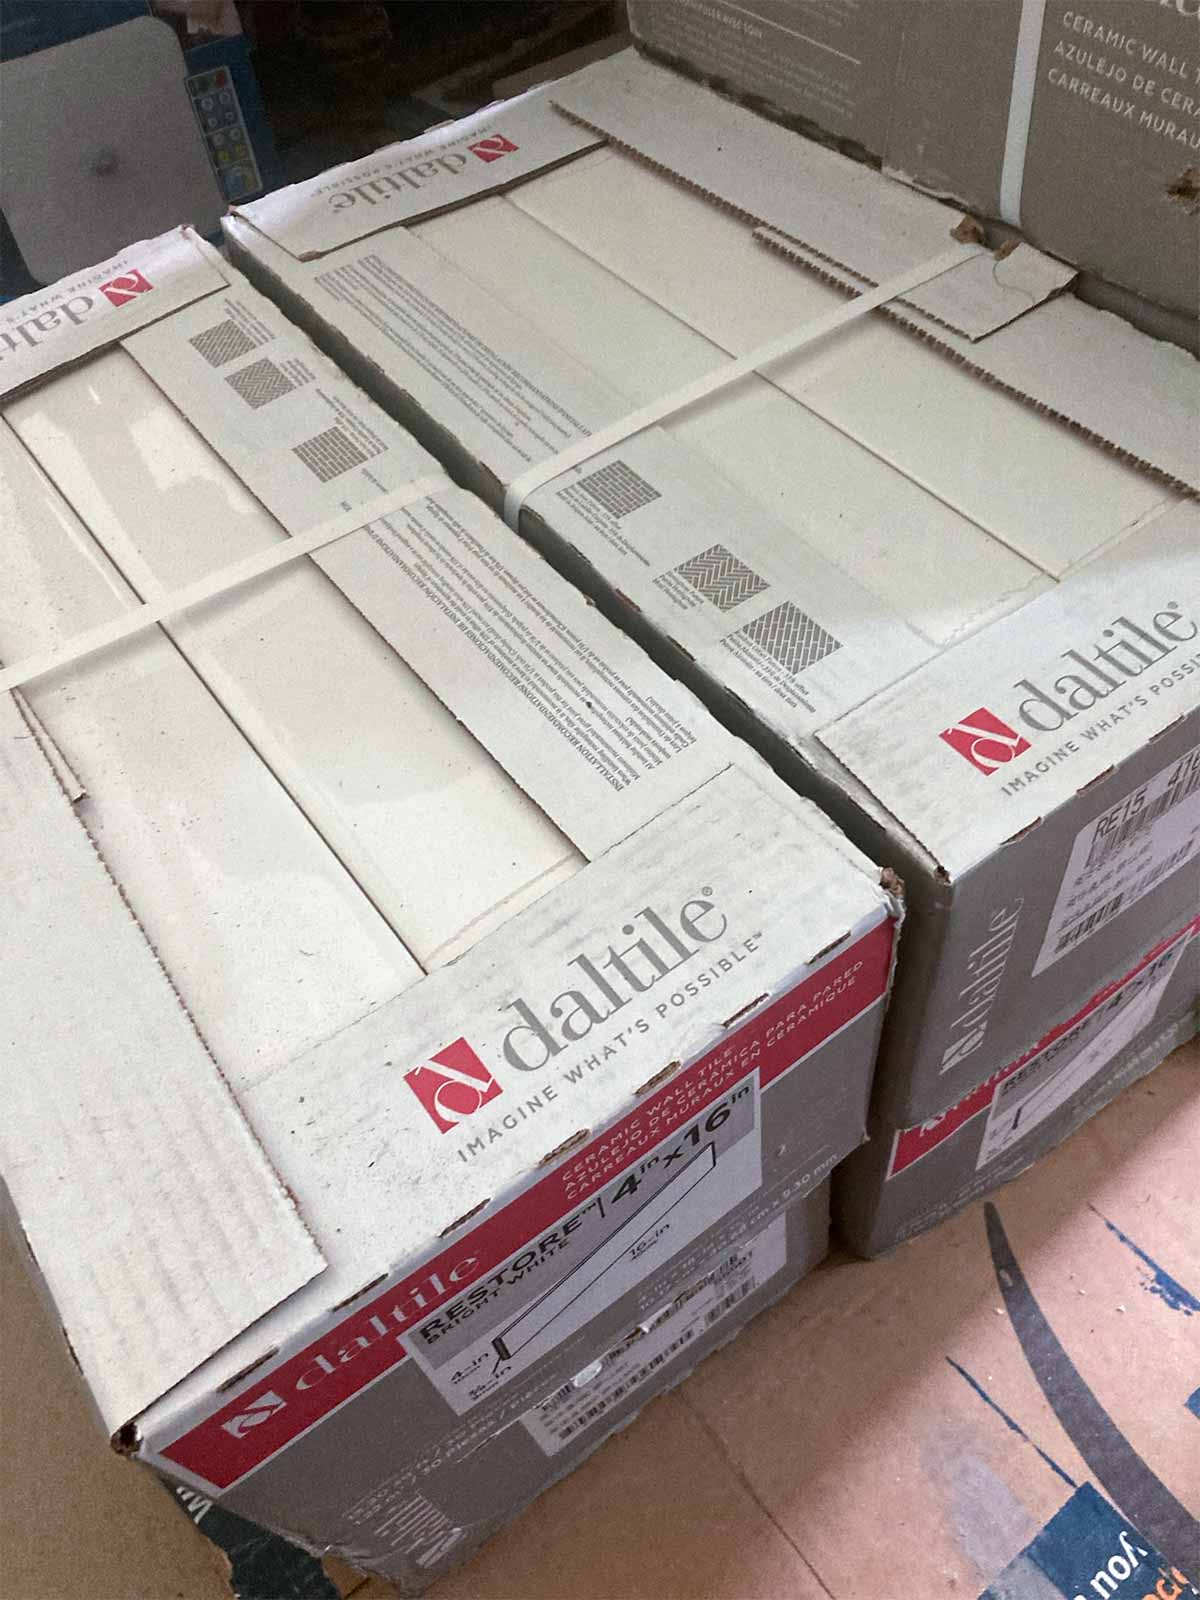
Selecting Materials
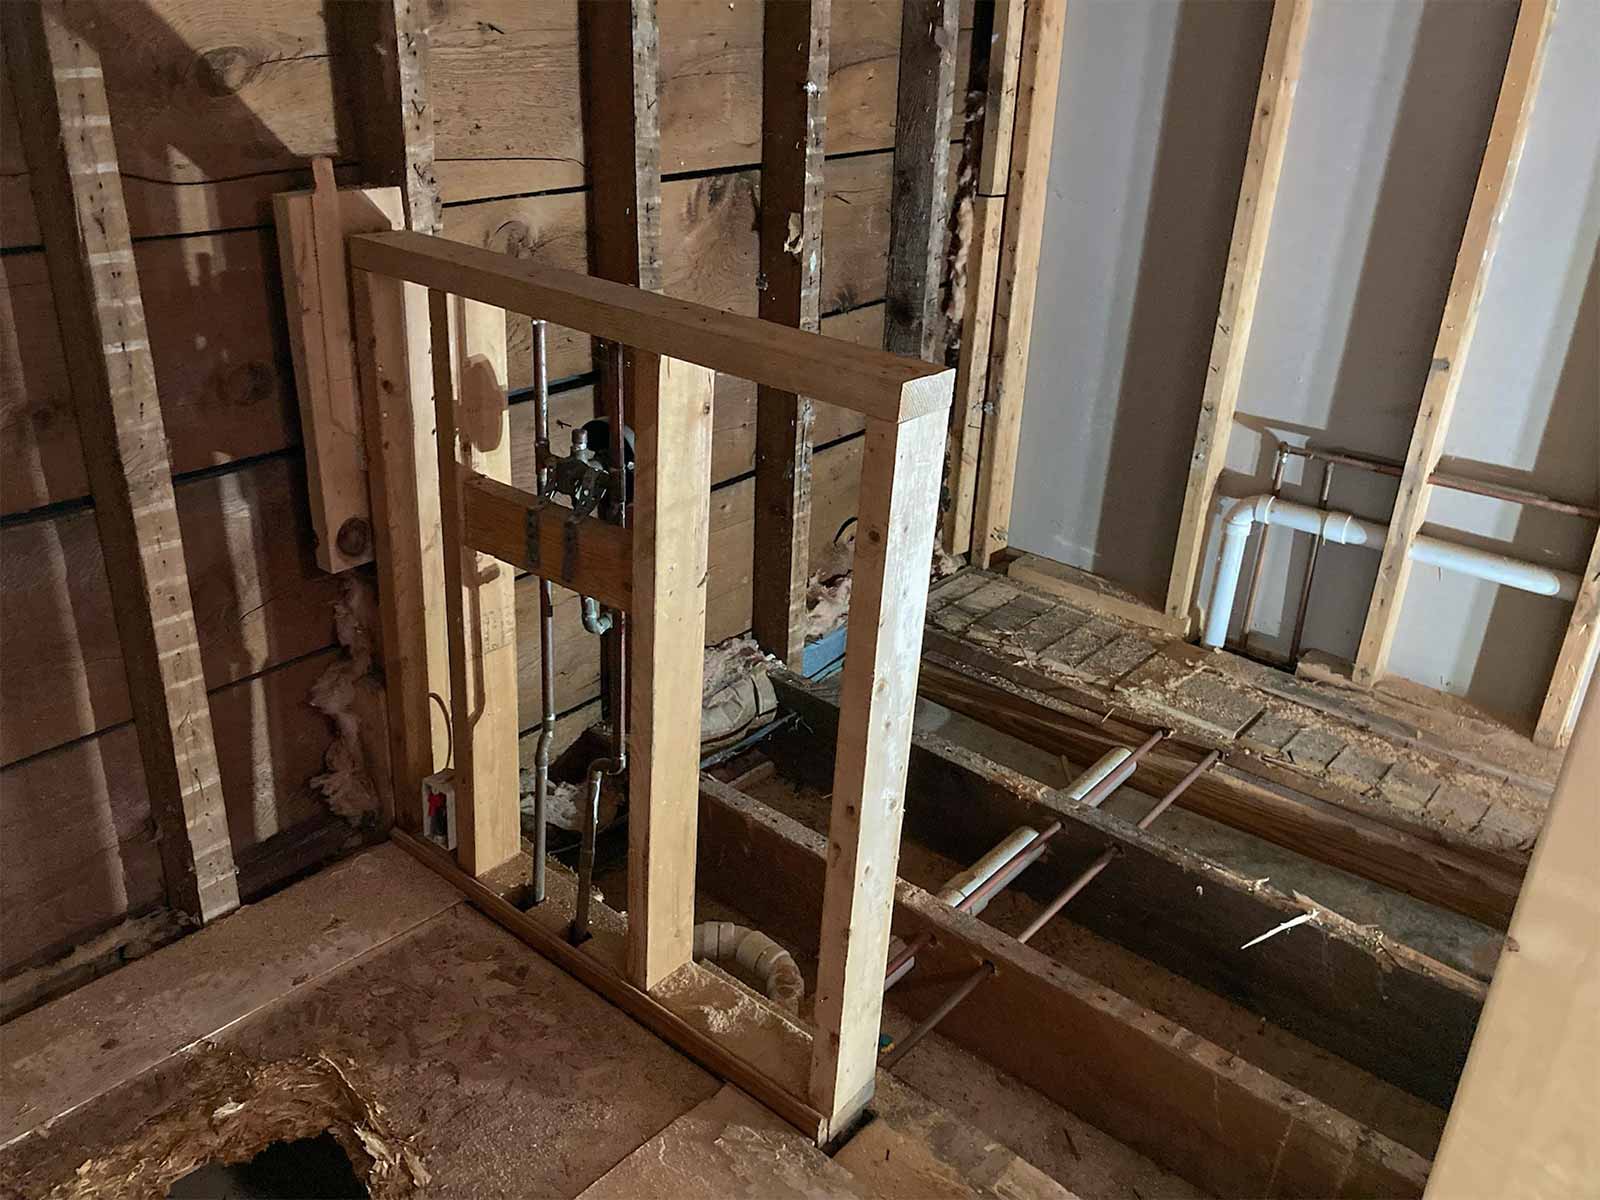
We placed an order with The Home Depot for tile, toilet, exhaust fan, and Schluter system products for tiling/waterproofing. We called a plumber to have the pipes relocated.

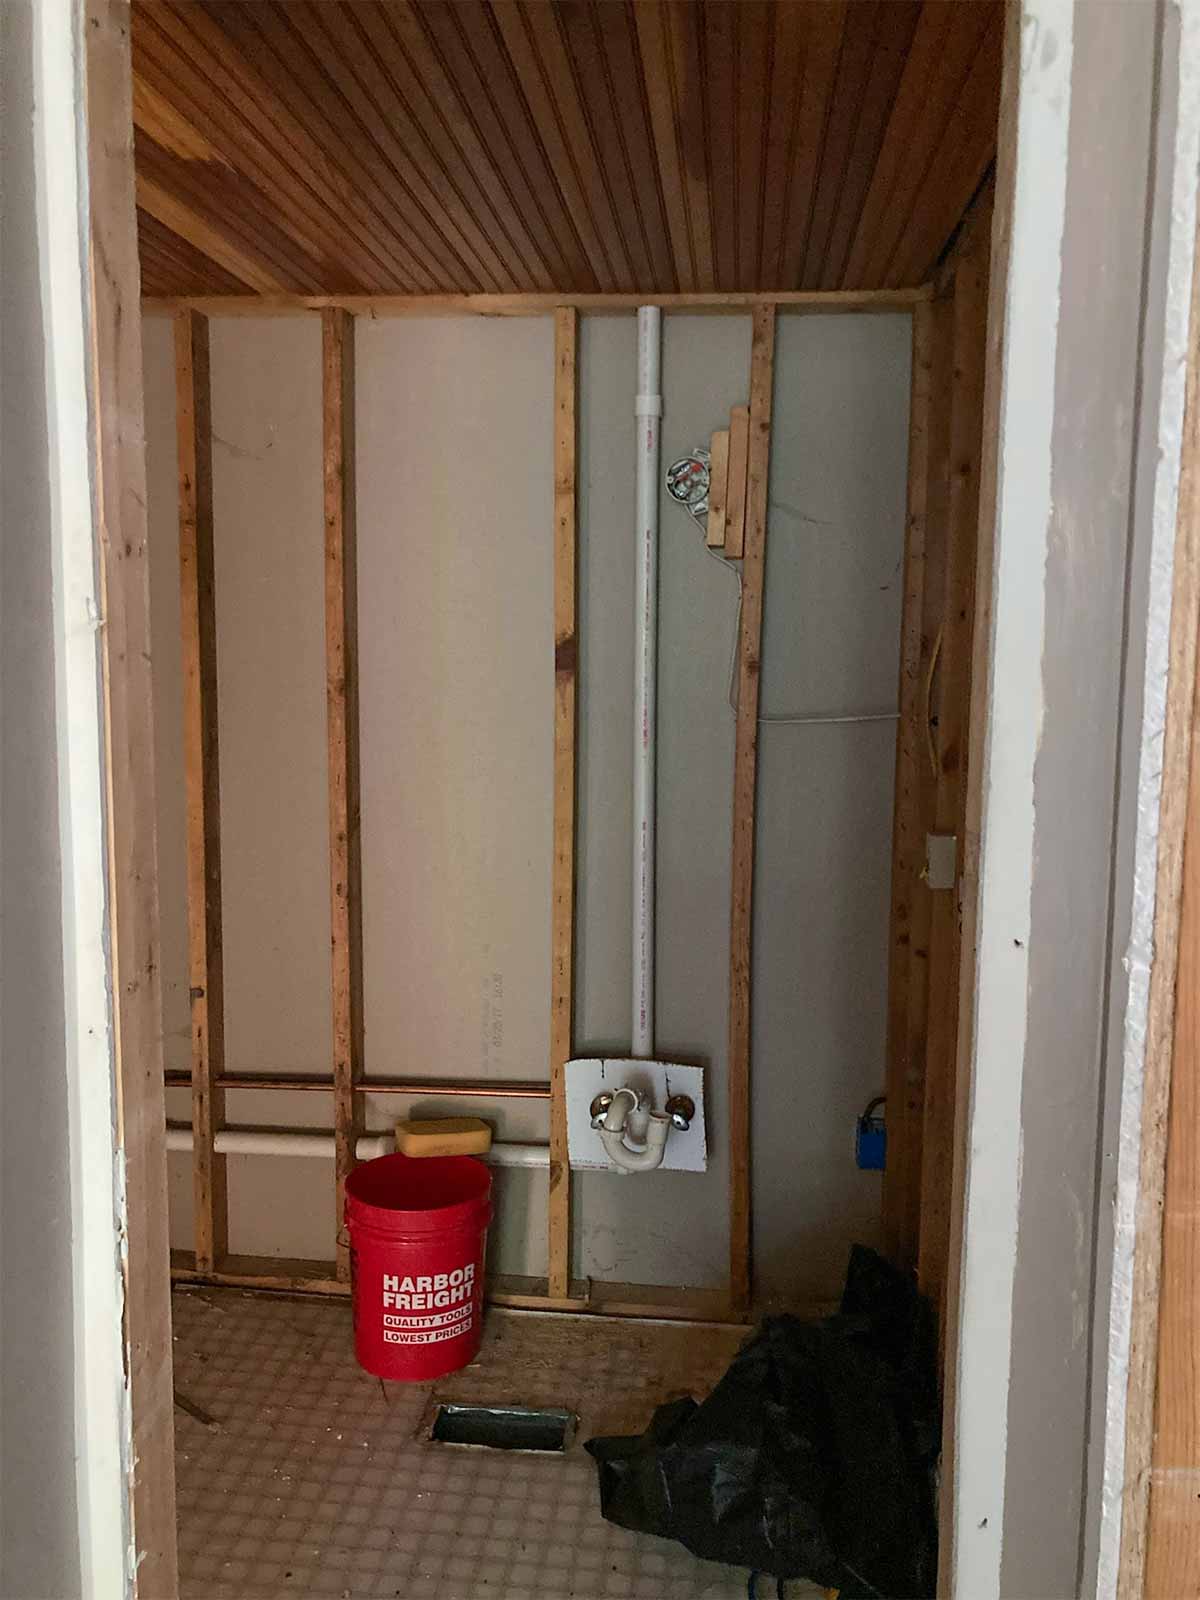
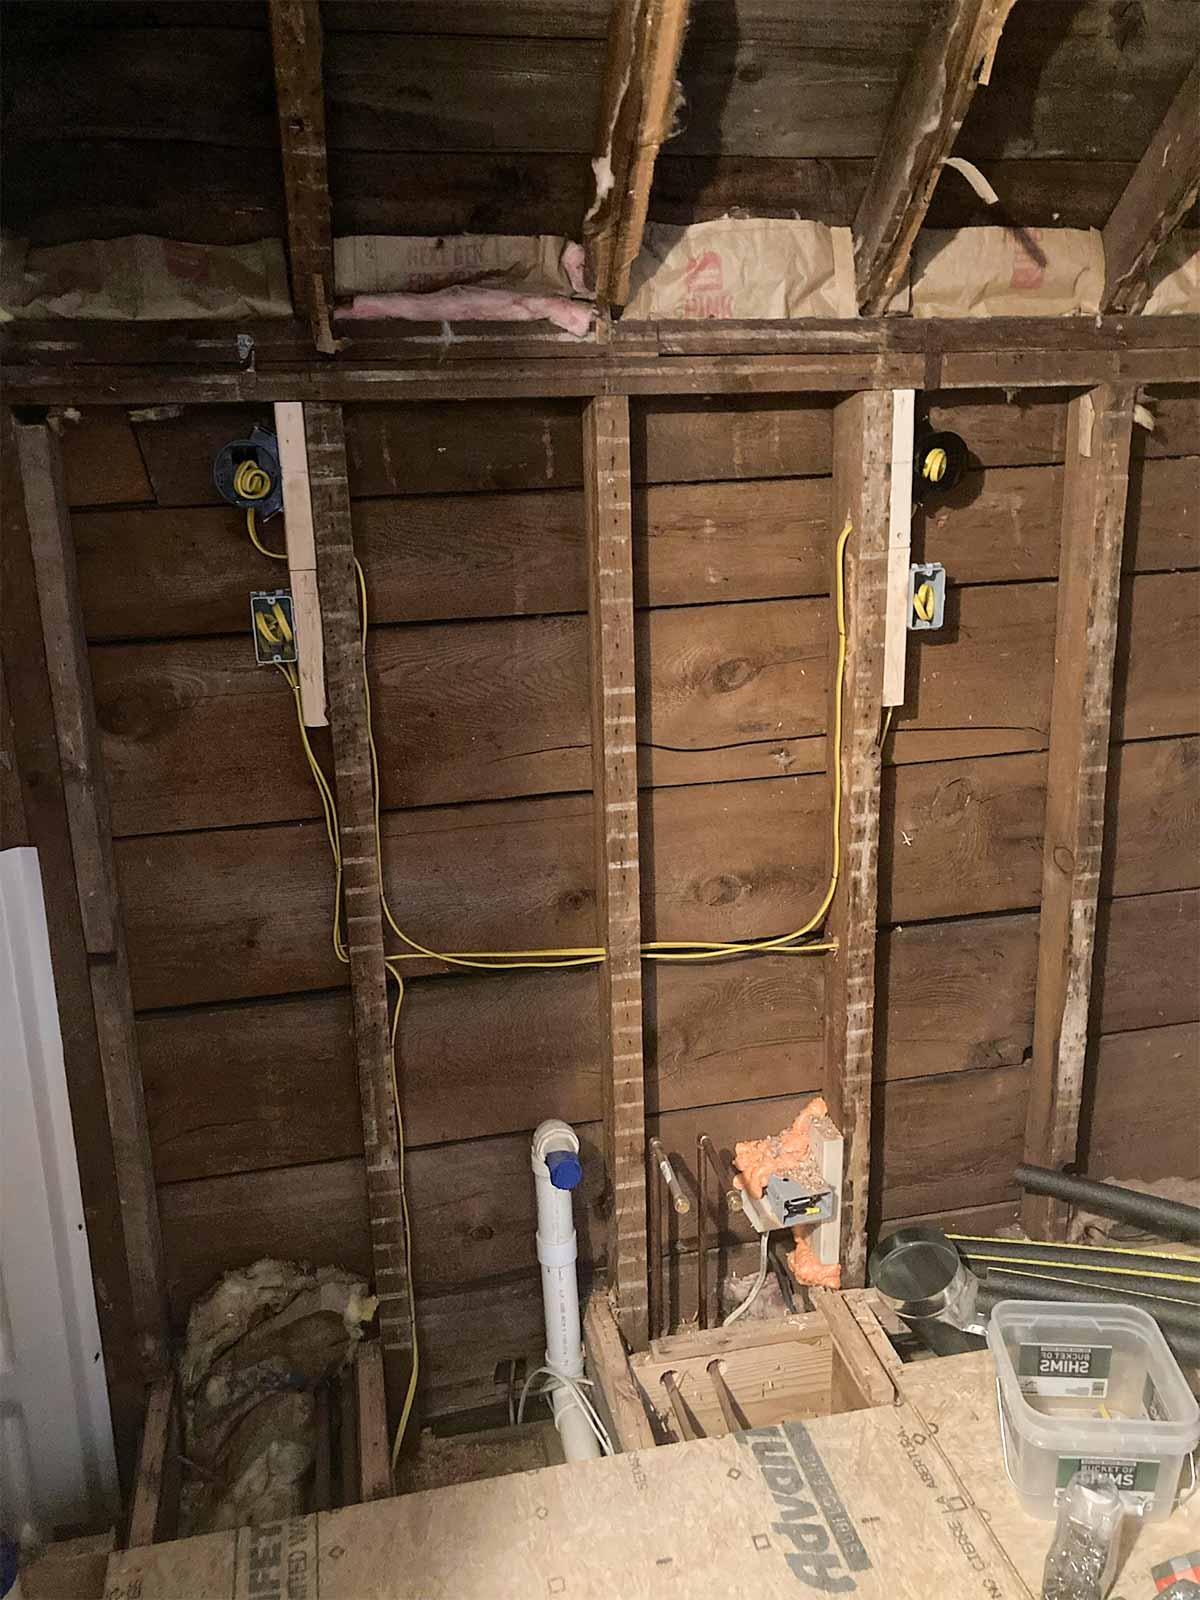
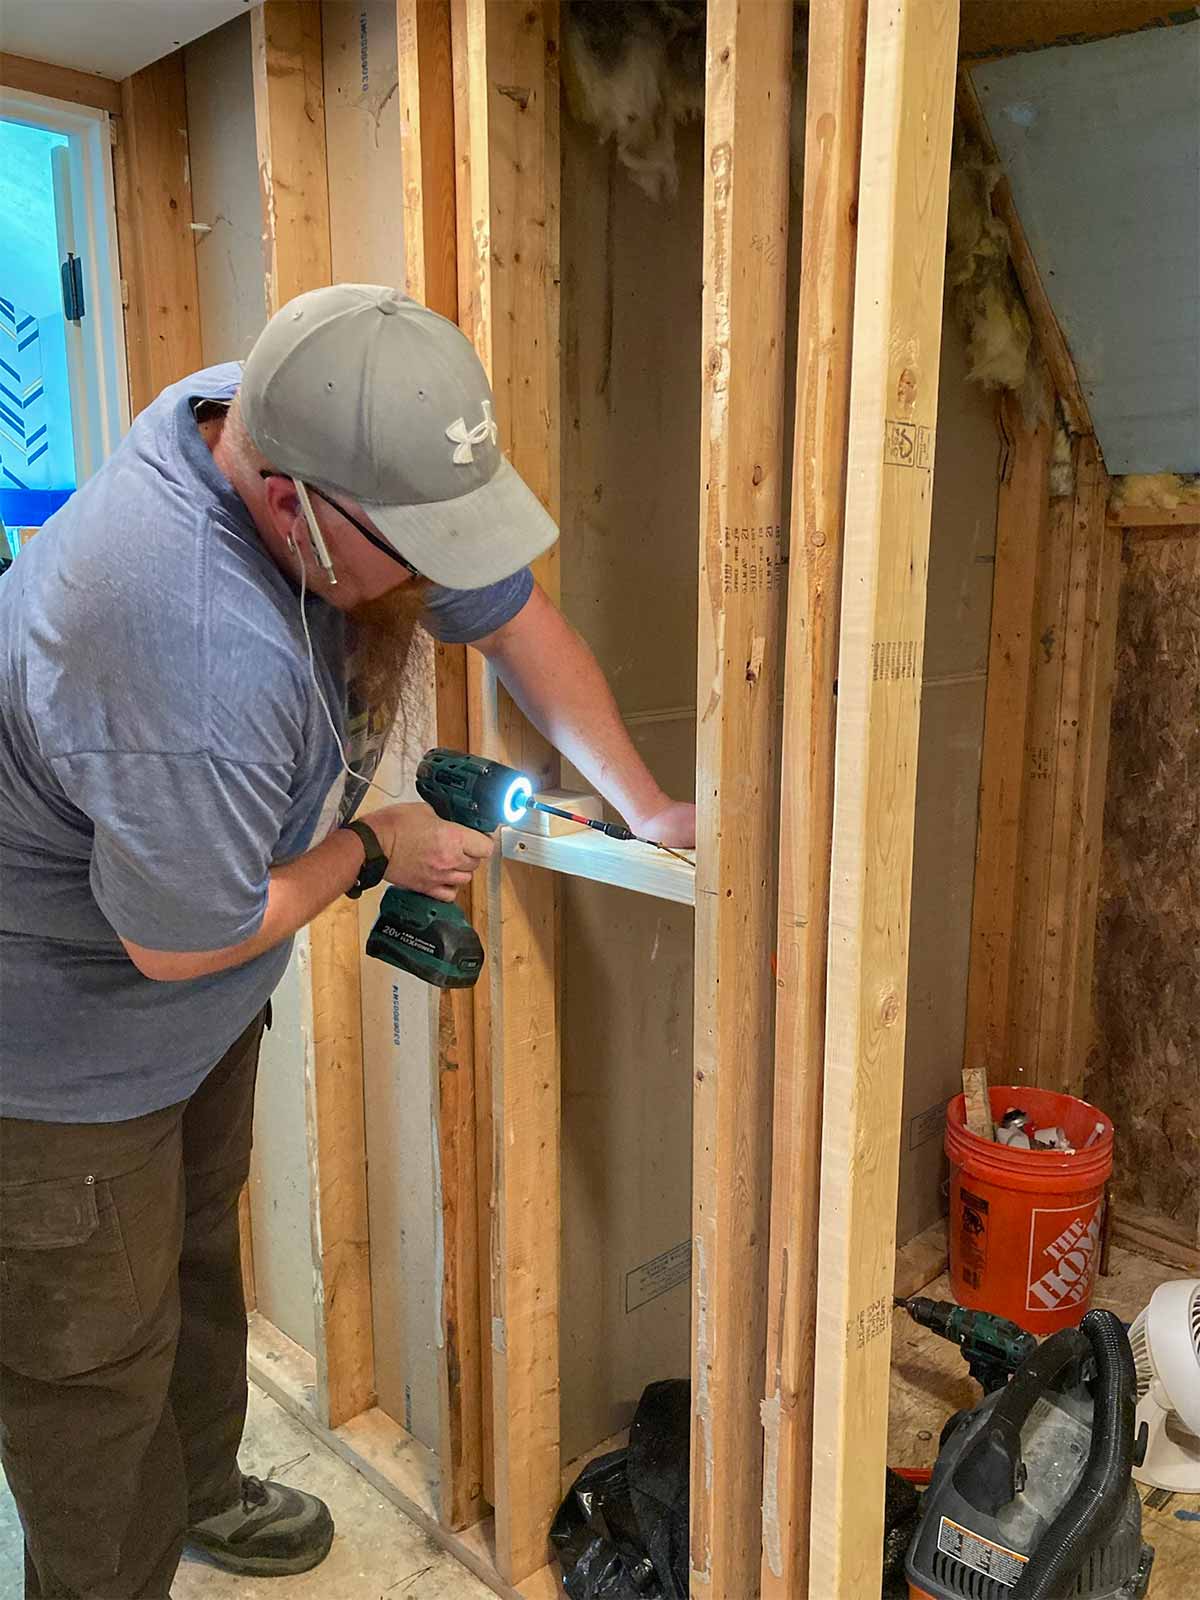
Wiring
While the floor was still open, Andy worked on running wiring for the outlets, sconces, and exhaust fan, down into the basement. He also ran a wire down to the kitchen for the new microwave. Thinking ahead!
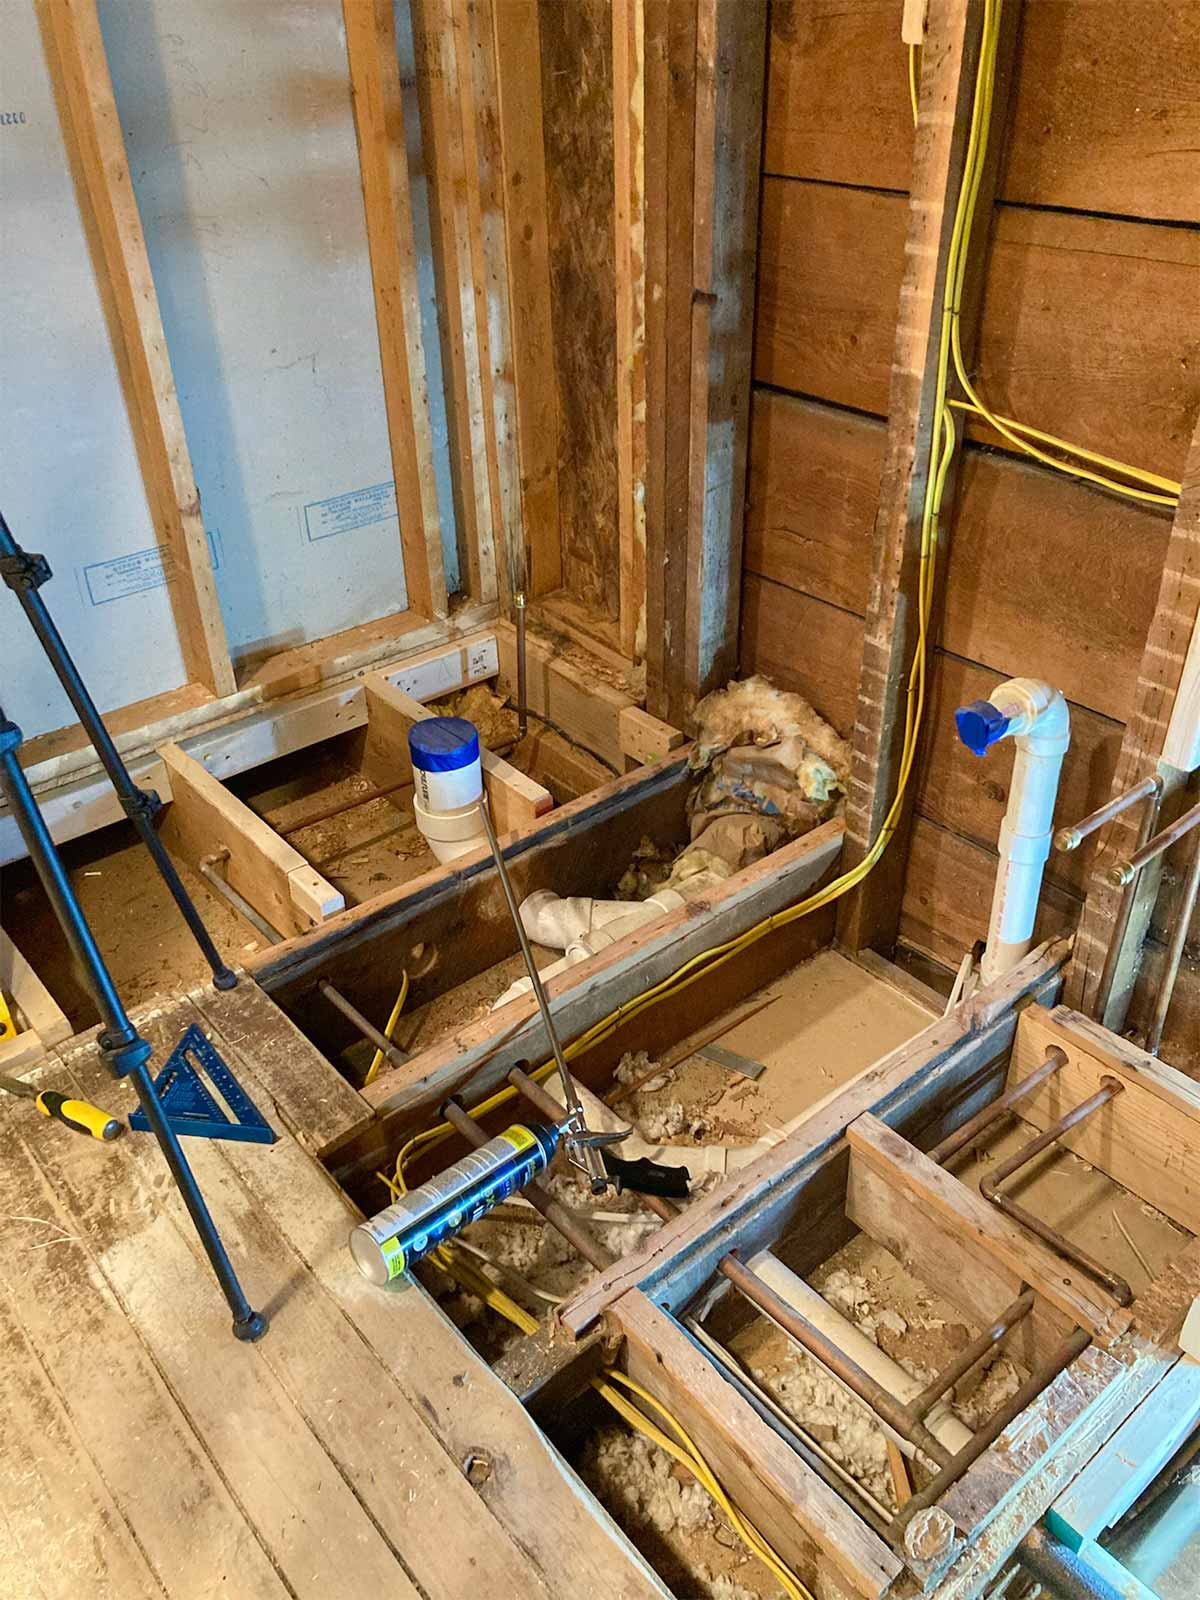
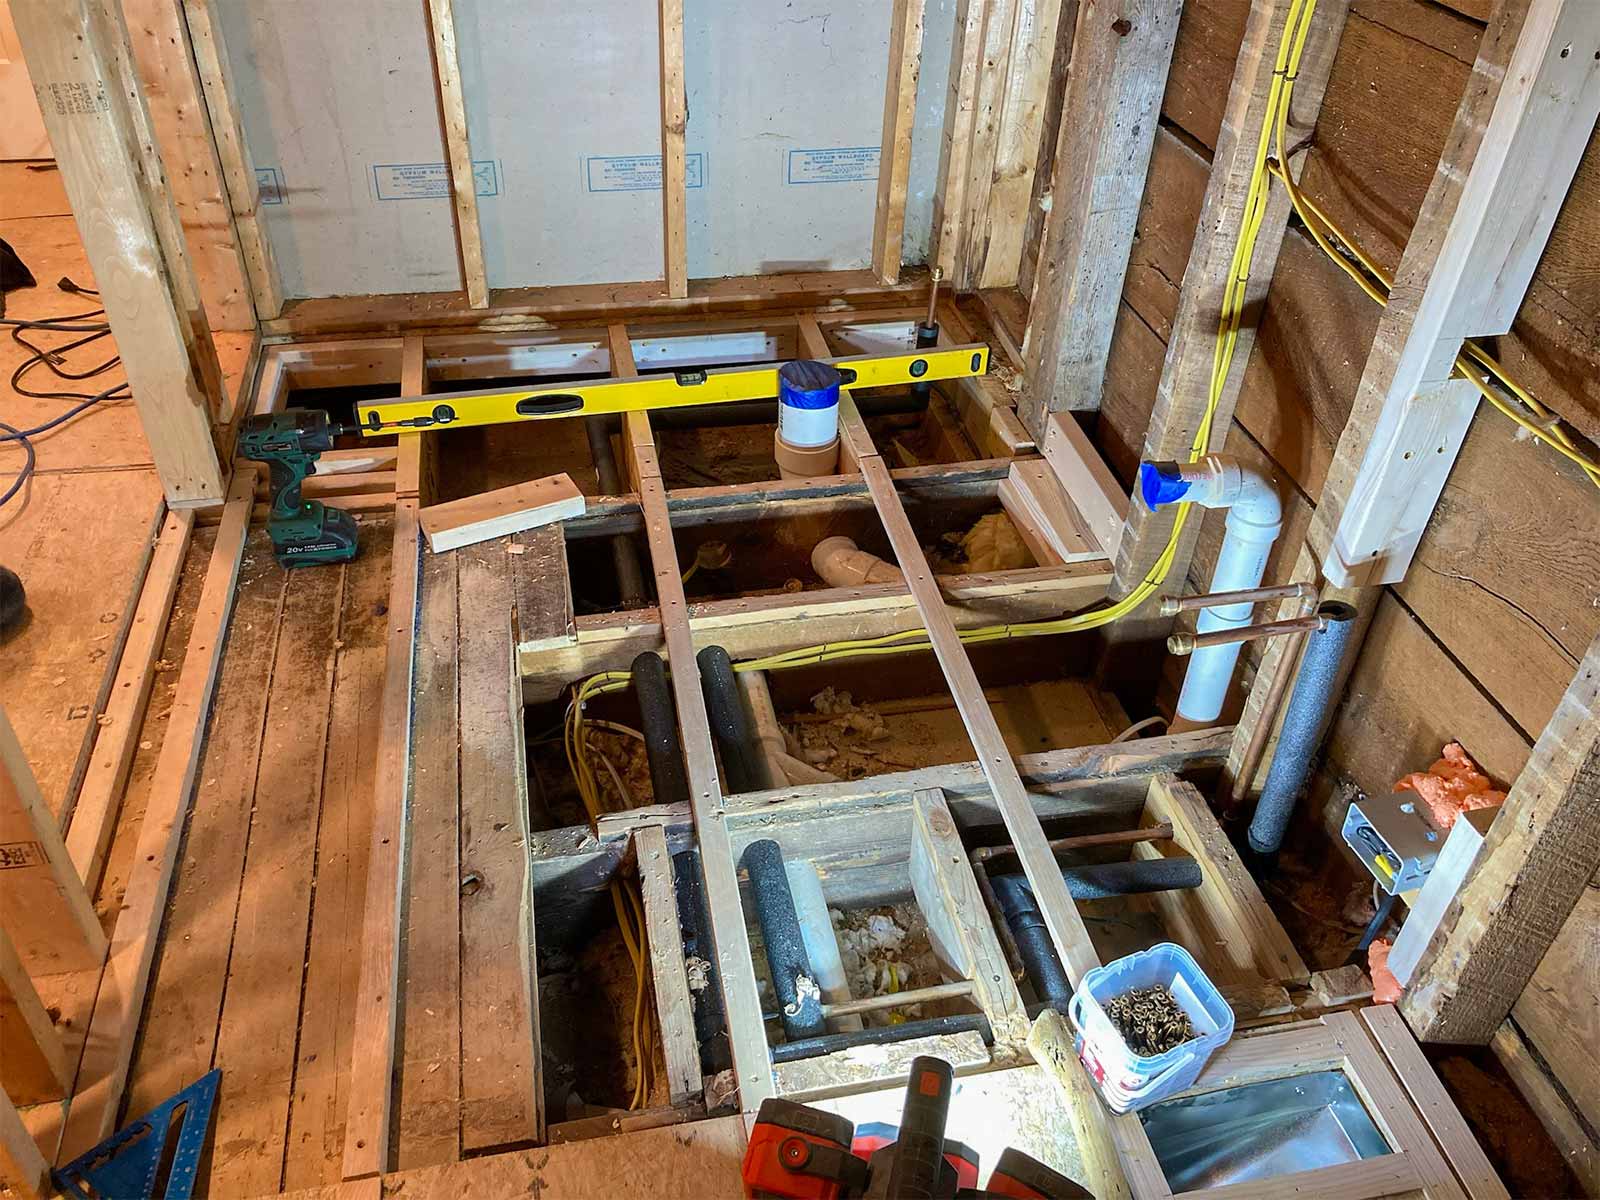
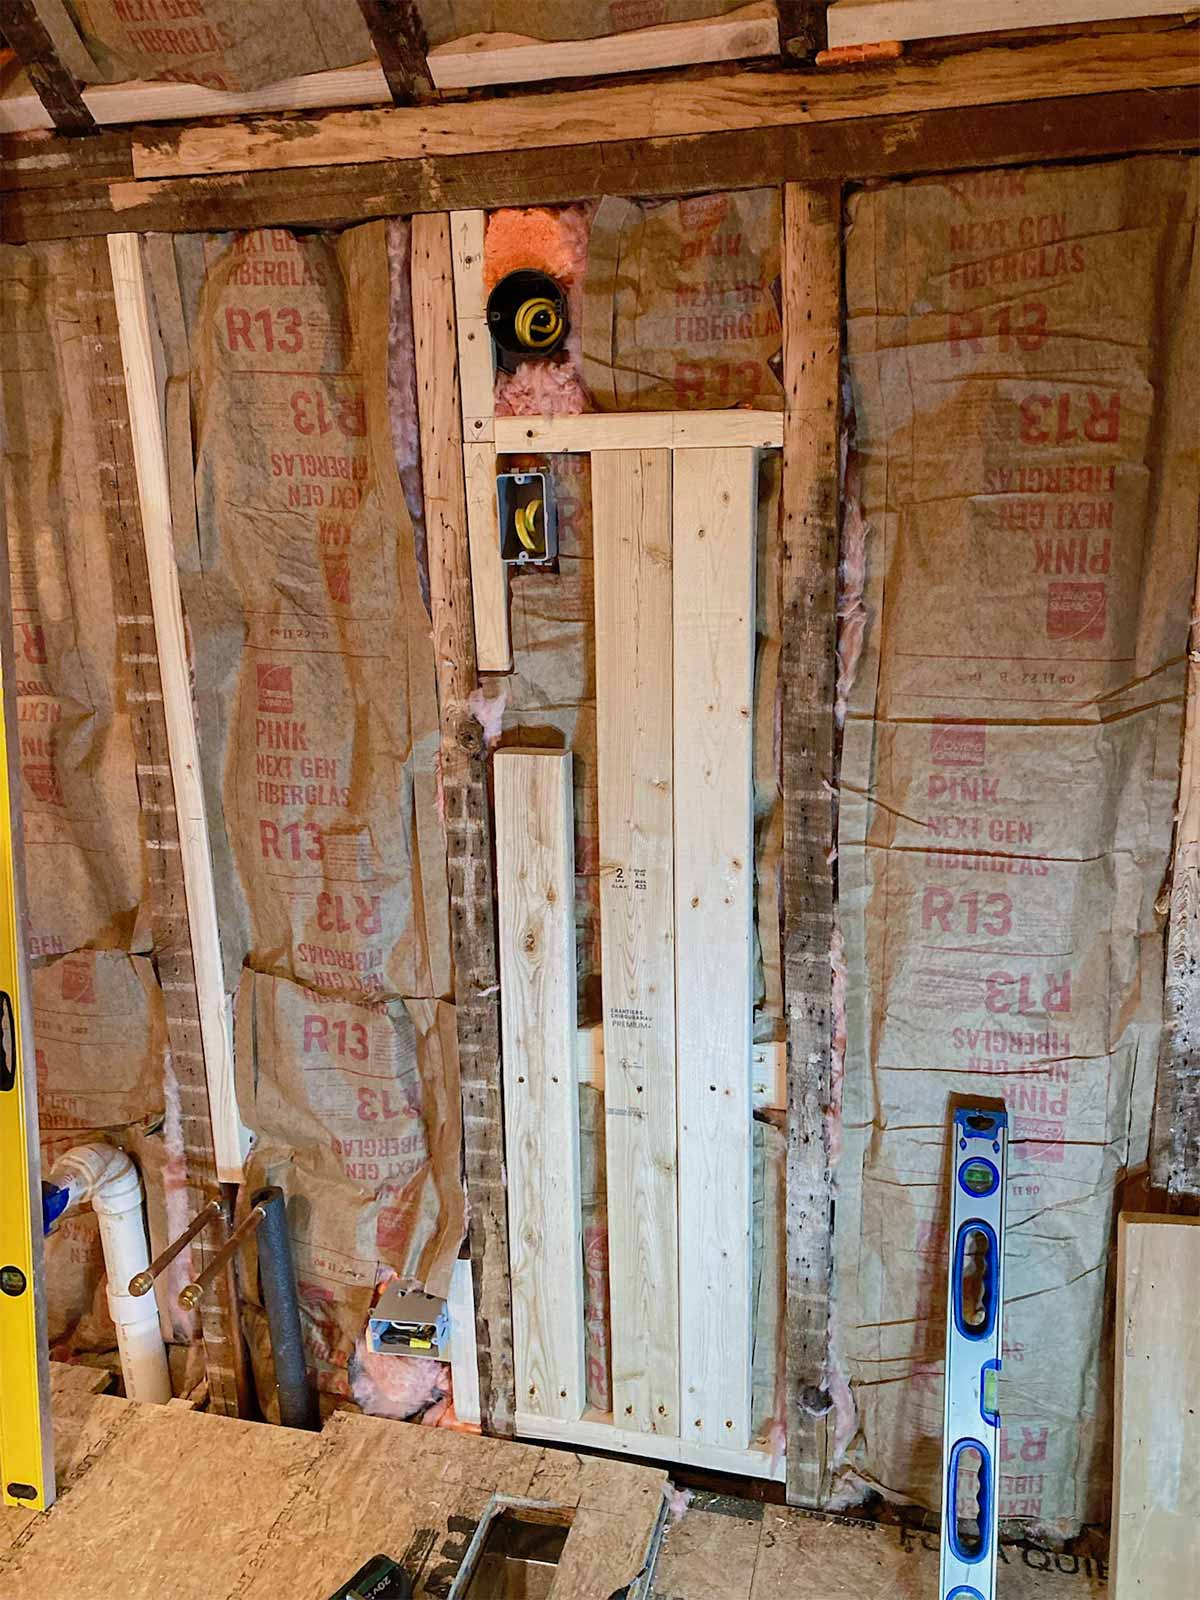
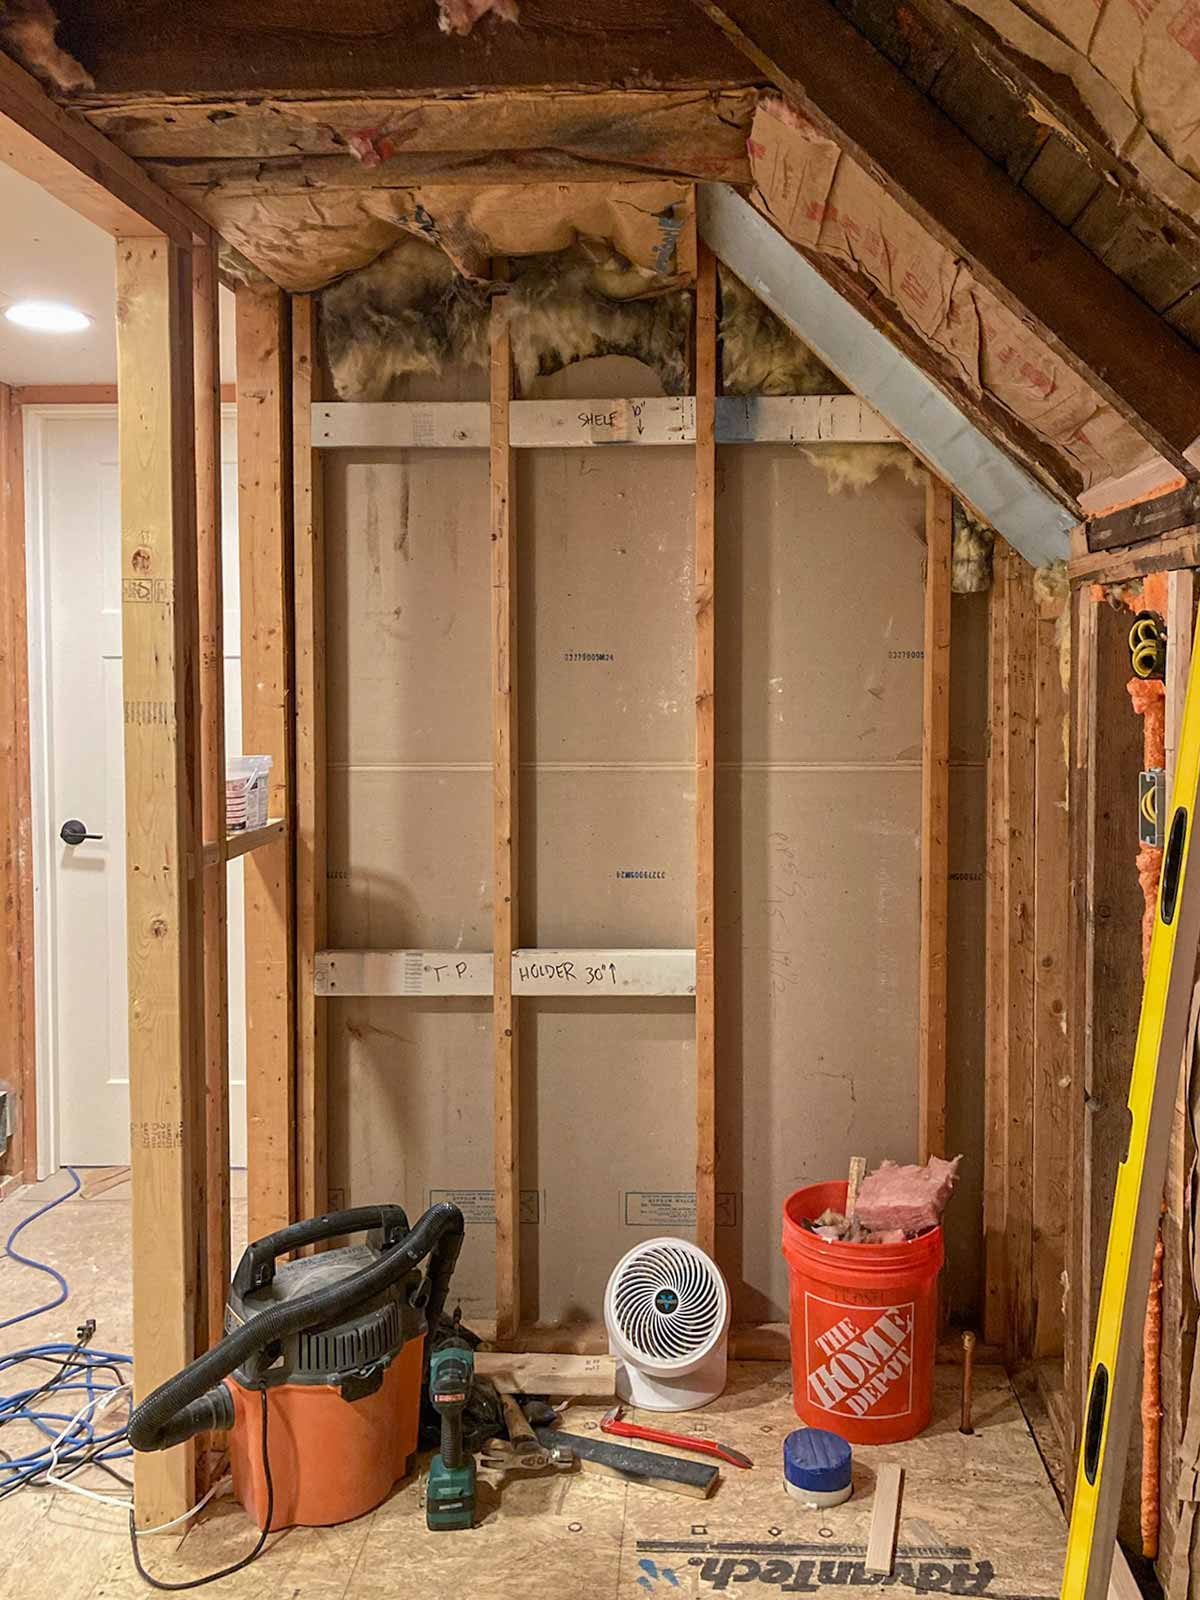
Preparation
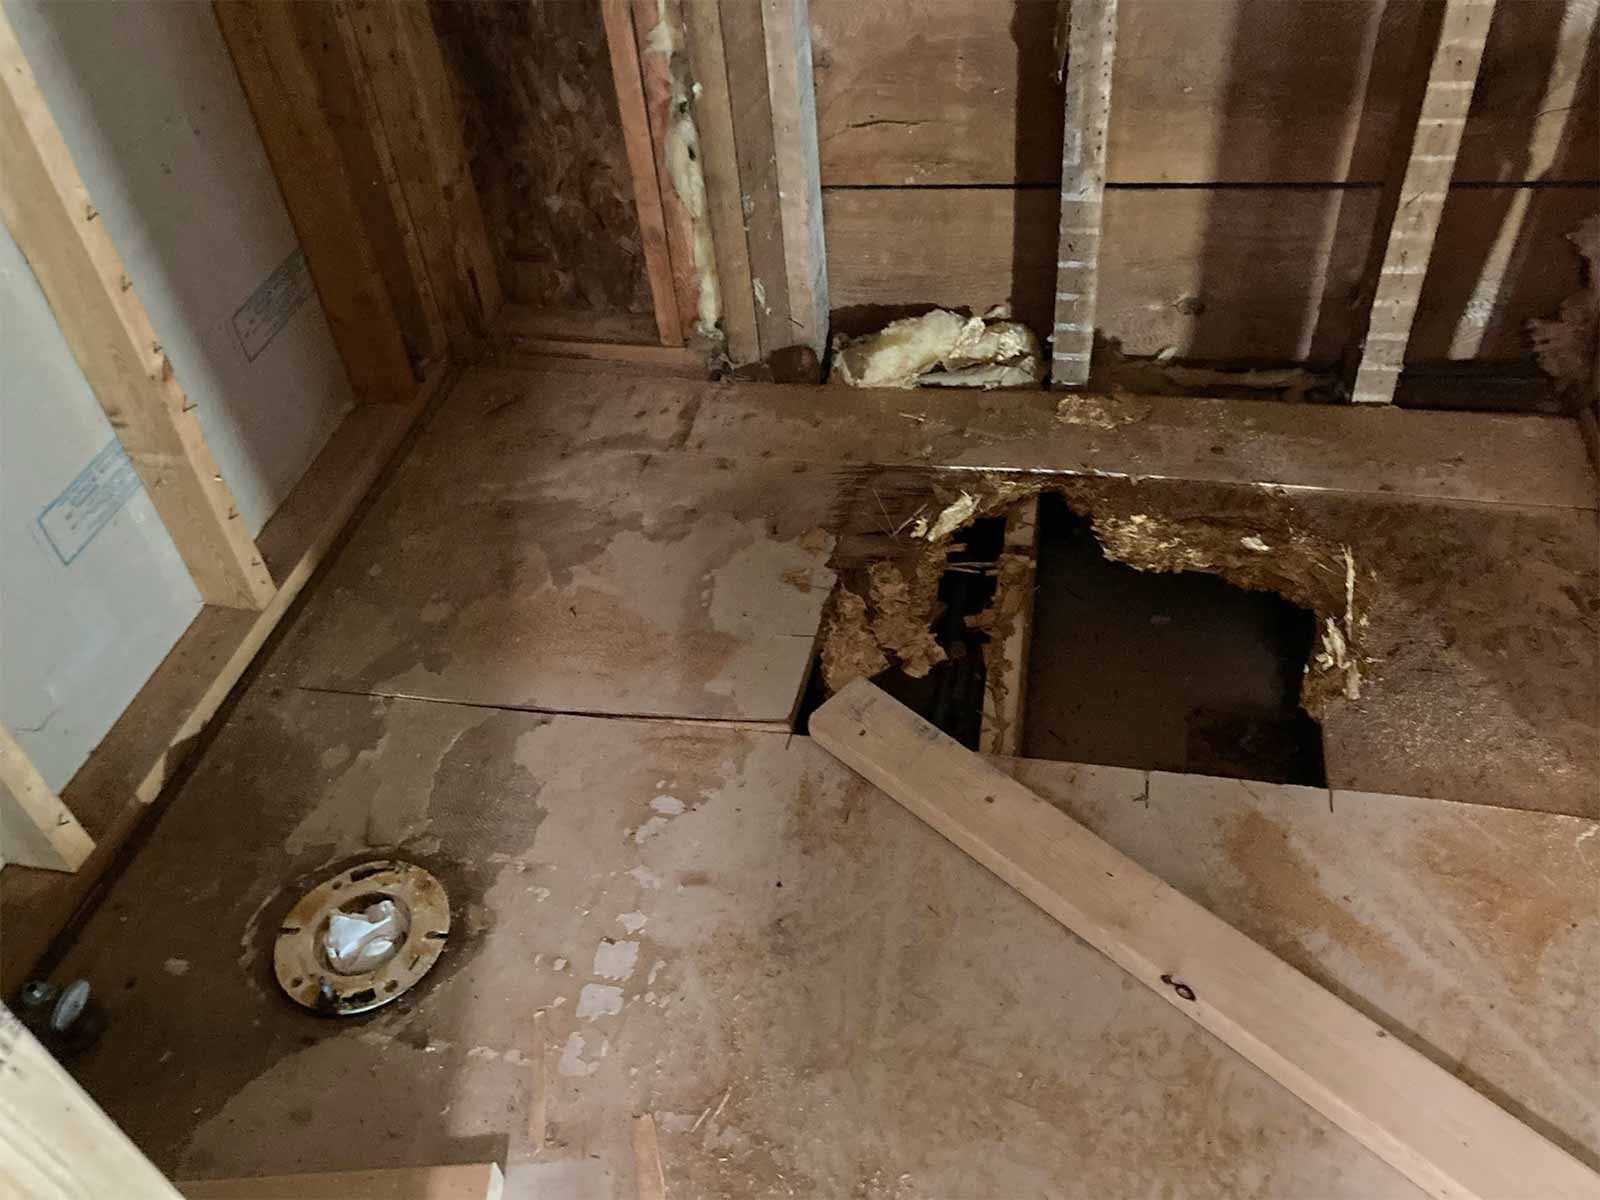
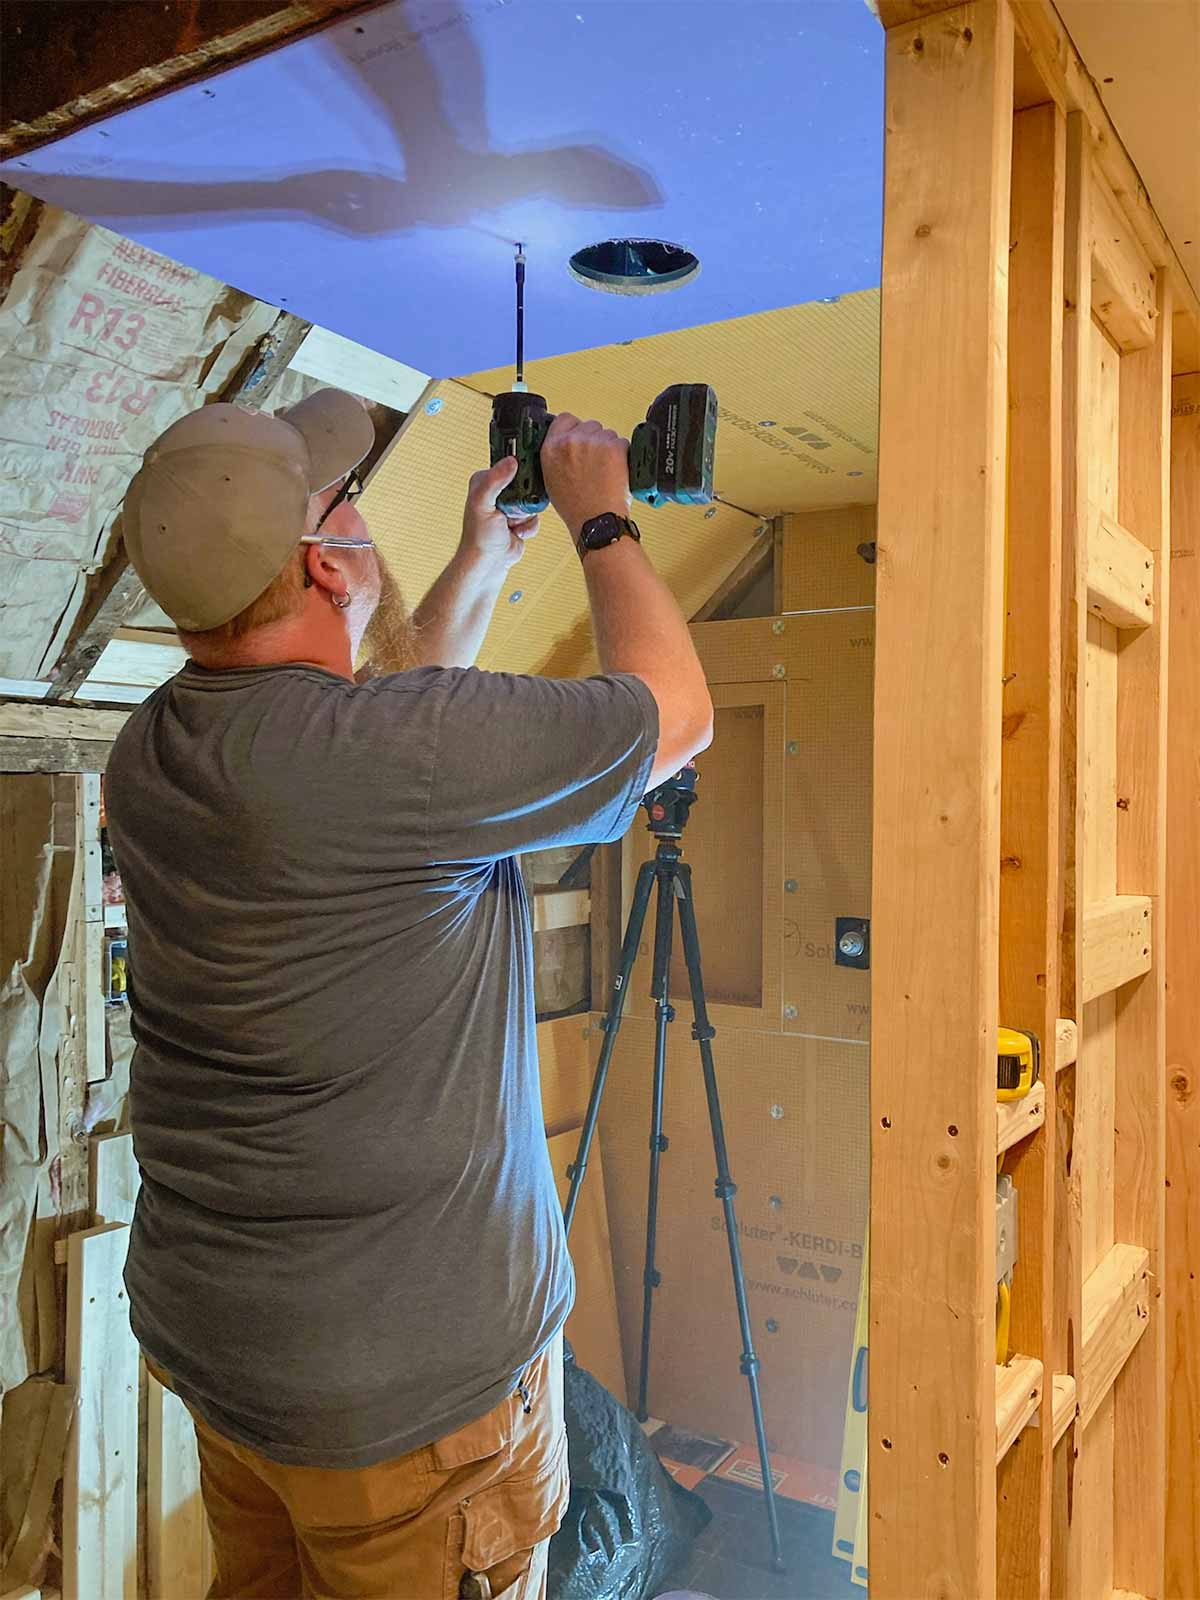
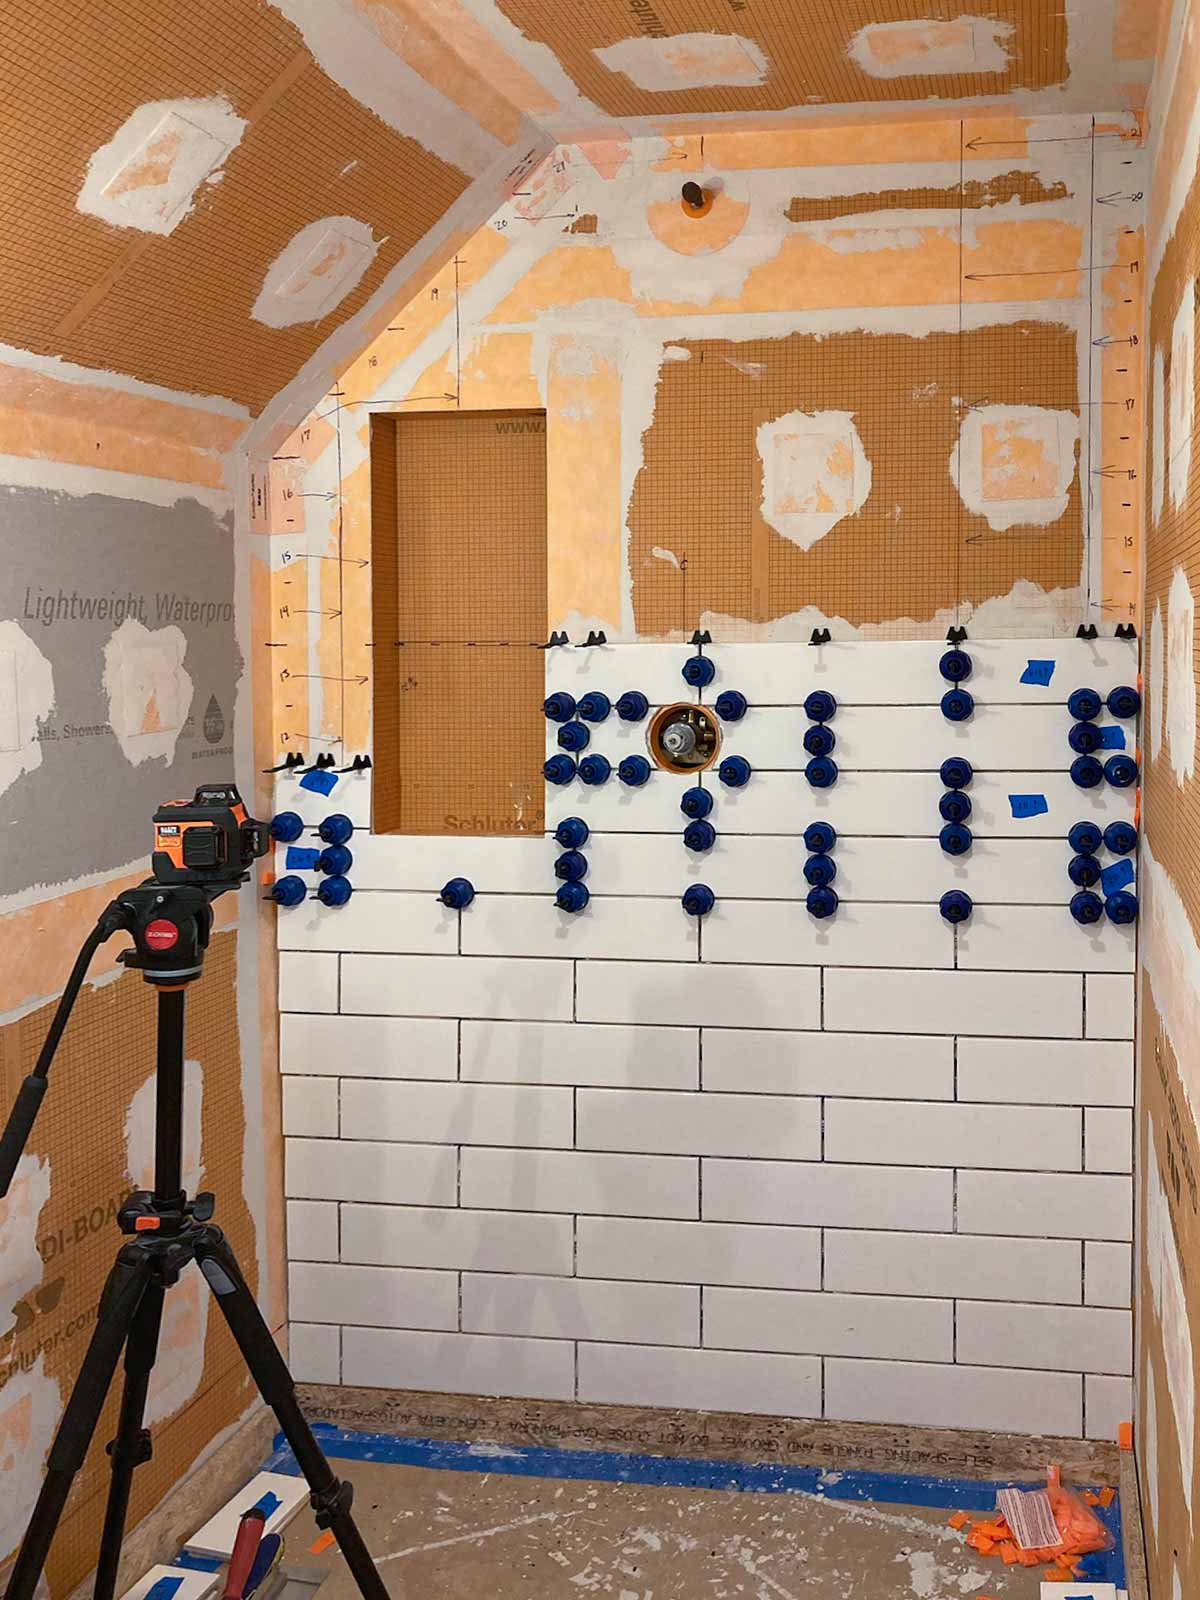
The floor leveling in the bathroom was not part of the February 2024 blog. That would be the first step in the bathroom. By having to raise the floor in the bathroom, this allowed us to be able to drop the shower pan in at the old floor height (roughly) so we would not need a curb into the shower area, creating one seamless tile floor into the shower. We were hoping to get away with just having a glass panel and no door into the shower, but because of where we had to have the shower head installed, that wouldn't work. Andy also added framing for the shower niche and blocking, where needed, and installed the bathroom fan/light.
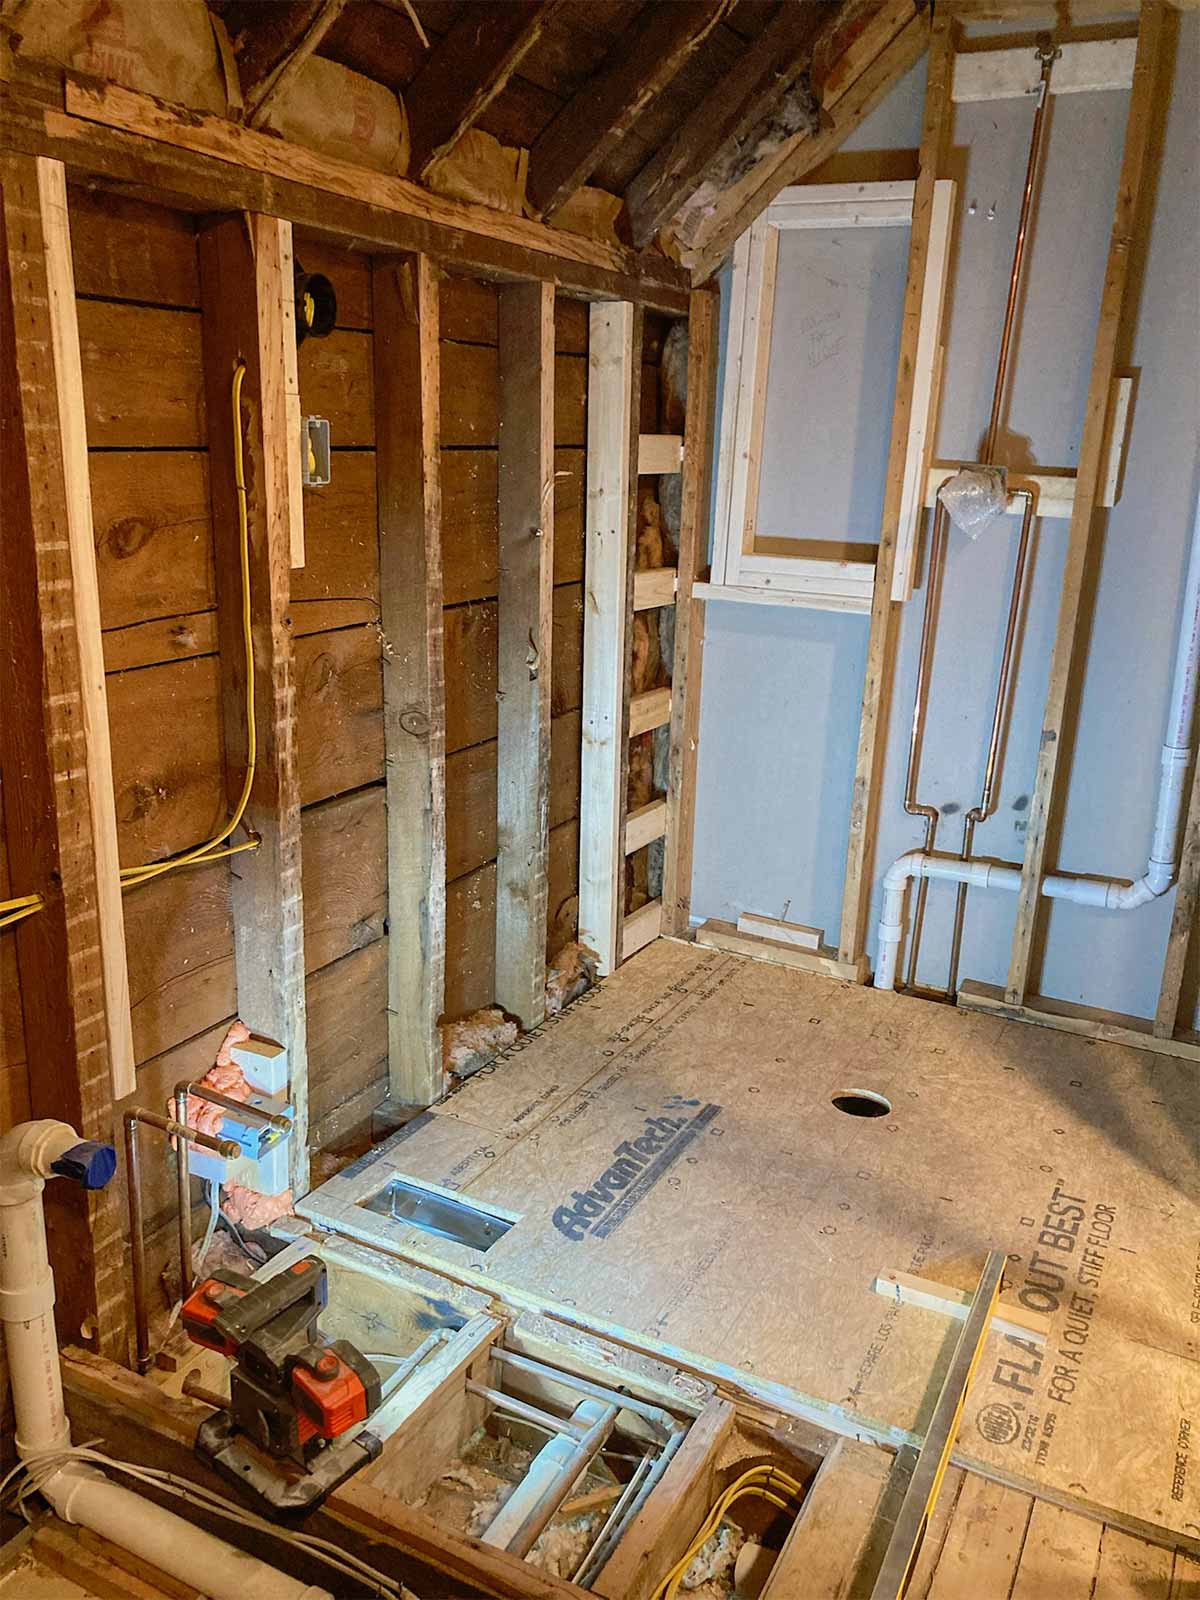

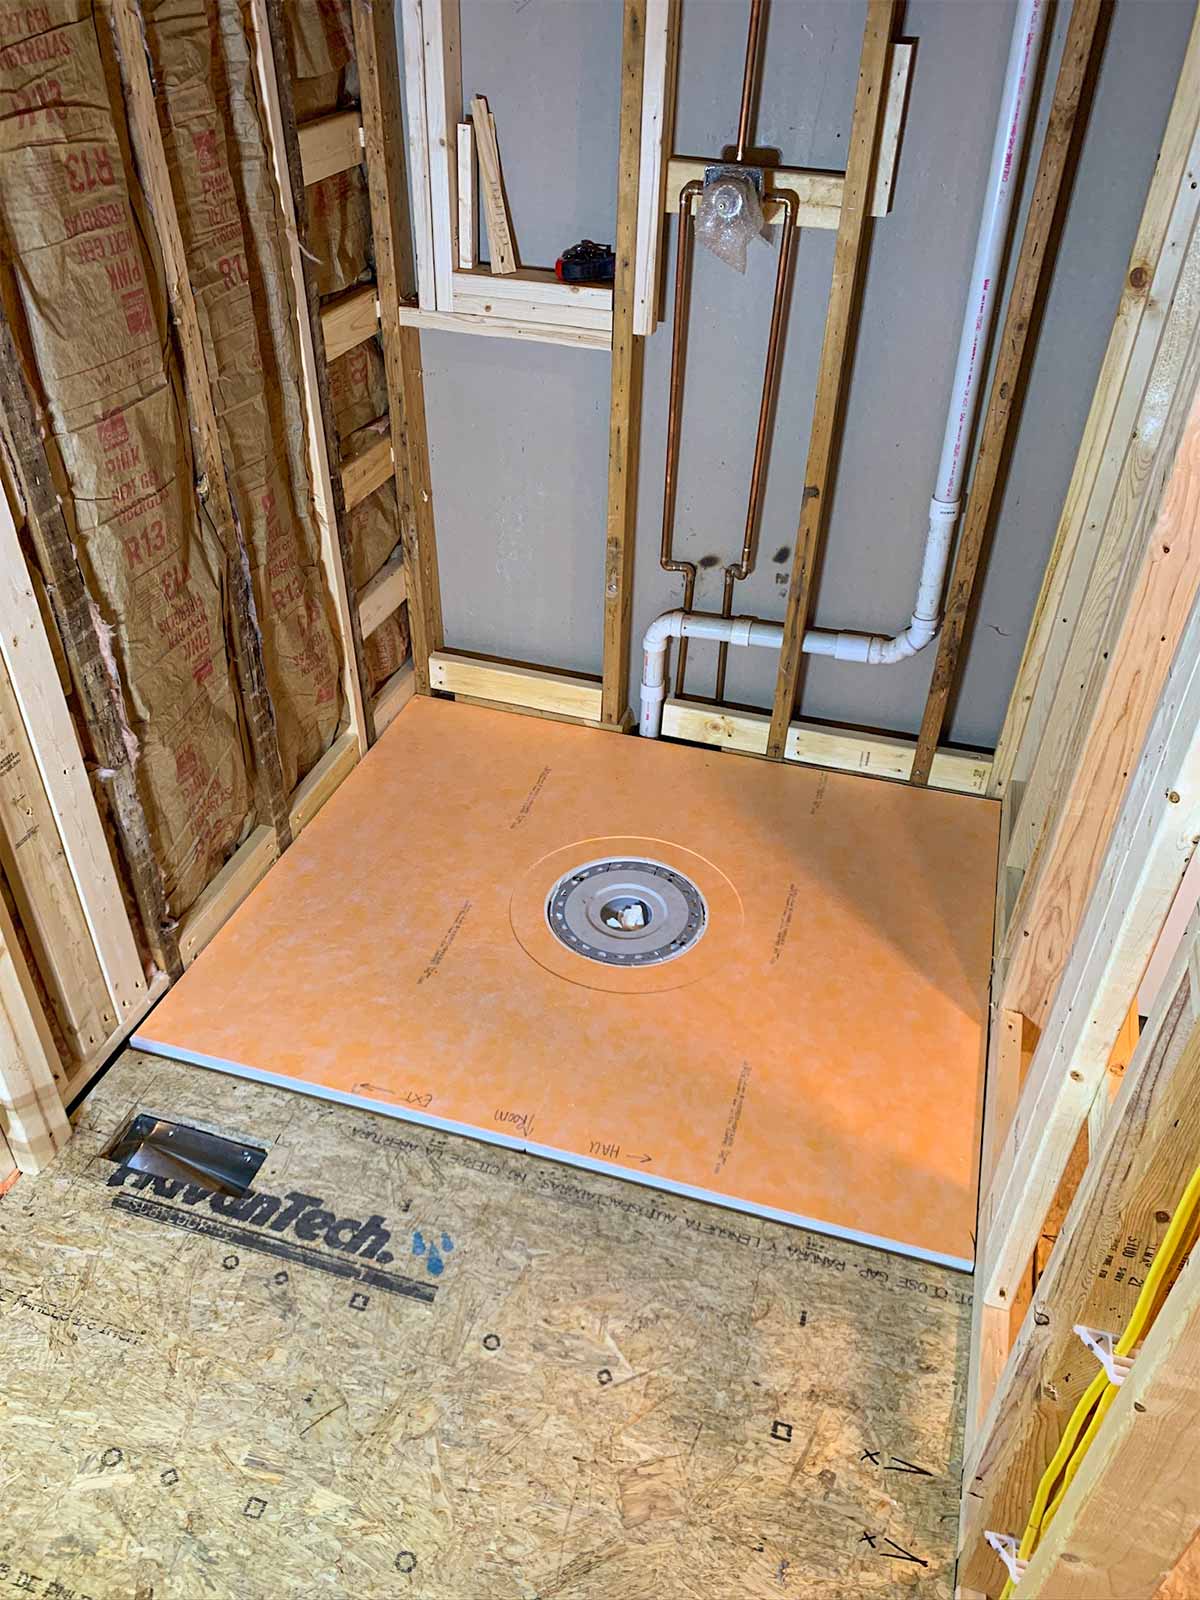
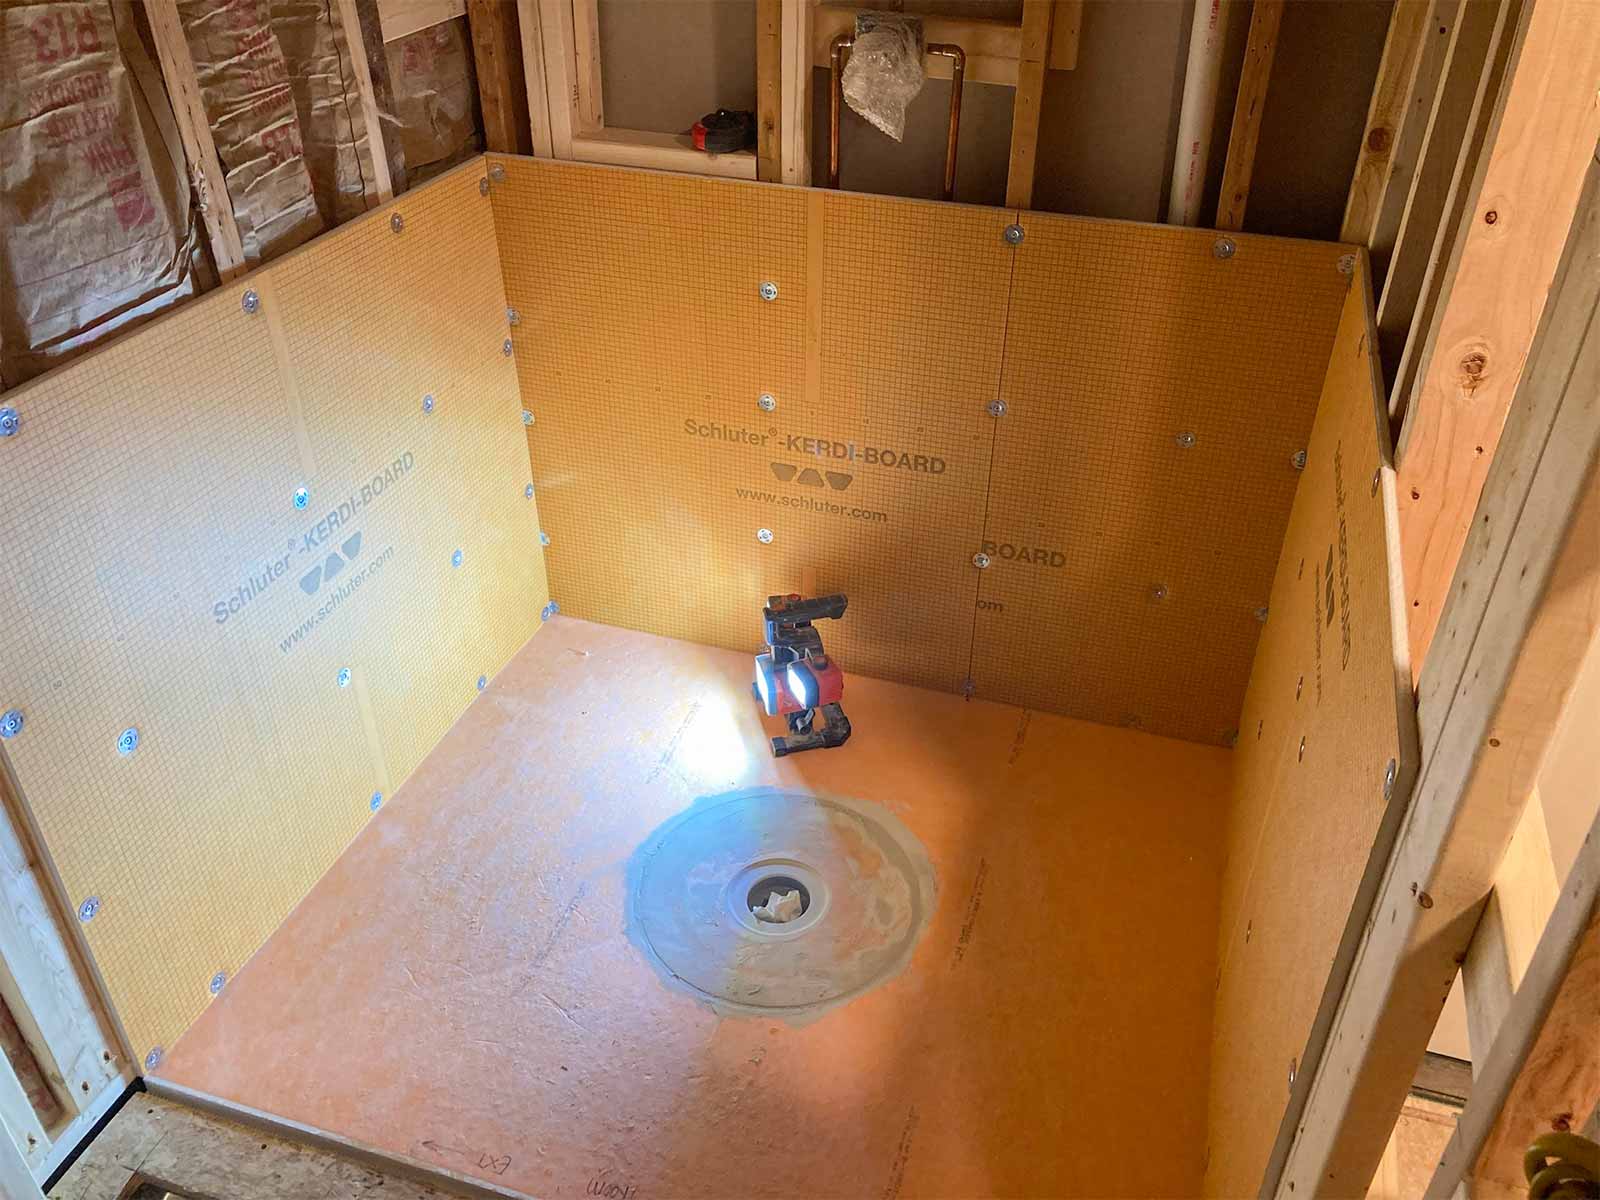
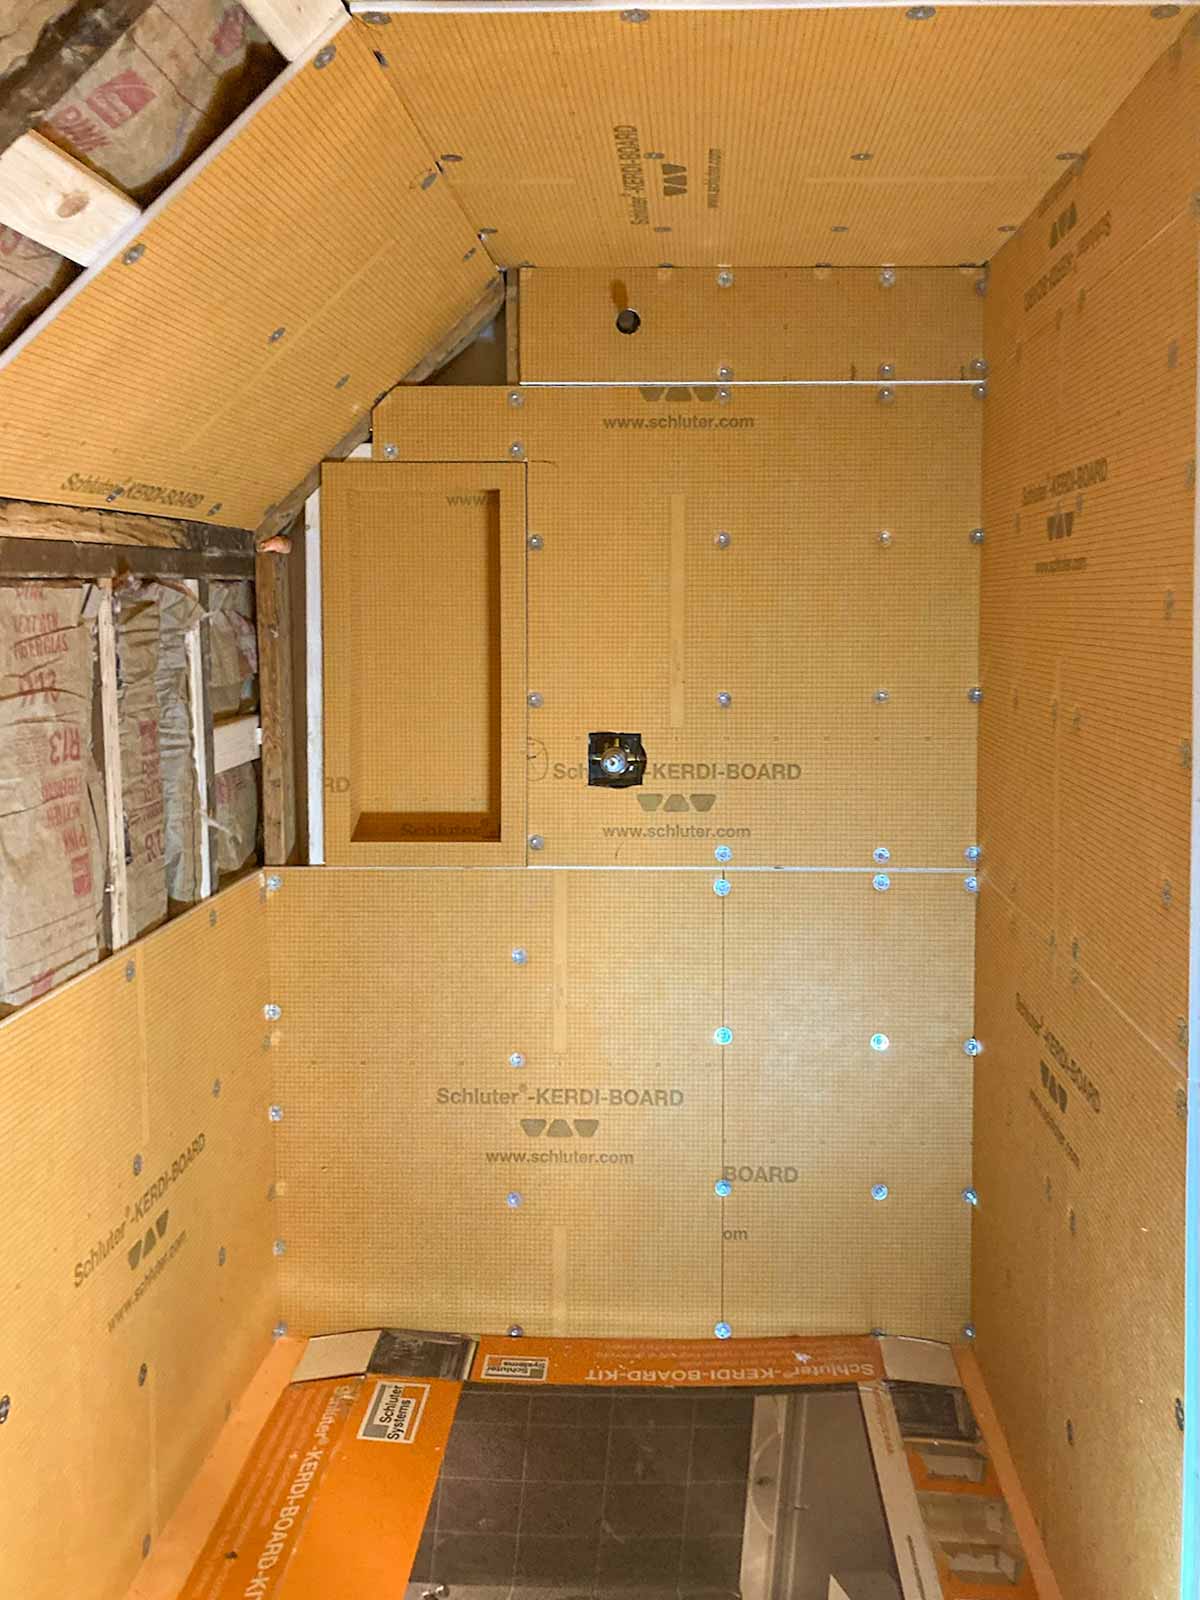
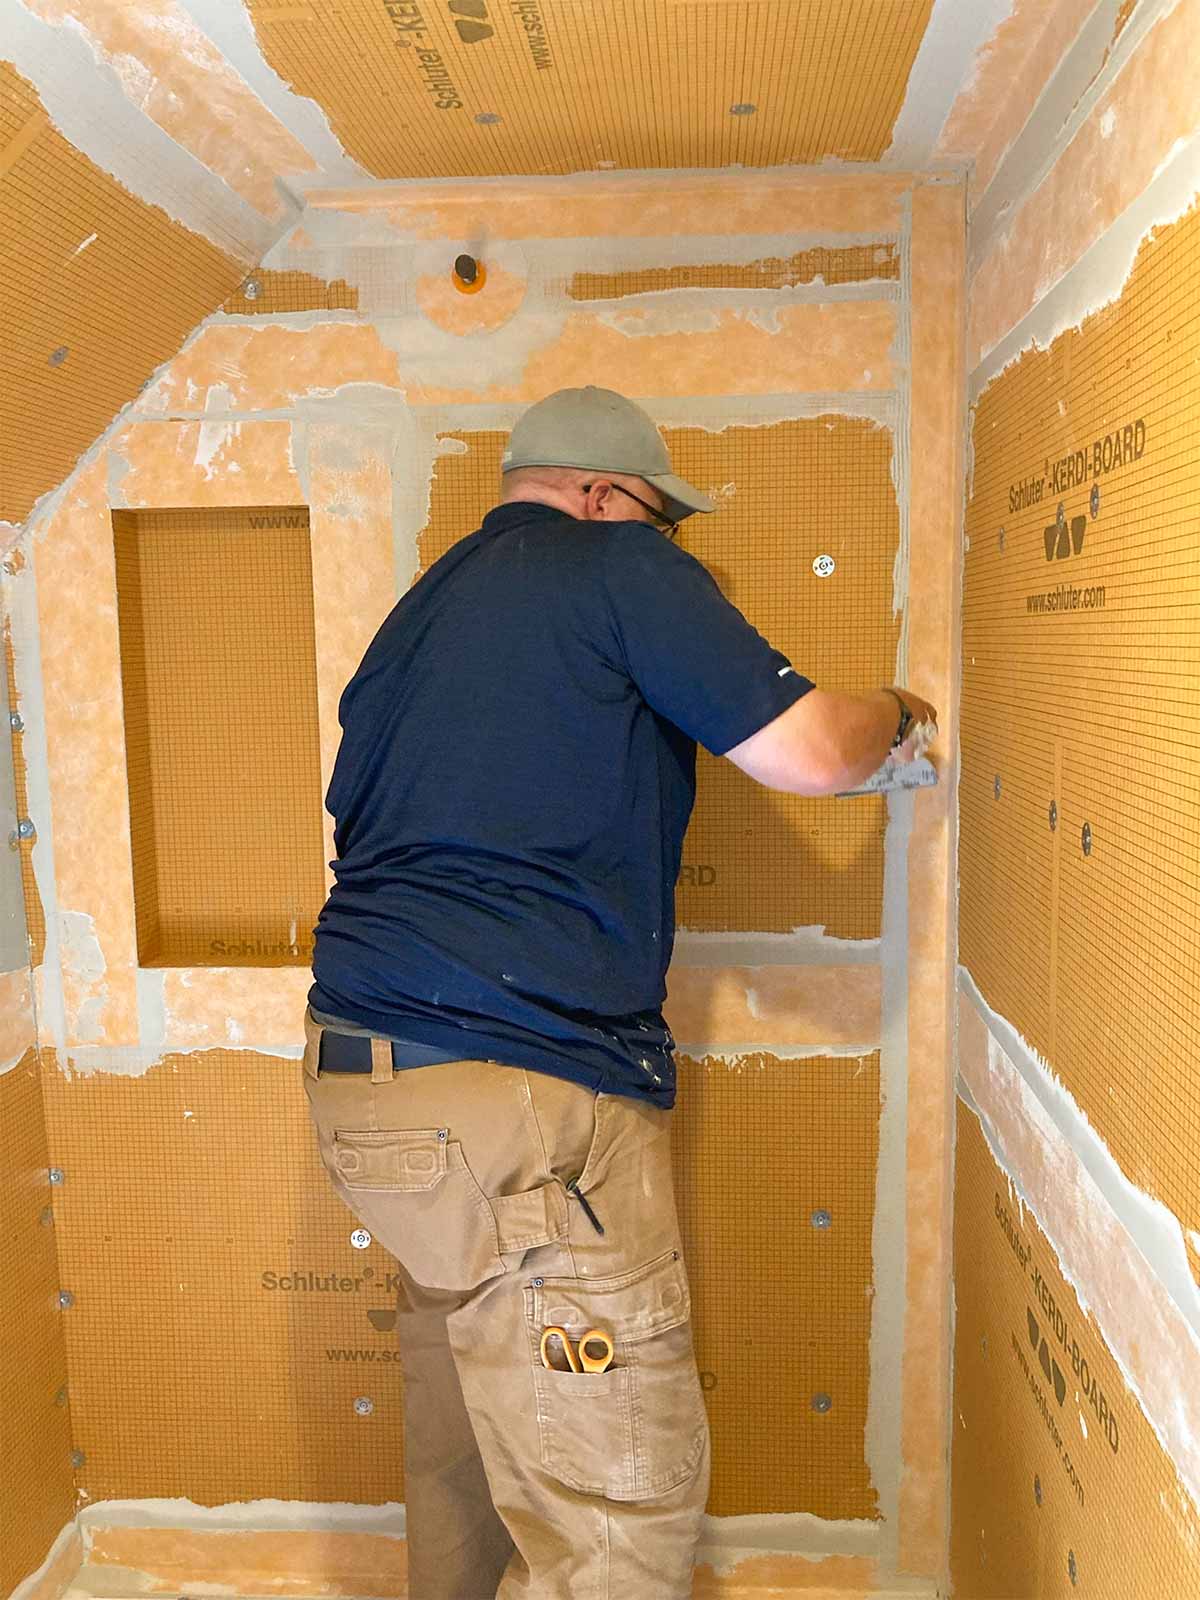
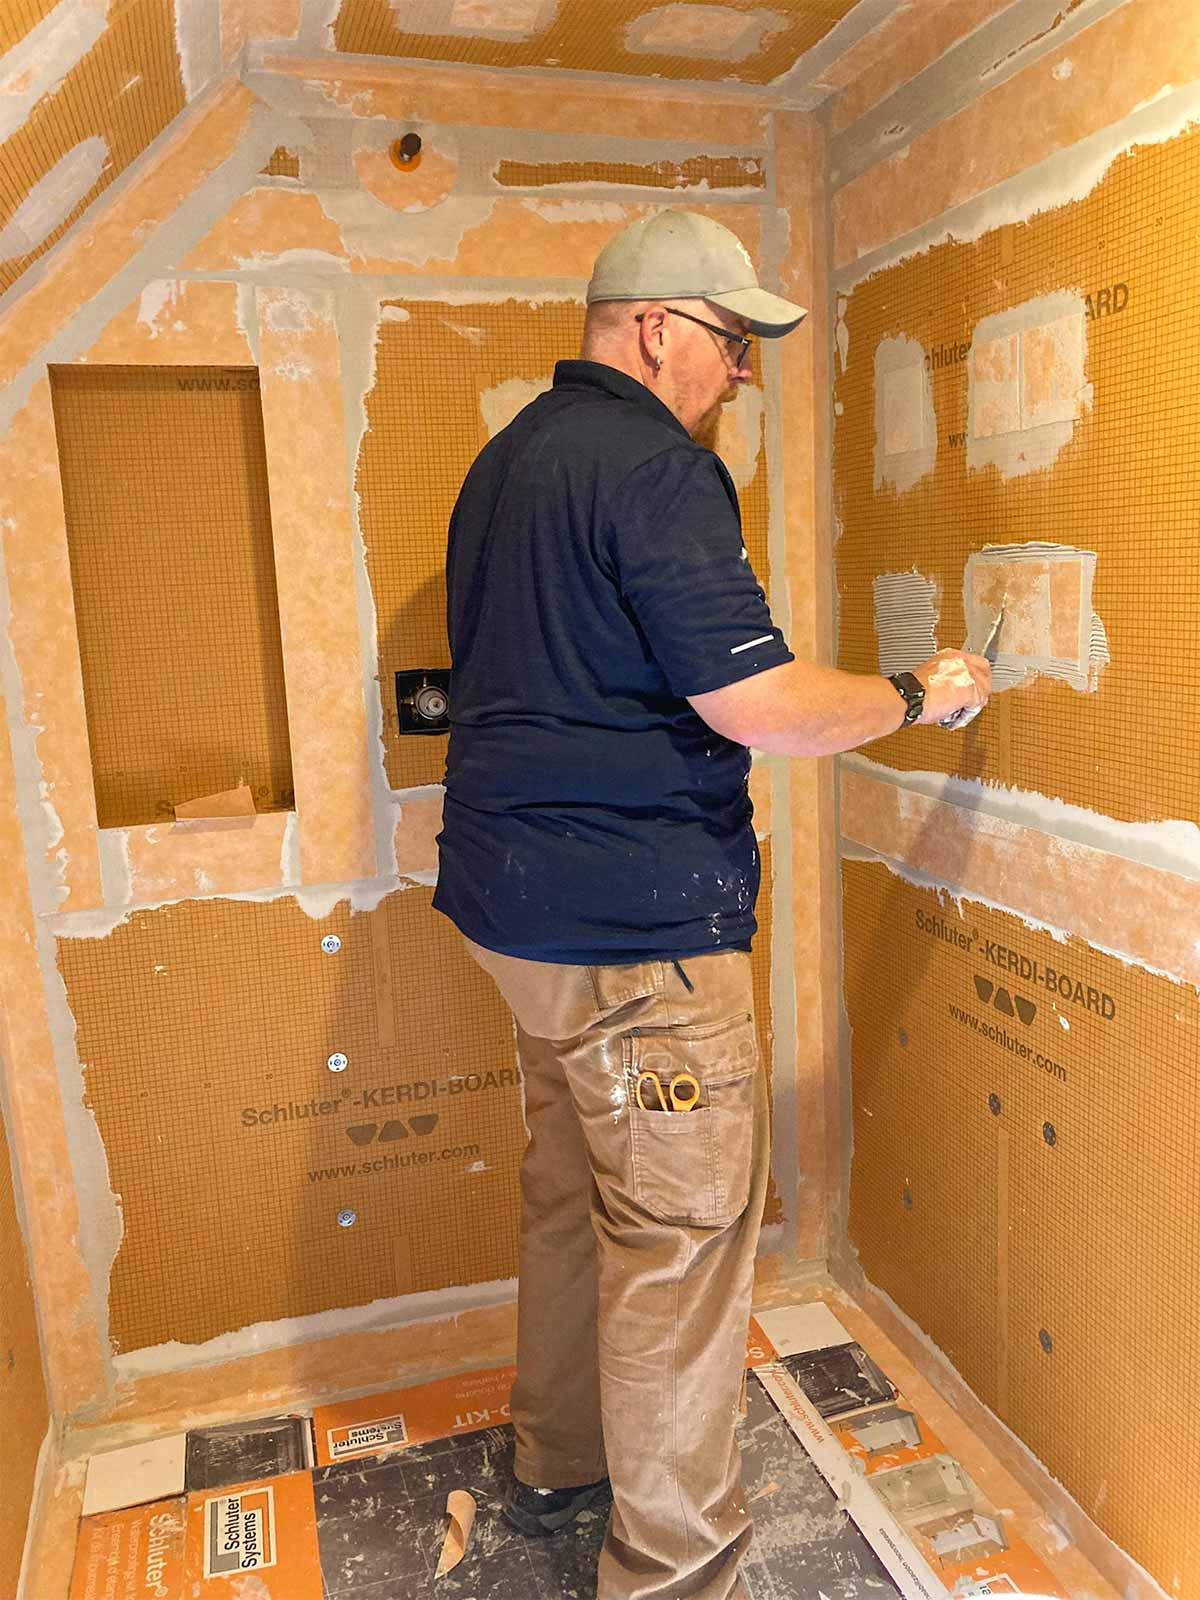
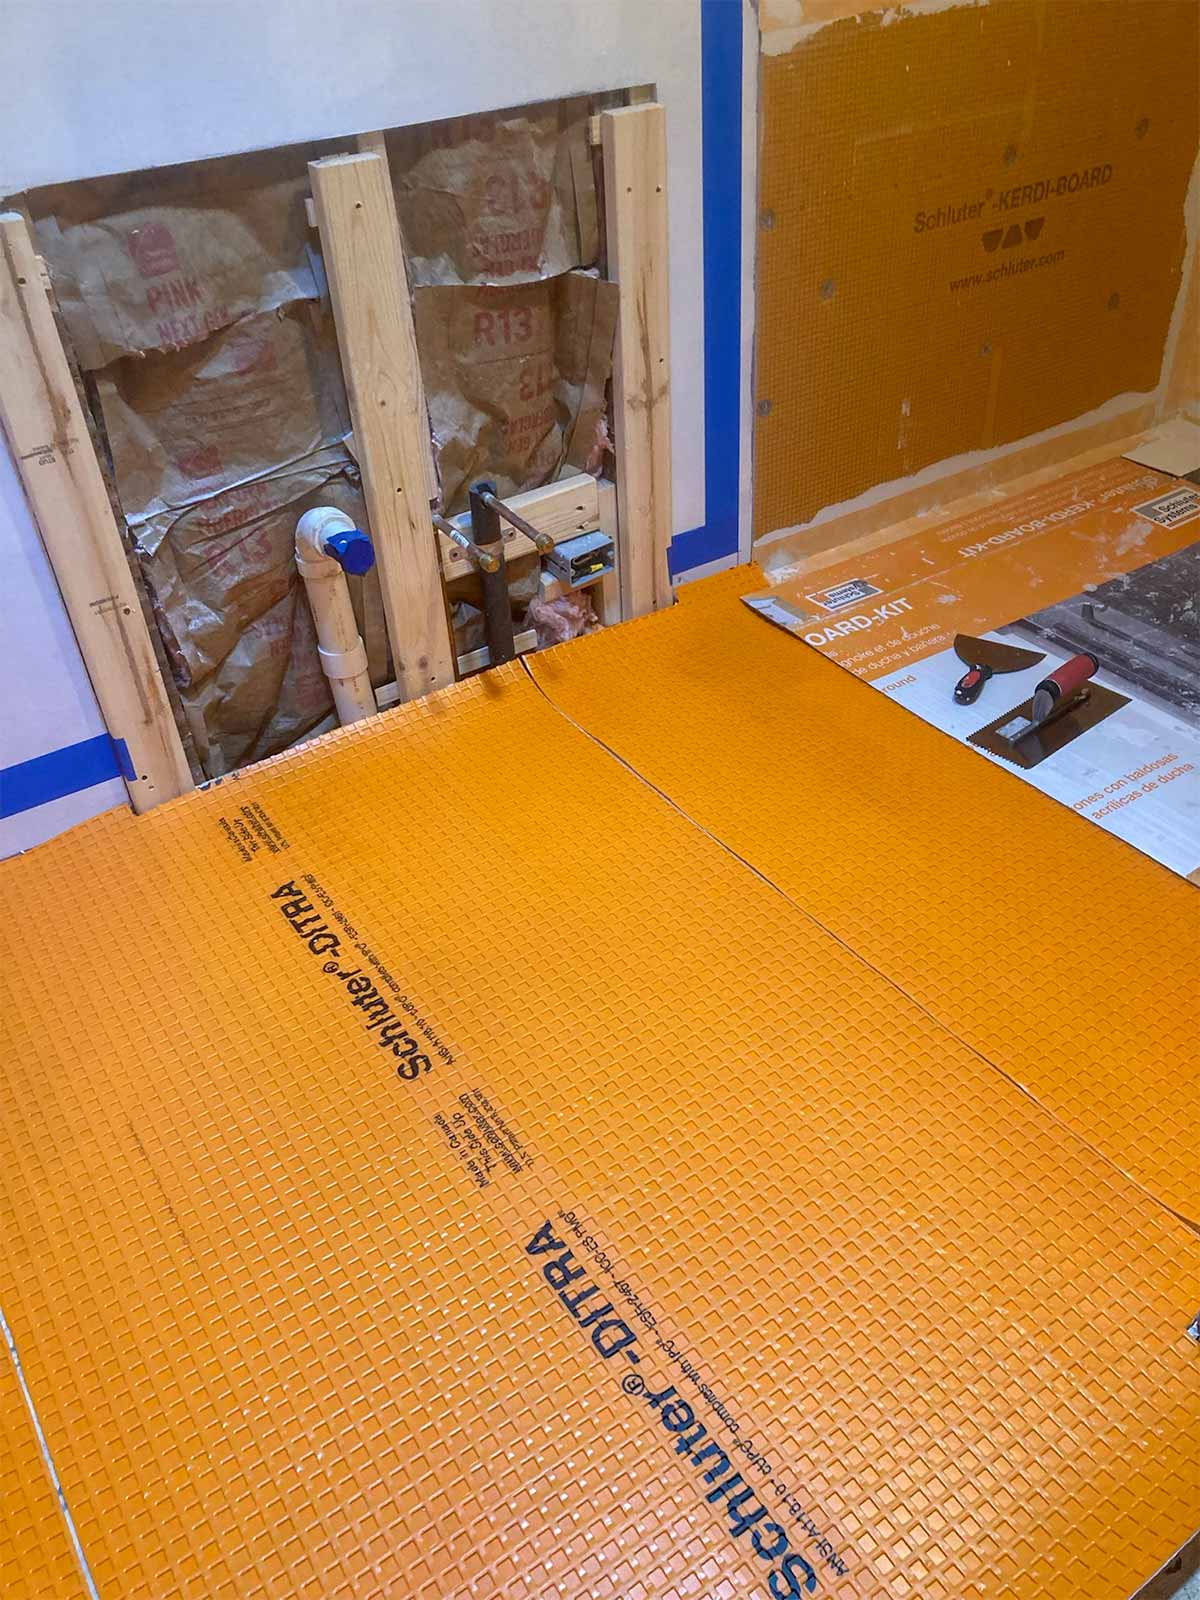
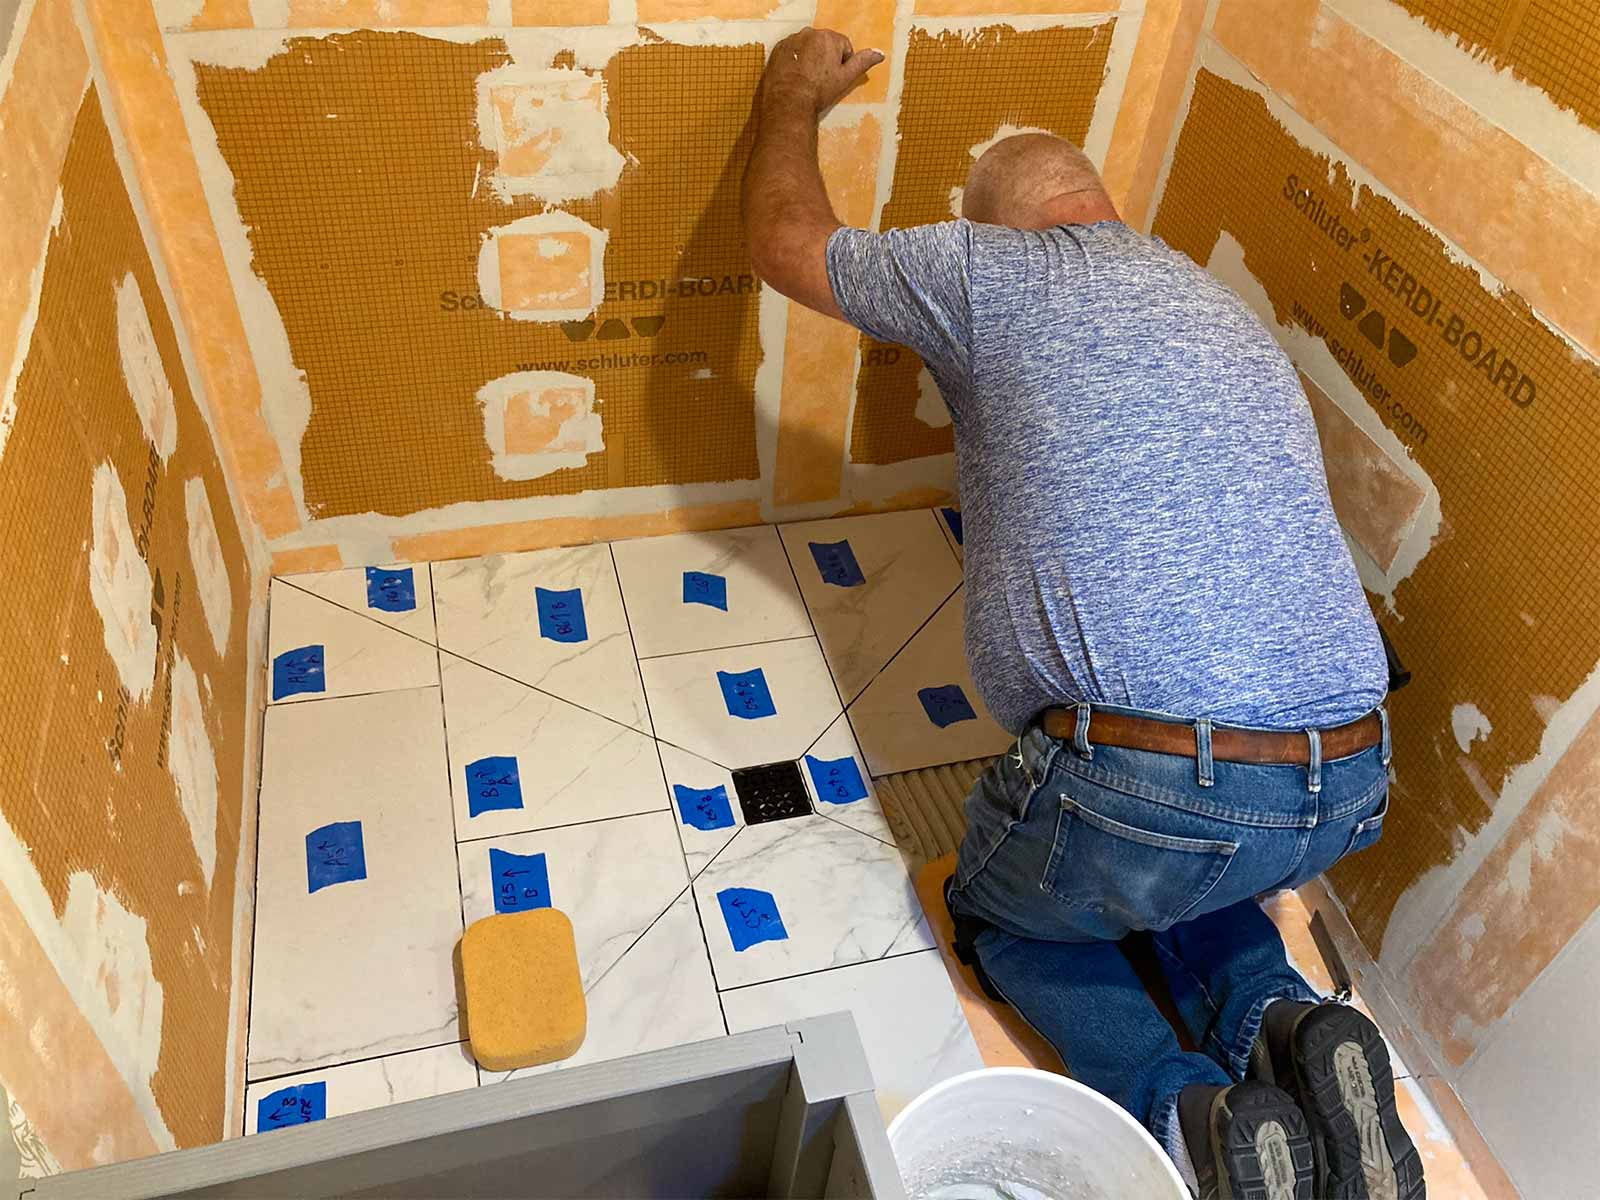
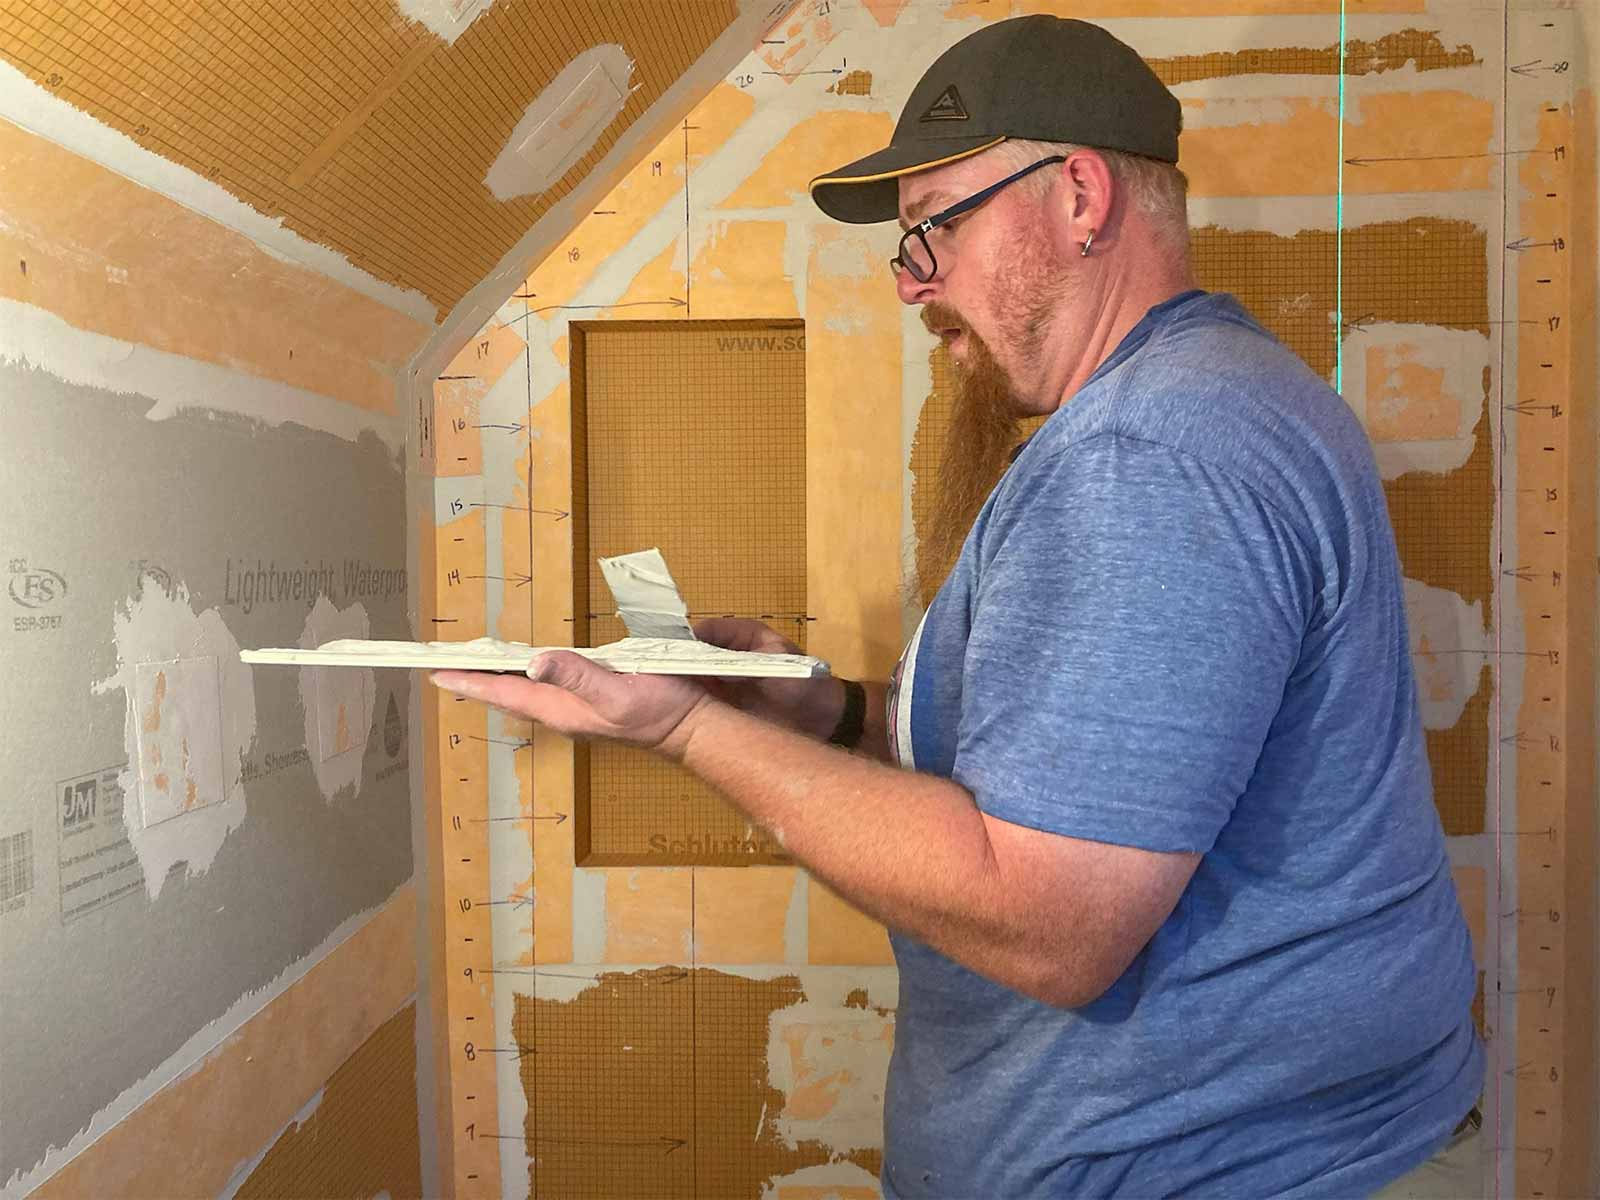
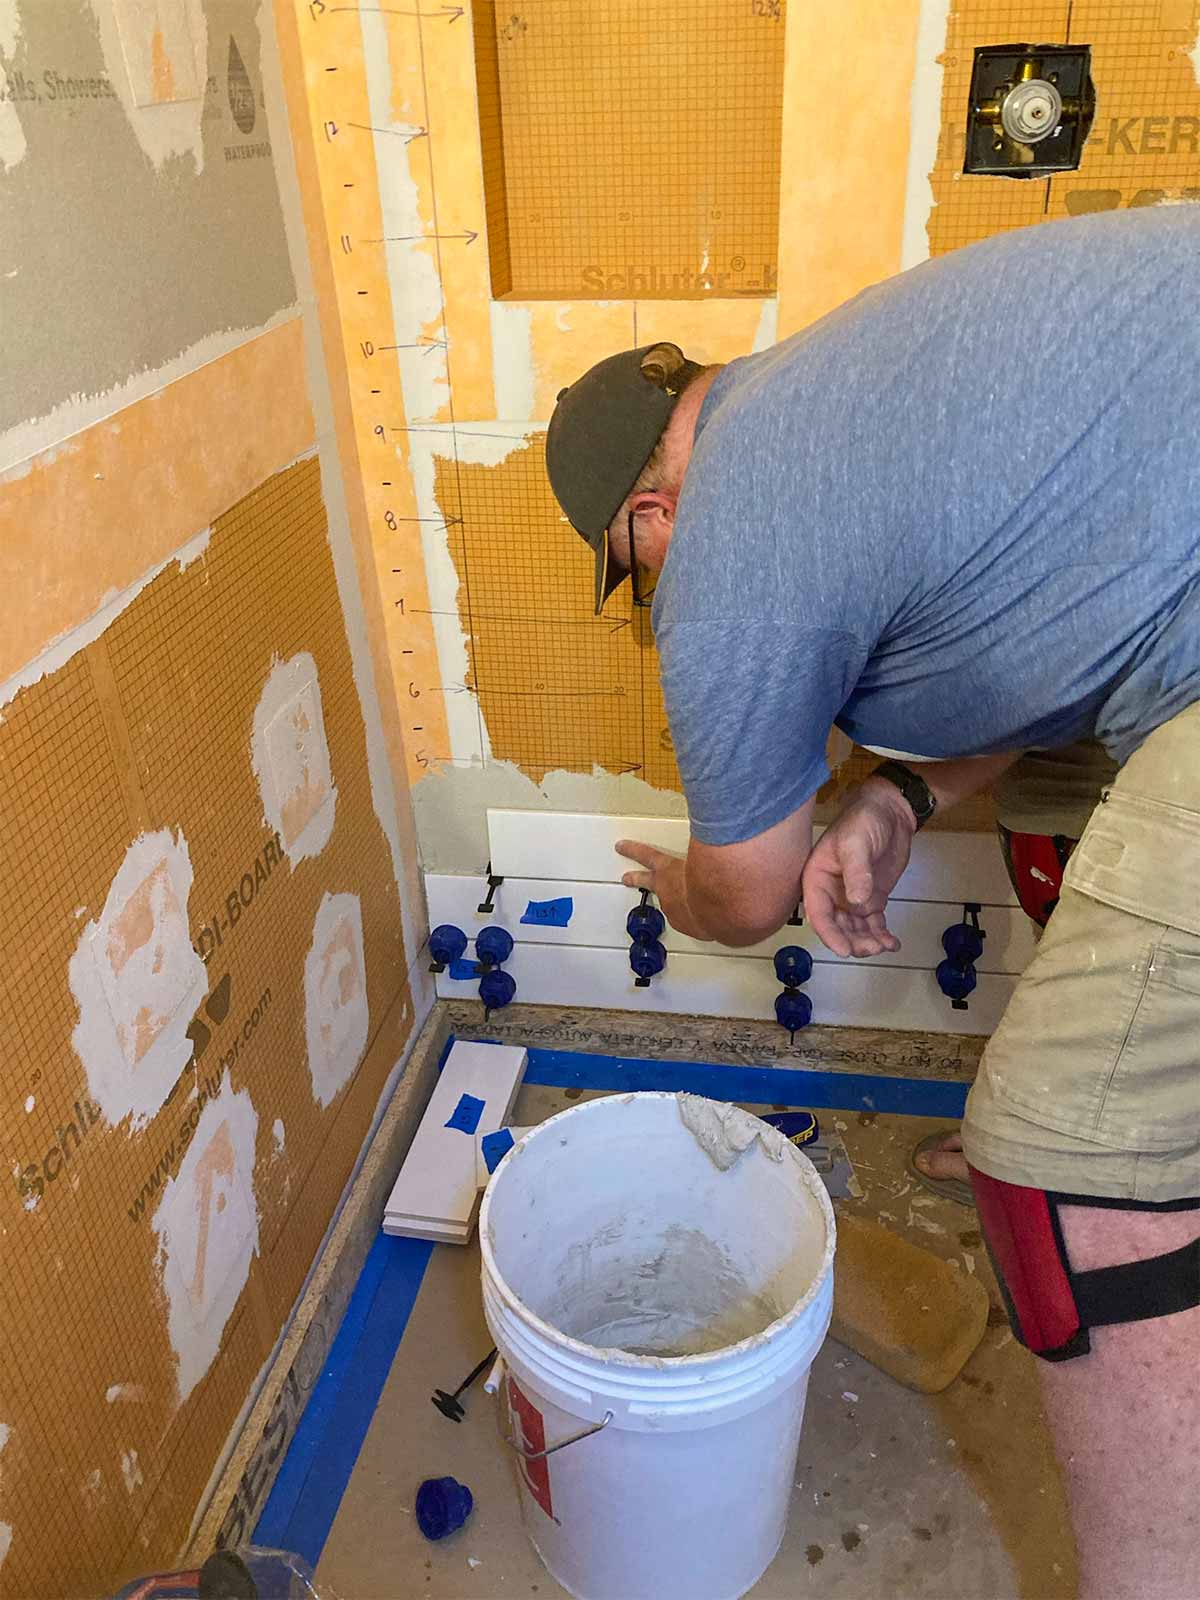
Schluter System
Anyone who has installed a new bathroom in the past two decades or so probably has used the Schluter waterproofing products. This was our first experience, but we've seen it done on YouTube many times. Thanks to David Blumke at MI North Flooring in Alanson for filling in the gaps in the materials we had previously purchased.

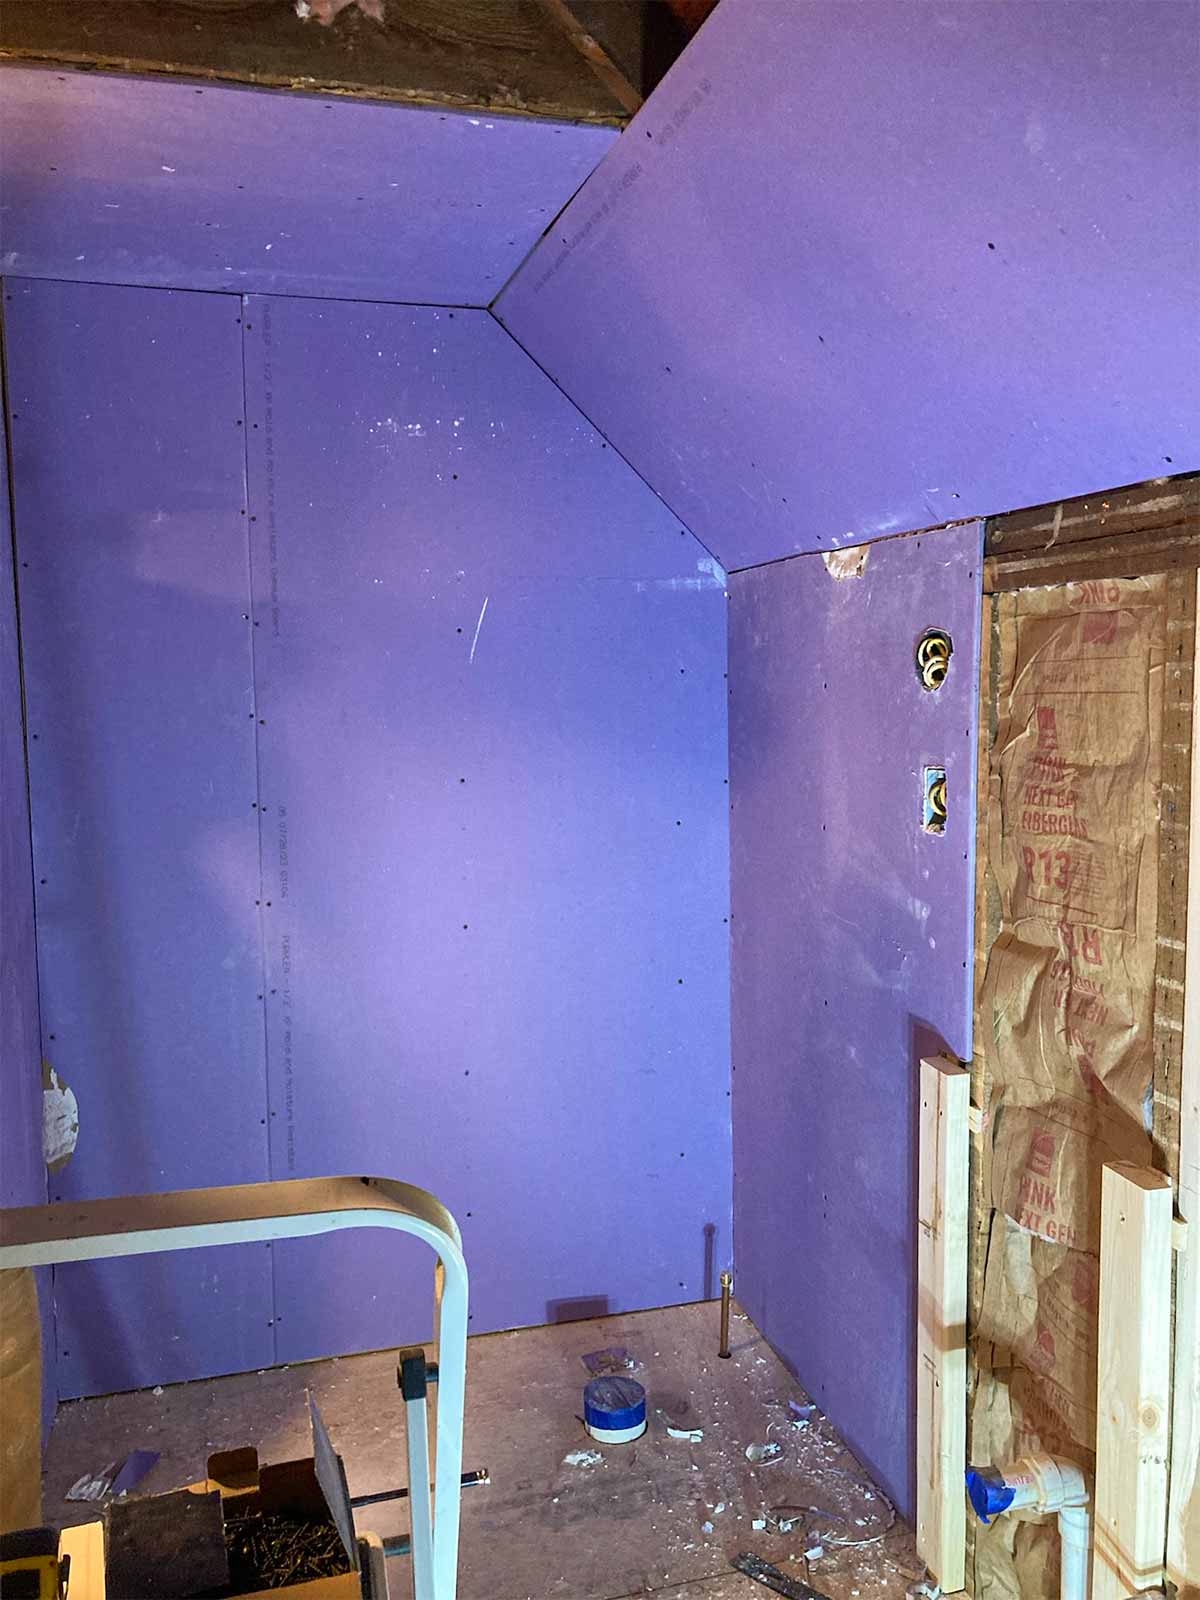
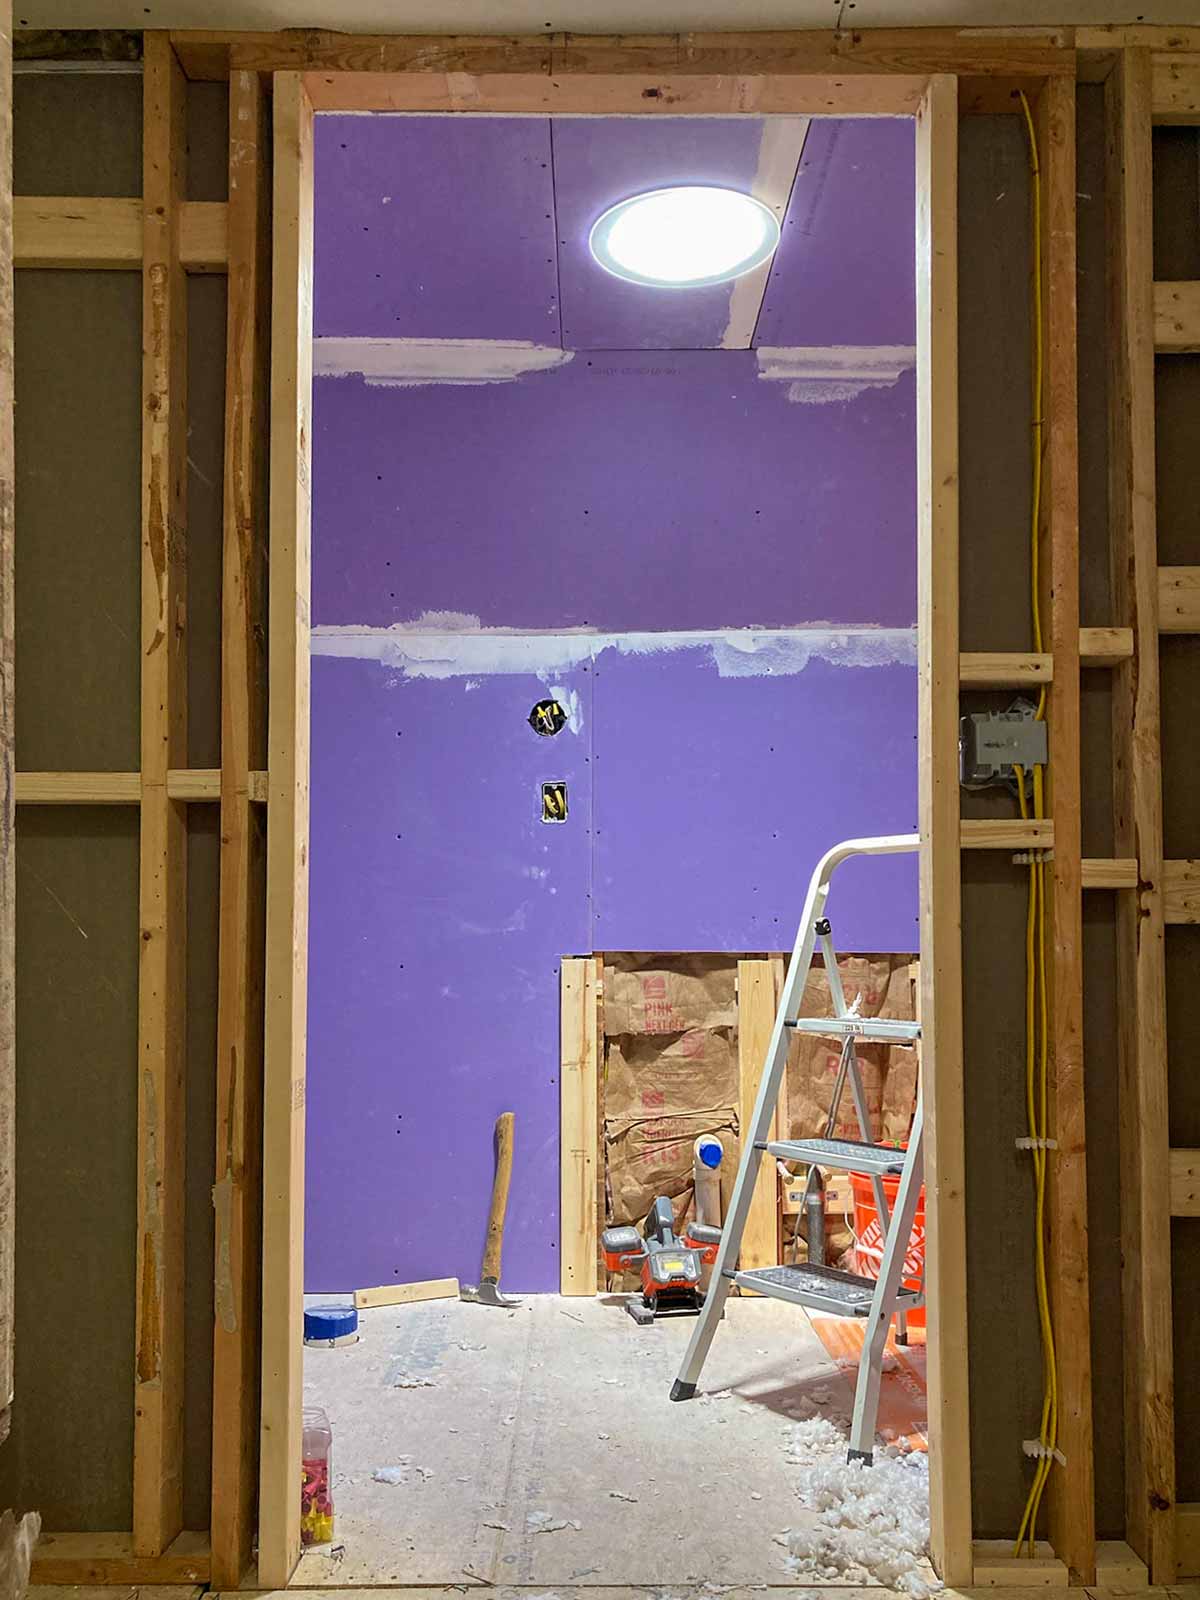
Drywall

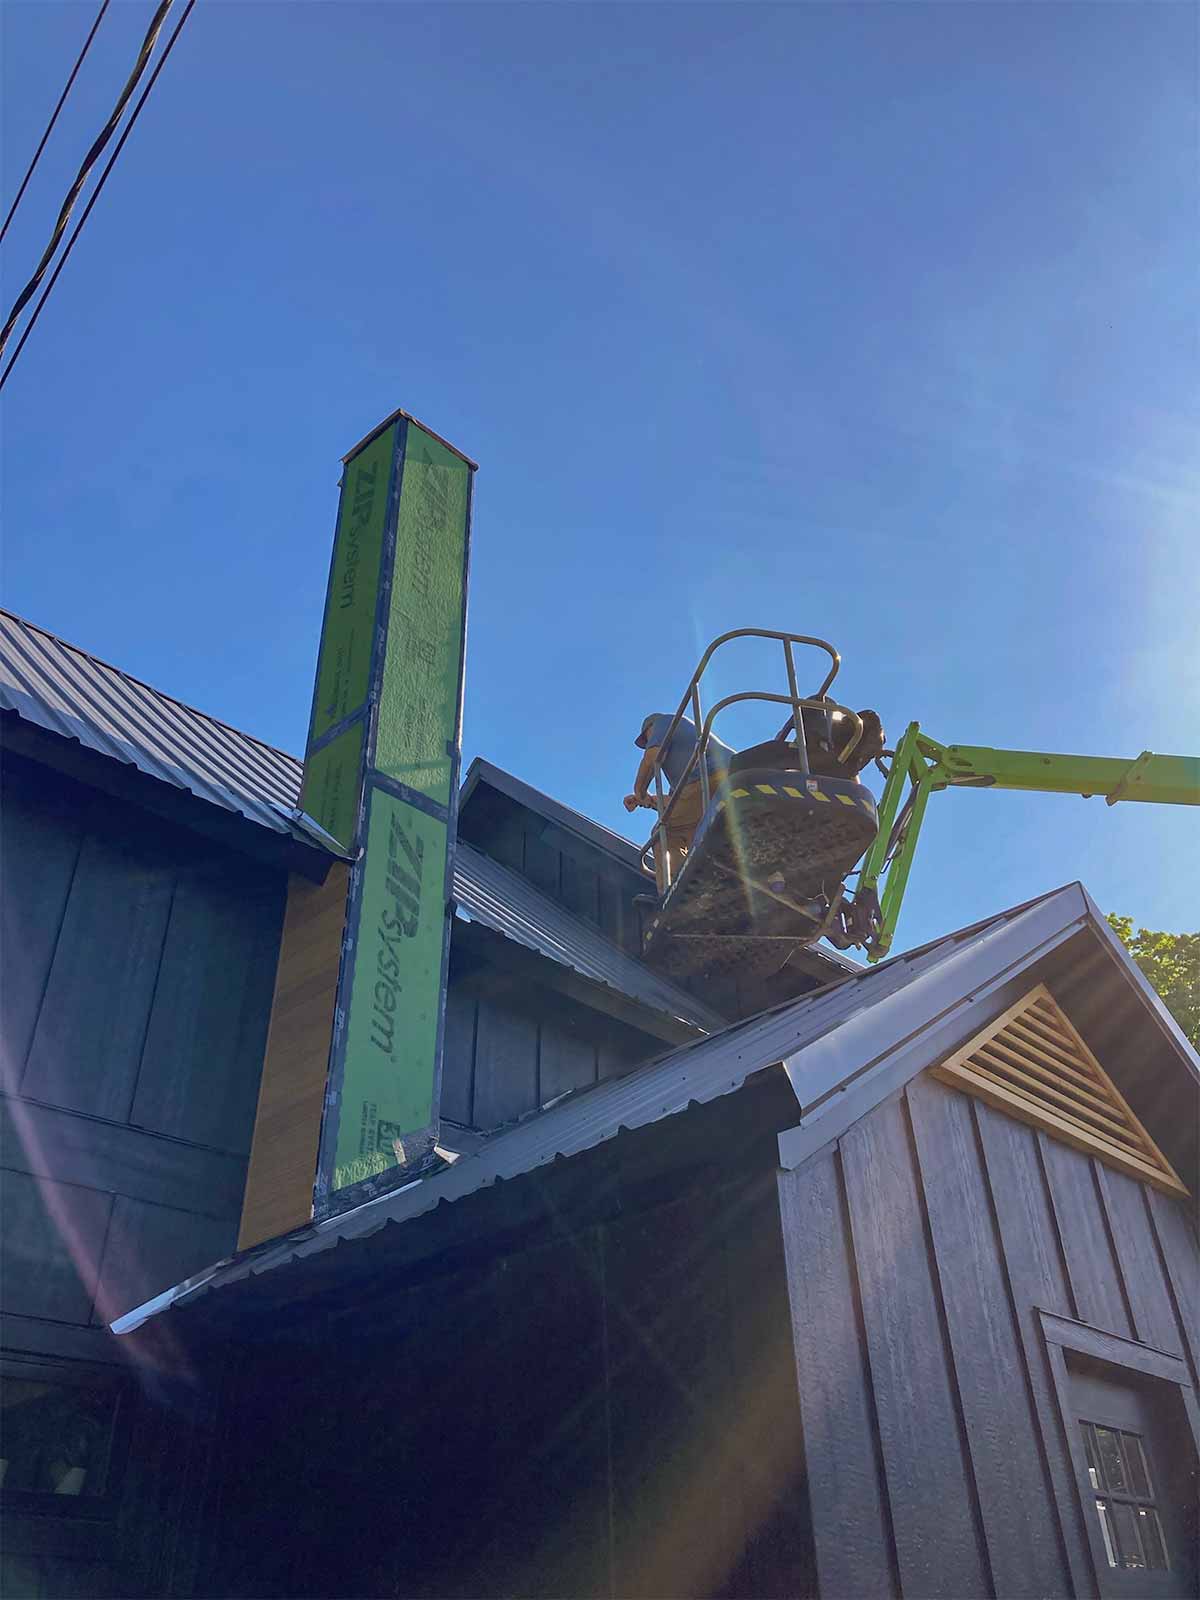
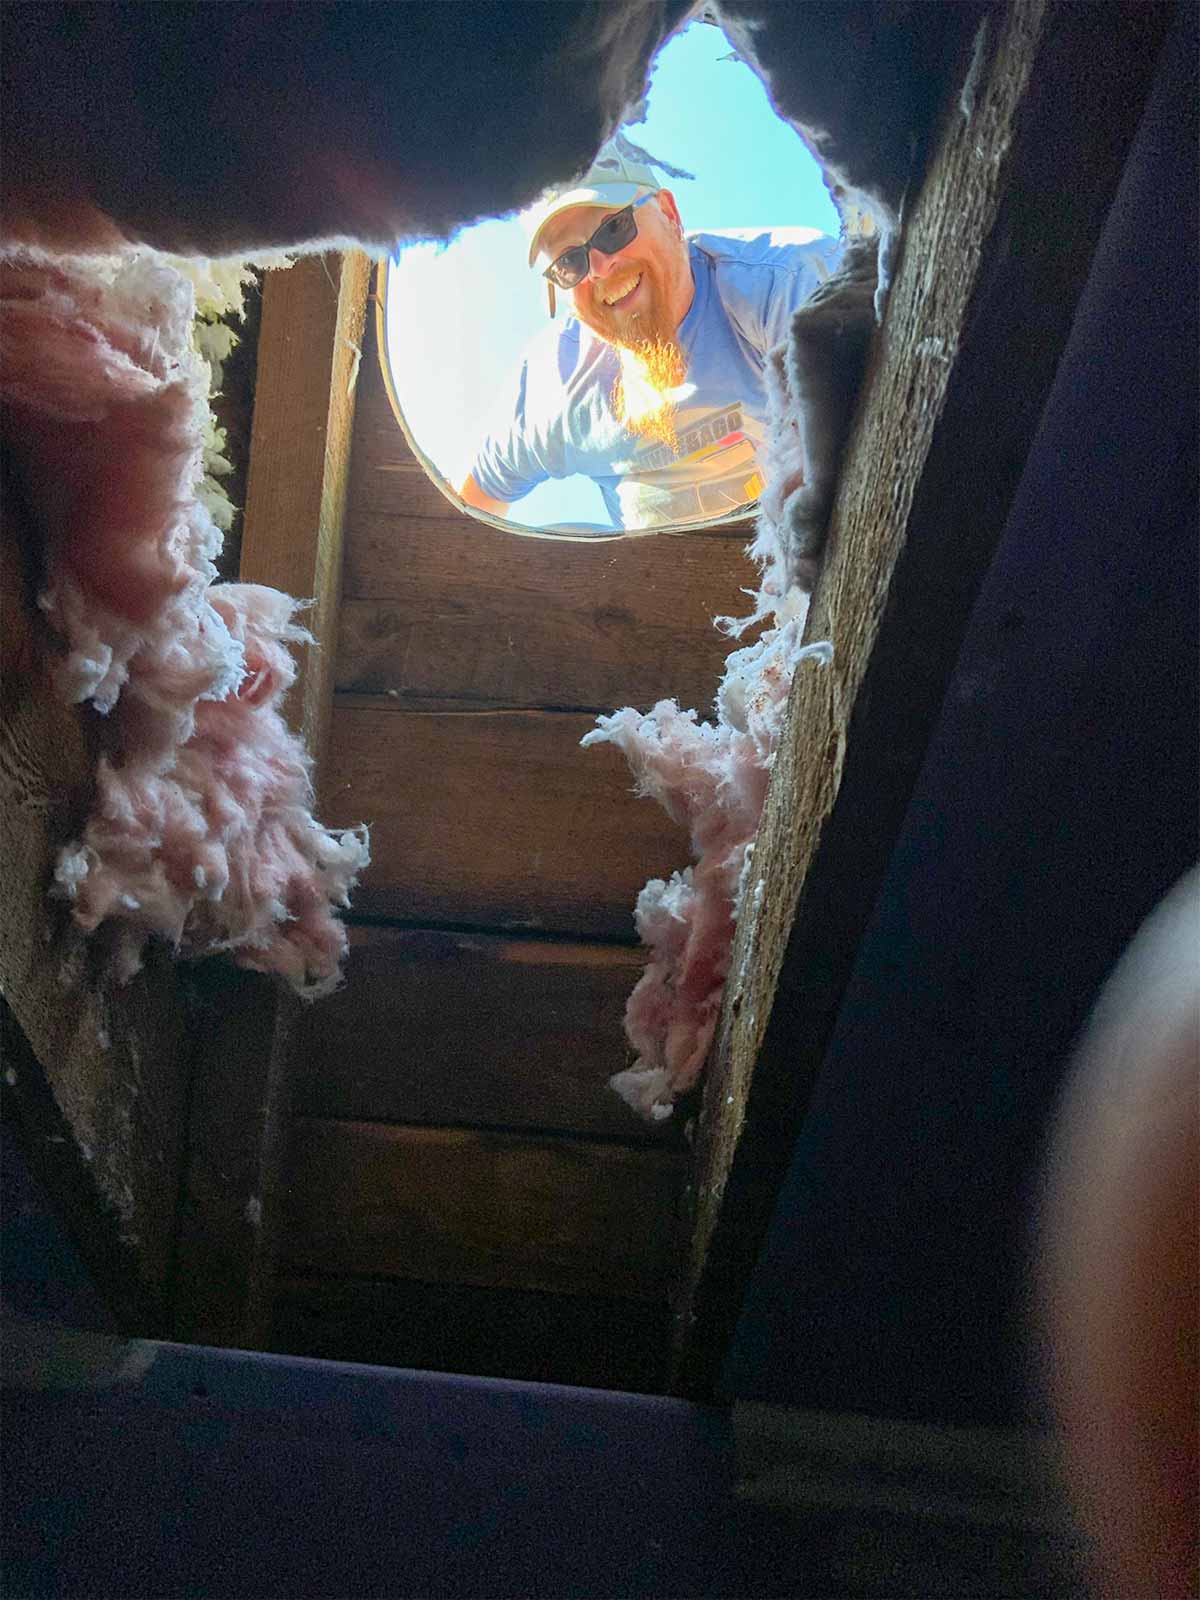
Sun Tunnel
Since there was not a window in the bathroom, we decided to add a sun tunnel through the roof. This required renting a lift to cut a hole in the roof (gasp!) and install it. We purchased the sun tunnel from Home Depot: Velux 10 inch acrylic dome sun tunnel skylight.
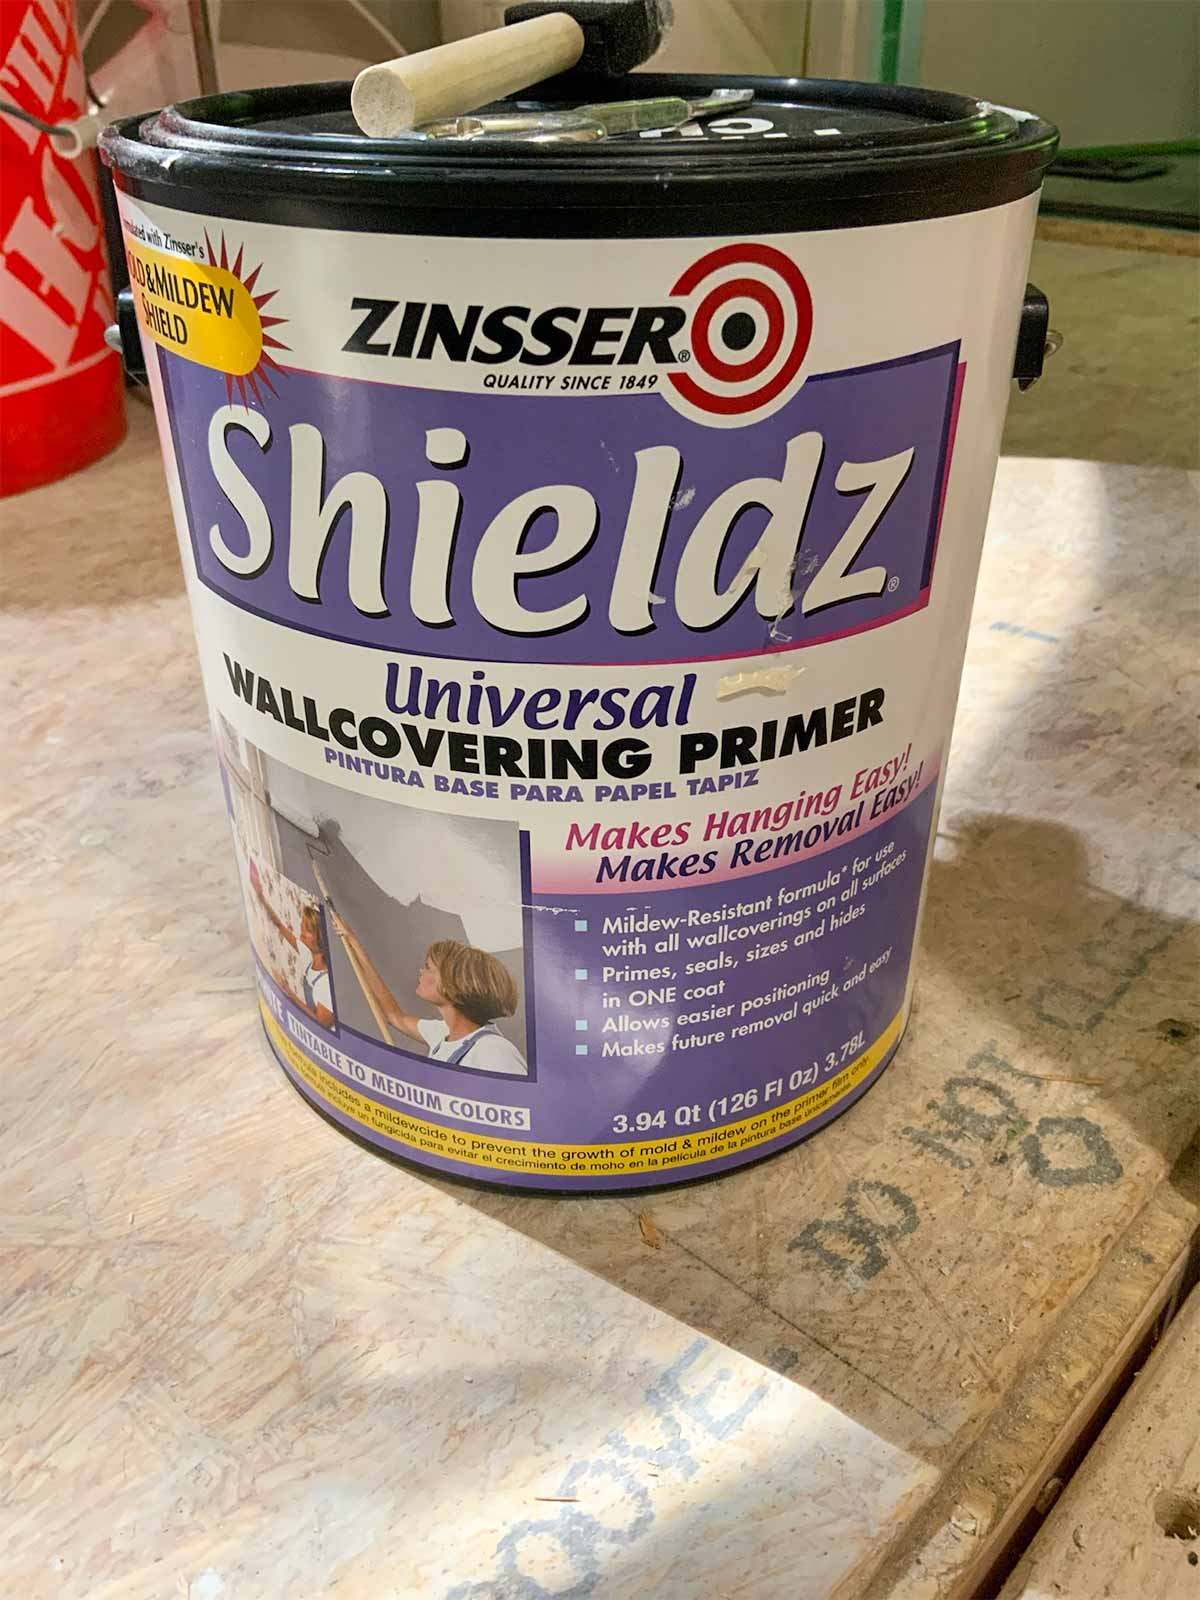
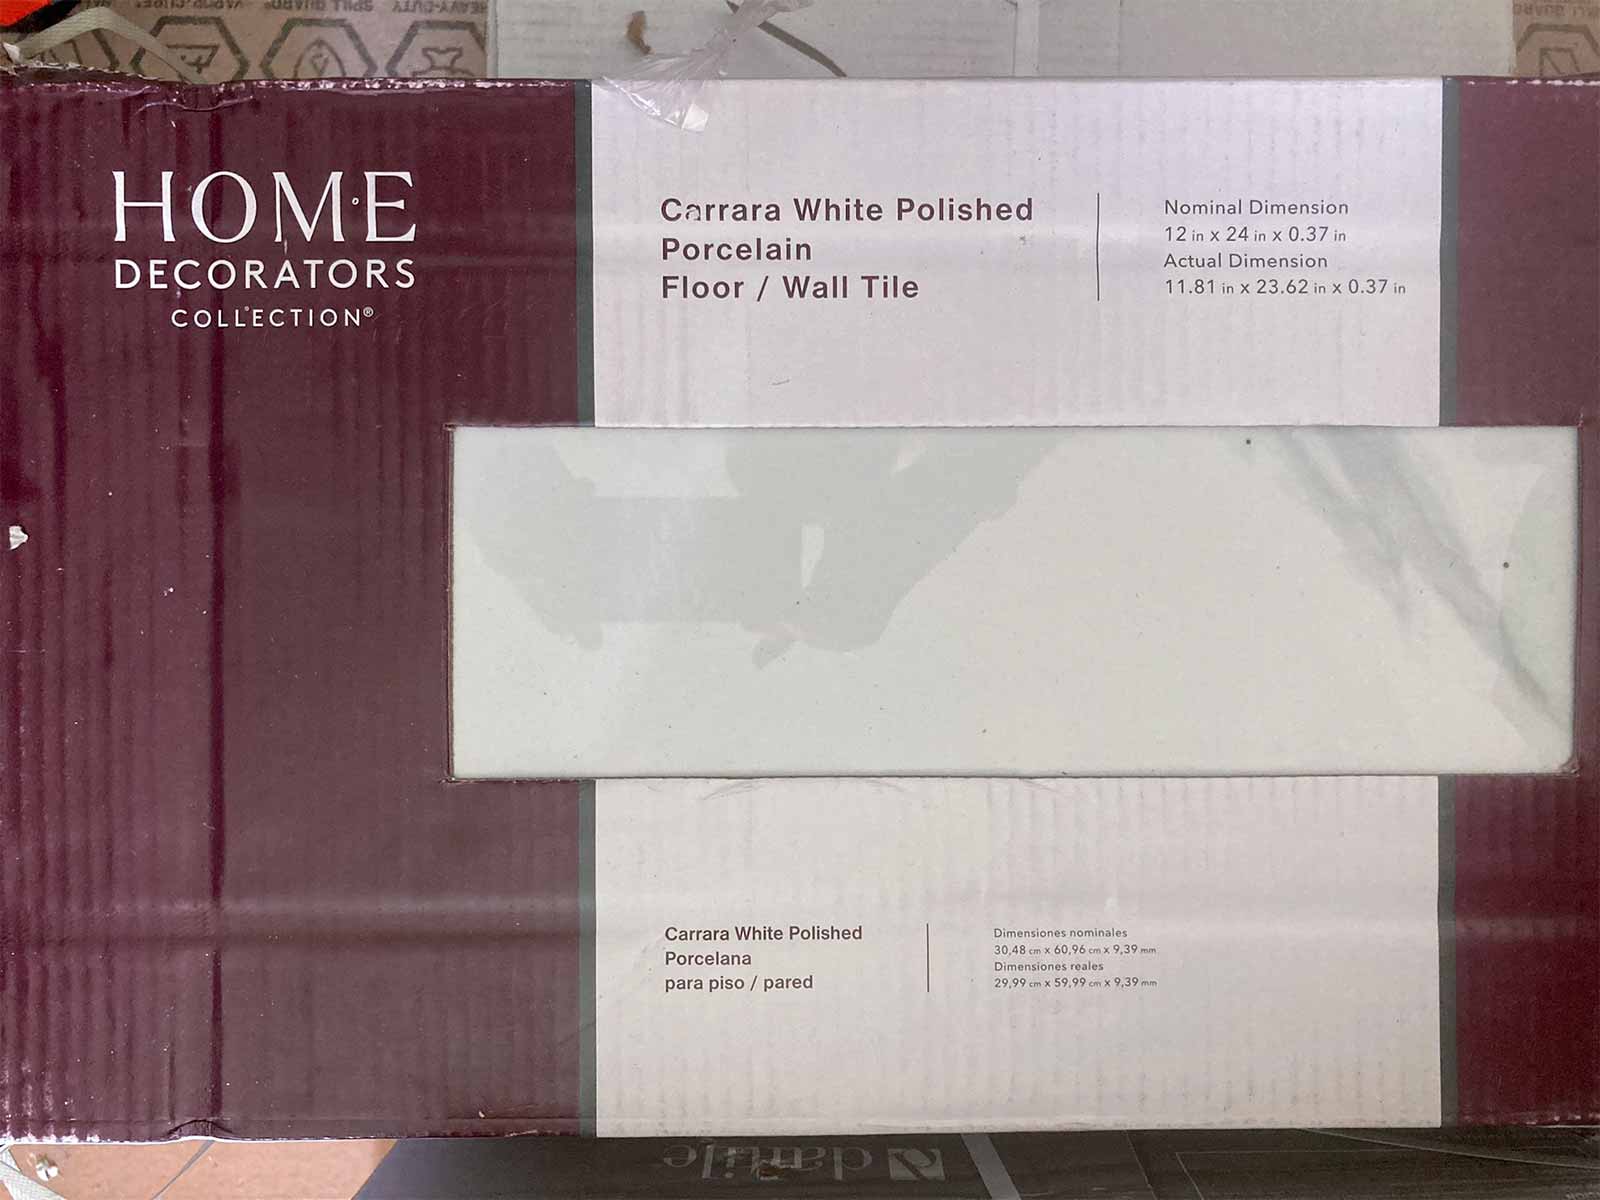
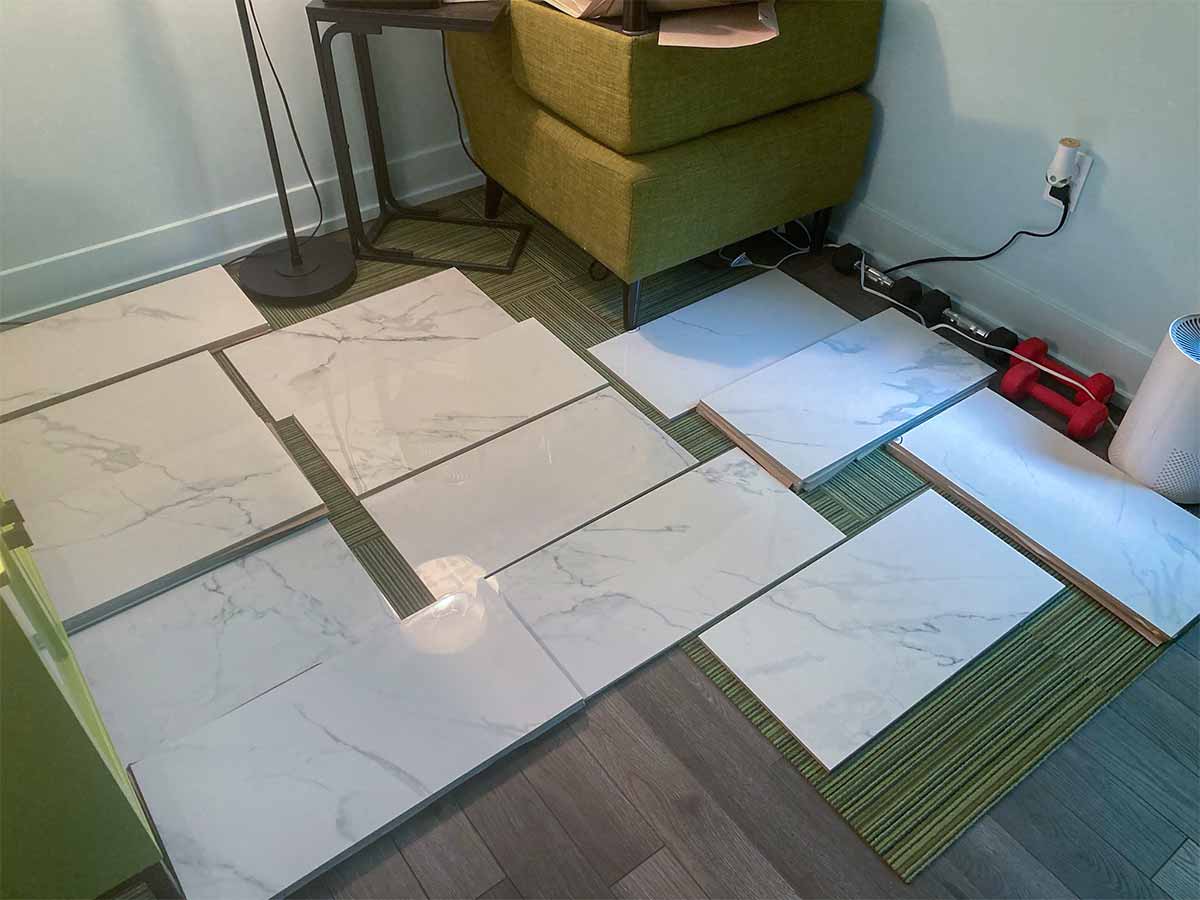
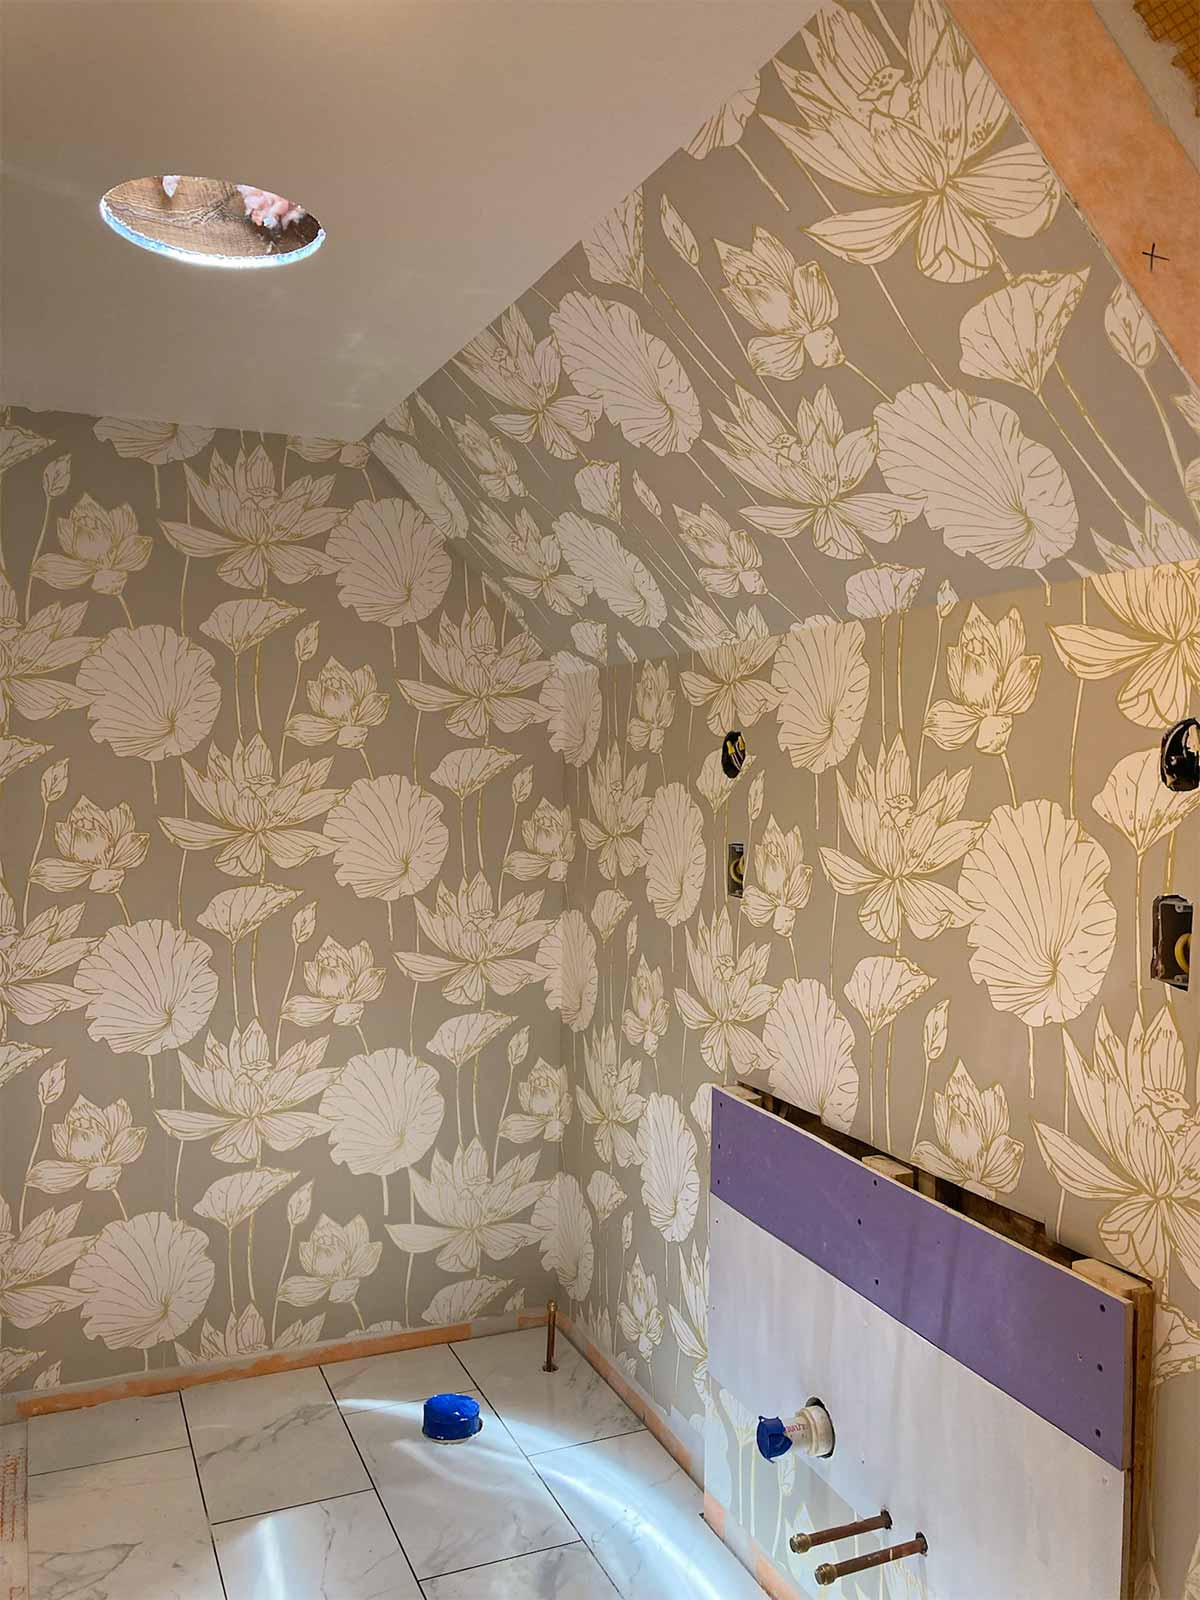
Paint/ Wallpaper/ Floor Tile
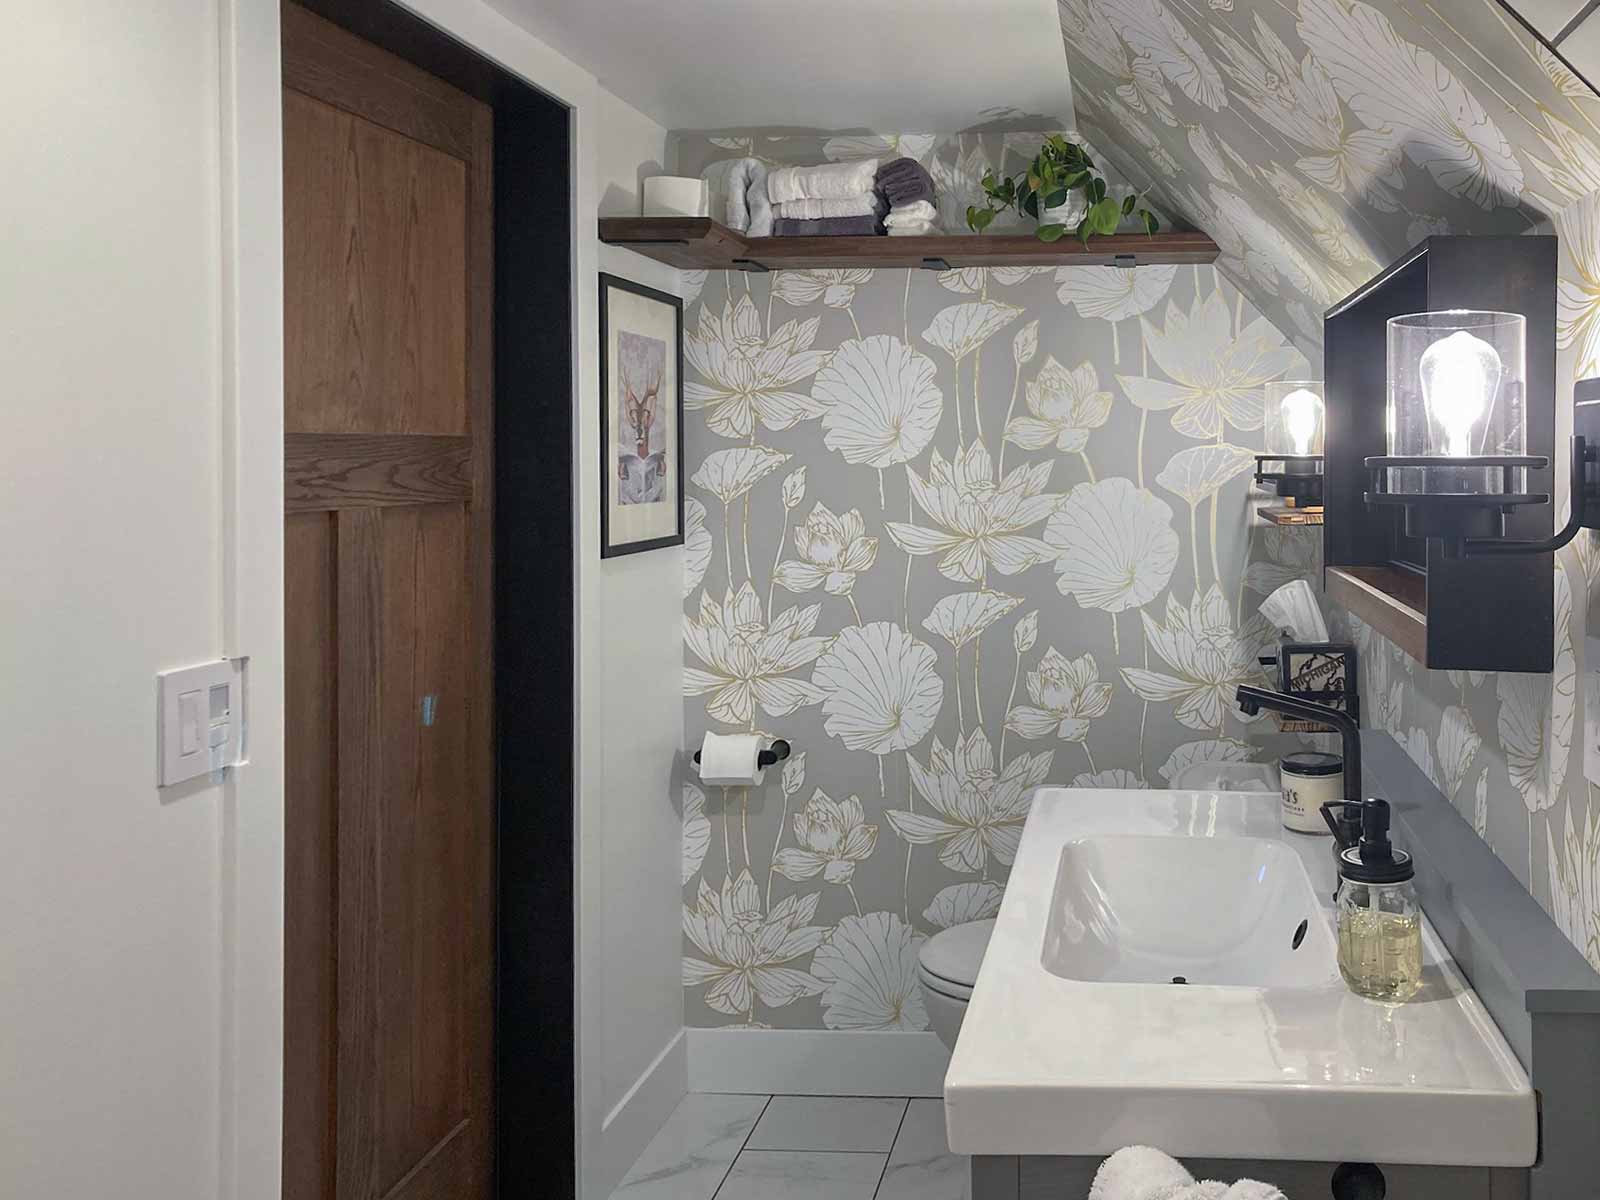
First, we used a primer specifically for wall coverings, since we would be installing wallpaper in the bathroom. It has a built in mold and mildew preventative.
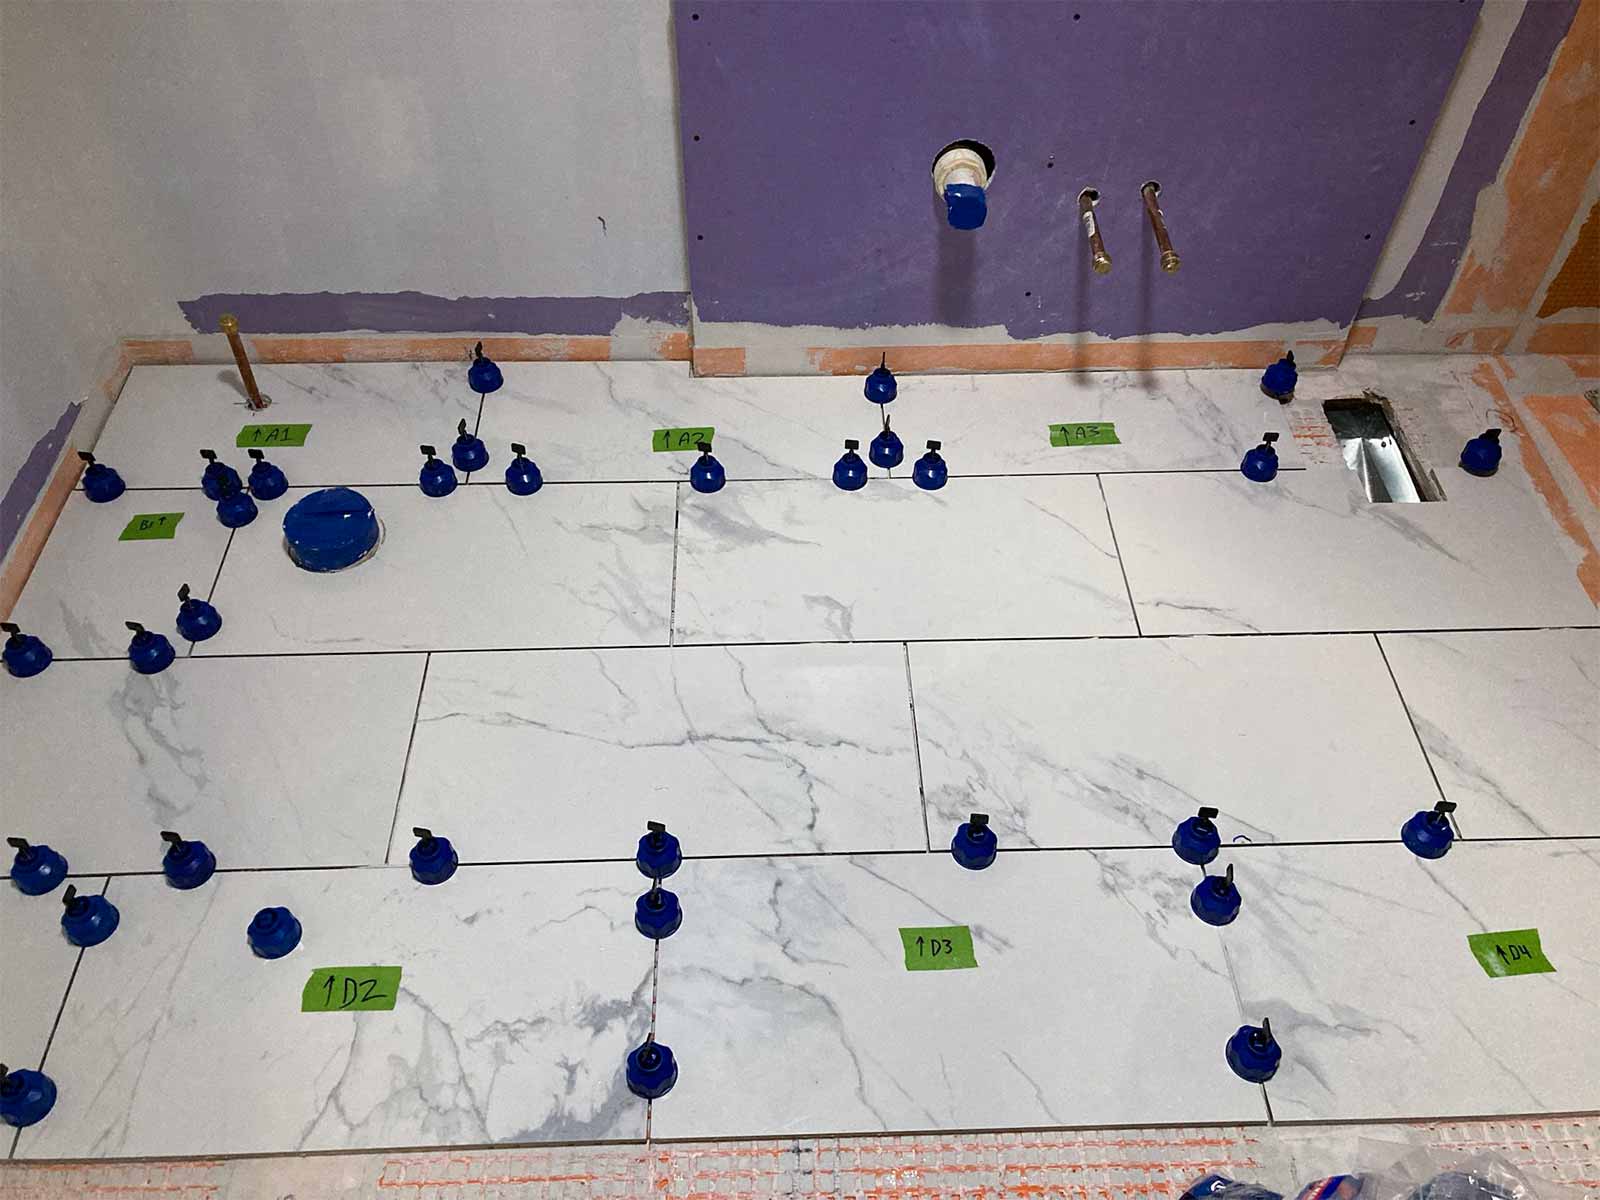
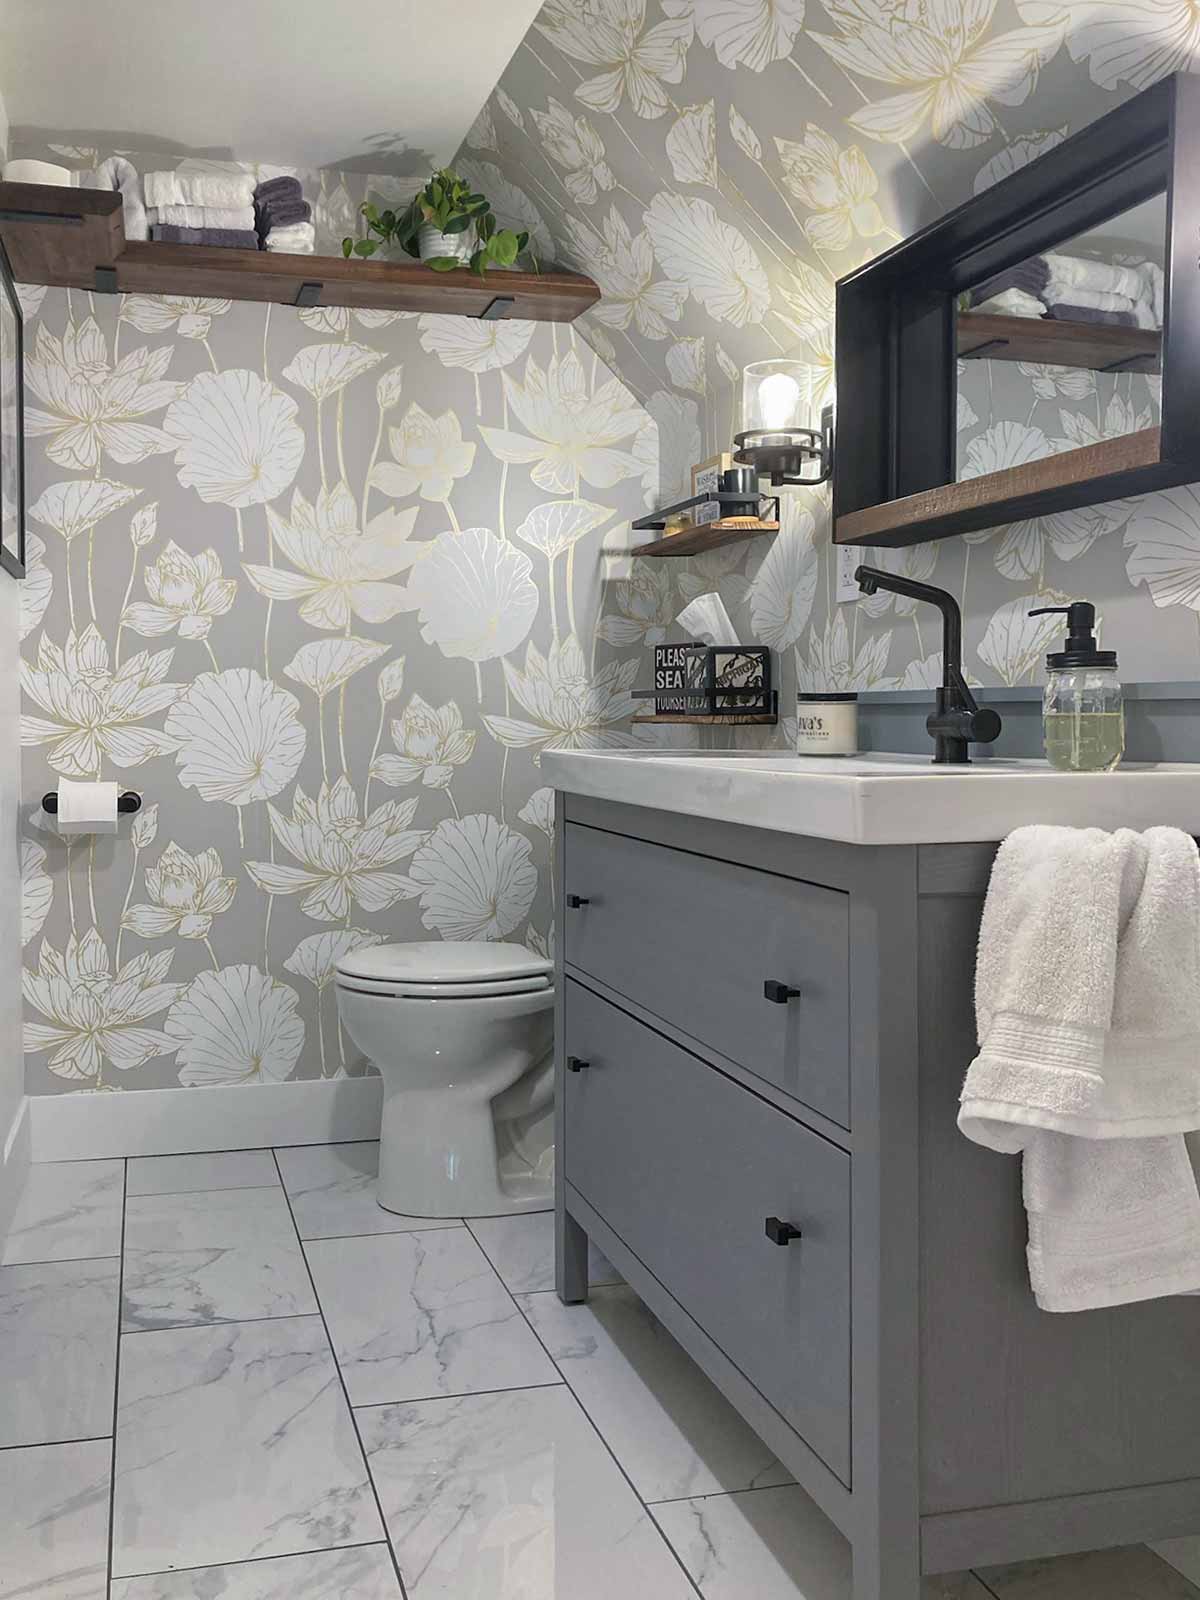
- Floor tile: purchased from The Home Depot, Home Decorators Collection Carrara White Polished Porcelain
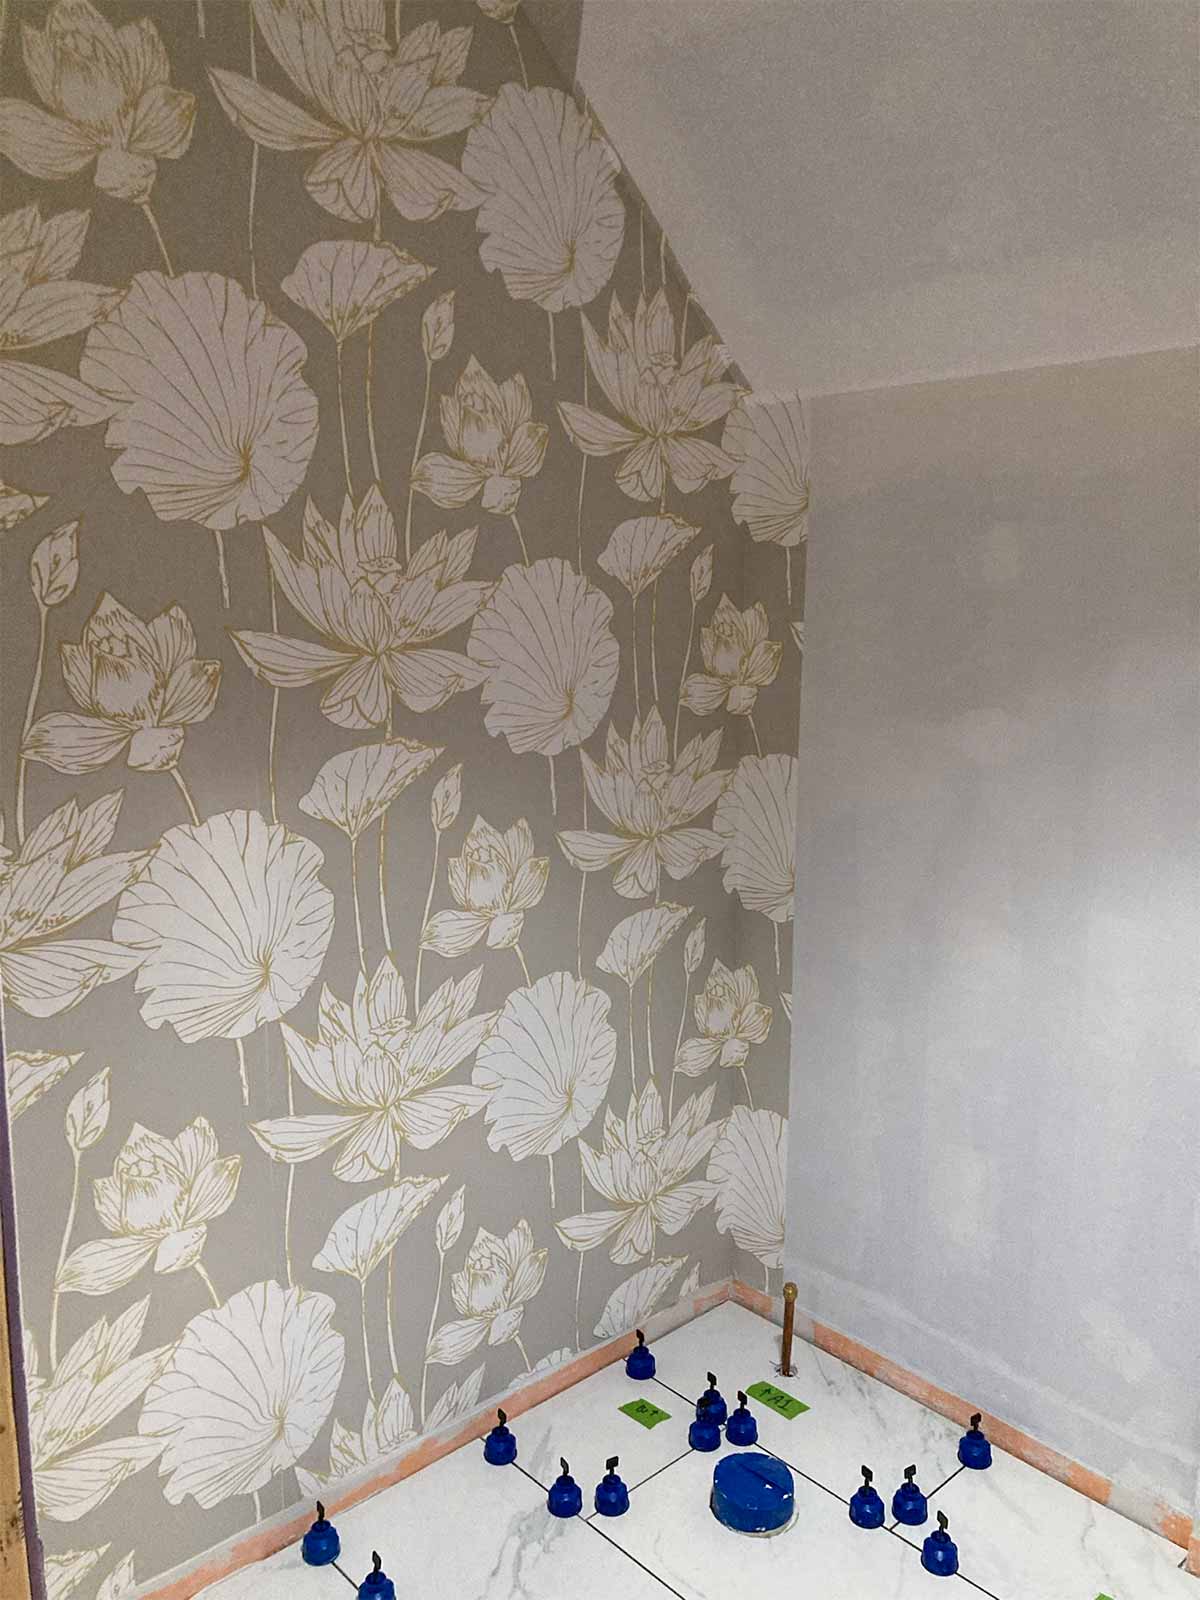
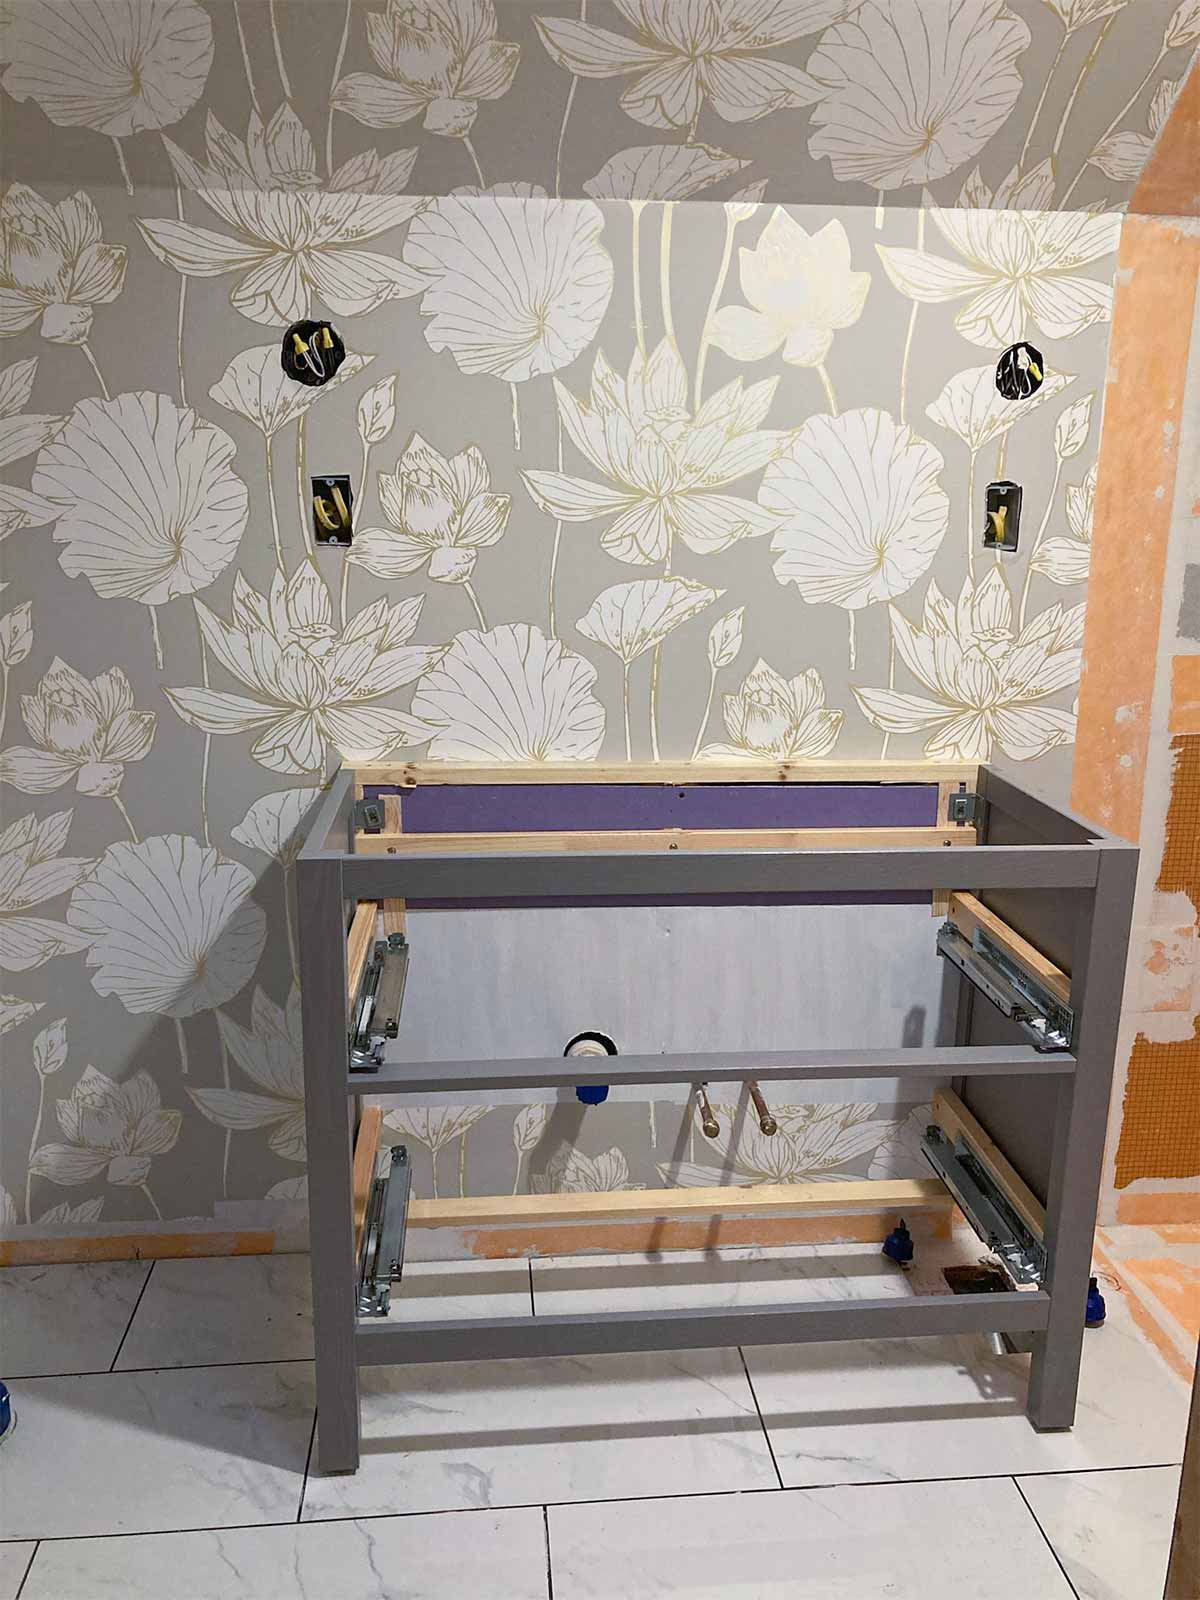
- Wallpaper purchased on Amazon: NextWall Lotus Floral metallic gold and gray
- Paint: Sherwin Williams Extra White
- And to protect the wallpaper from fading and mildew/mold, we put a decorators varnish on the wallpaper.

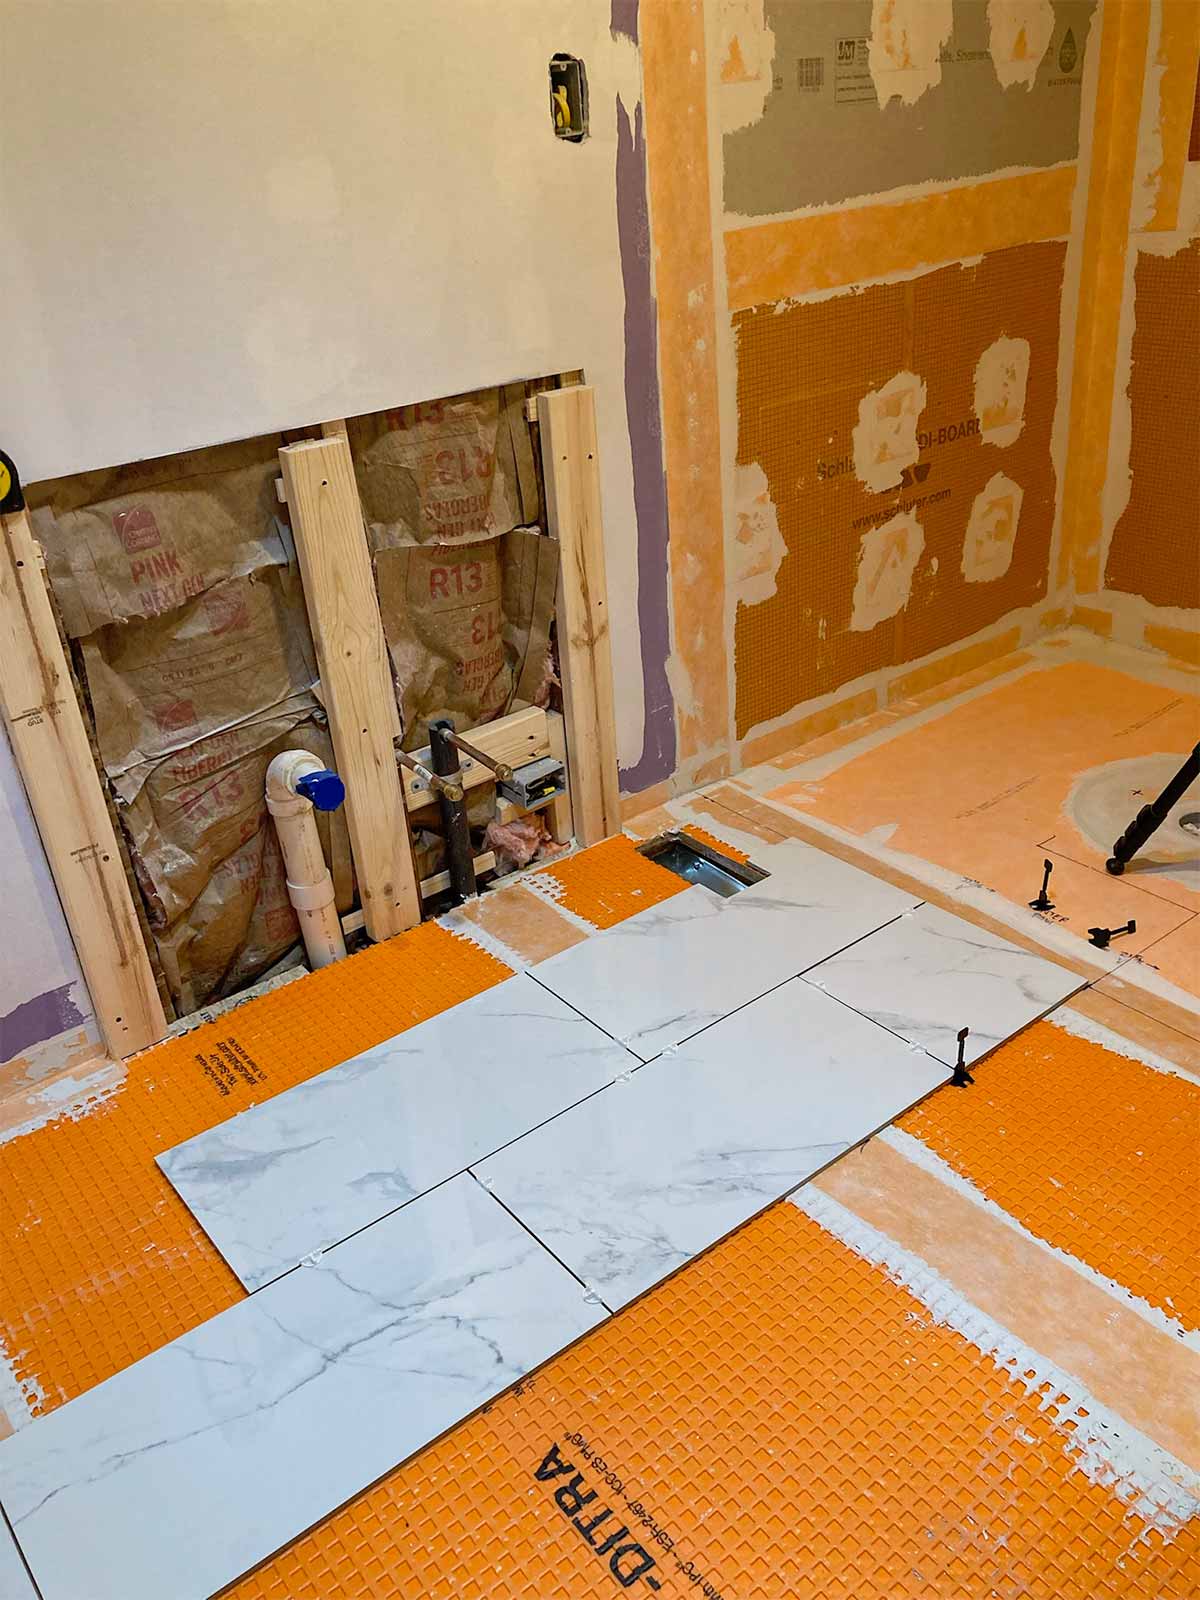
Floor Tile in the Shower
Andy gladly took some help from our neighbor, Bob Goode, who is a retired expert tiler. Thanks Bob!

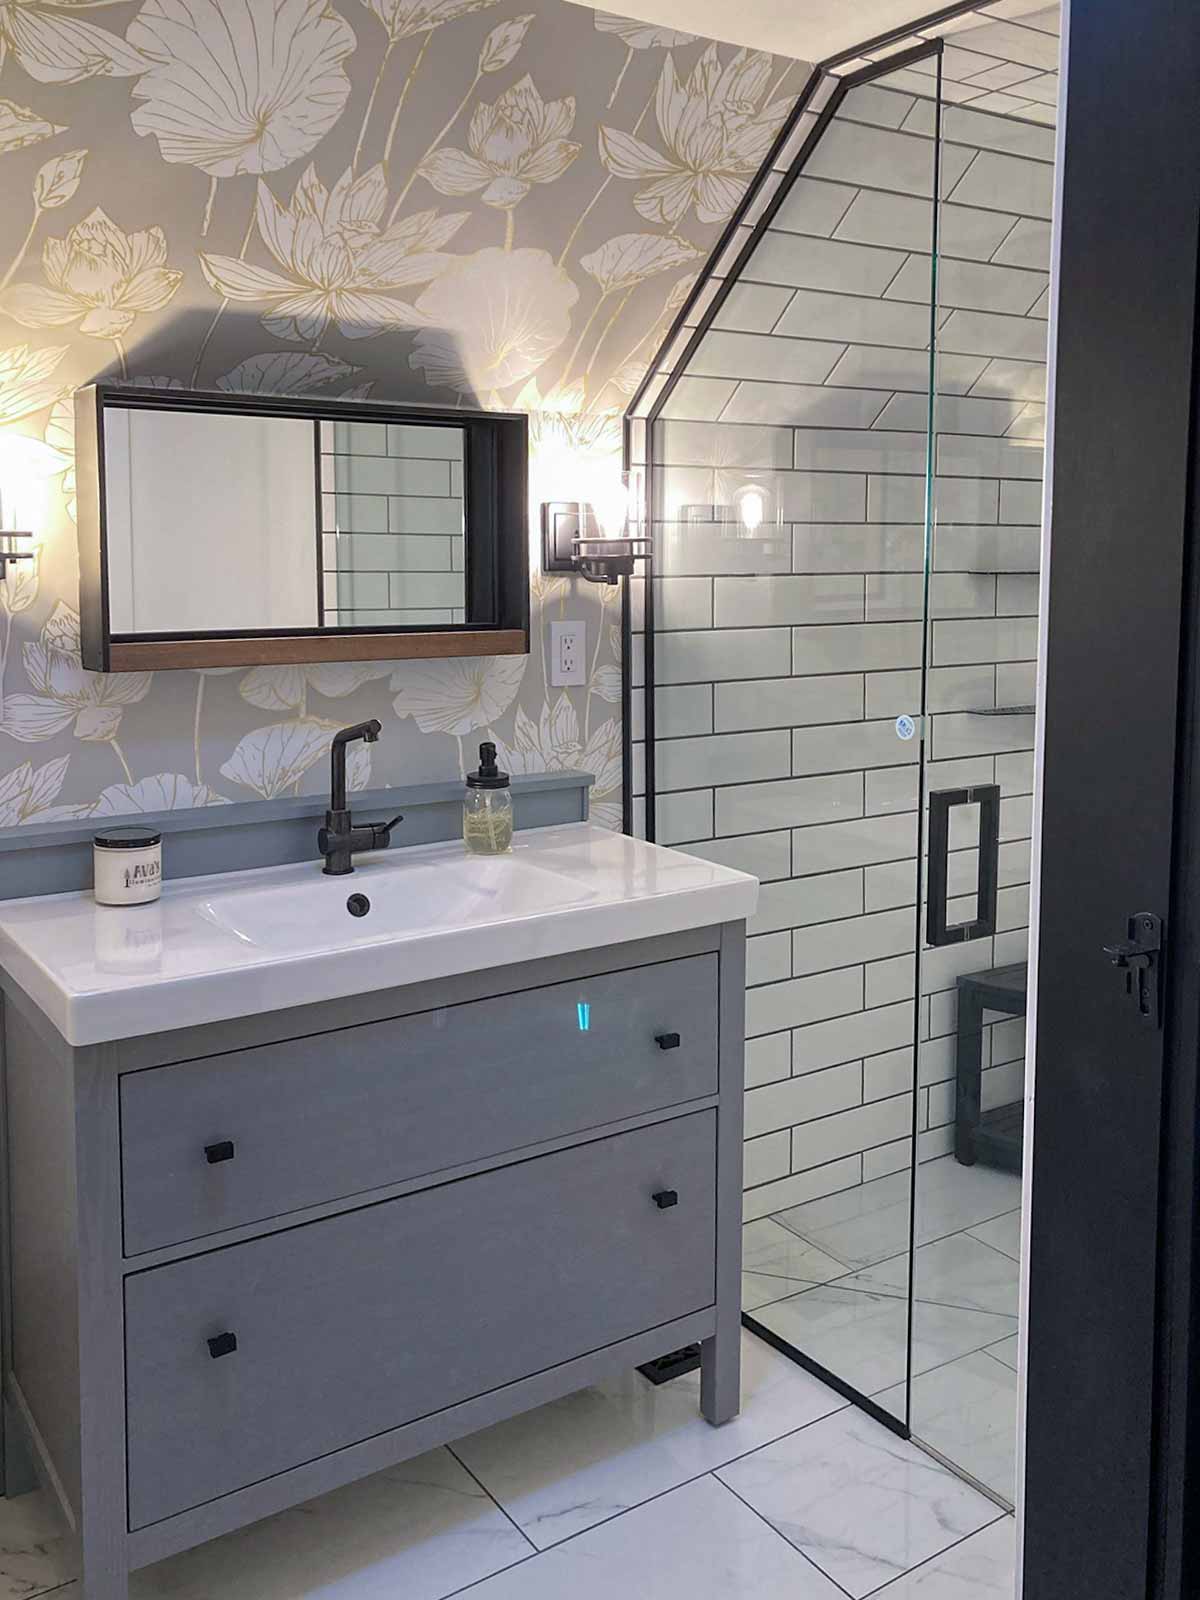
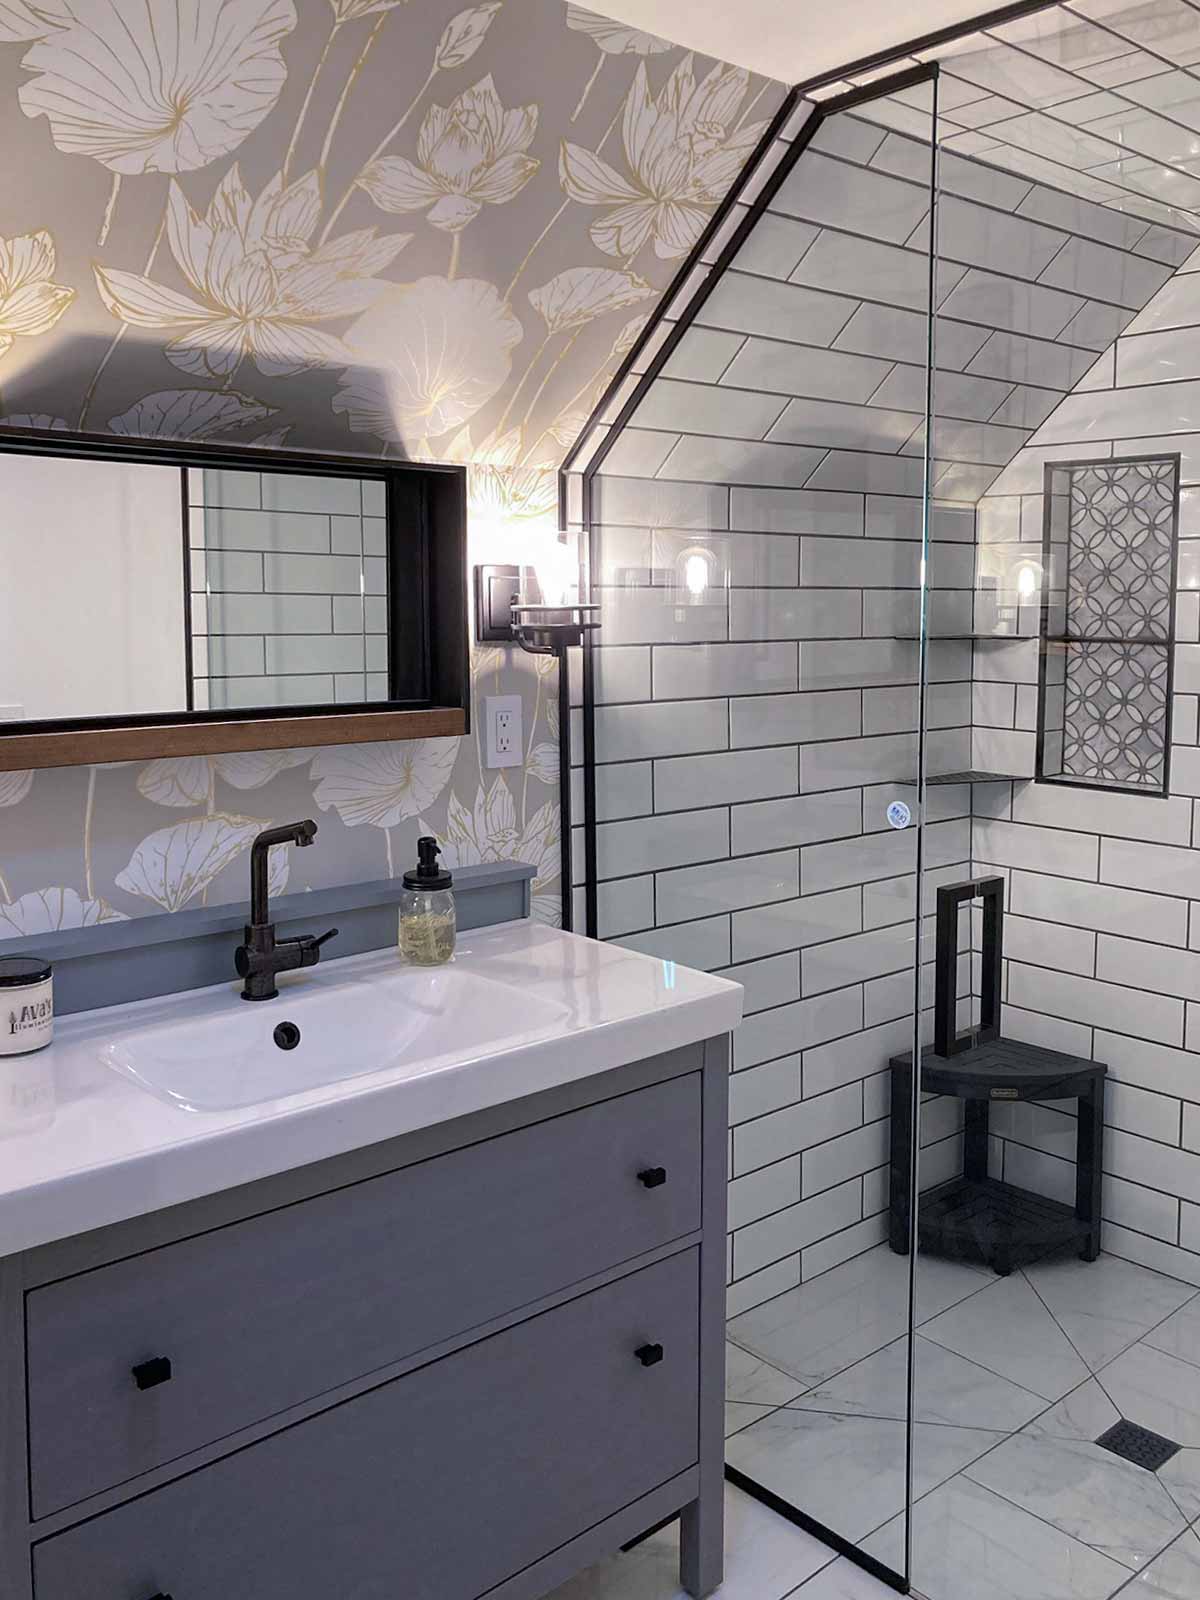
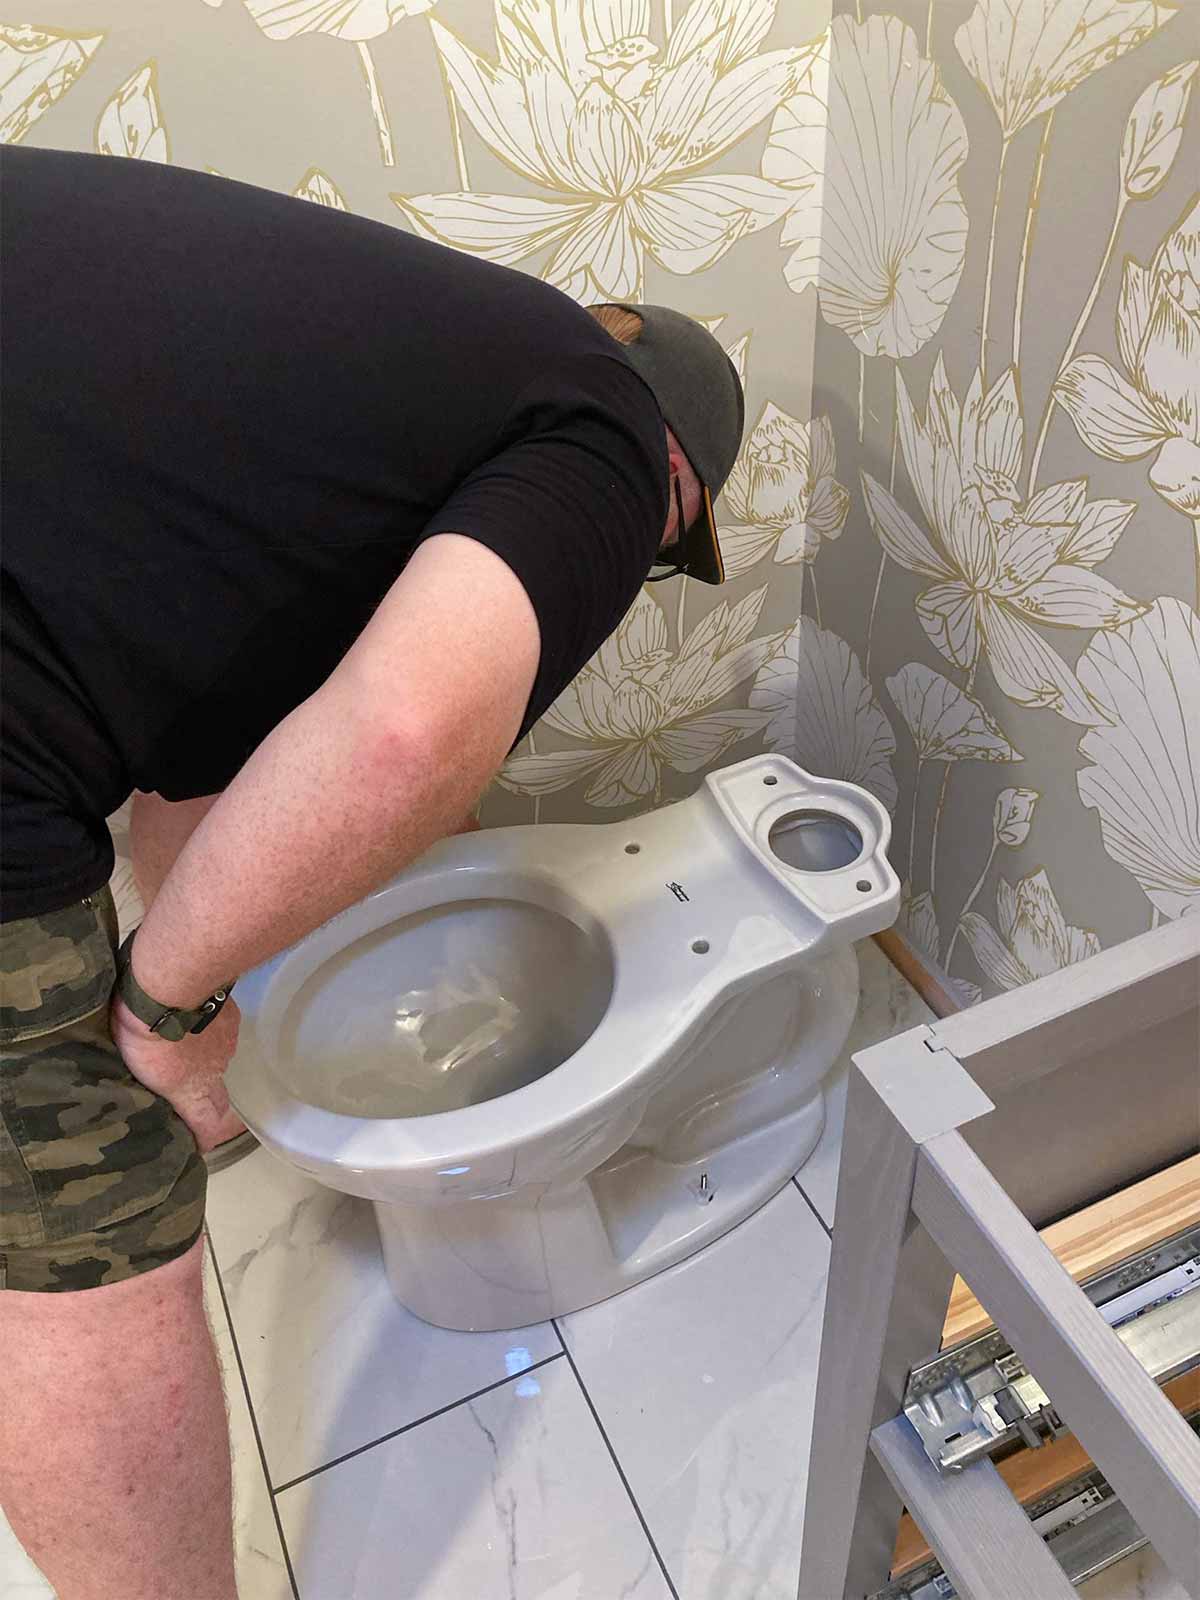
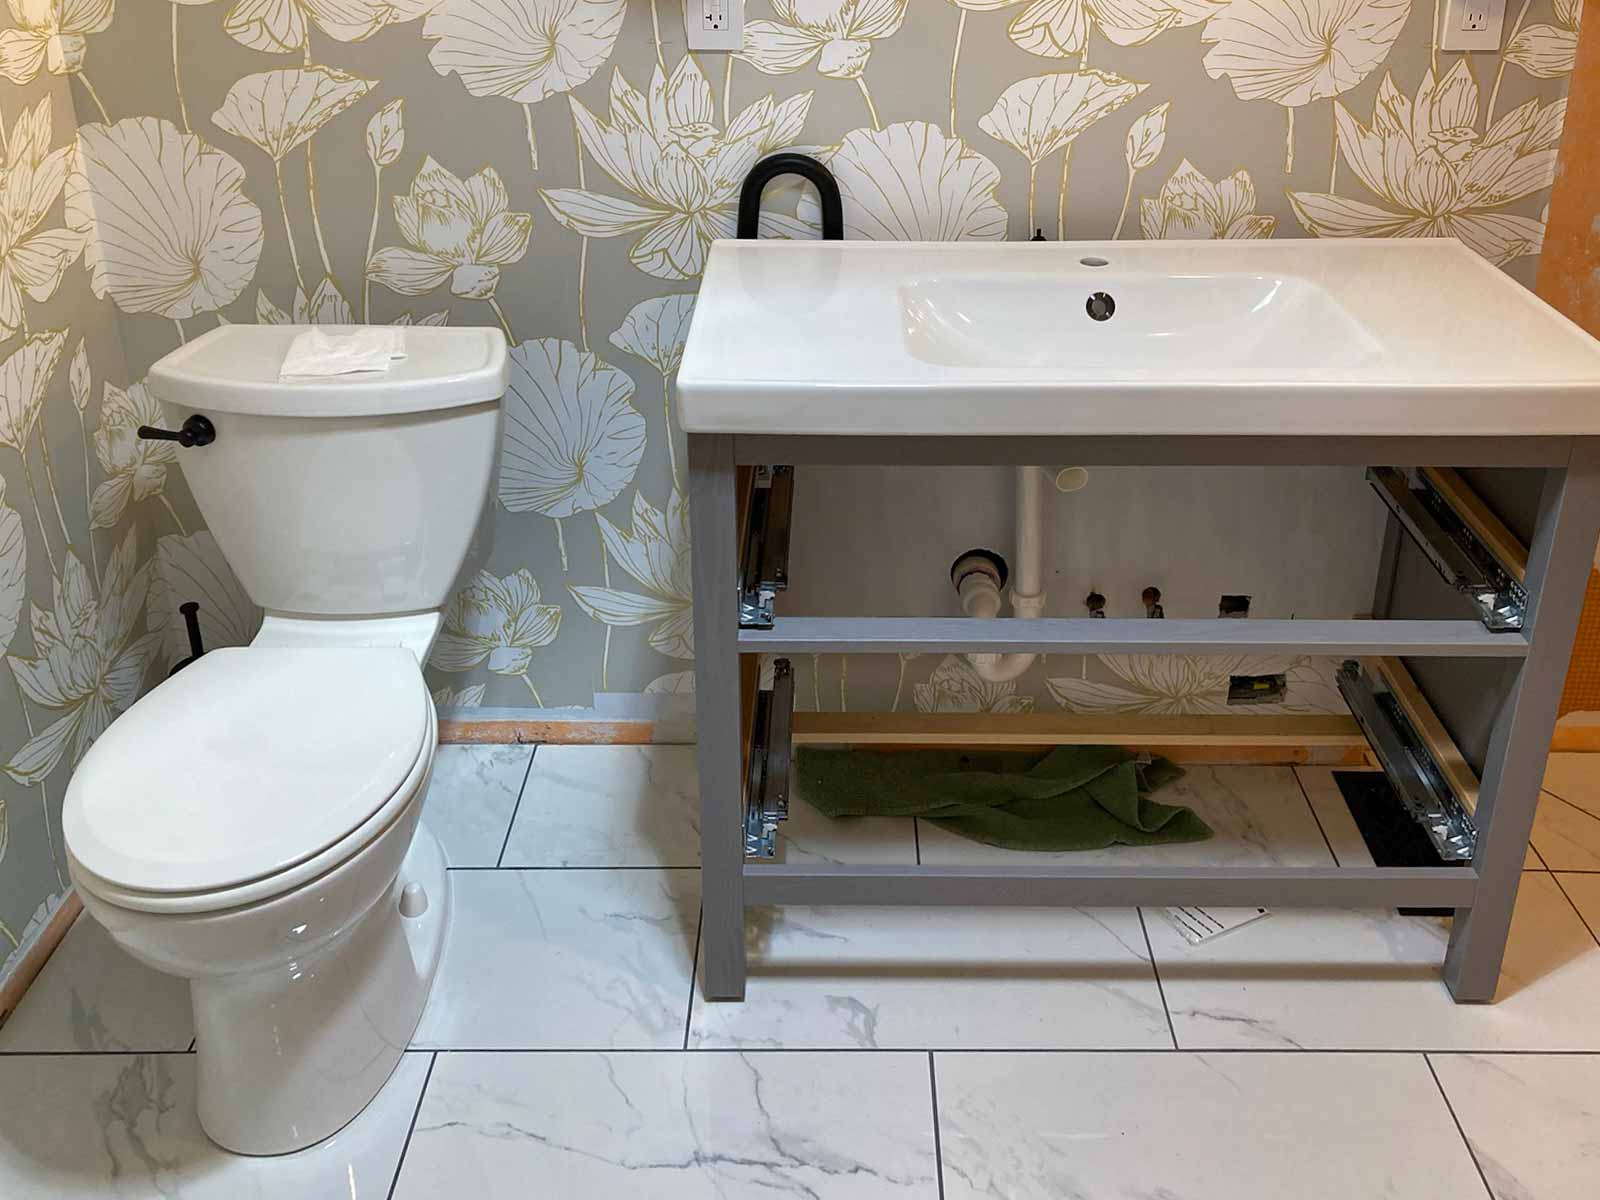
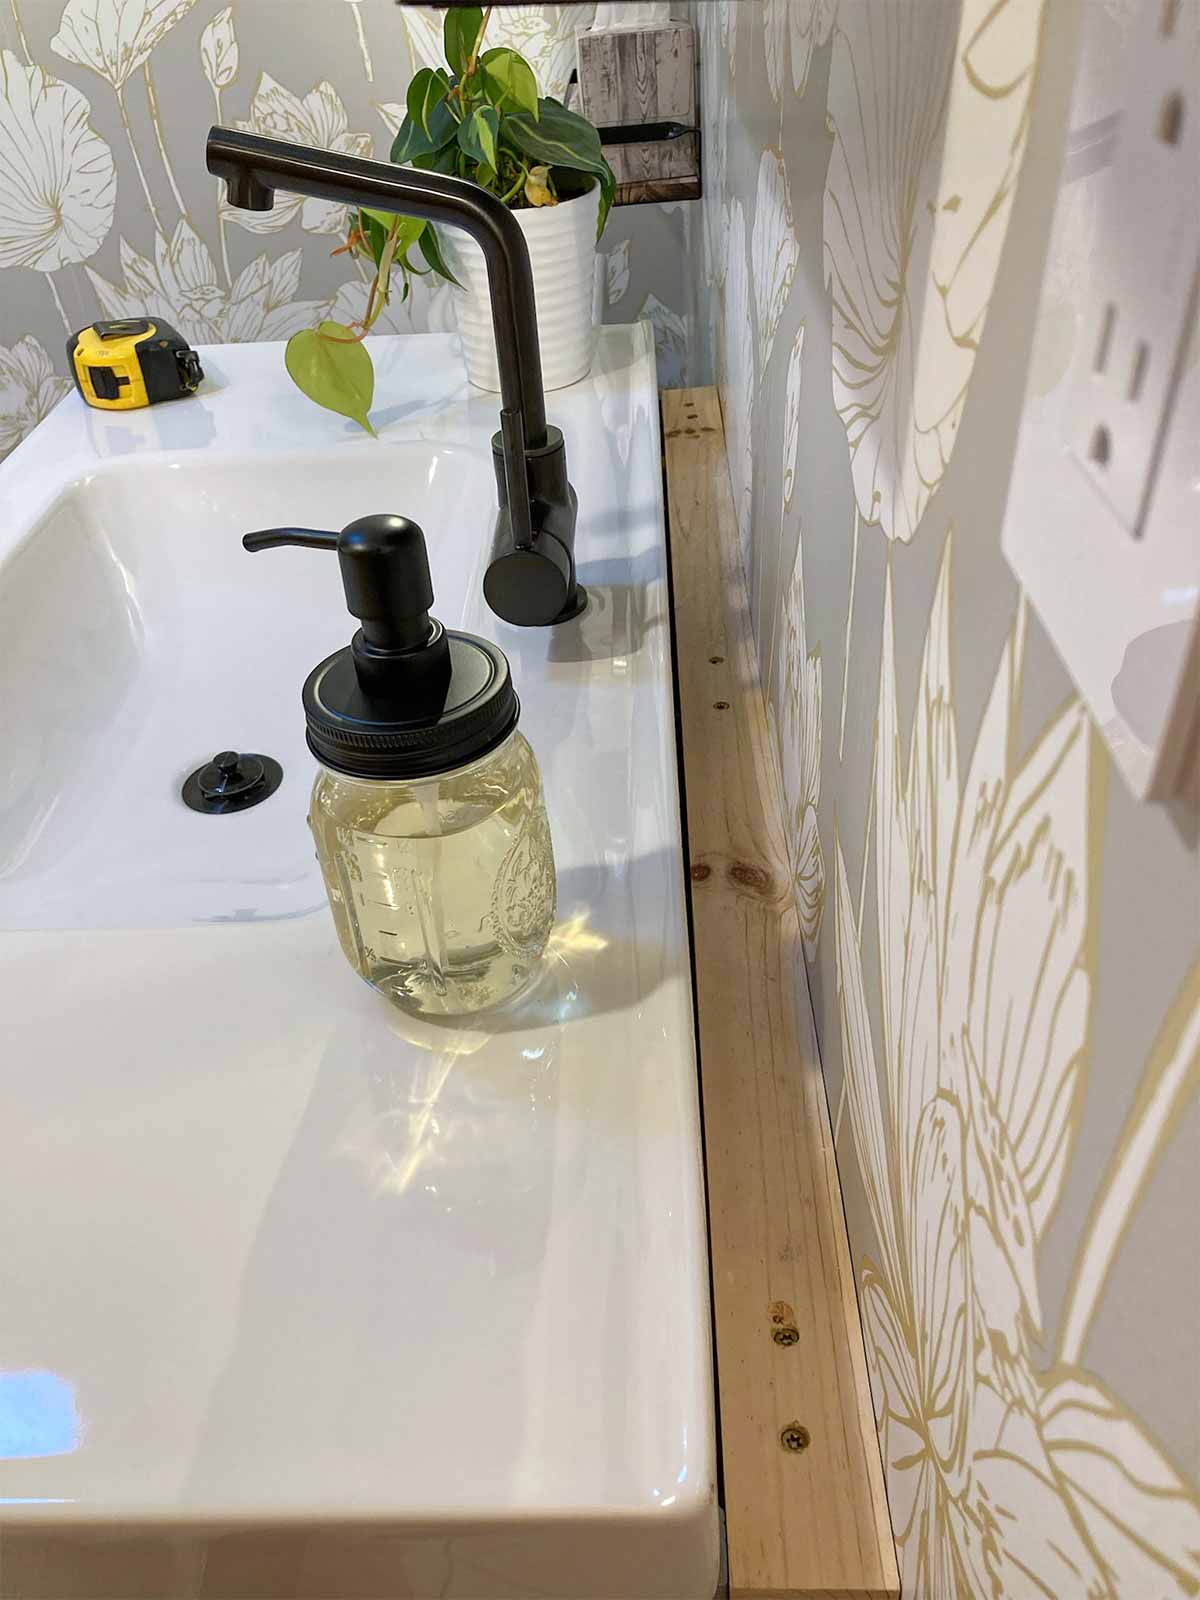
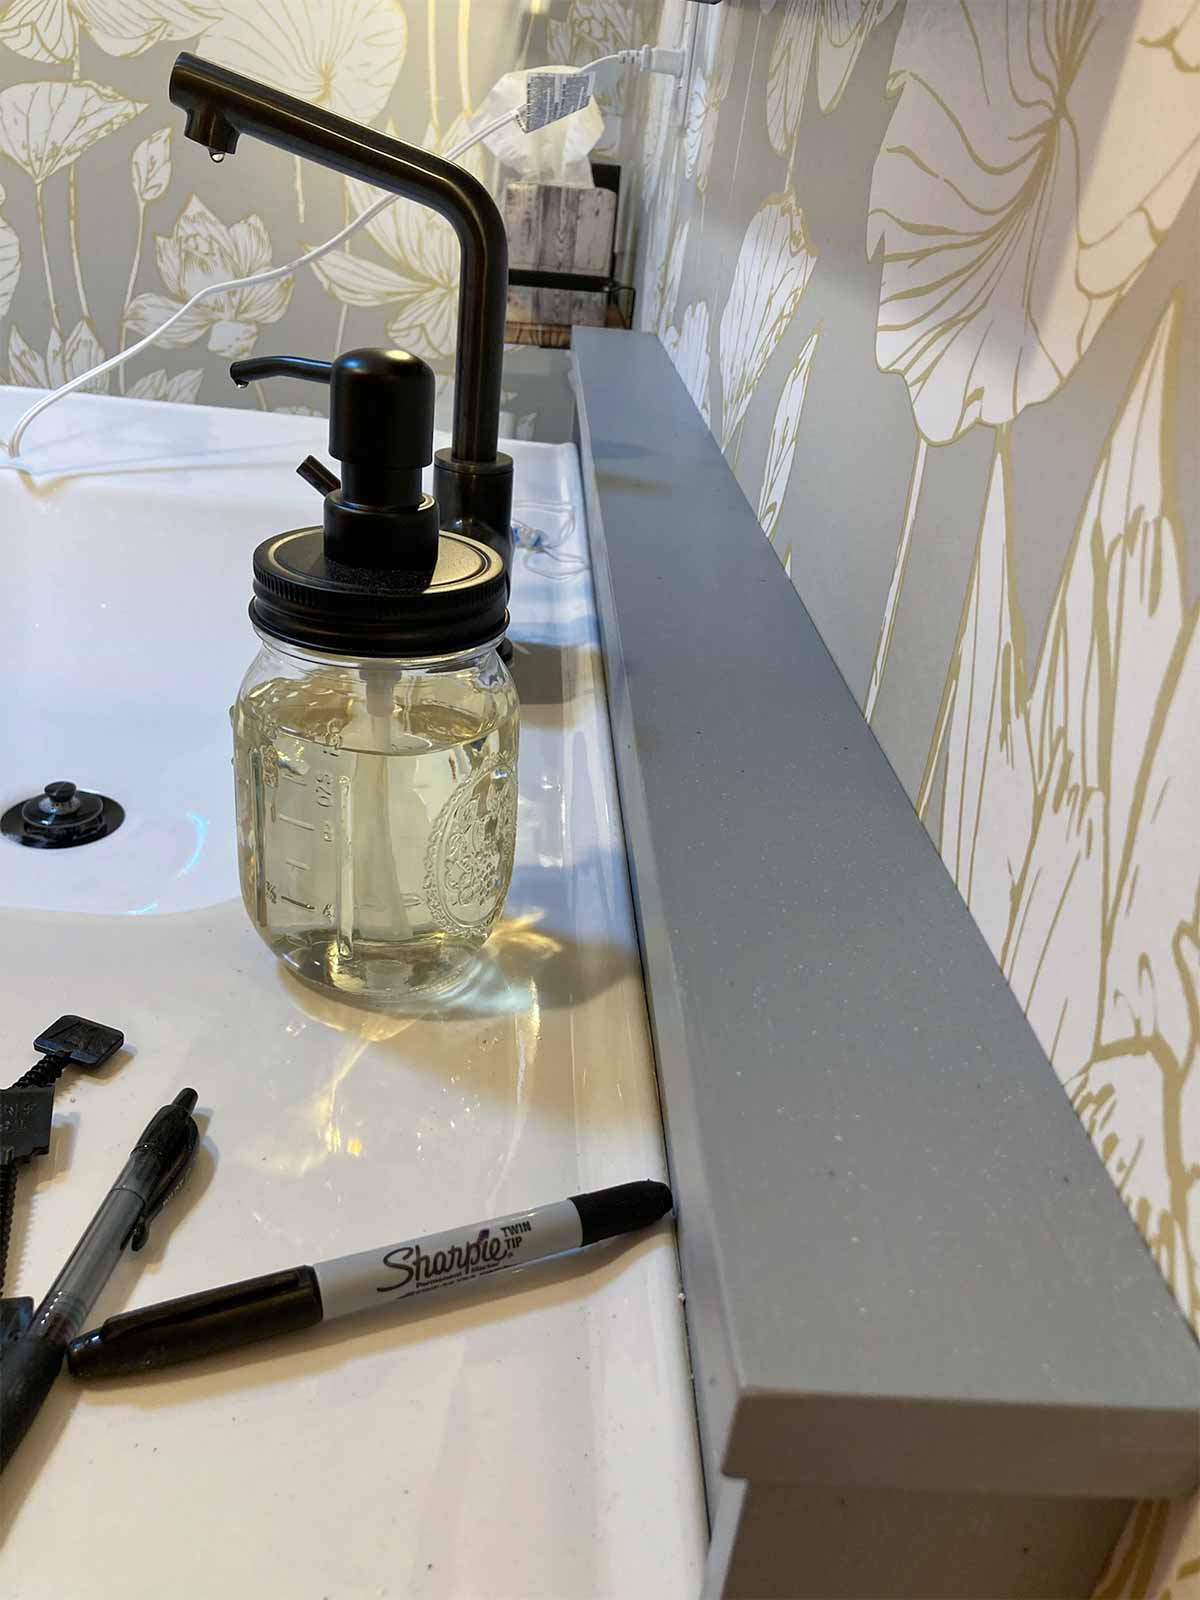
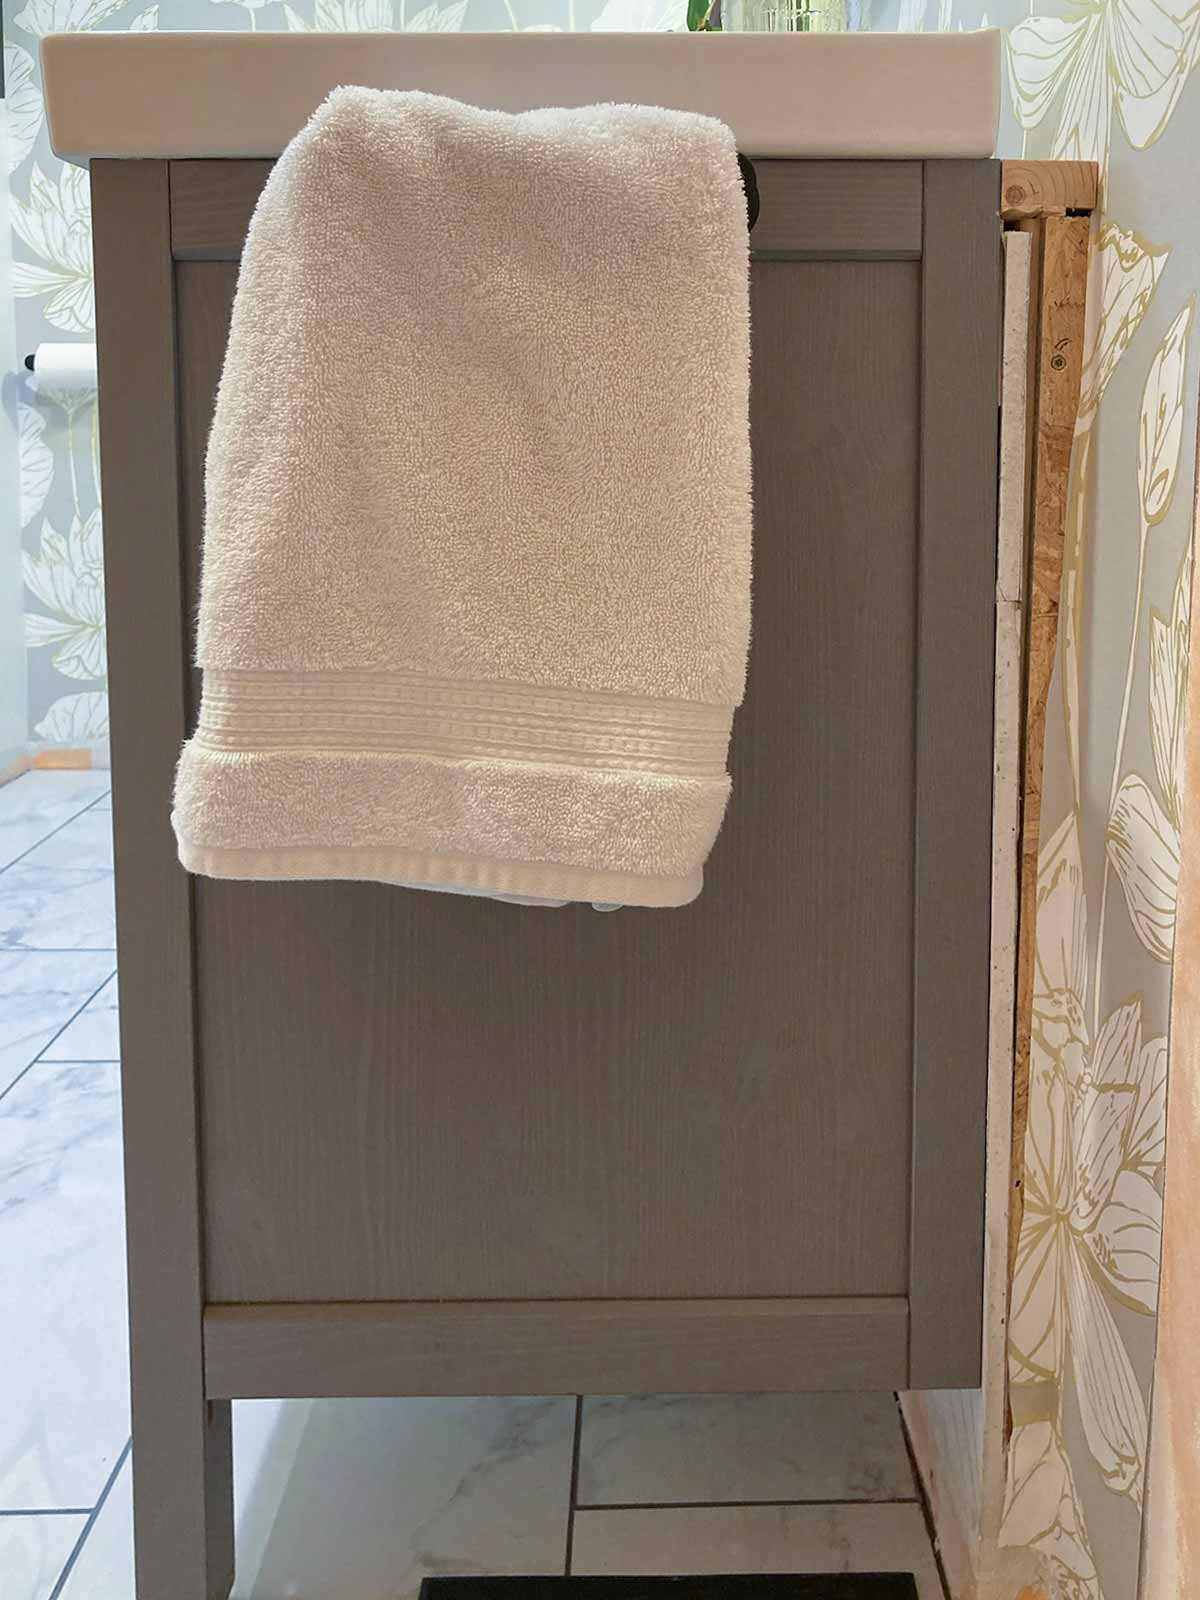
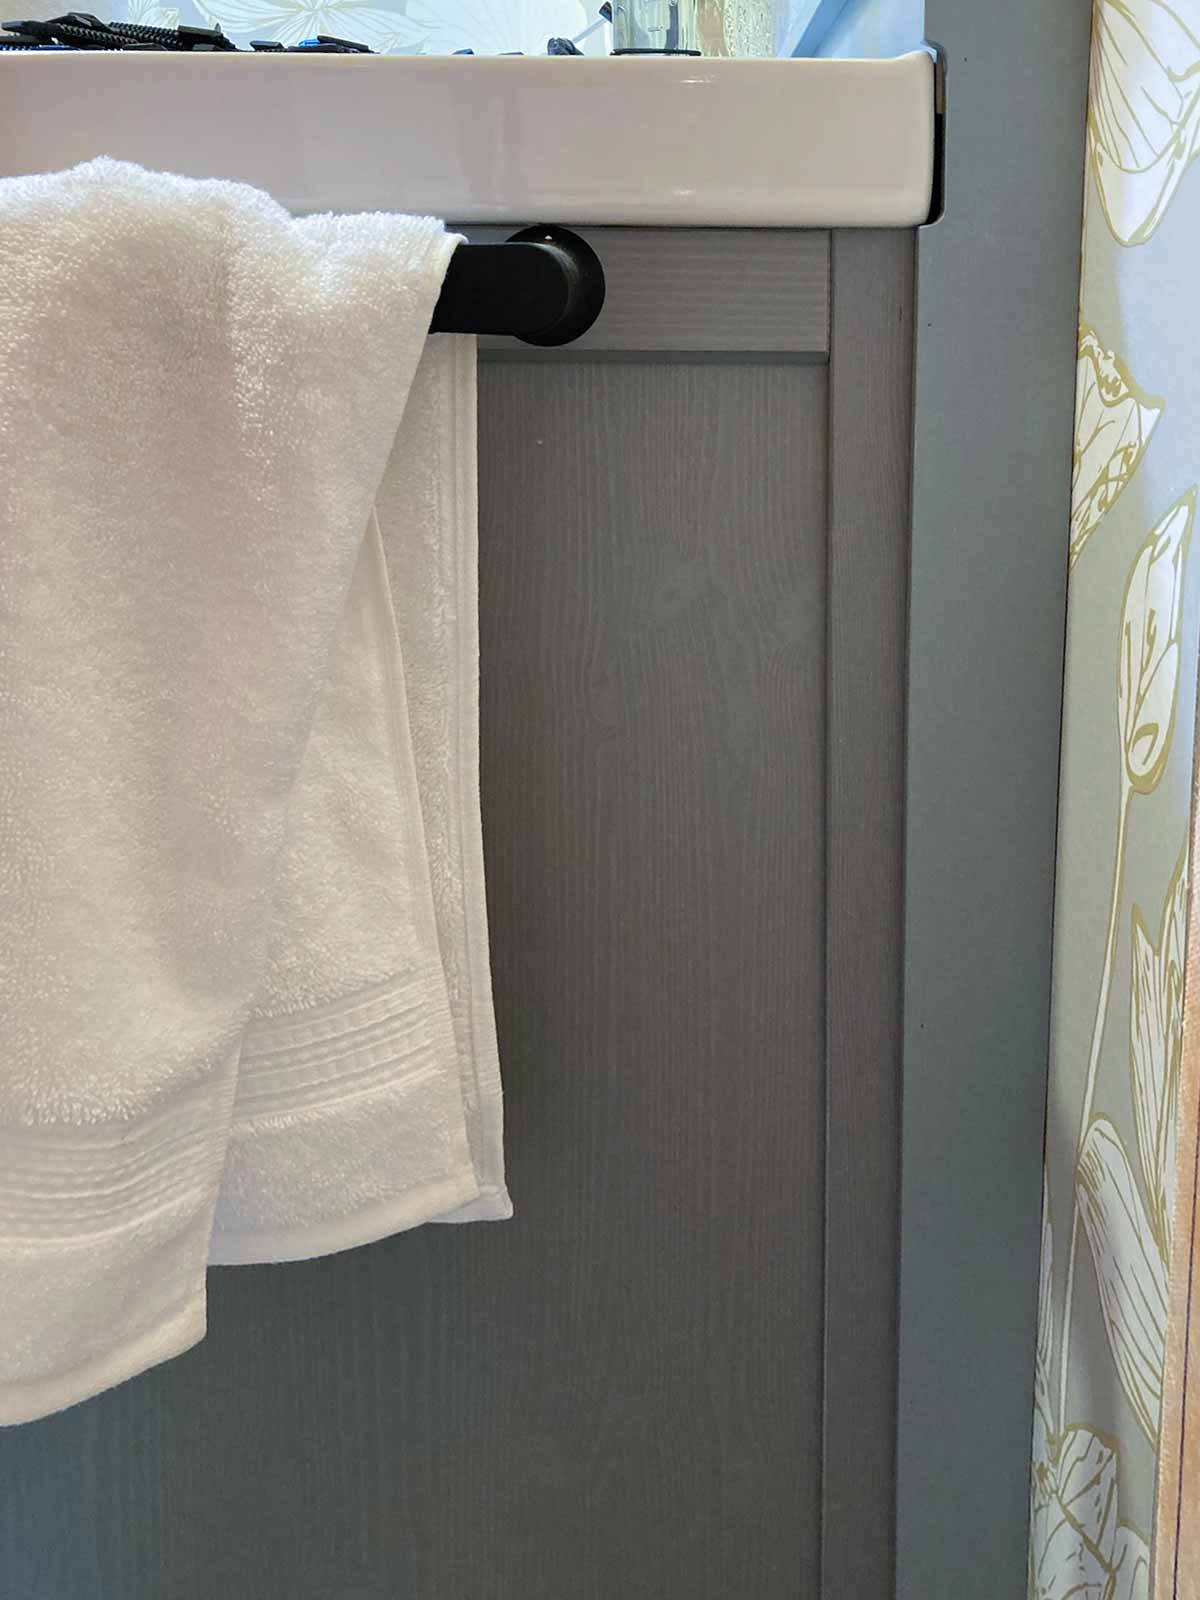
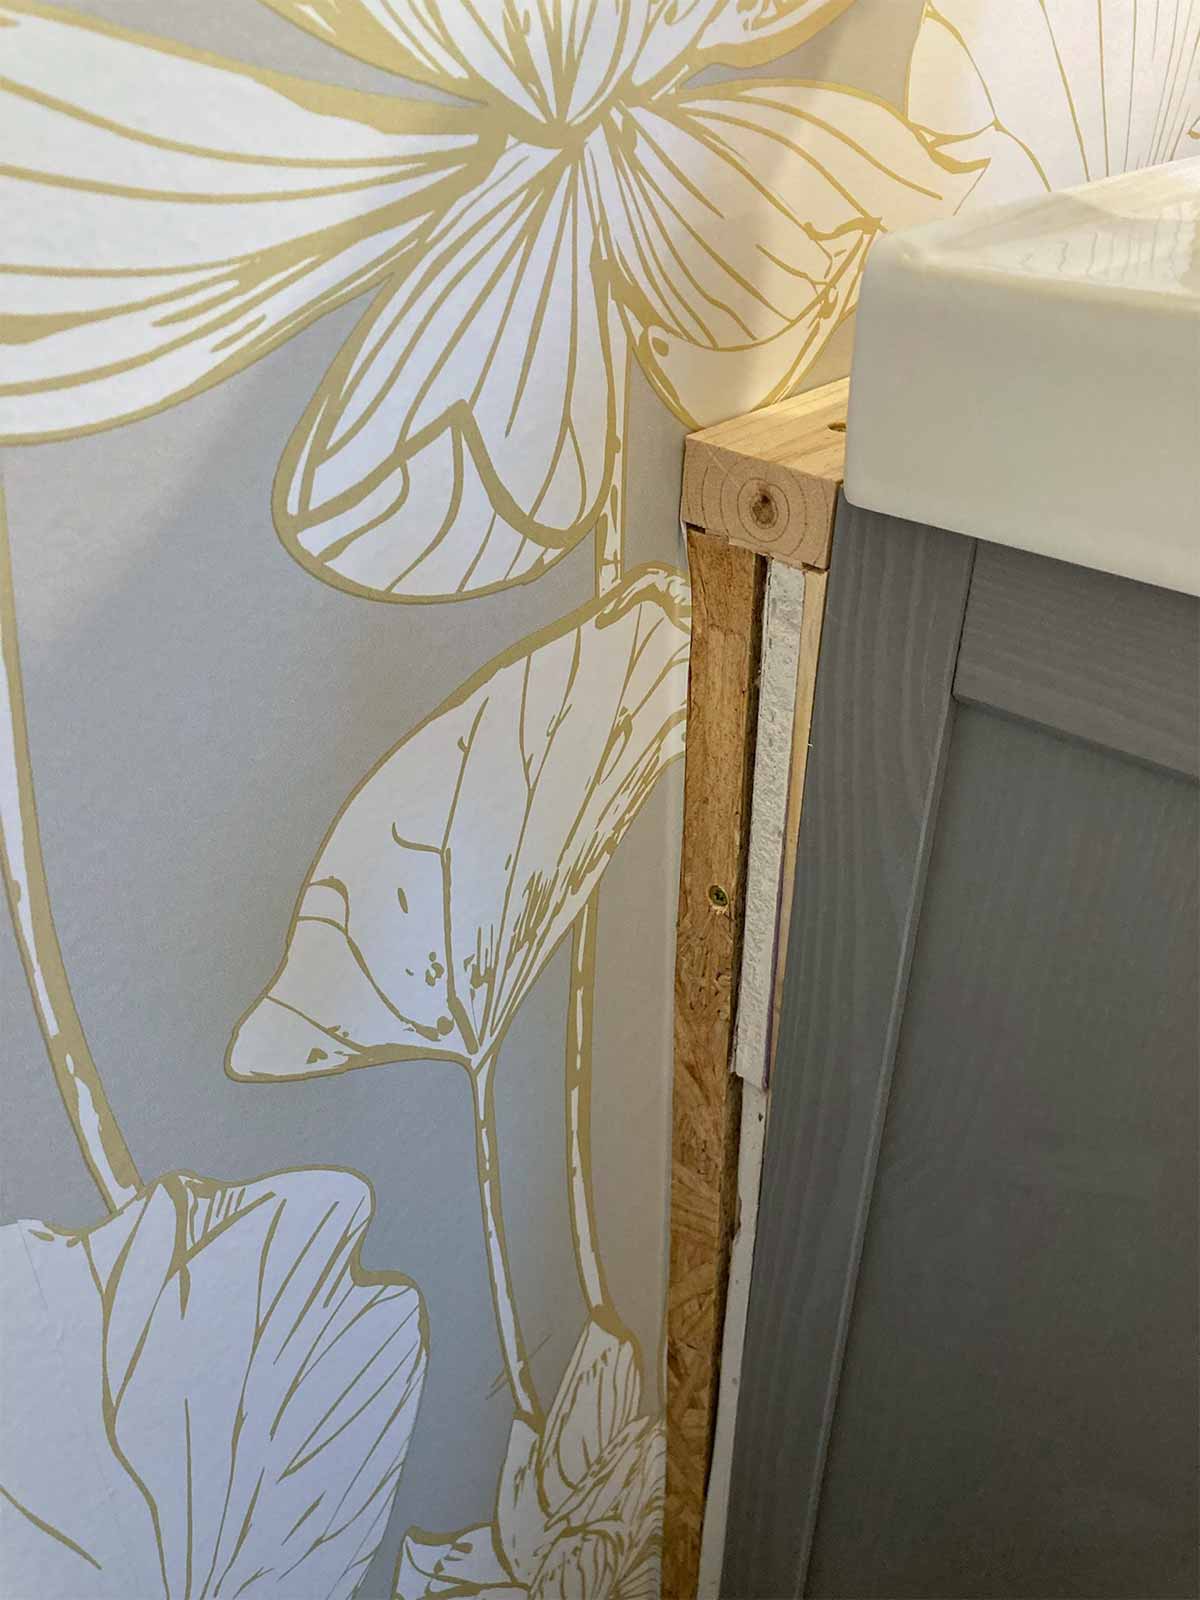
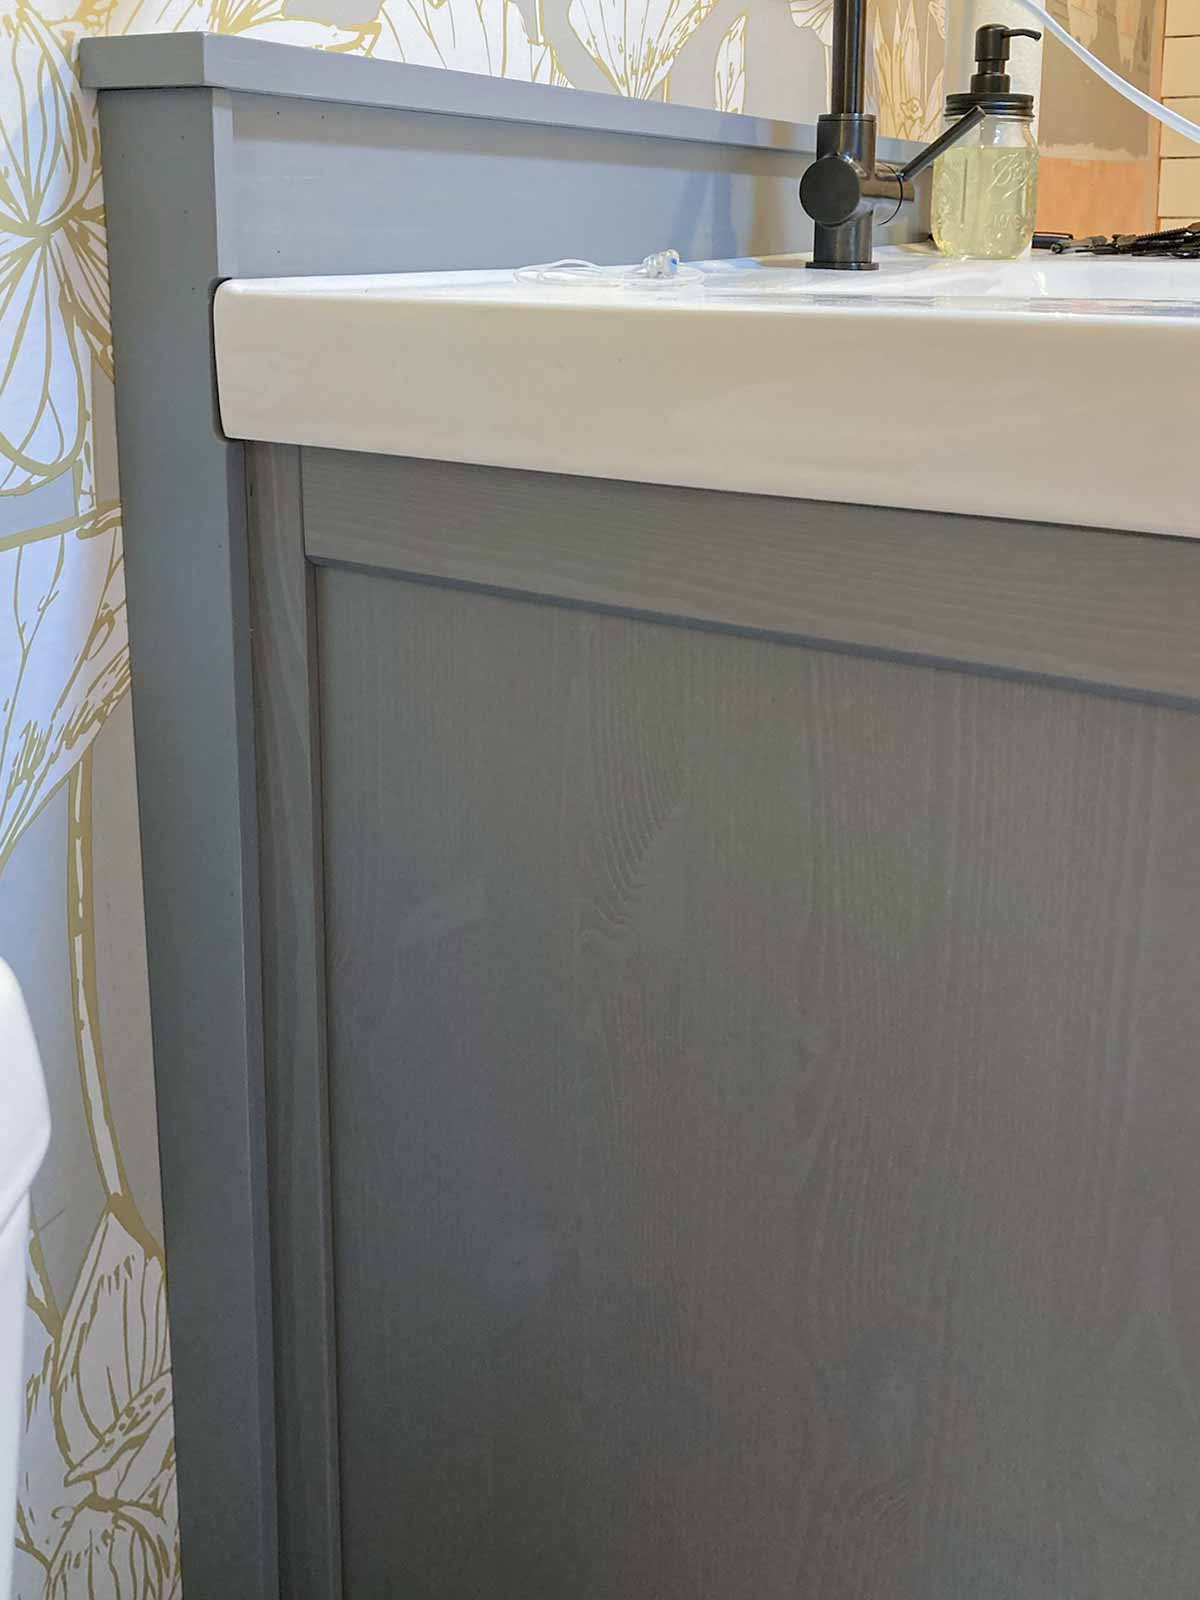
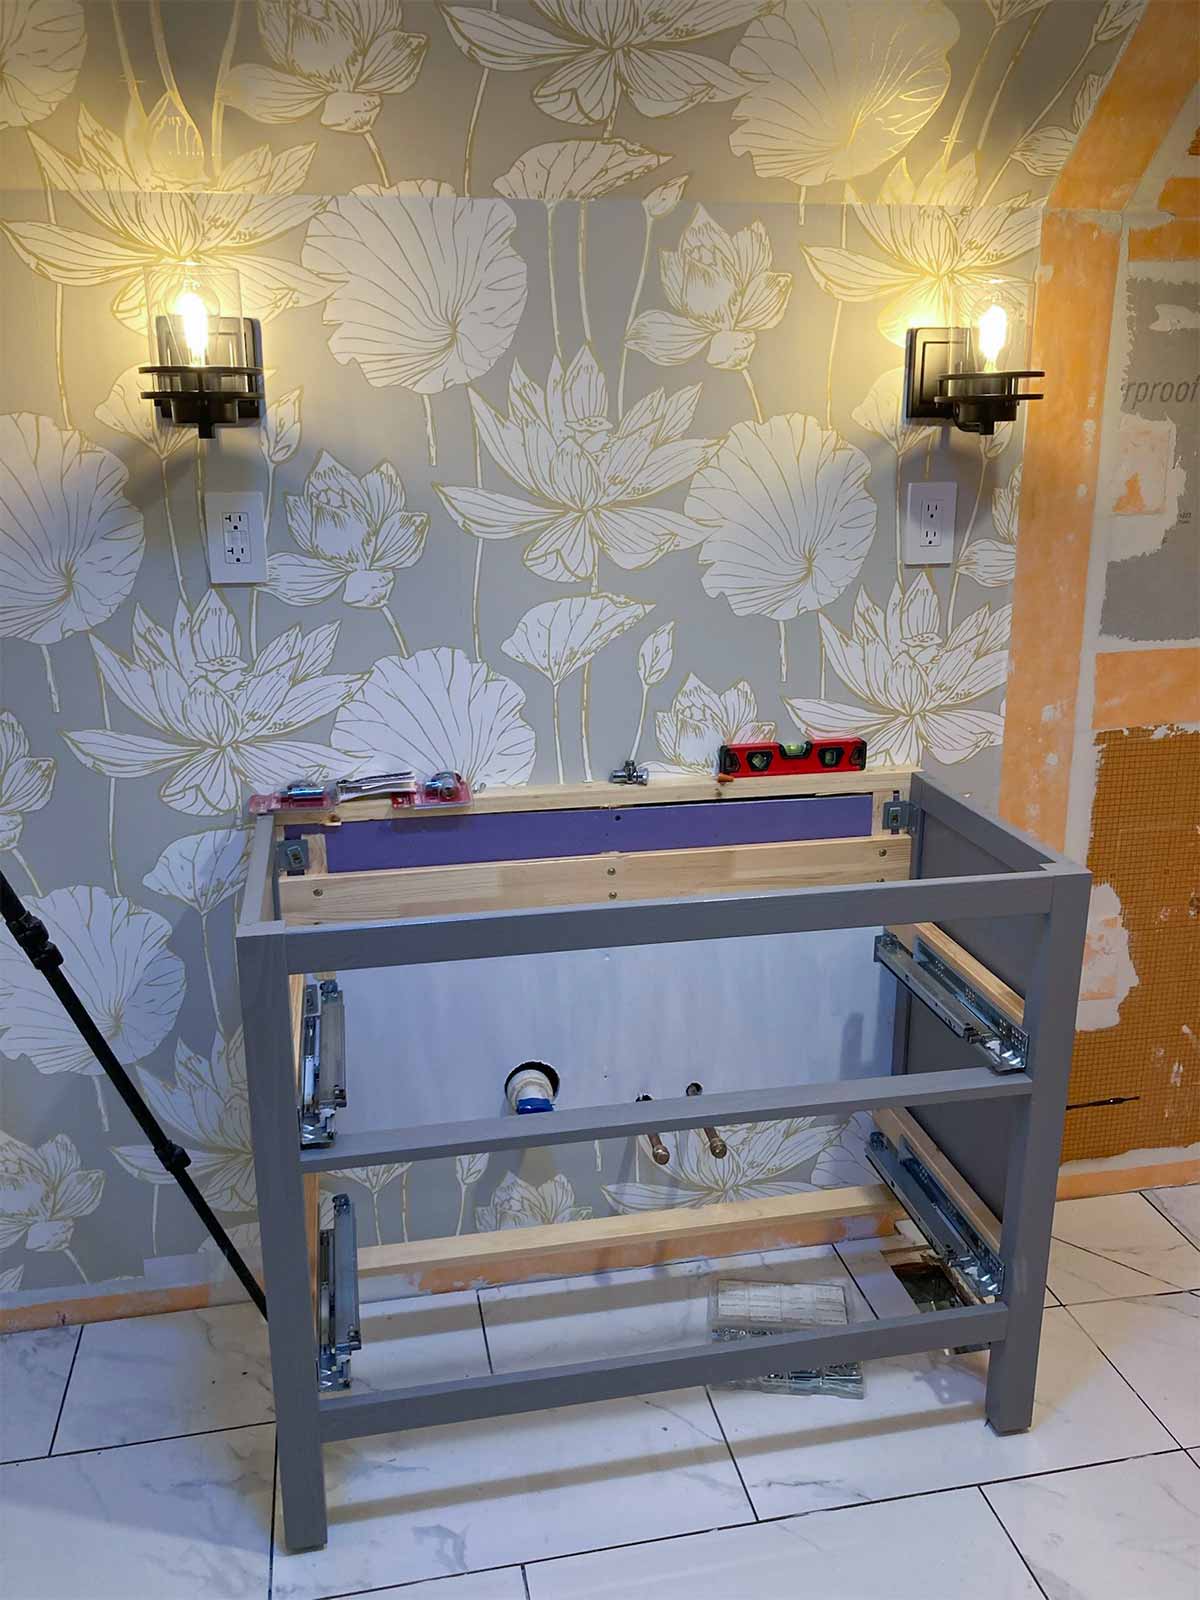
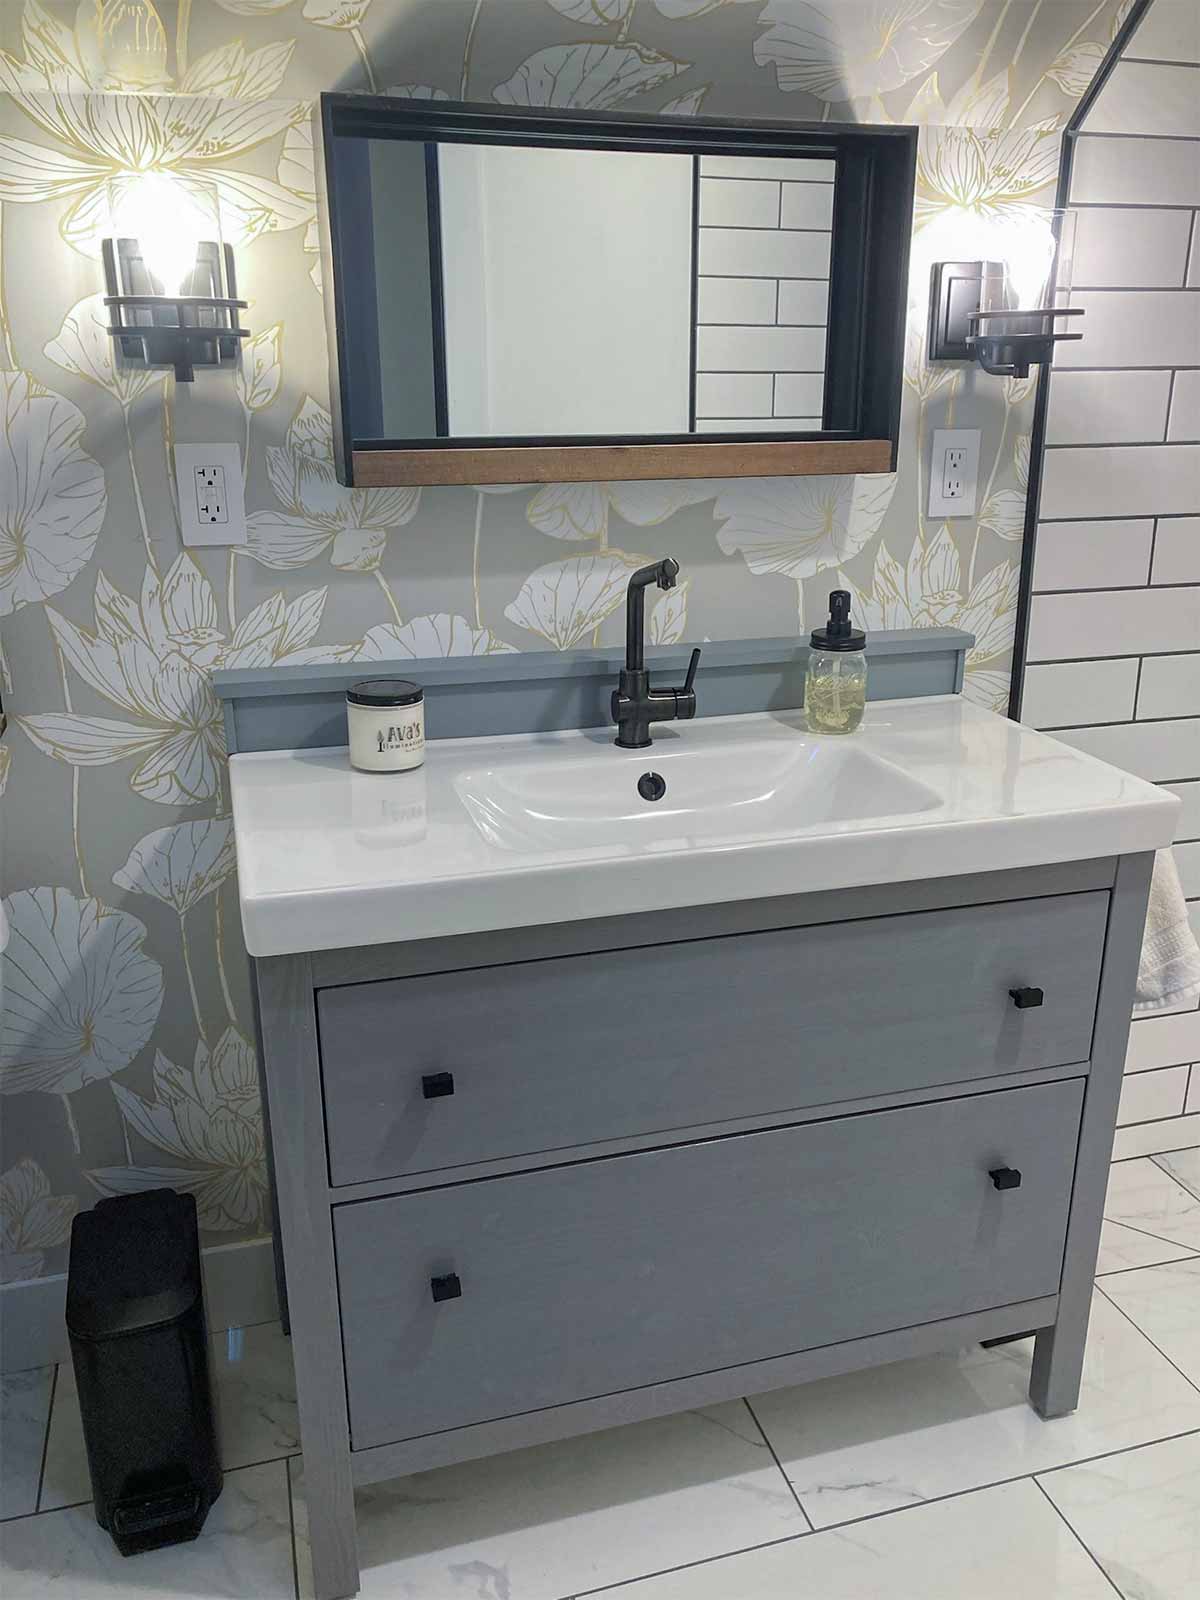
Toilet and Vanity
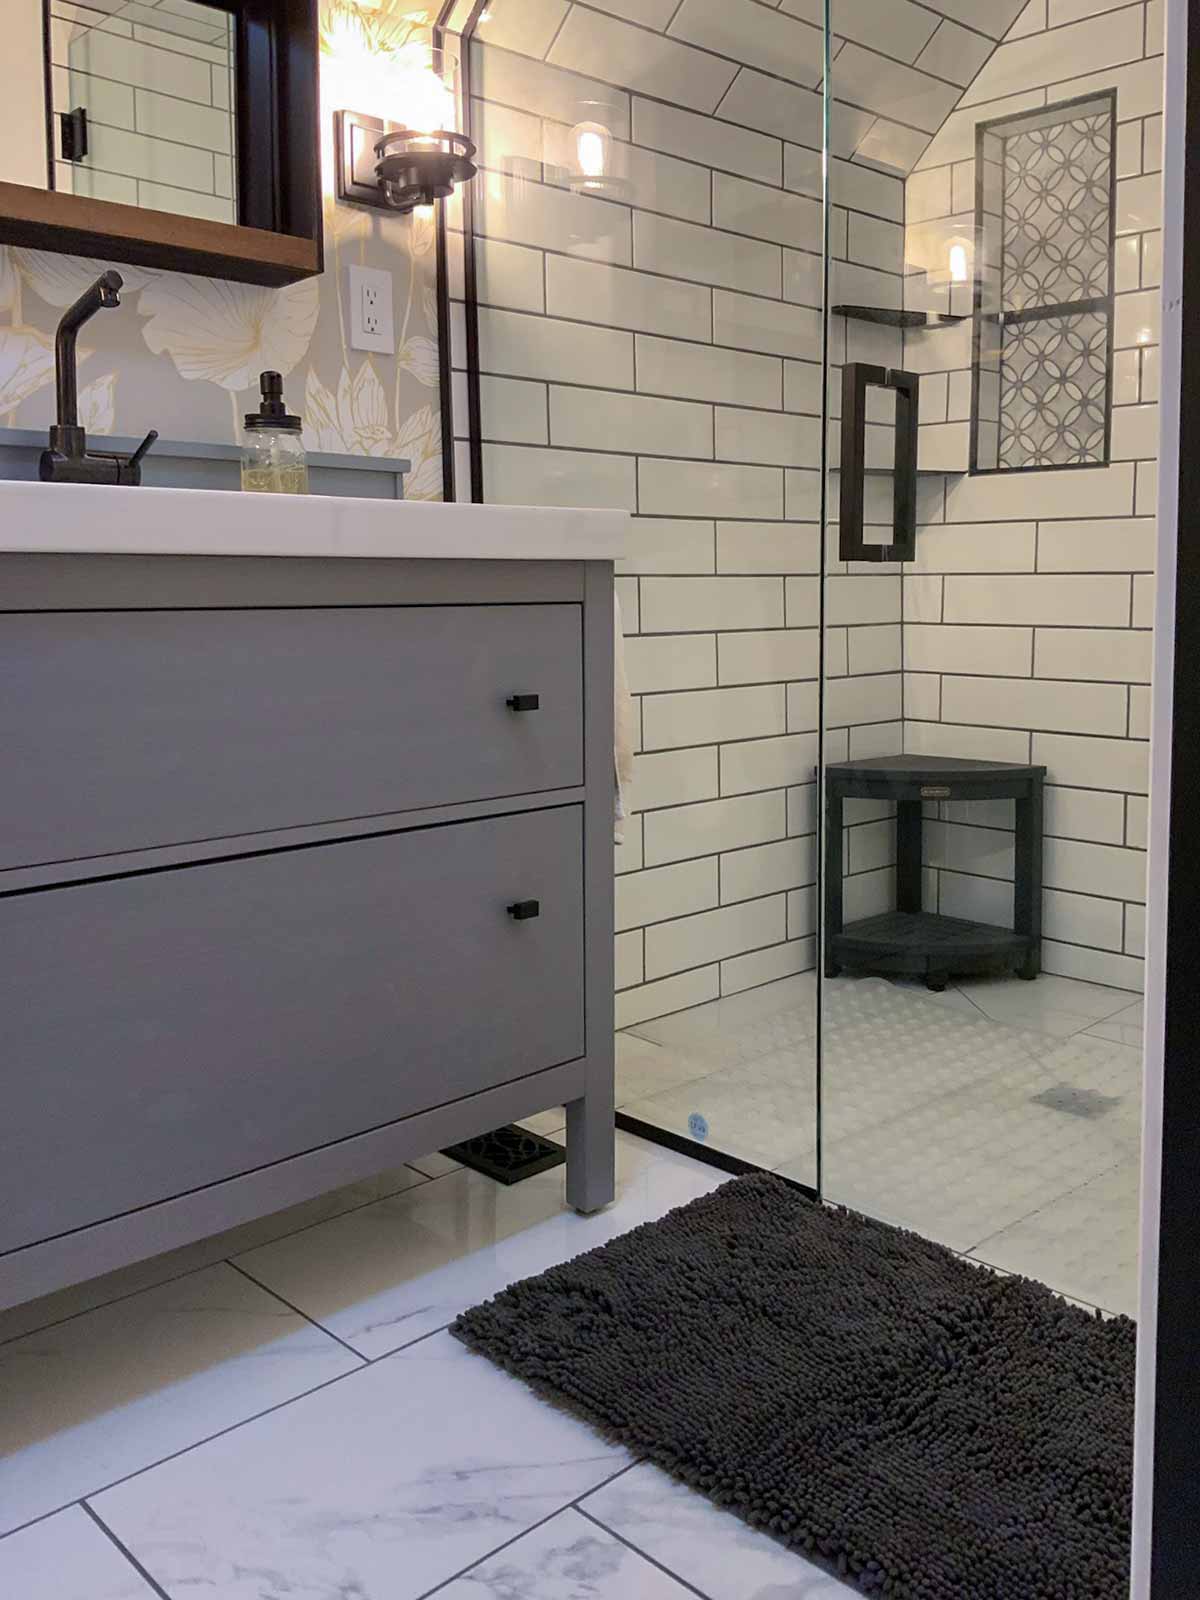
The plumbing for the vanity was inset into the room to fit insulation behind the pipes, since it is on an exterior wall. So the vanity is set away from the rest of the wall by two inches. Our sink top was purchased along with the cabinet from IKEA a year before we began this project. You can see in the pics below that we would need to come up with a solution to cover all the gaps. We originally were going to have a new sink top installed, but the cost and problems with the drawer size/drain made that not an option. I'm actually glad that didn't work because I think we now have a very unique vanity that fits into the charm of the farmhouse perfectly.
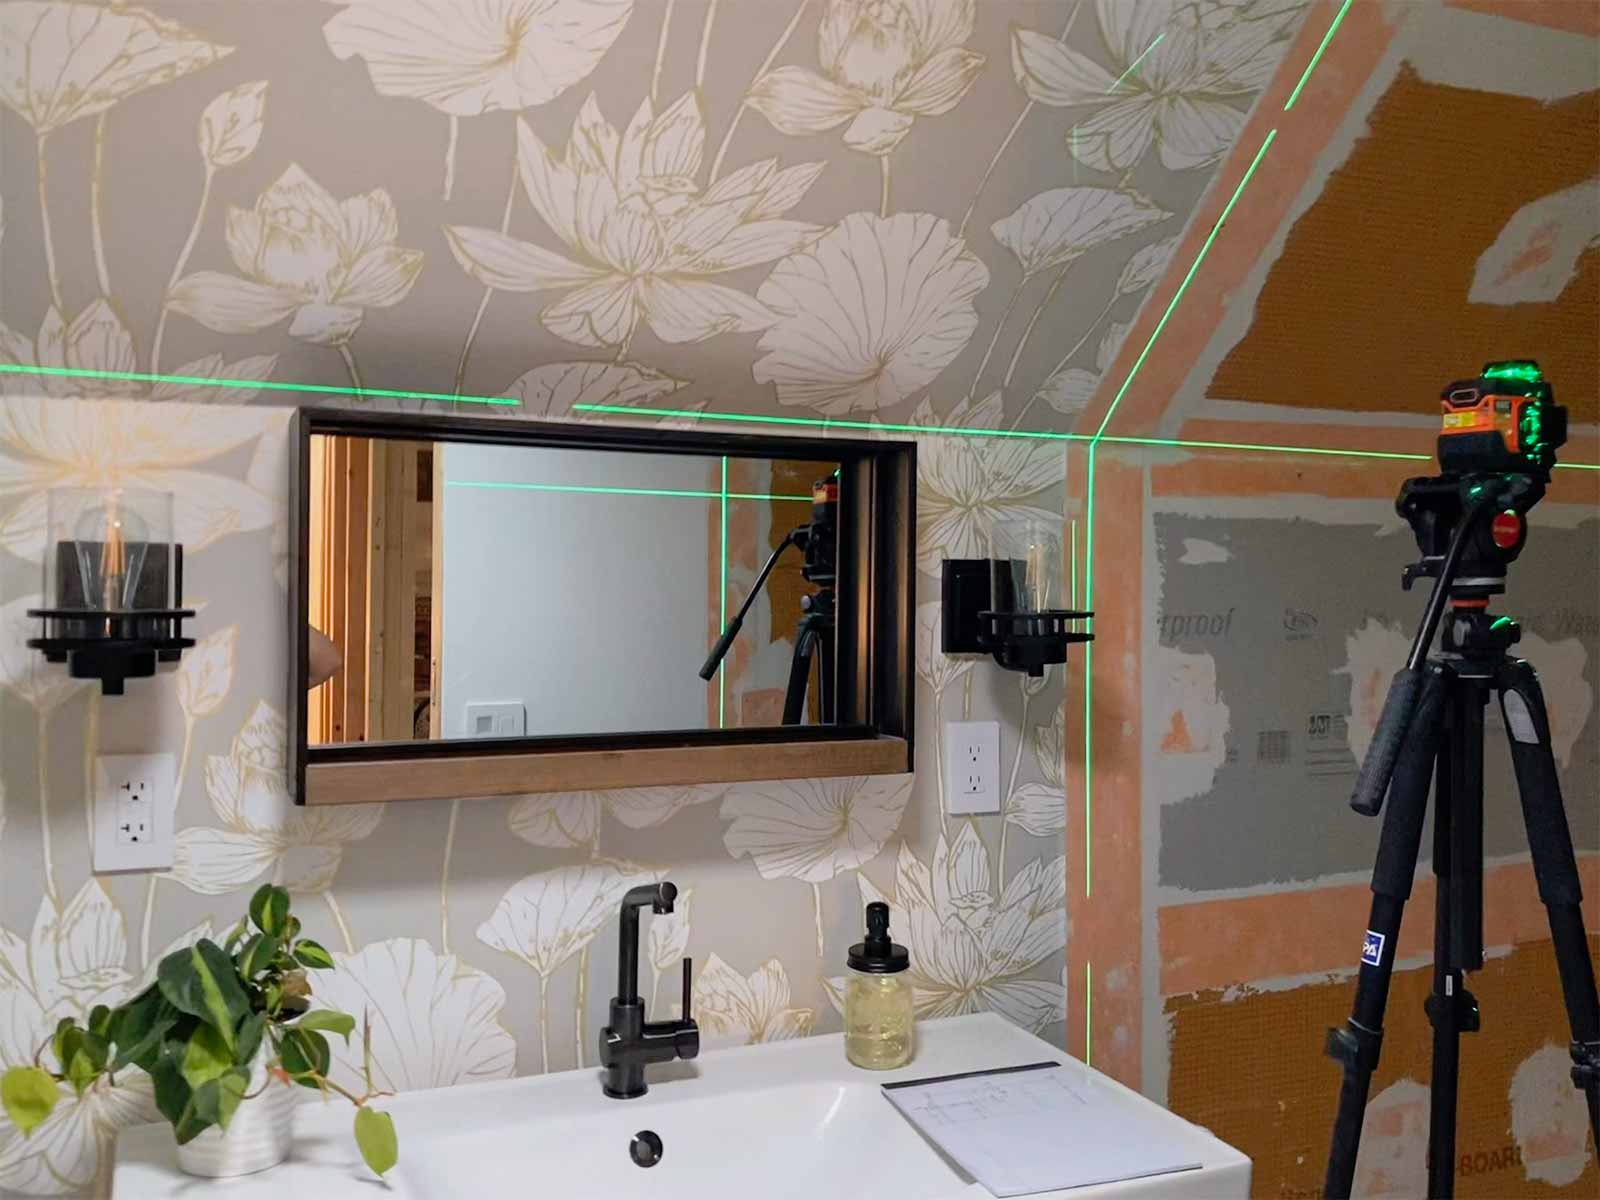
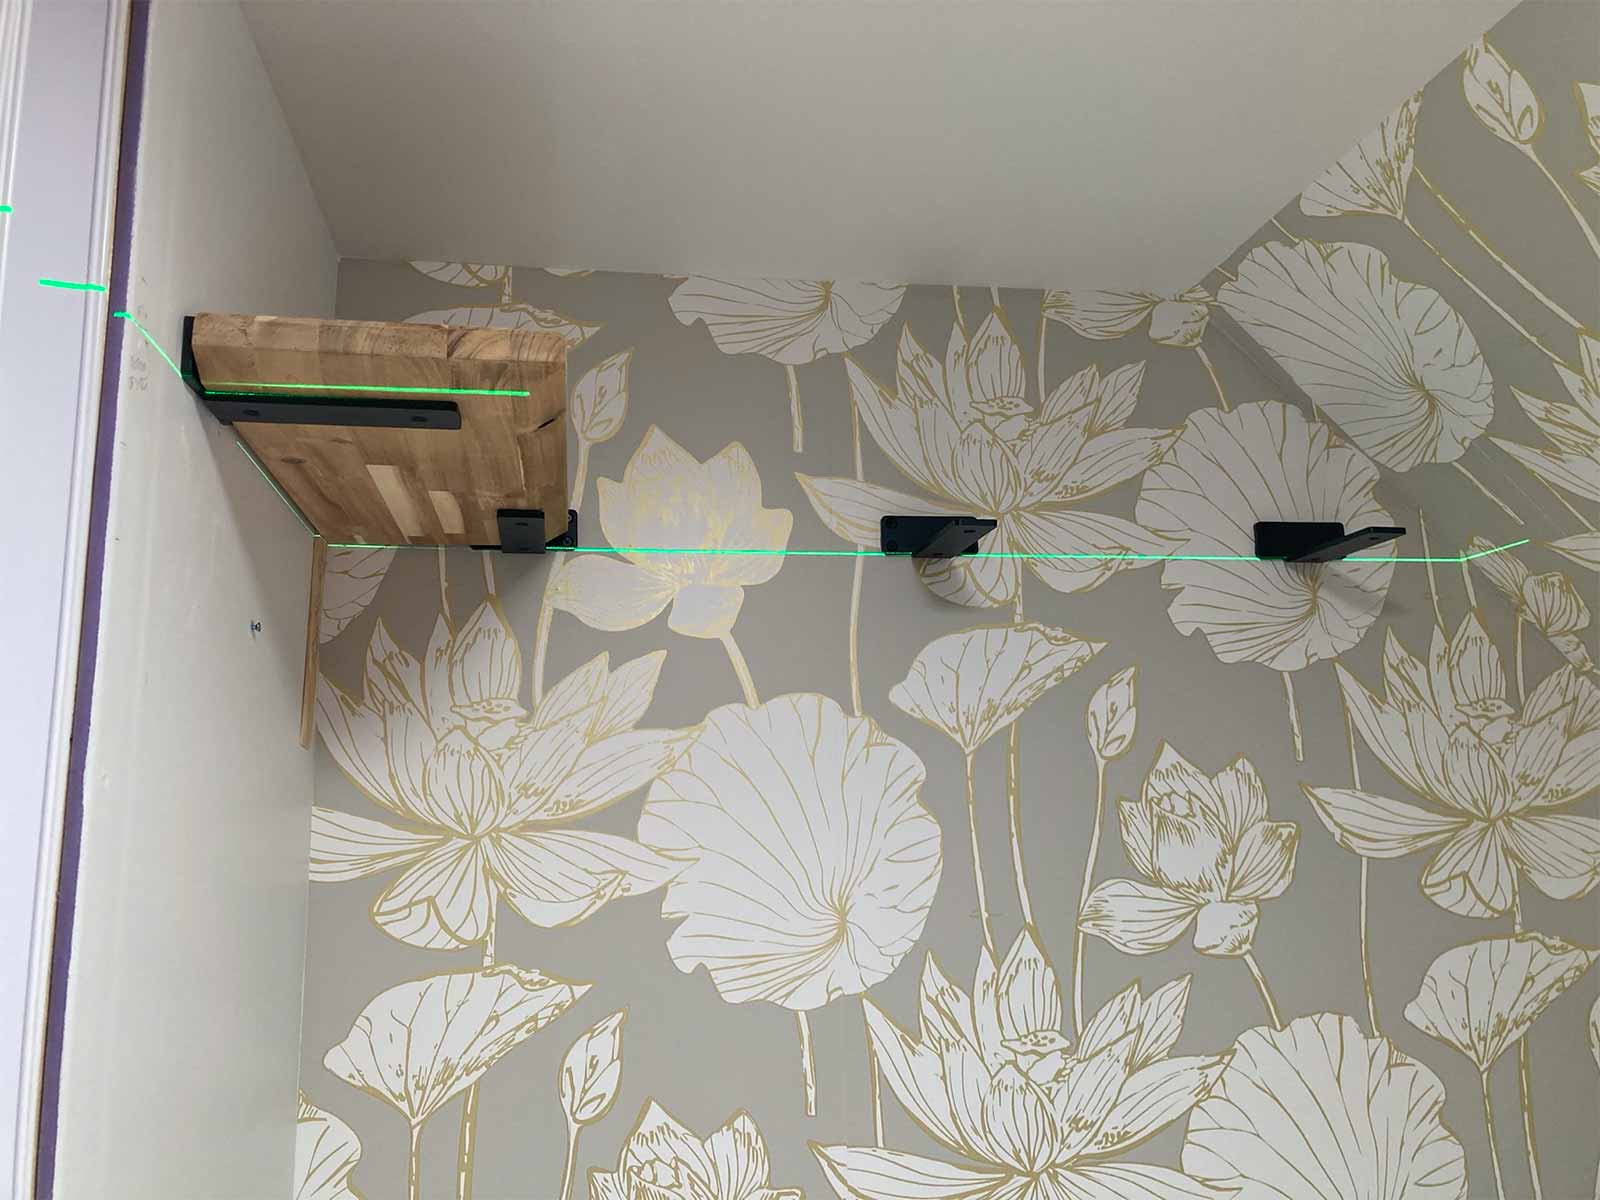
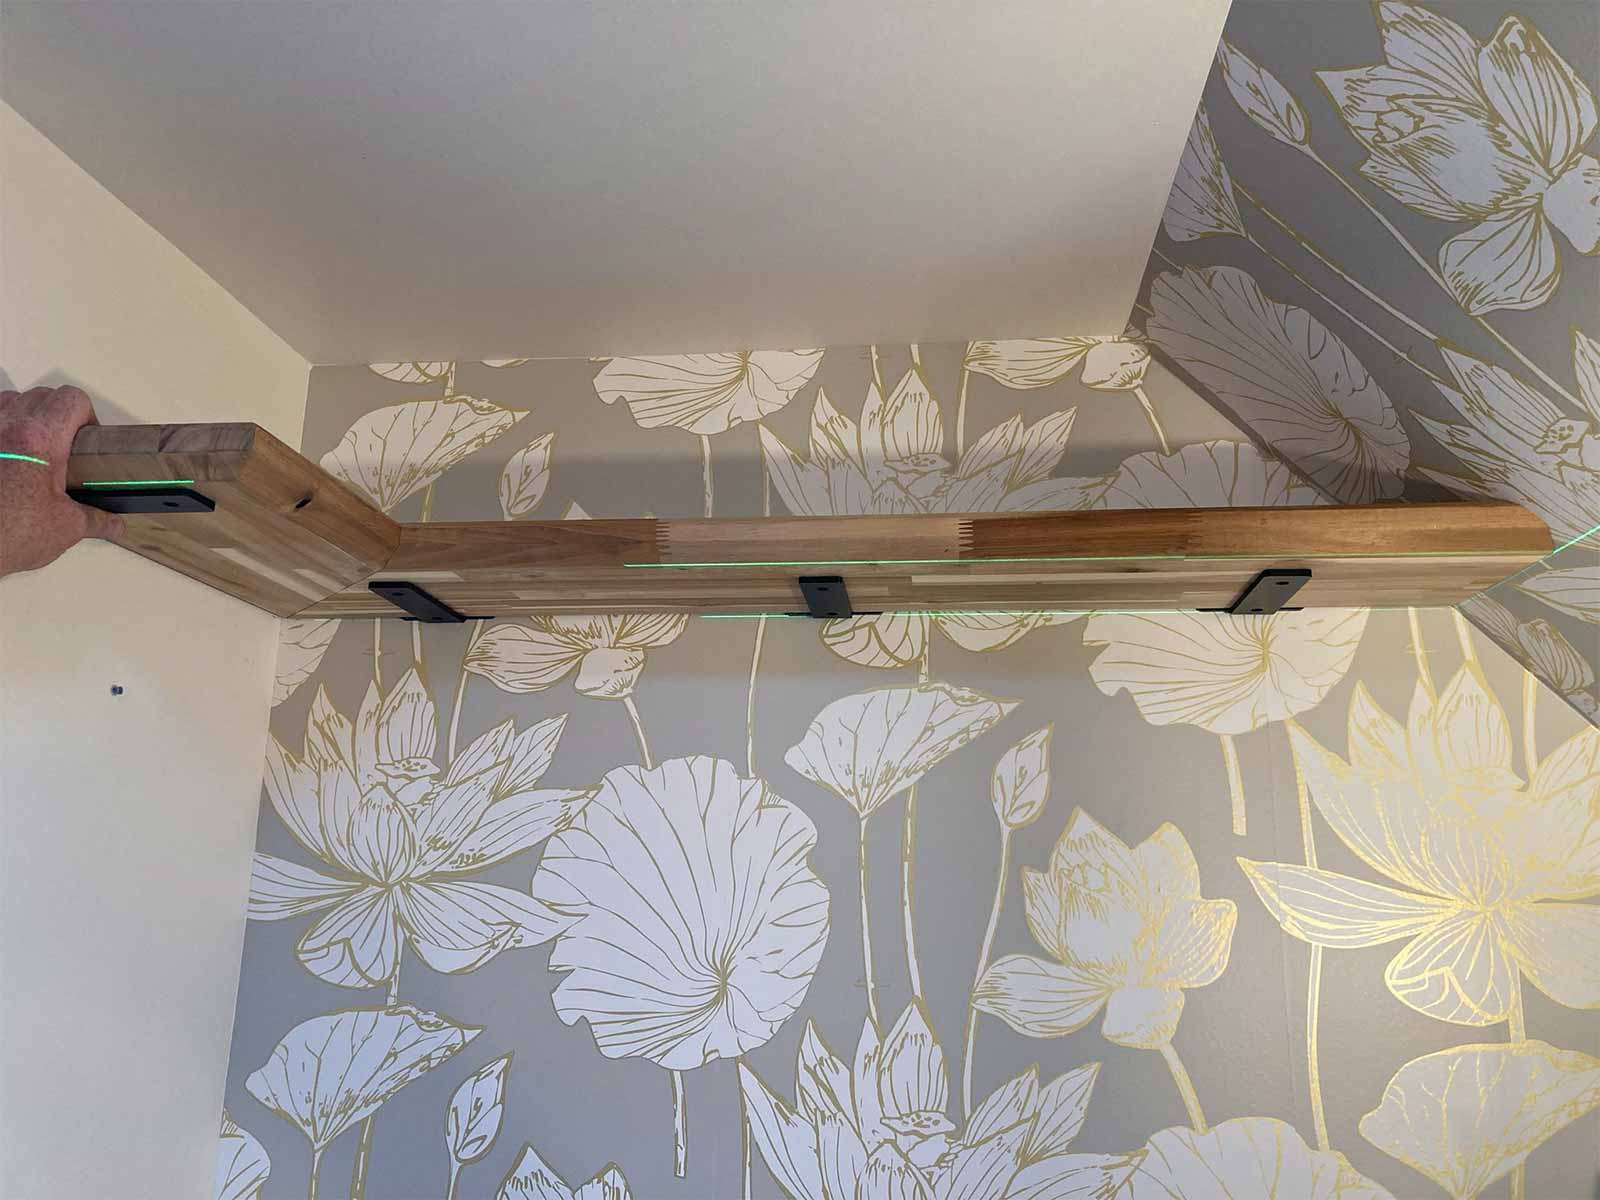
Lighting, Mirror, & Shelf
- The mirror was purchased from Wayfair: Joss & Main Ronnie modern accent mirror
- The sconces were purchased from Menards
- The shelf is custom made from a leftover piece of the butcher block used for the dining room table. We purchased black heavy duty metal brackets for supports.
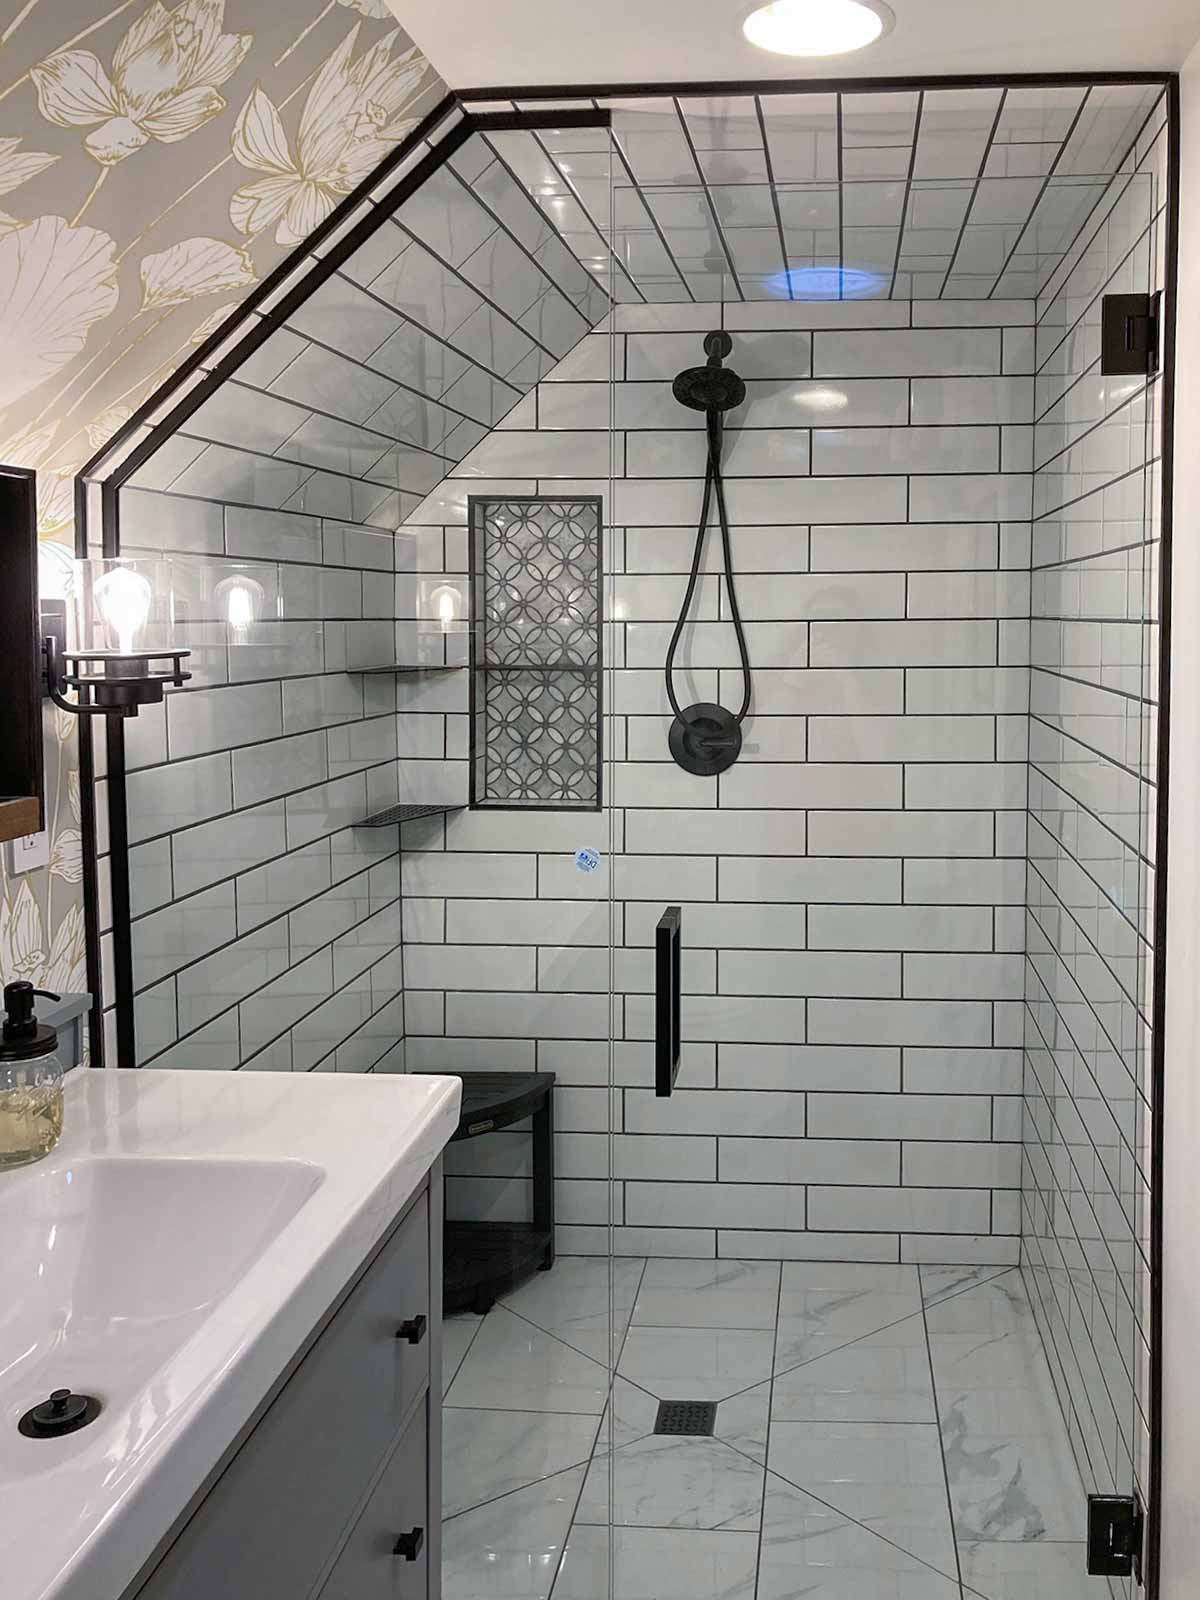
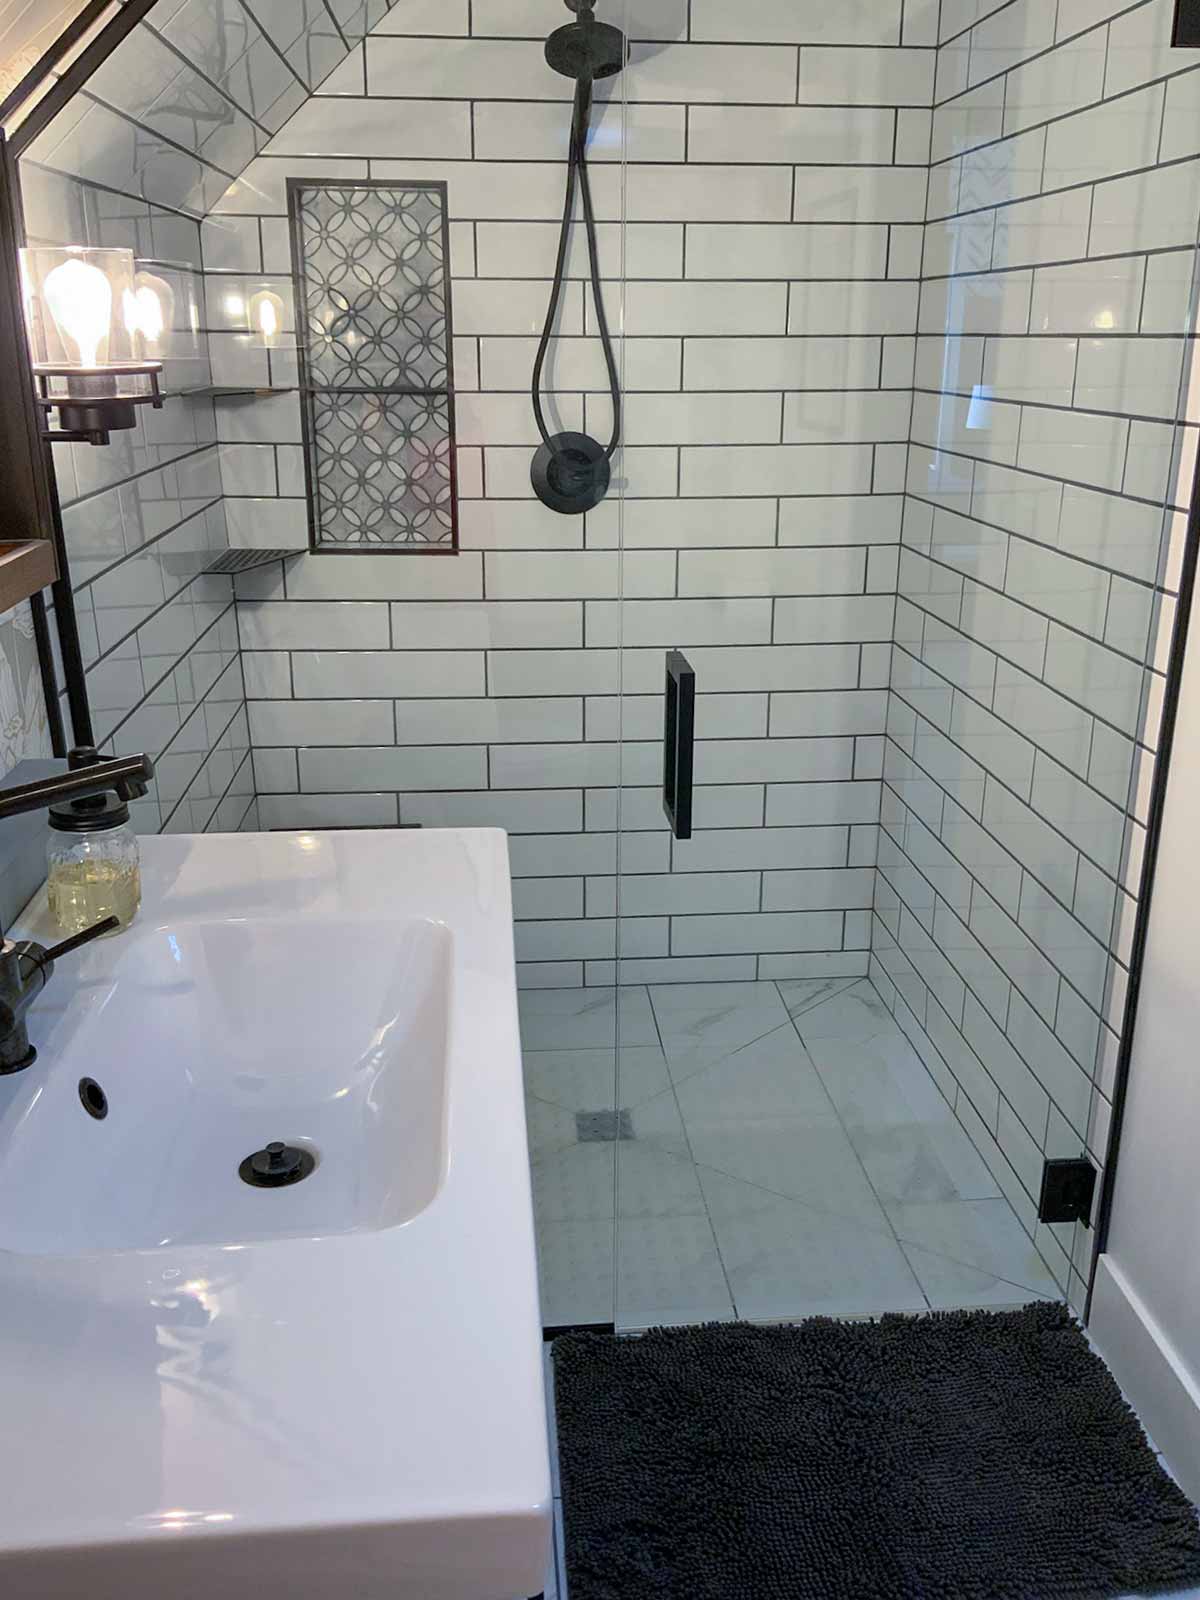
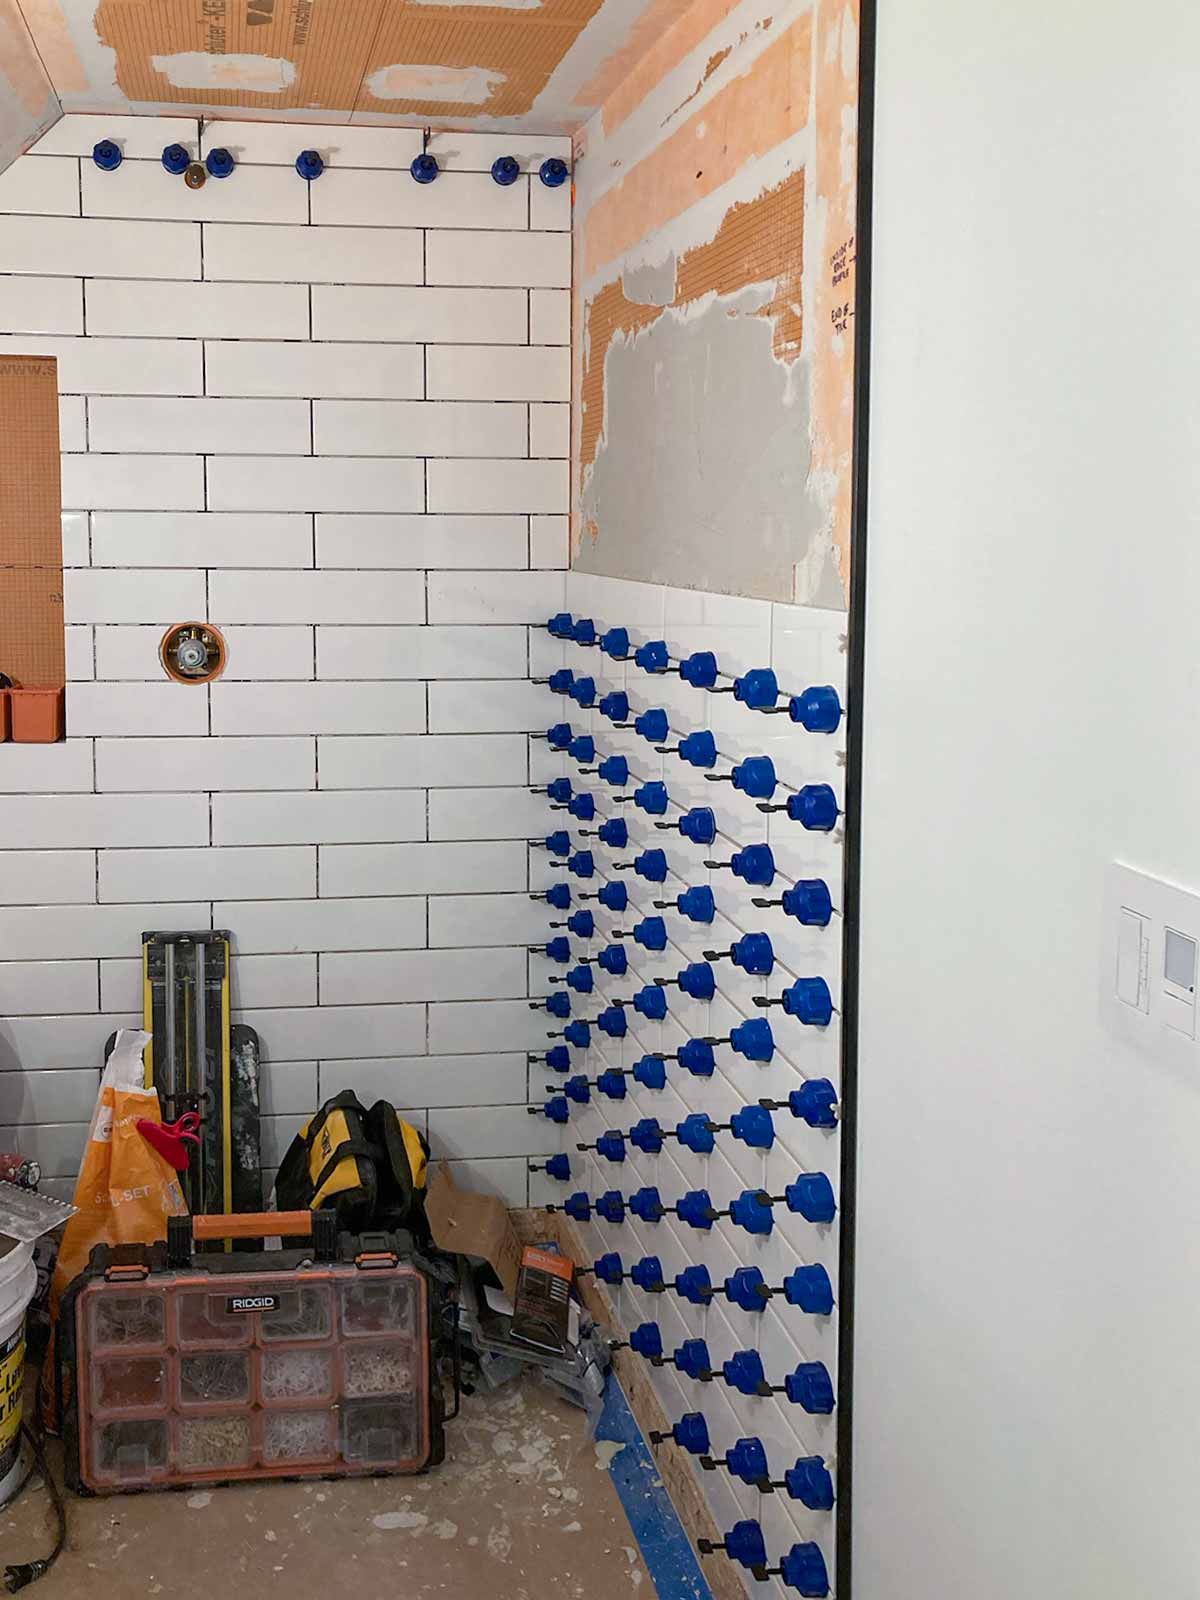
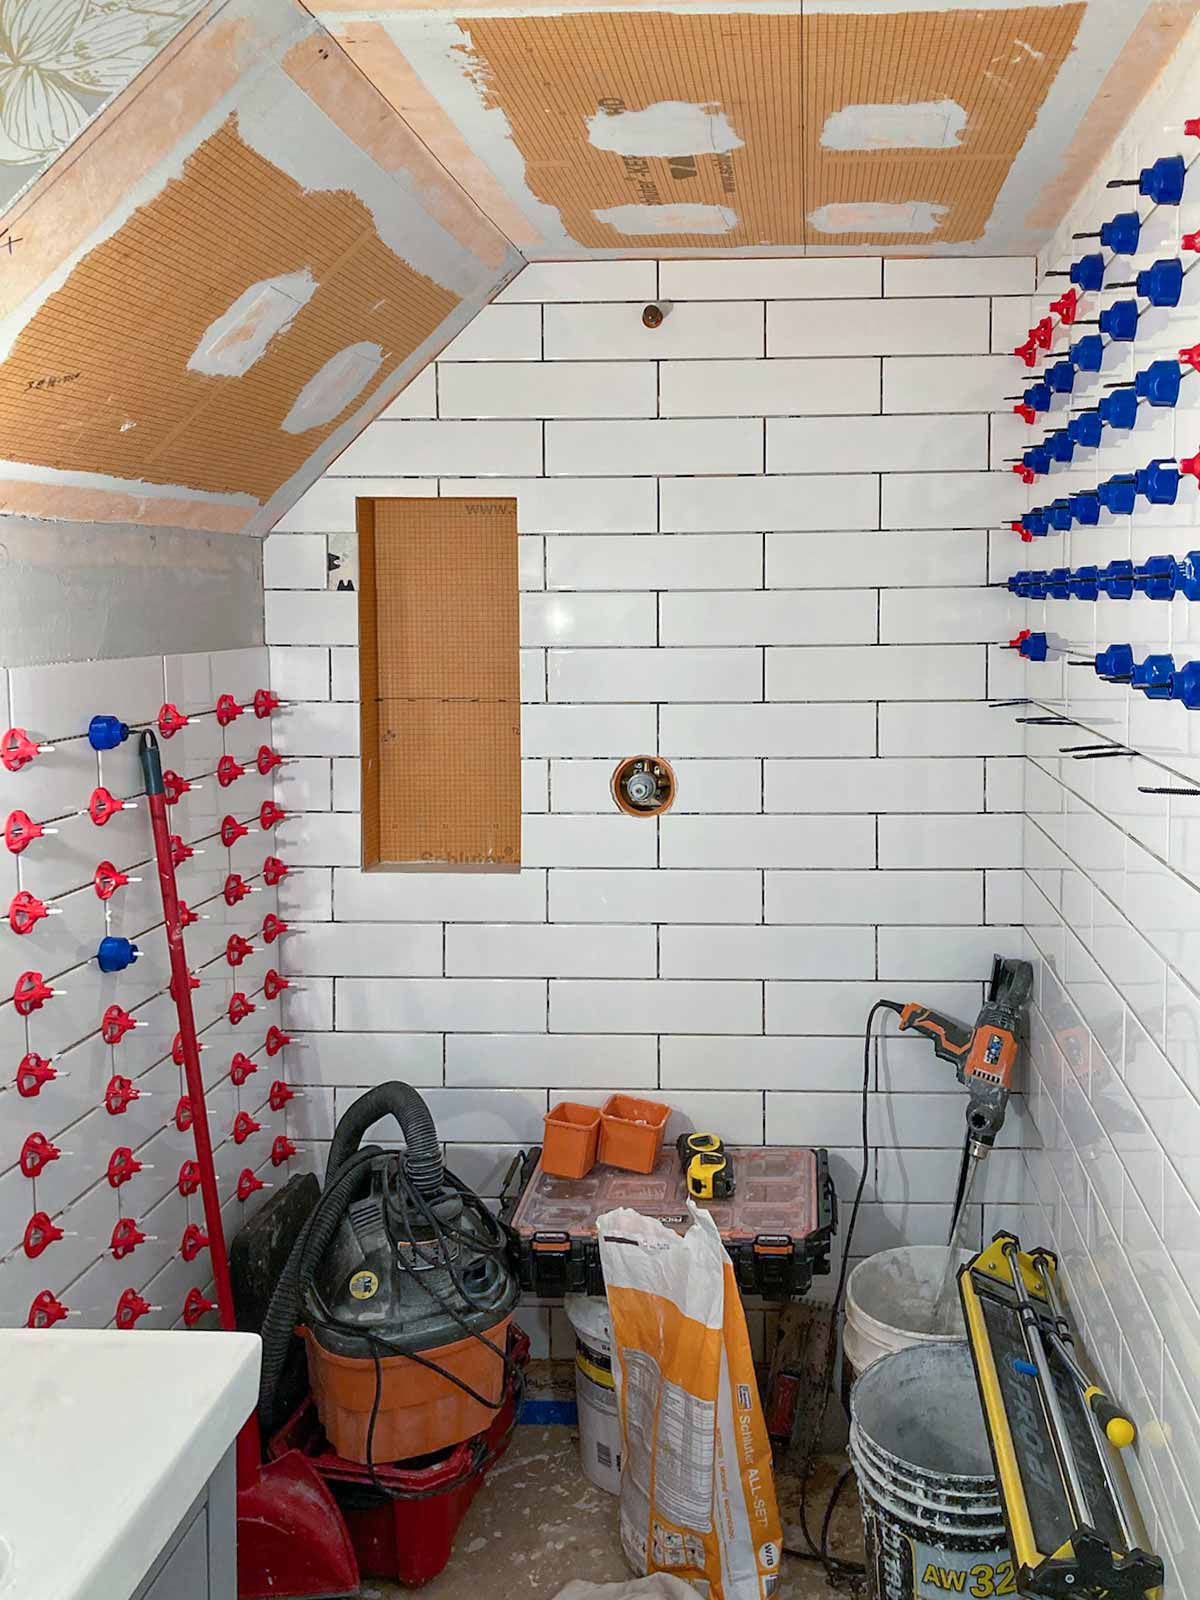
Shower Walls Pt. 1
- Shower tile: Daltile large format subway tile purchased from The Home Depot
- Niche tile is purchased from Lowe's
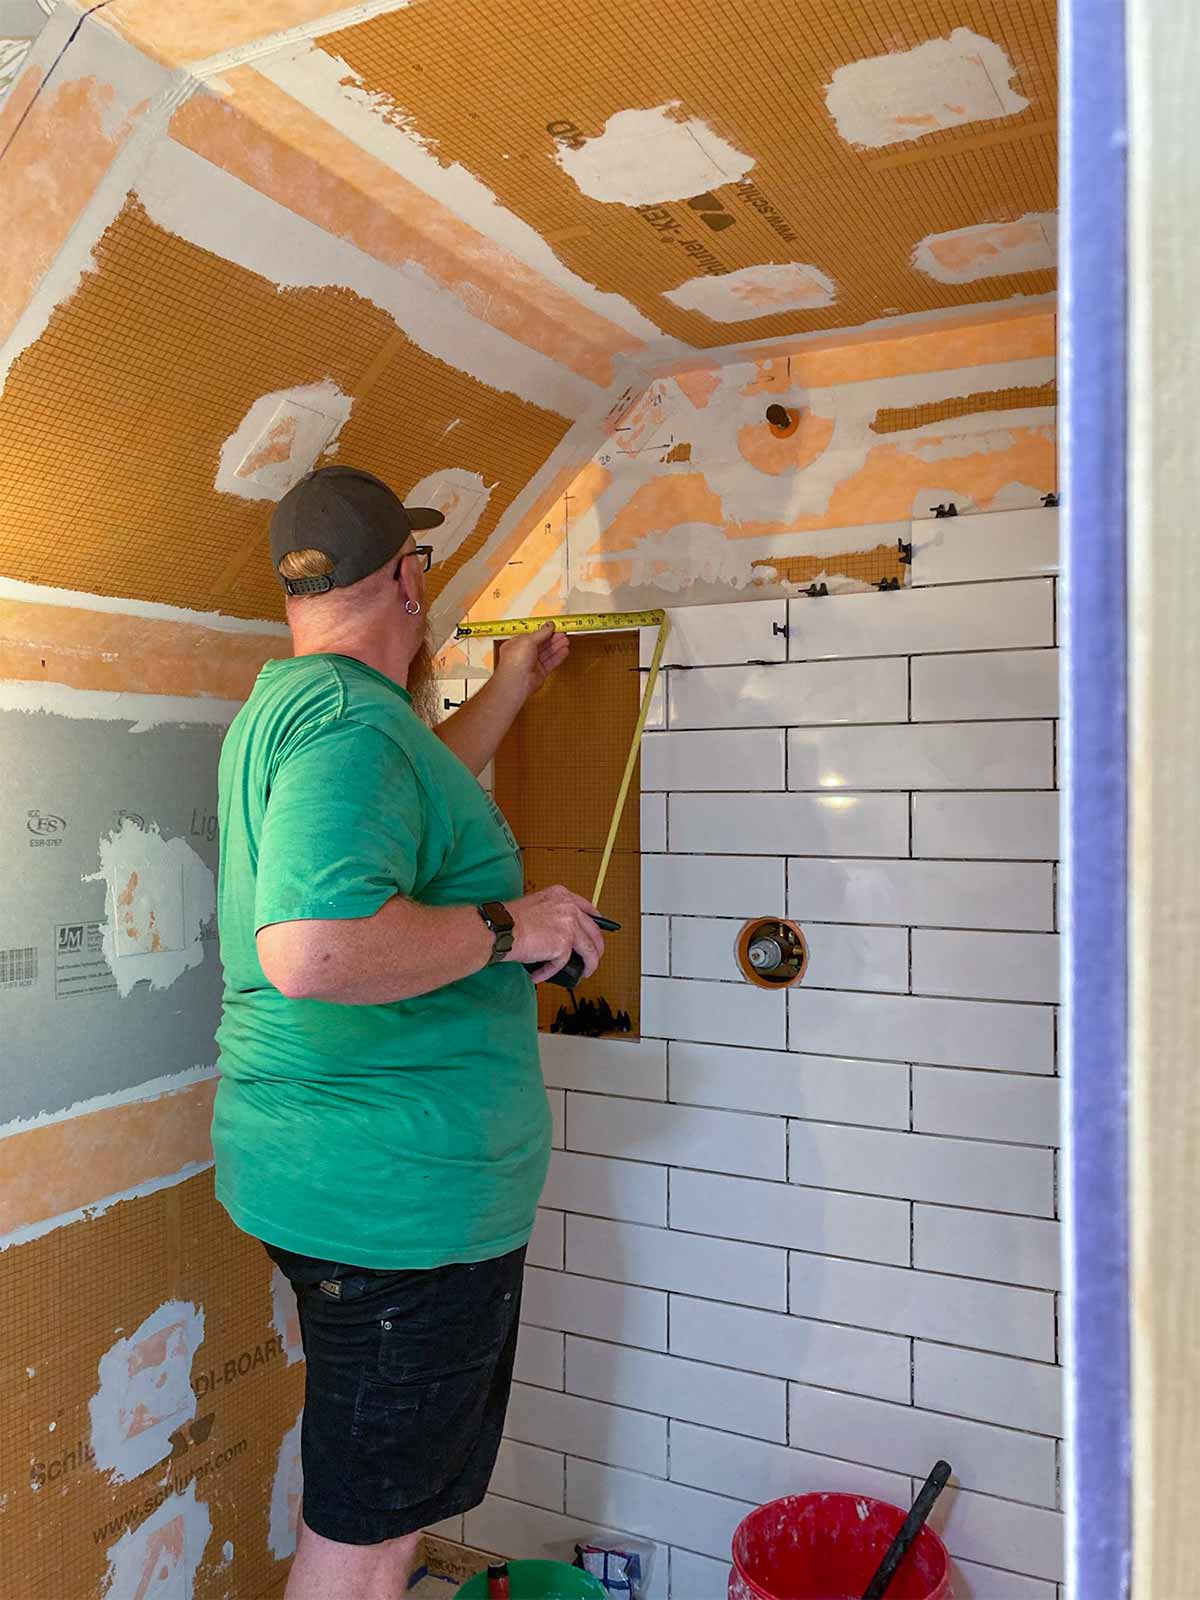
Shower Walls Pt. 2
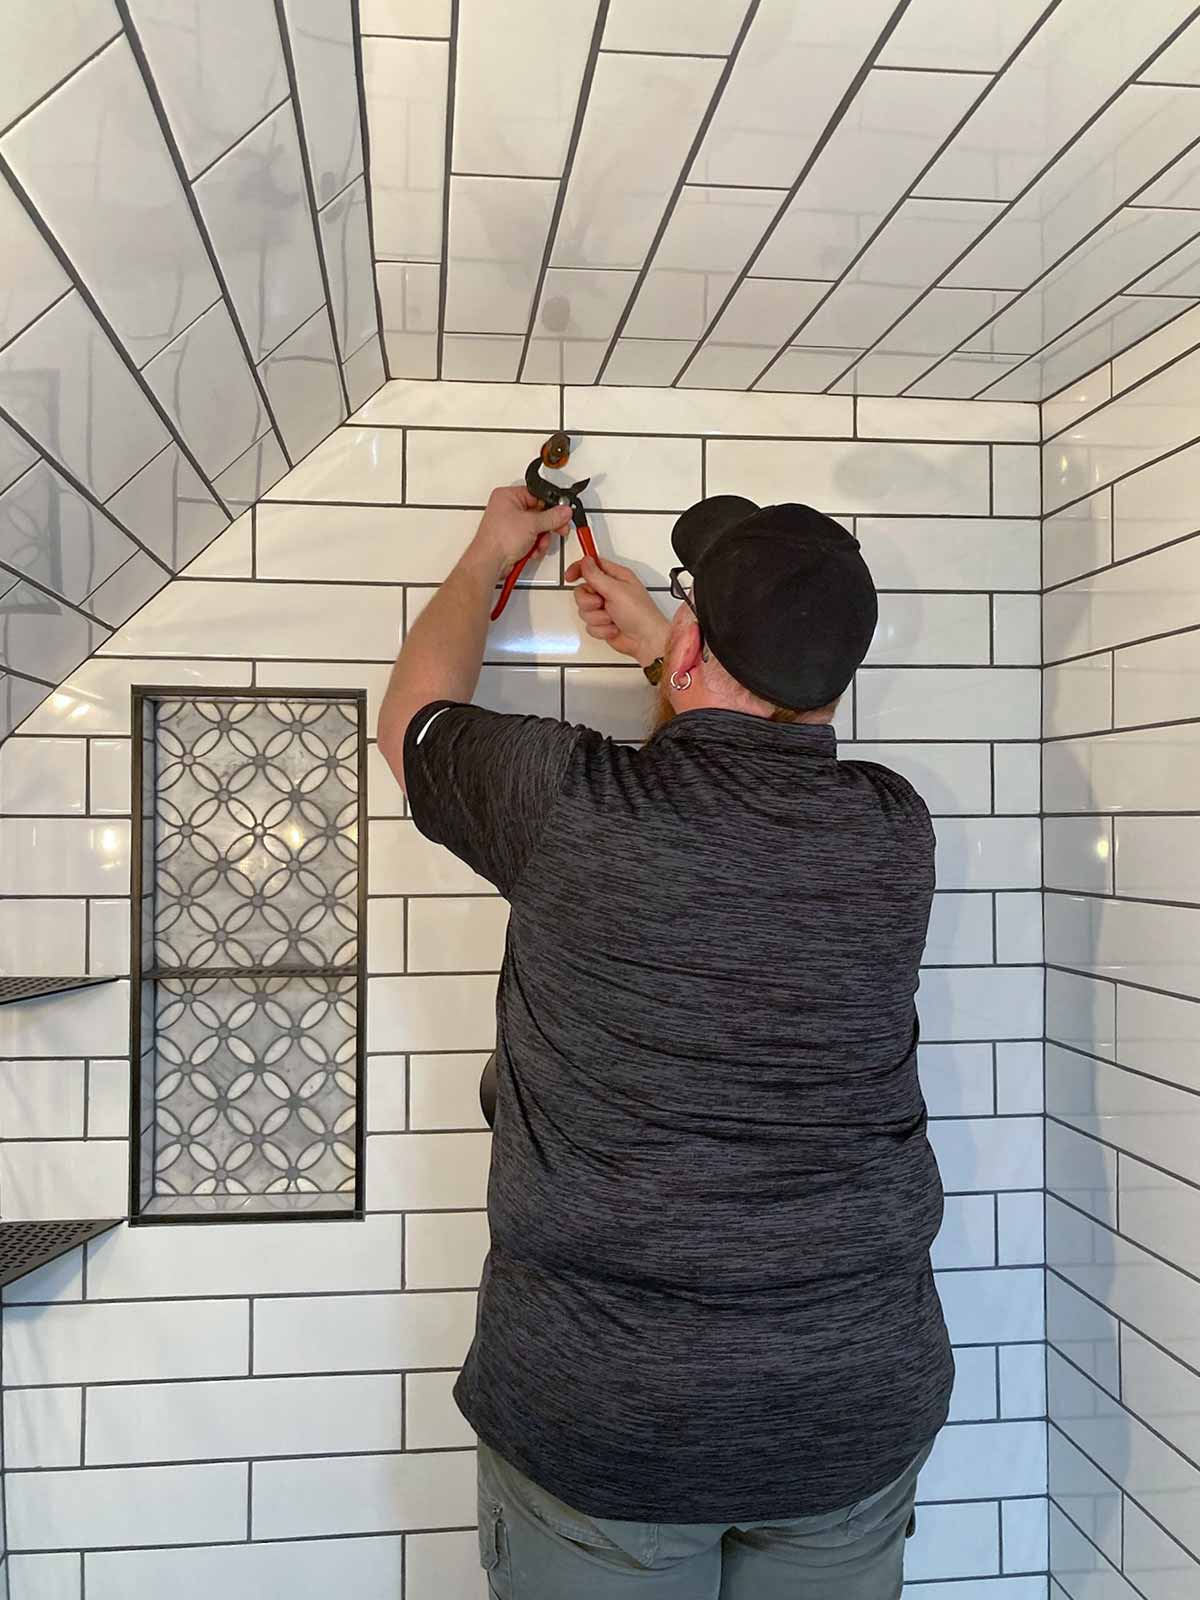
Andy hates tile work so much, he left the shower unfinished for months. He finally broke down and hired a guy to finish the remaining tile. Thanks Mike from Rock n' Tile out of Cheboygan (thanks to Joe and Sherry Long for hooking us up with him).
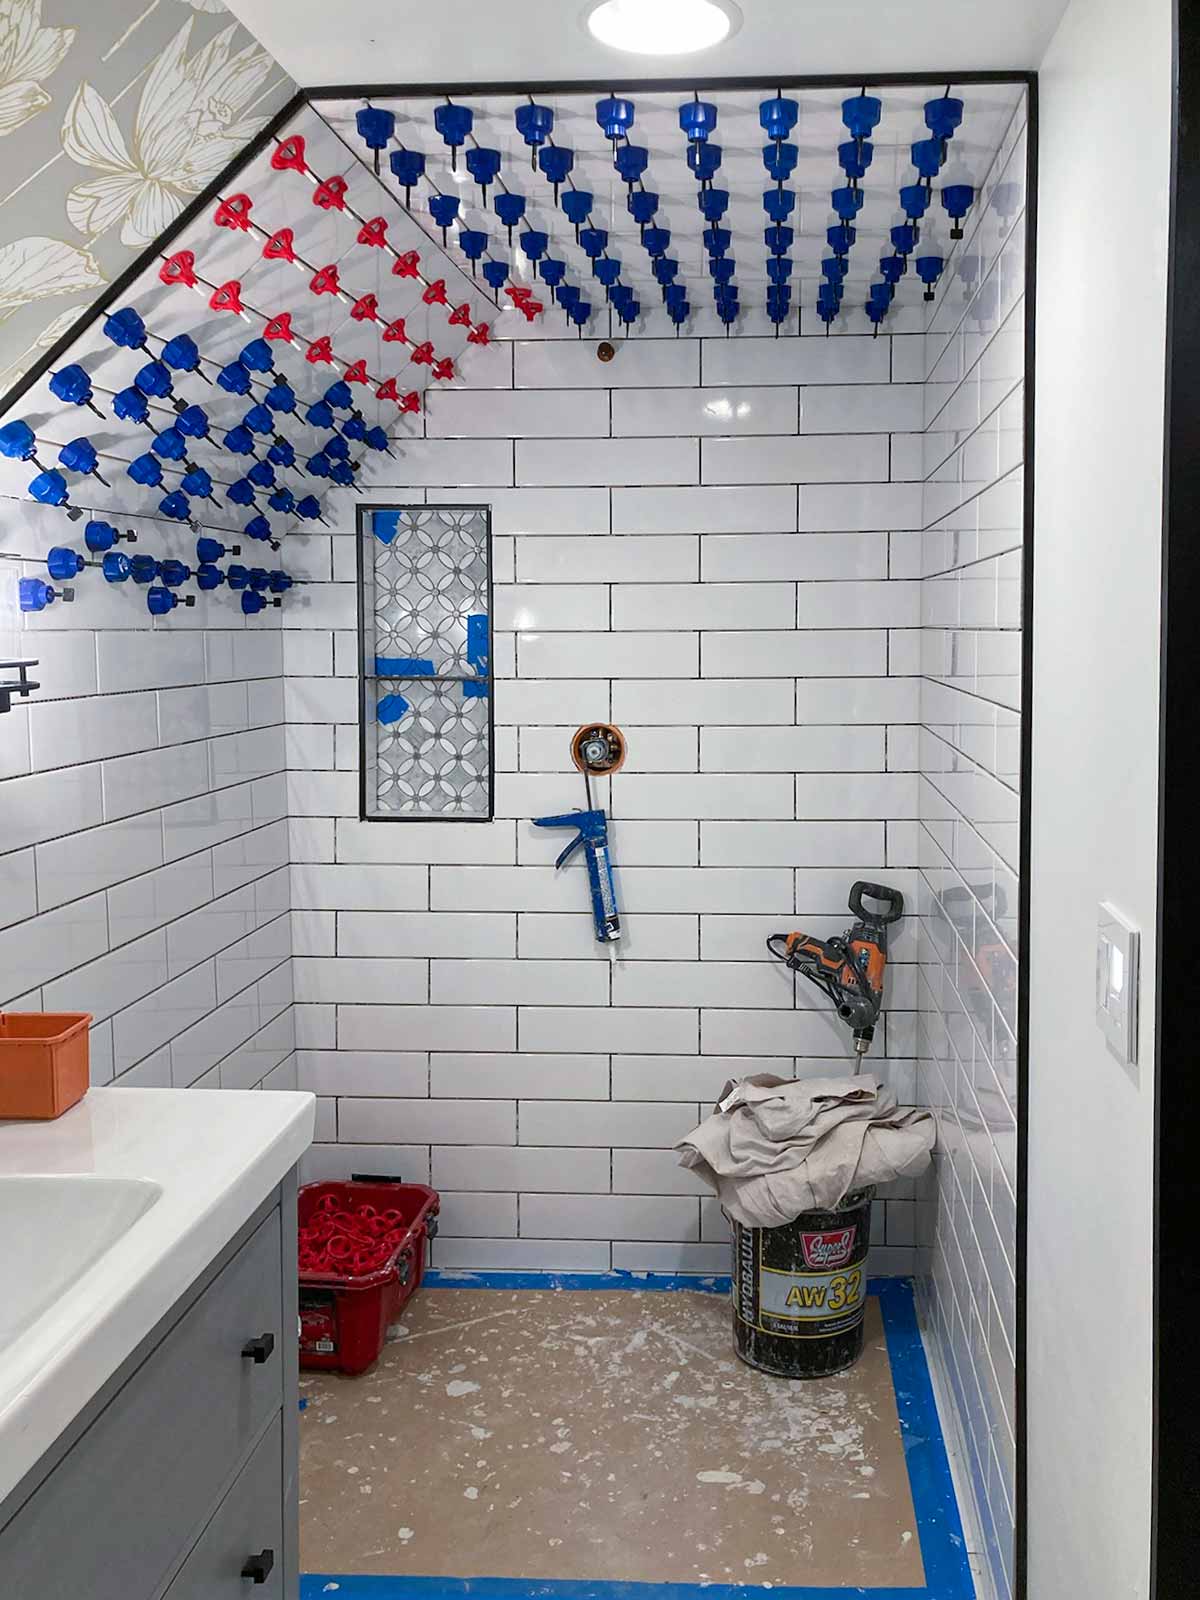
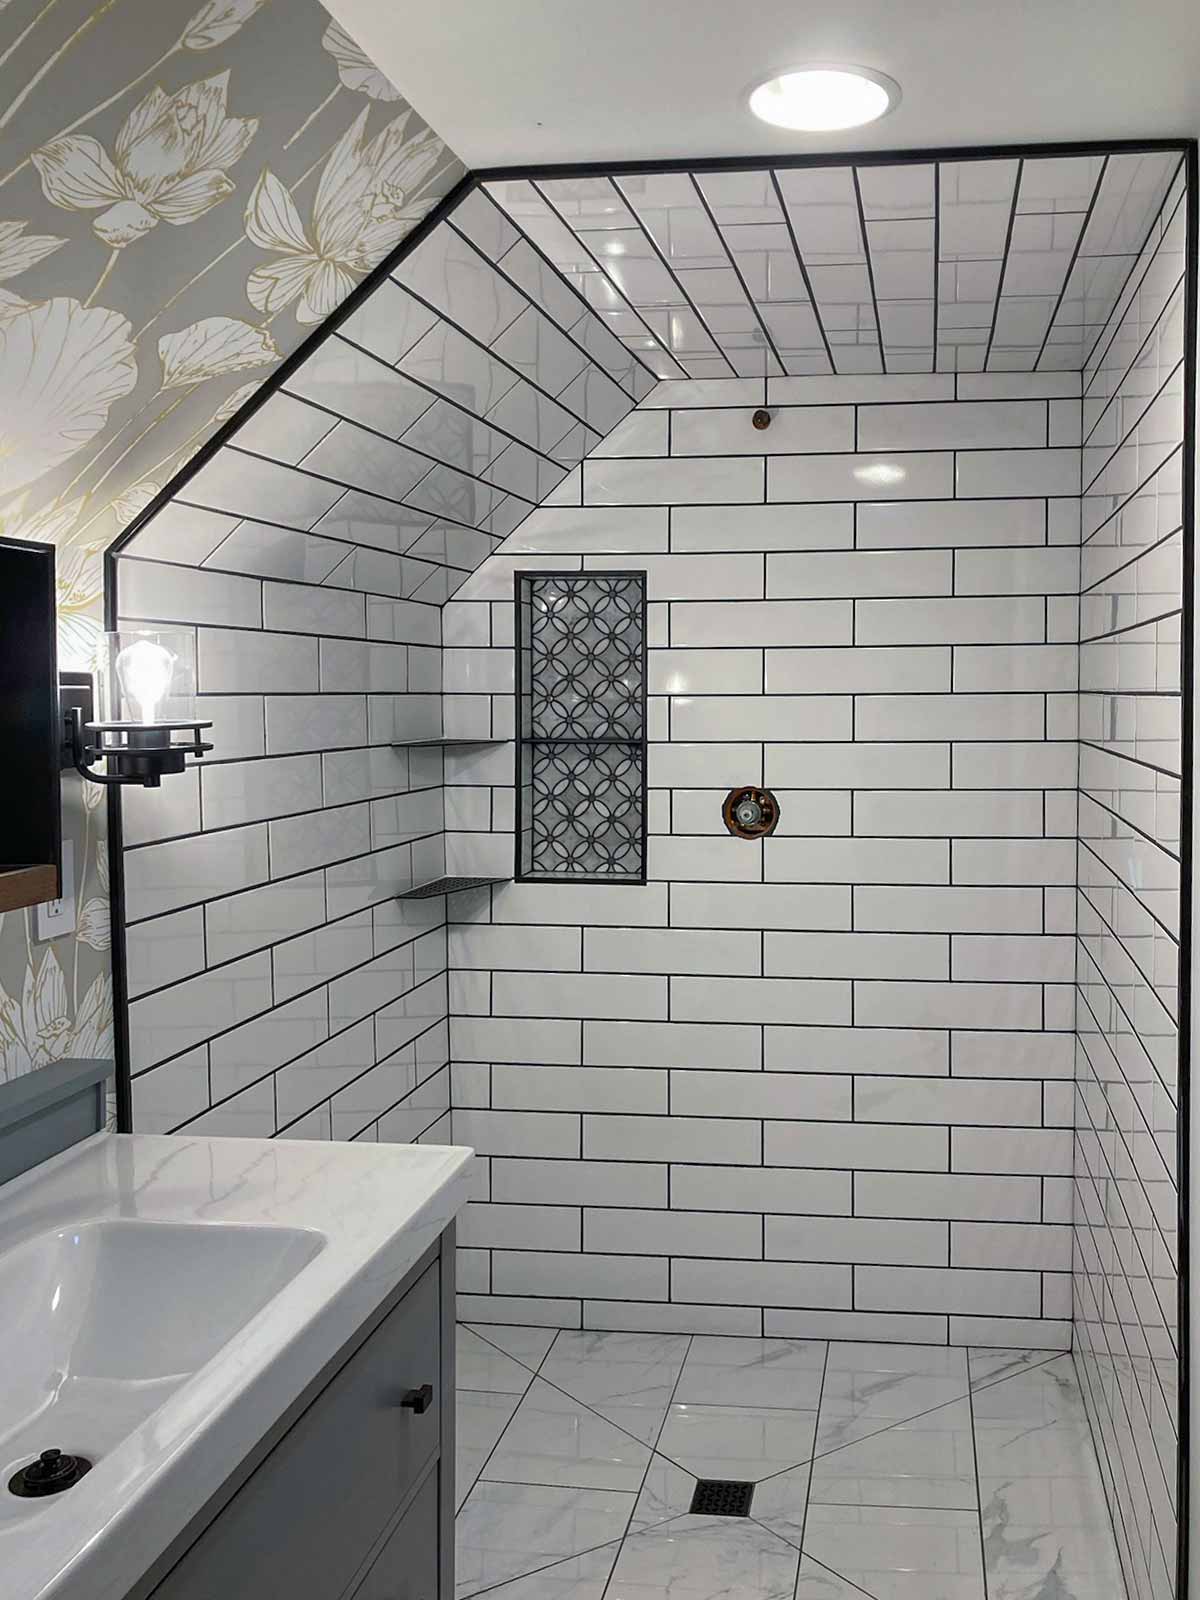
Glass
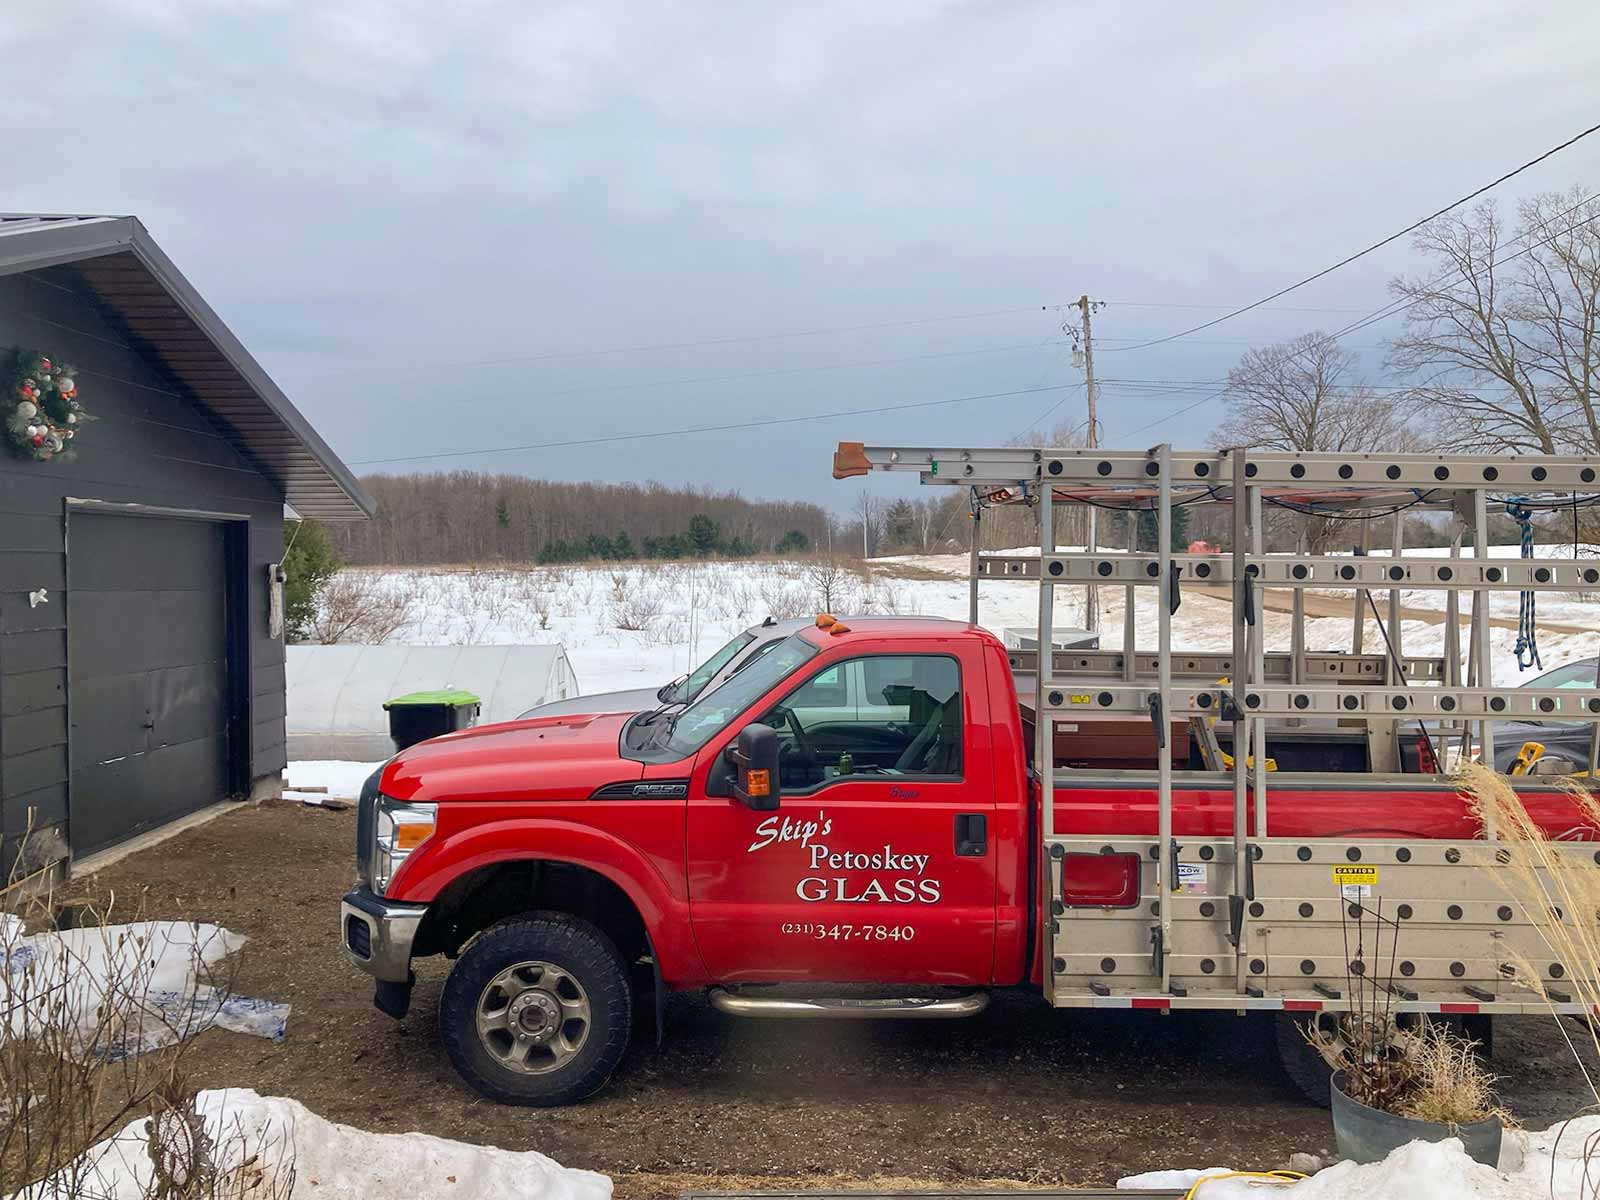
Once the tile was complete, we contacted Skips Glass in Petoskey for a glass measurement for a fixed panel and door into the shower. While we wait for the glass to be installed, we finished the trim in the room.
Finishing Touches
- The barn door is a red oak solid door purchased from Menards. I stained the hall side exterior black and the bathroom interior side special walnut.
- We purchased the hardware on Amazon: DIYHD Track barn door hardware Bottom rolling, sliding barn door latch, Easelife barn door handle.
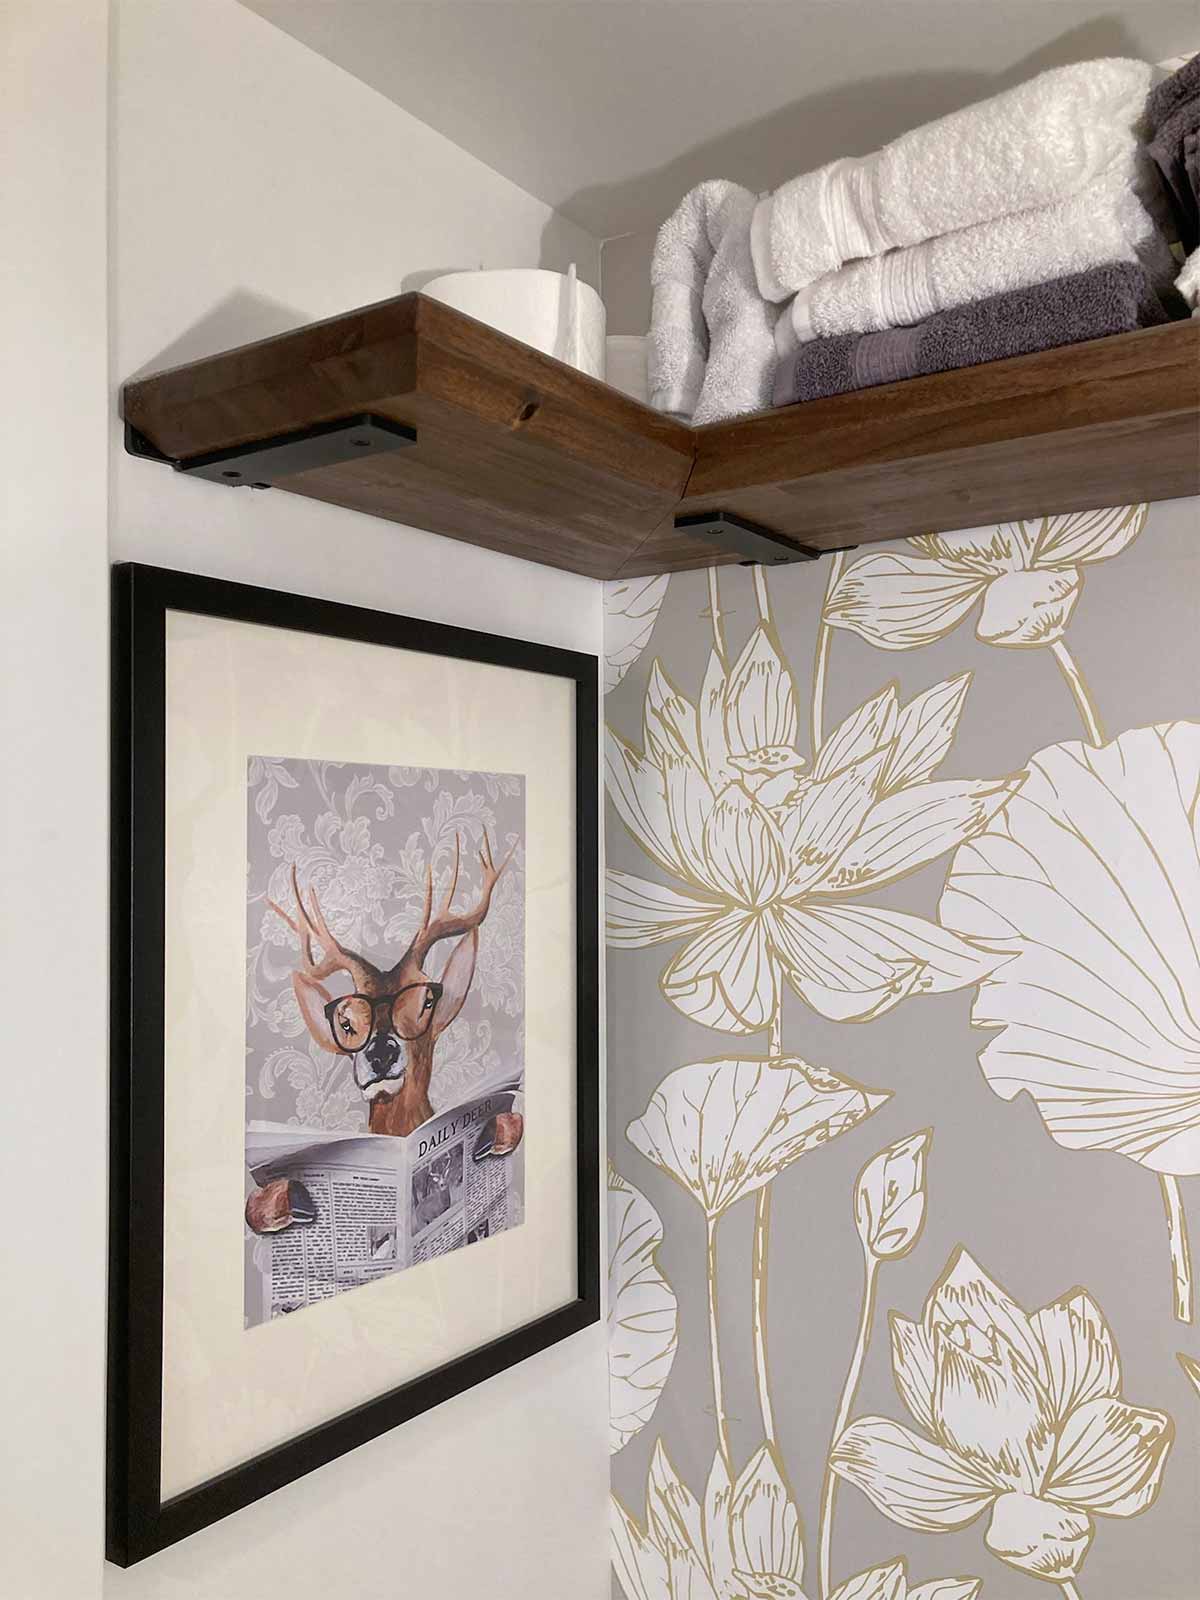
- Wall art print purchased from CoctailZoo on Etsy.
- Corner bench in shower is from Amazon: KaimuBench in black.
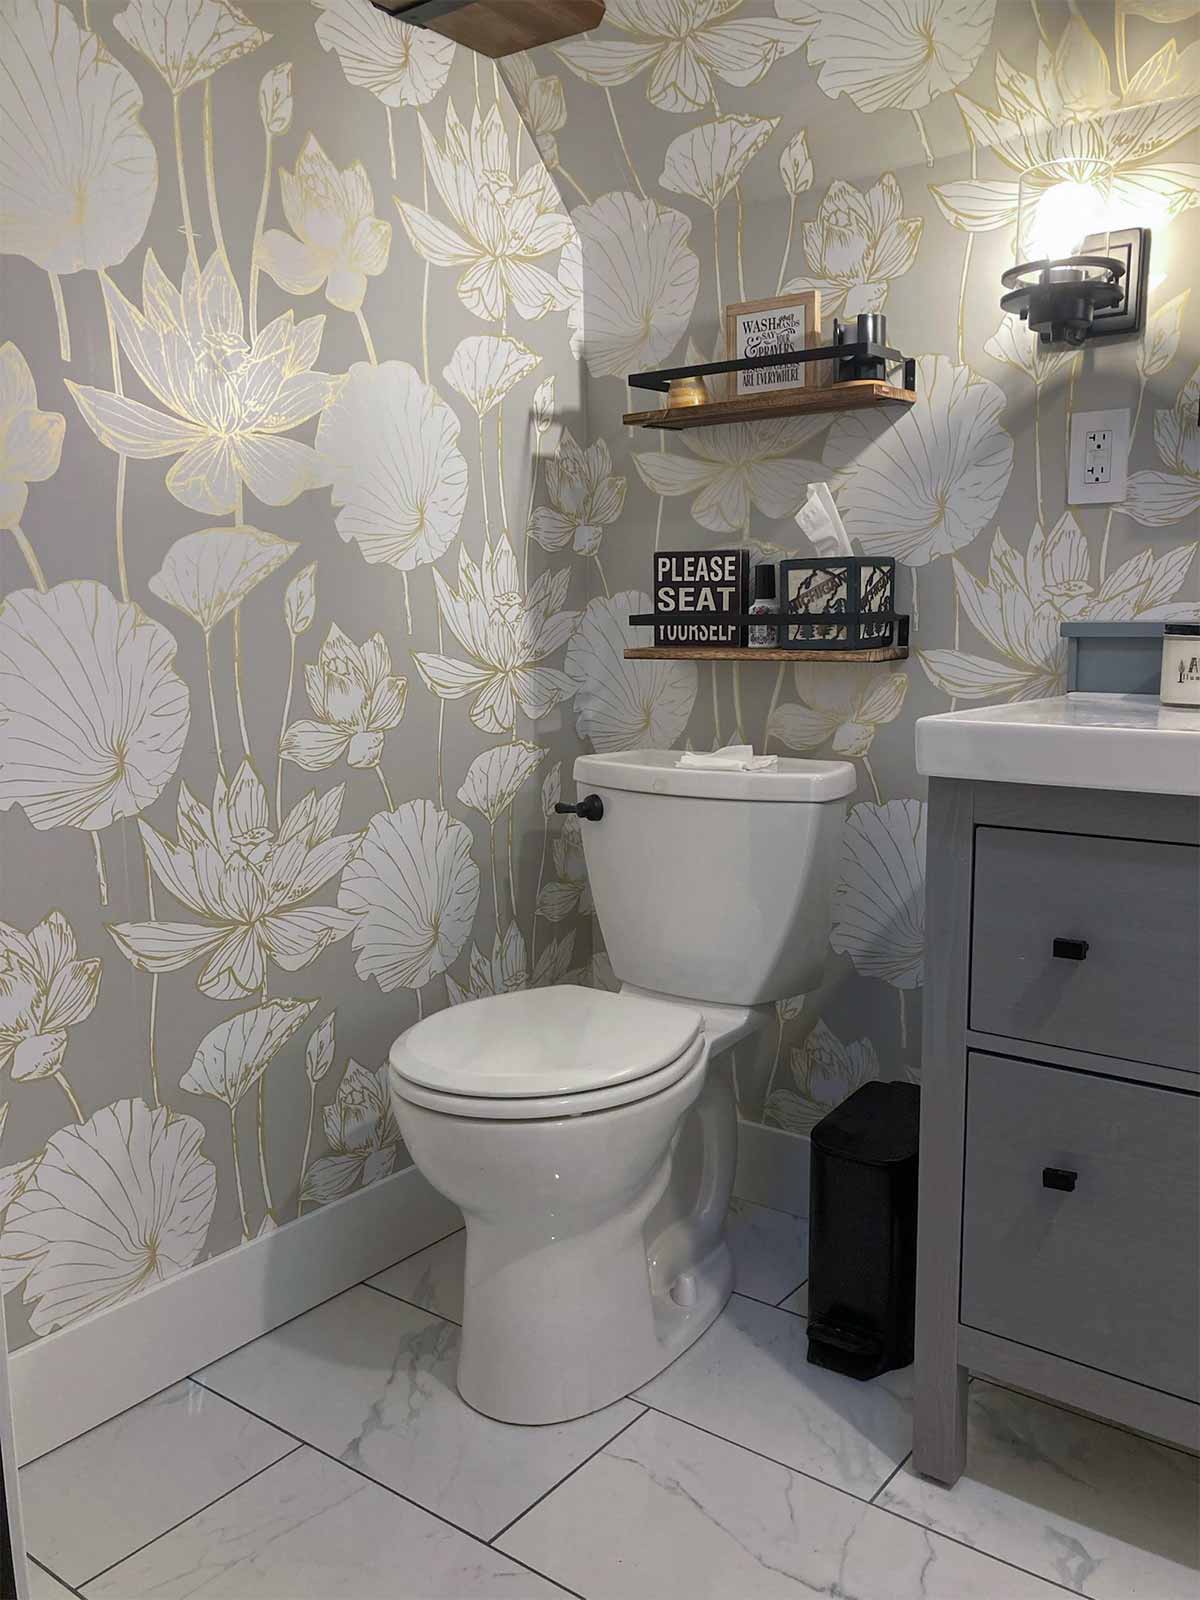
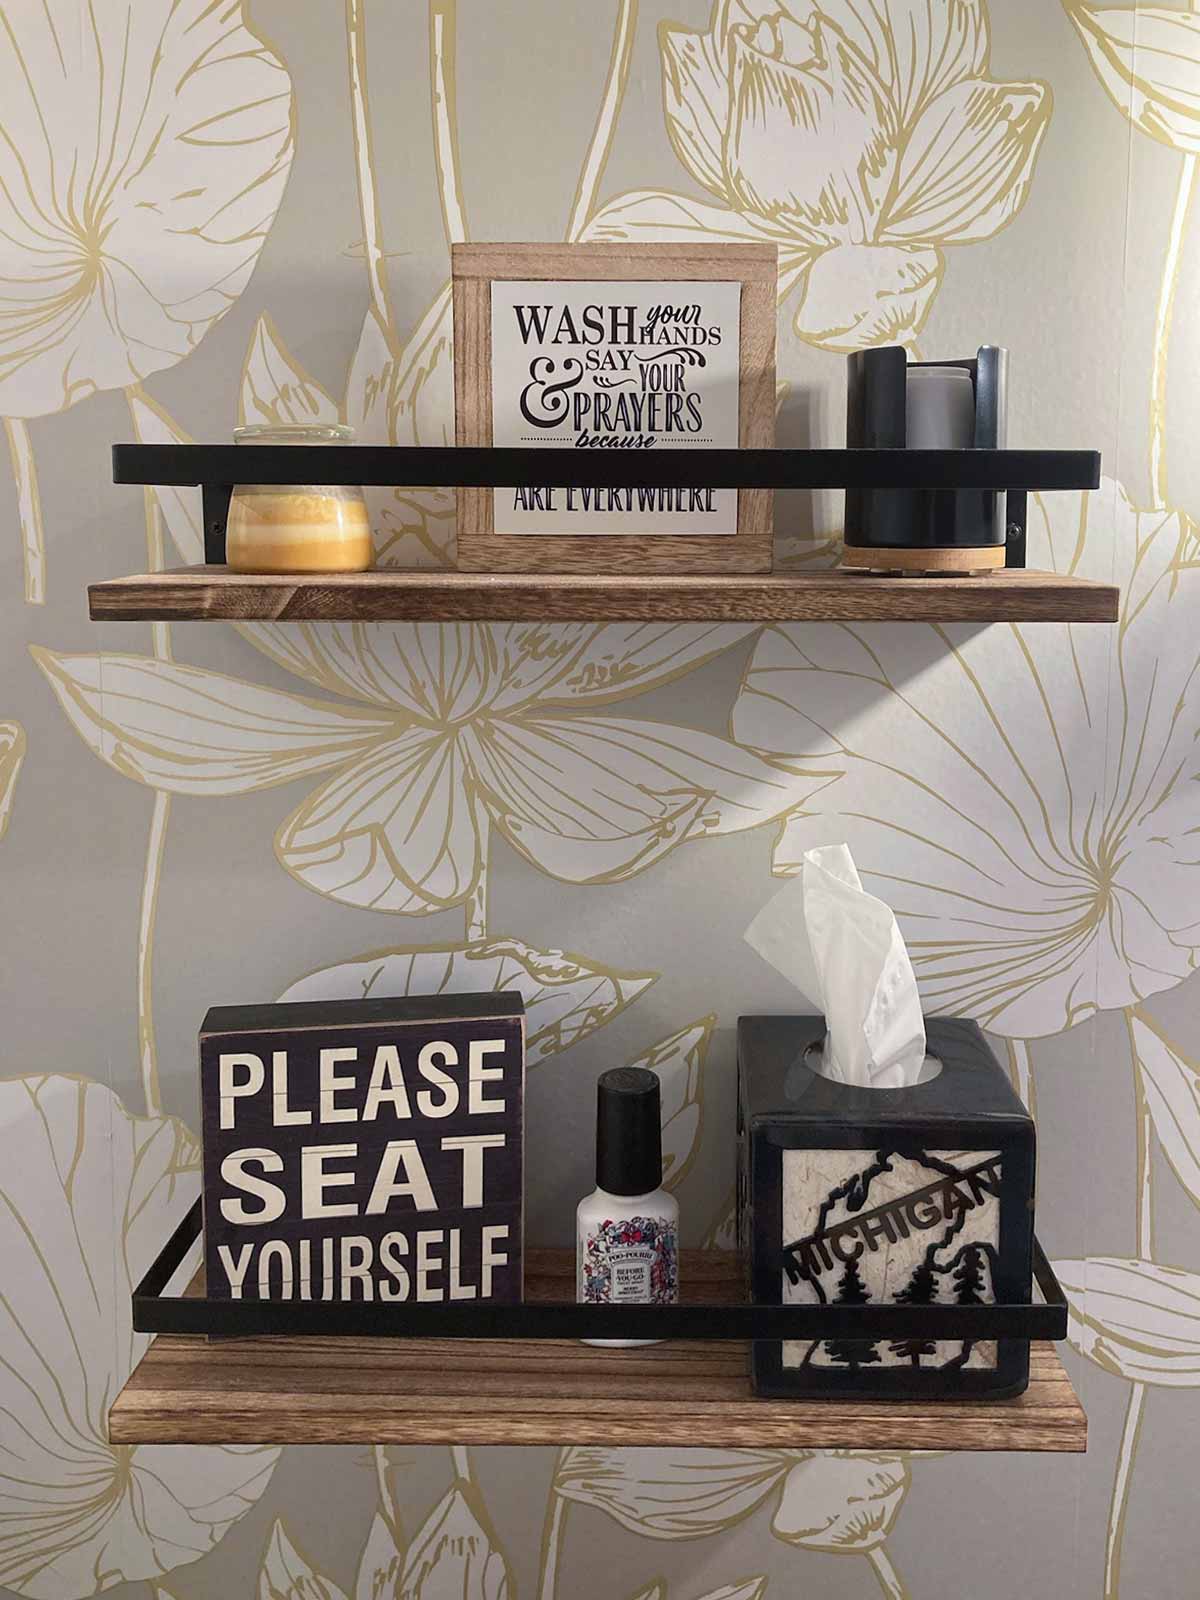
- Shelves above the toilet from Amazon: Peter's Goods Rustic Floating Wall Shelves.
- Signs and accessories purchased on Amazon.
- Tissue box holder was a gift from Aunt Lee!

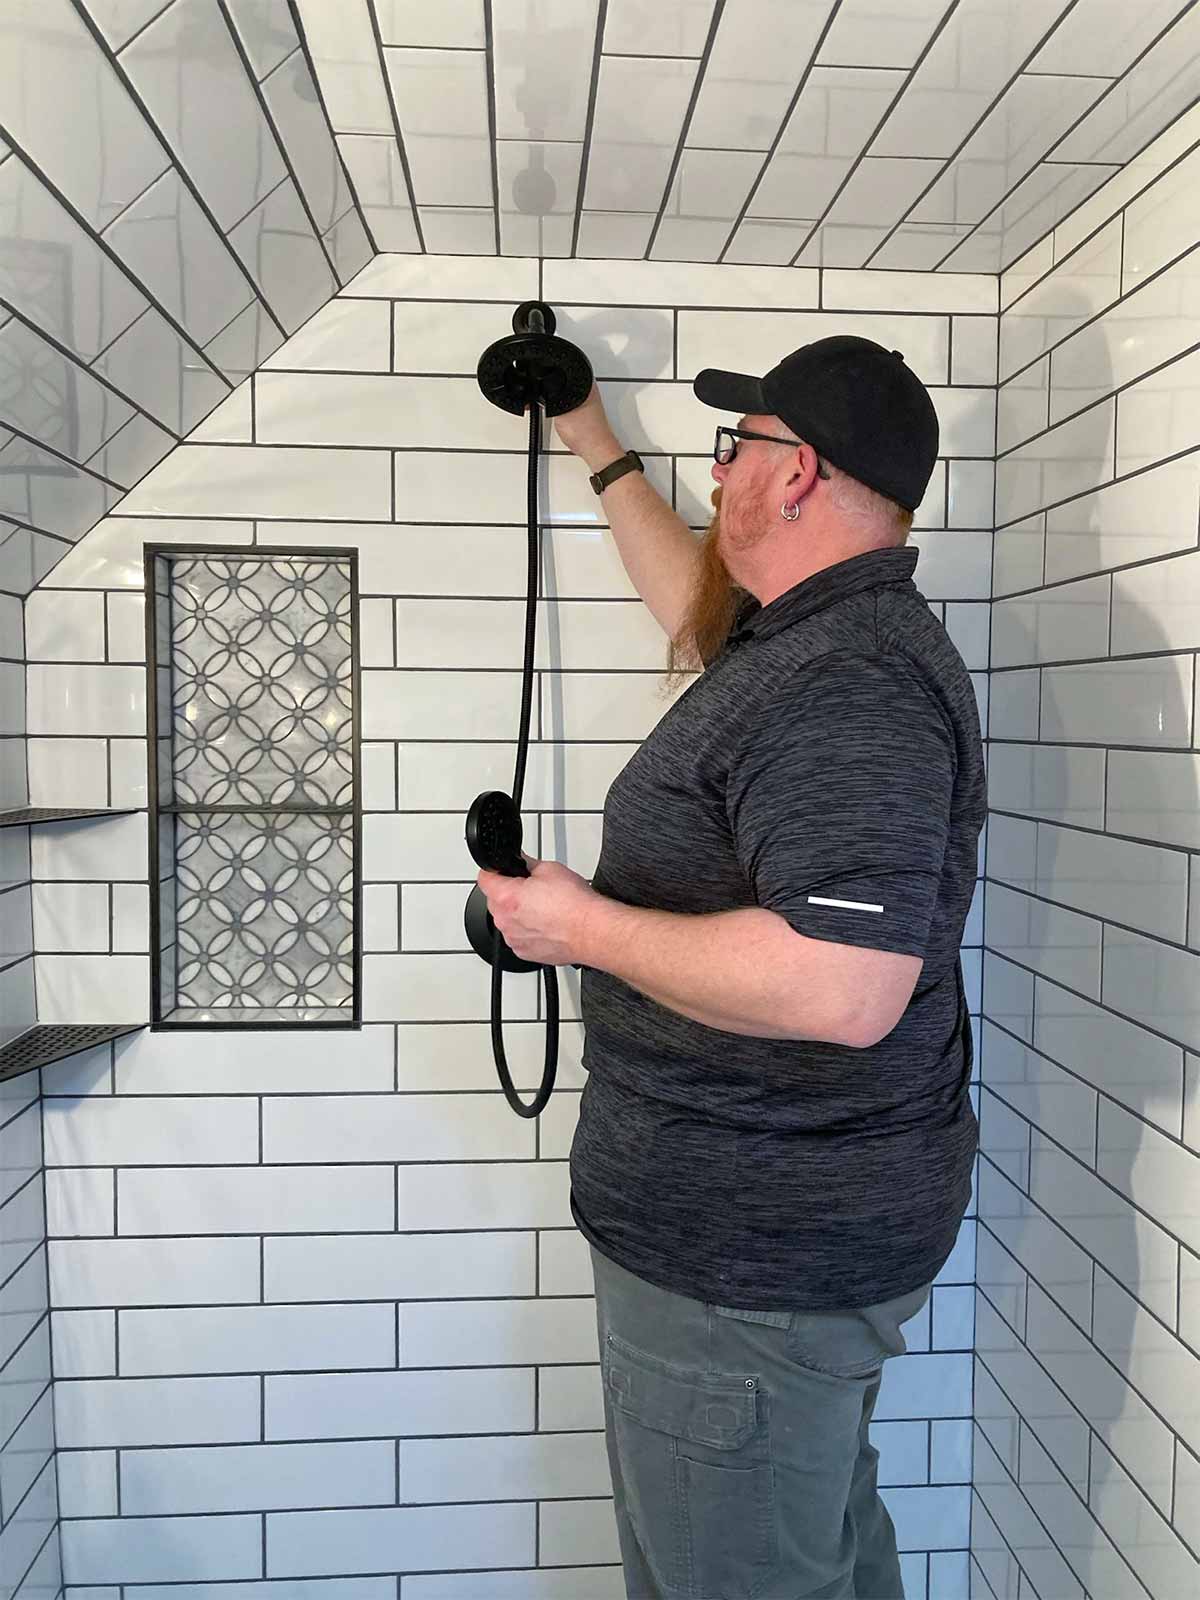
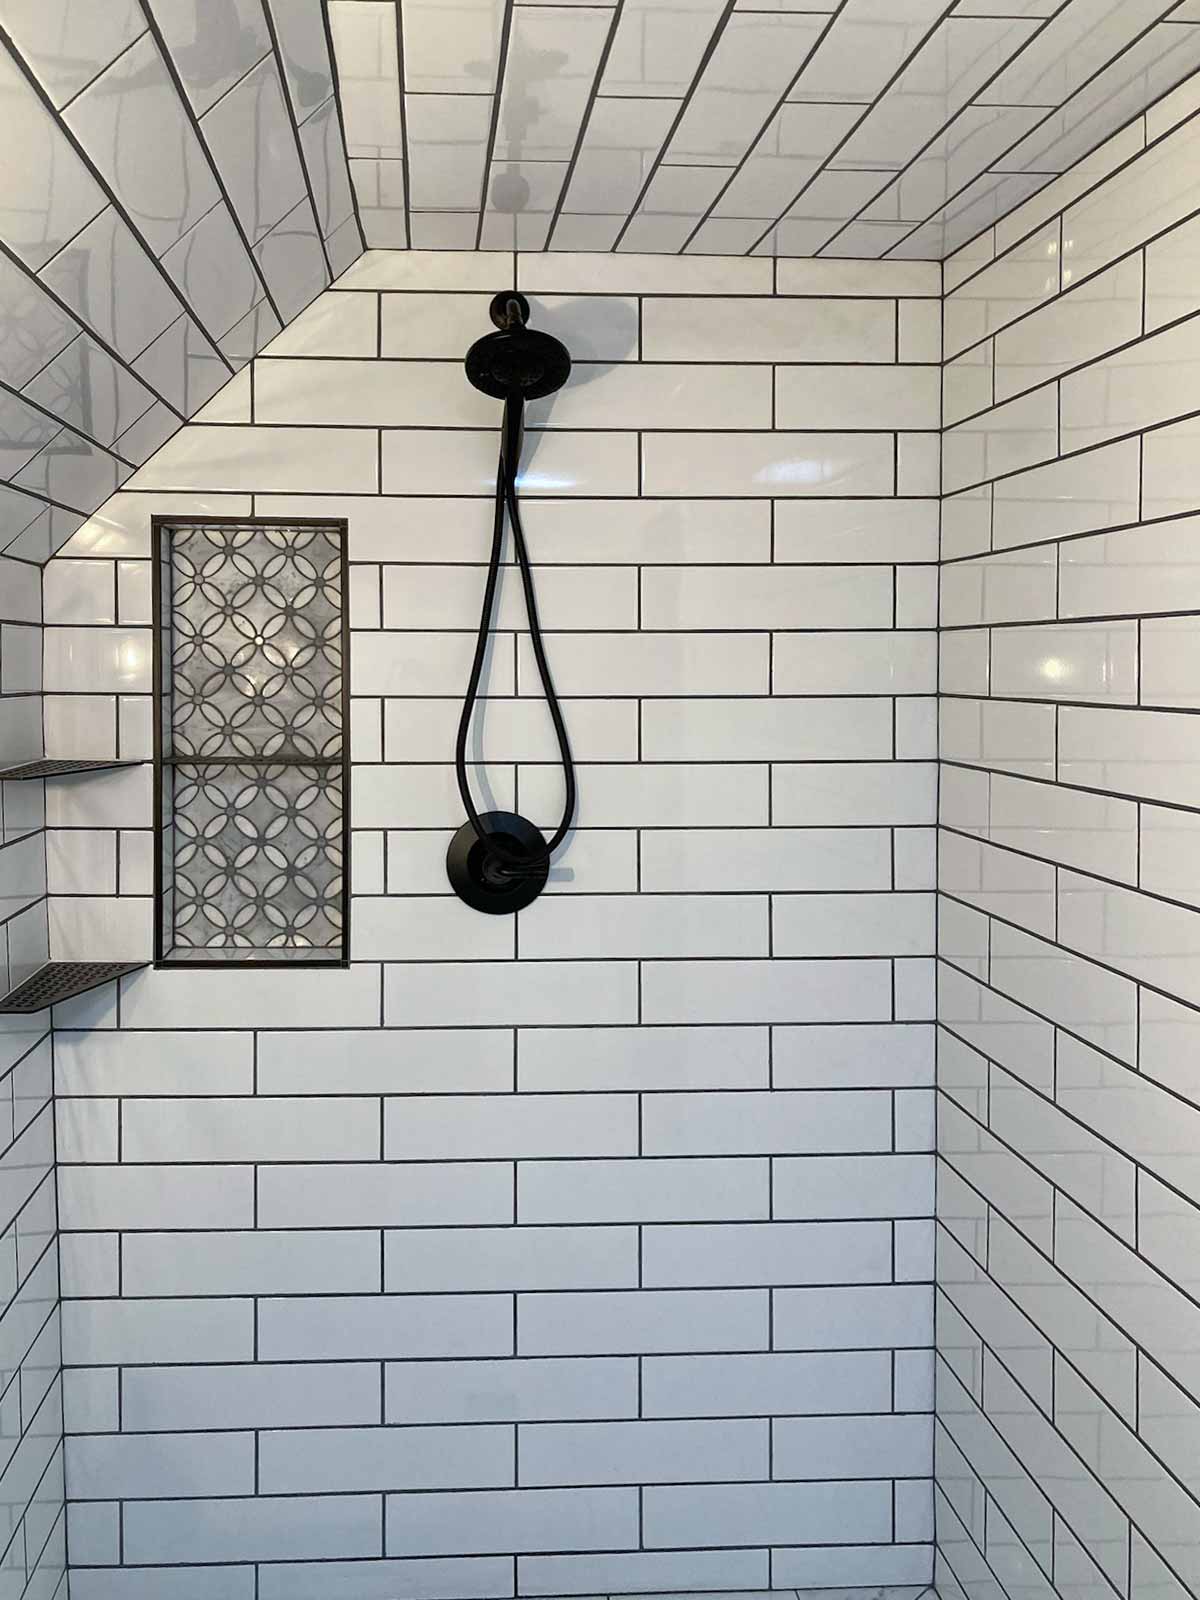
The Shower Is Finished!
With the shower head and controls installed and, at long last, Skip's Petoskey Glass having installed the shower glass, it looks amazing!