


Trying to finish the siding AND the Greenhouse before the cold weather was a race against time. Throw in an unexpected roof leak, canning tomatoes/pickles/salsa, and a much neglected area in the yard, and we had our hands full!
Finishing the Greenhouse (for now)
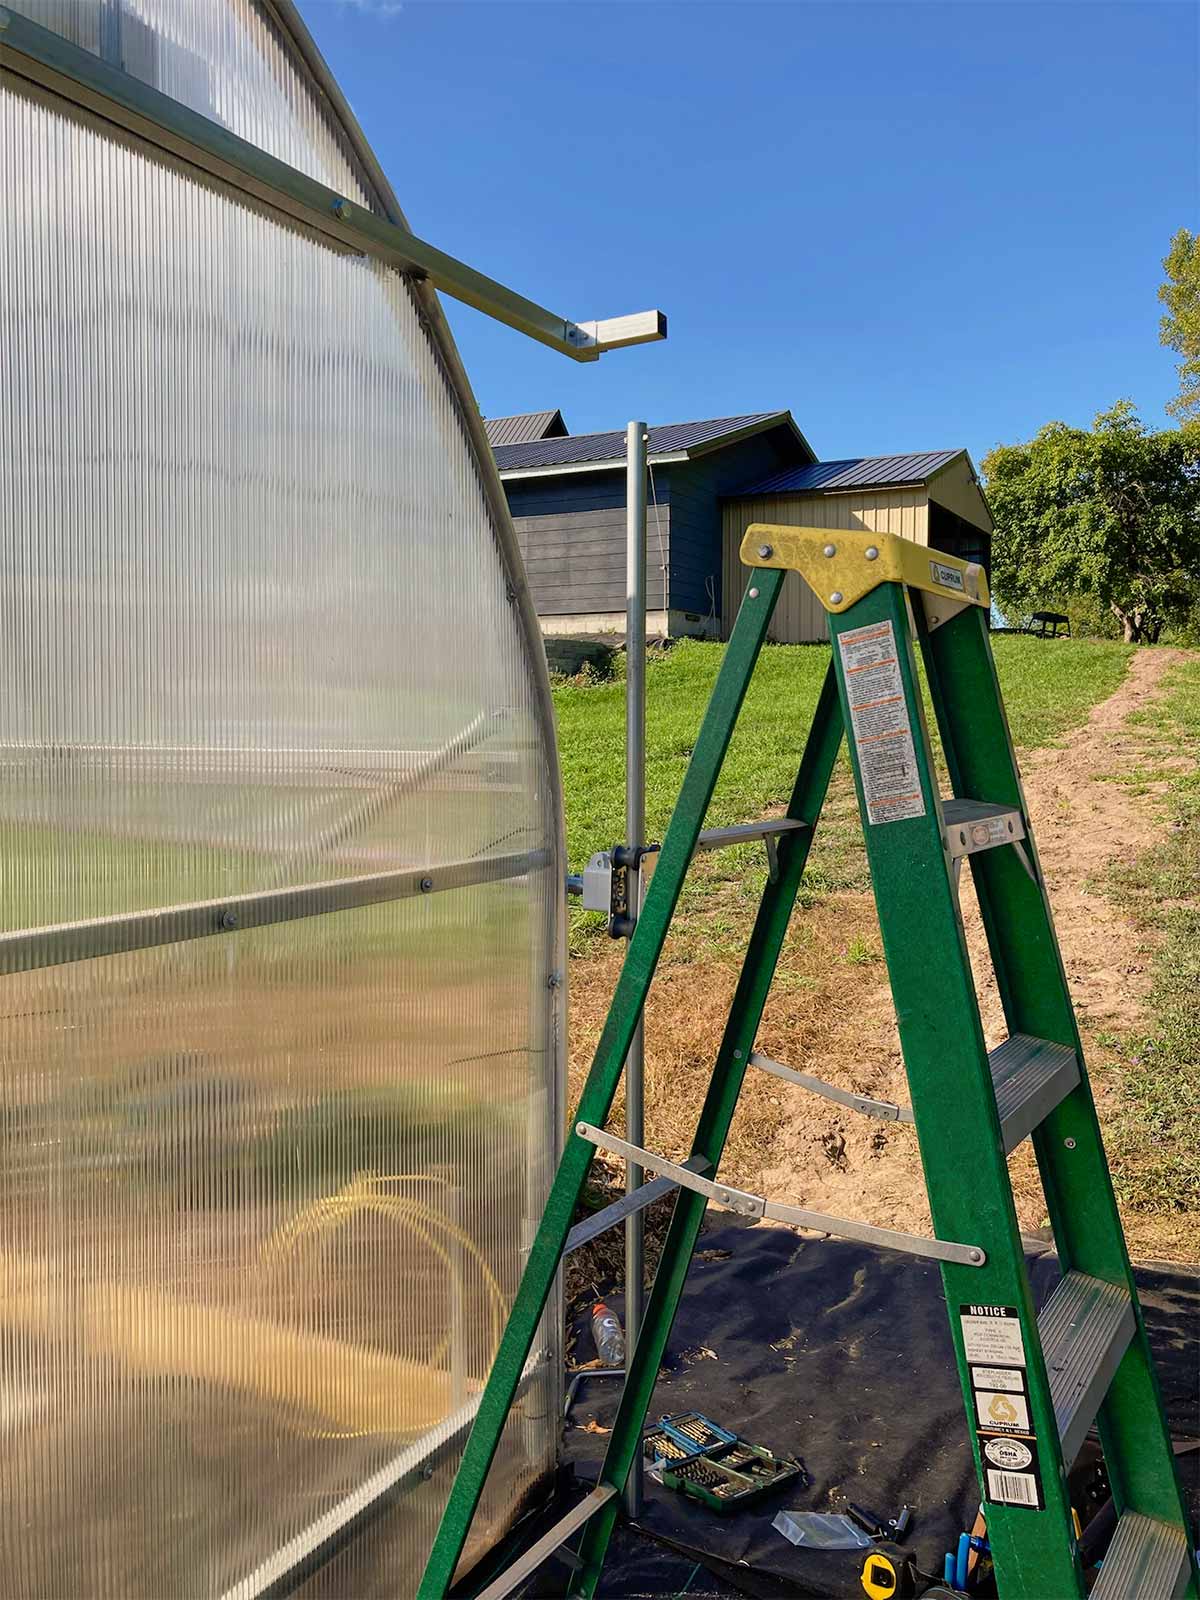
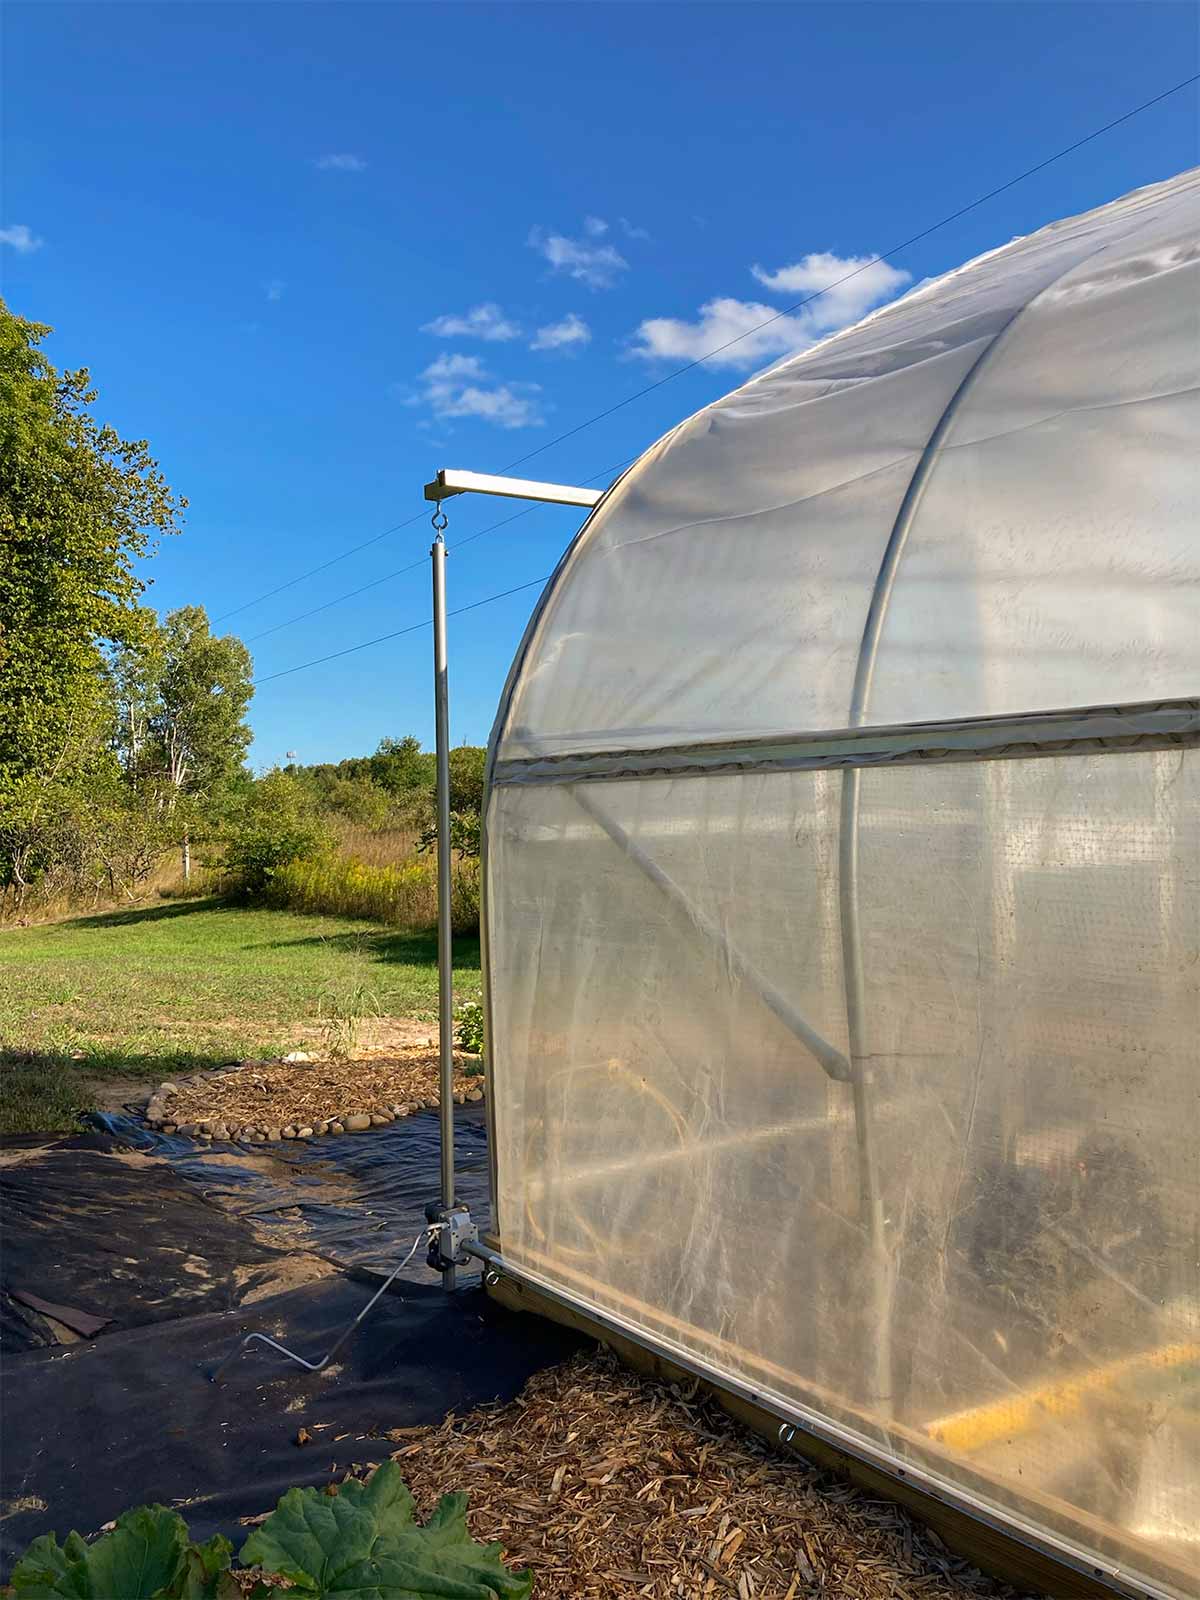
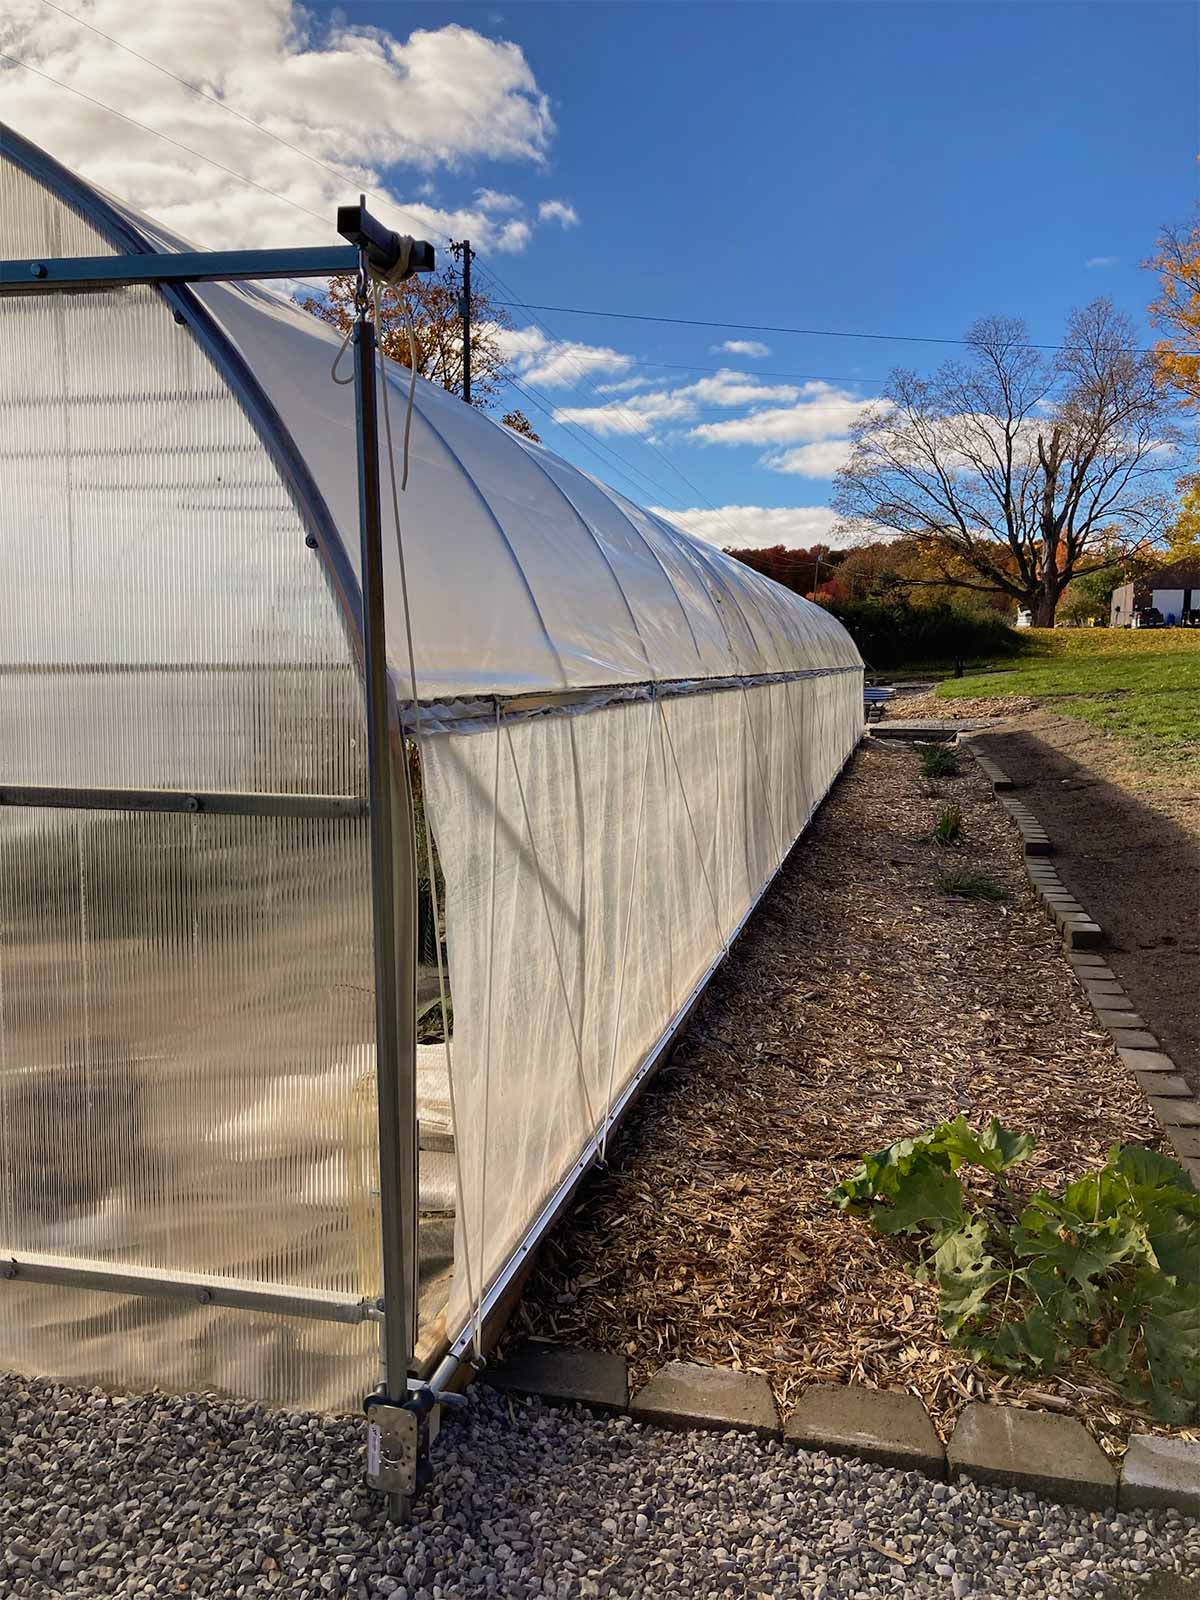
First, Andy cut a hole in the baseboard for the garden hose to run through, so the roll-up sides would be able to sit in their designated spot at the baseboard. Next, he began adding the roll-up sides and gear boxes to raise and lower the sides with a crank (which required more metal fabricating).


Greenhouse Pt. 2
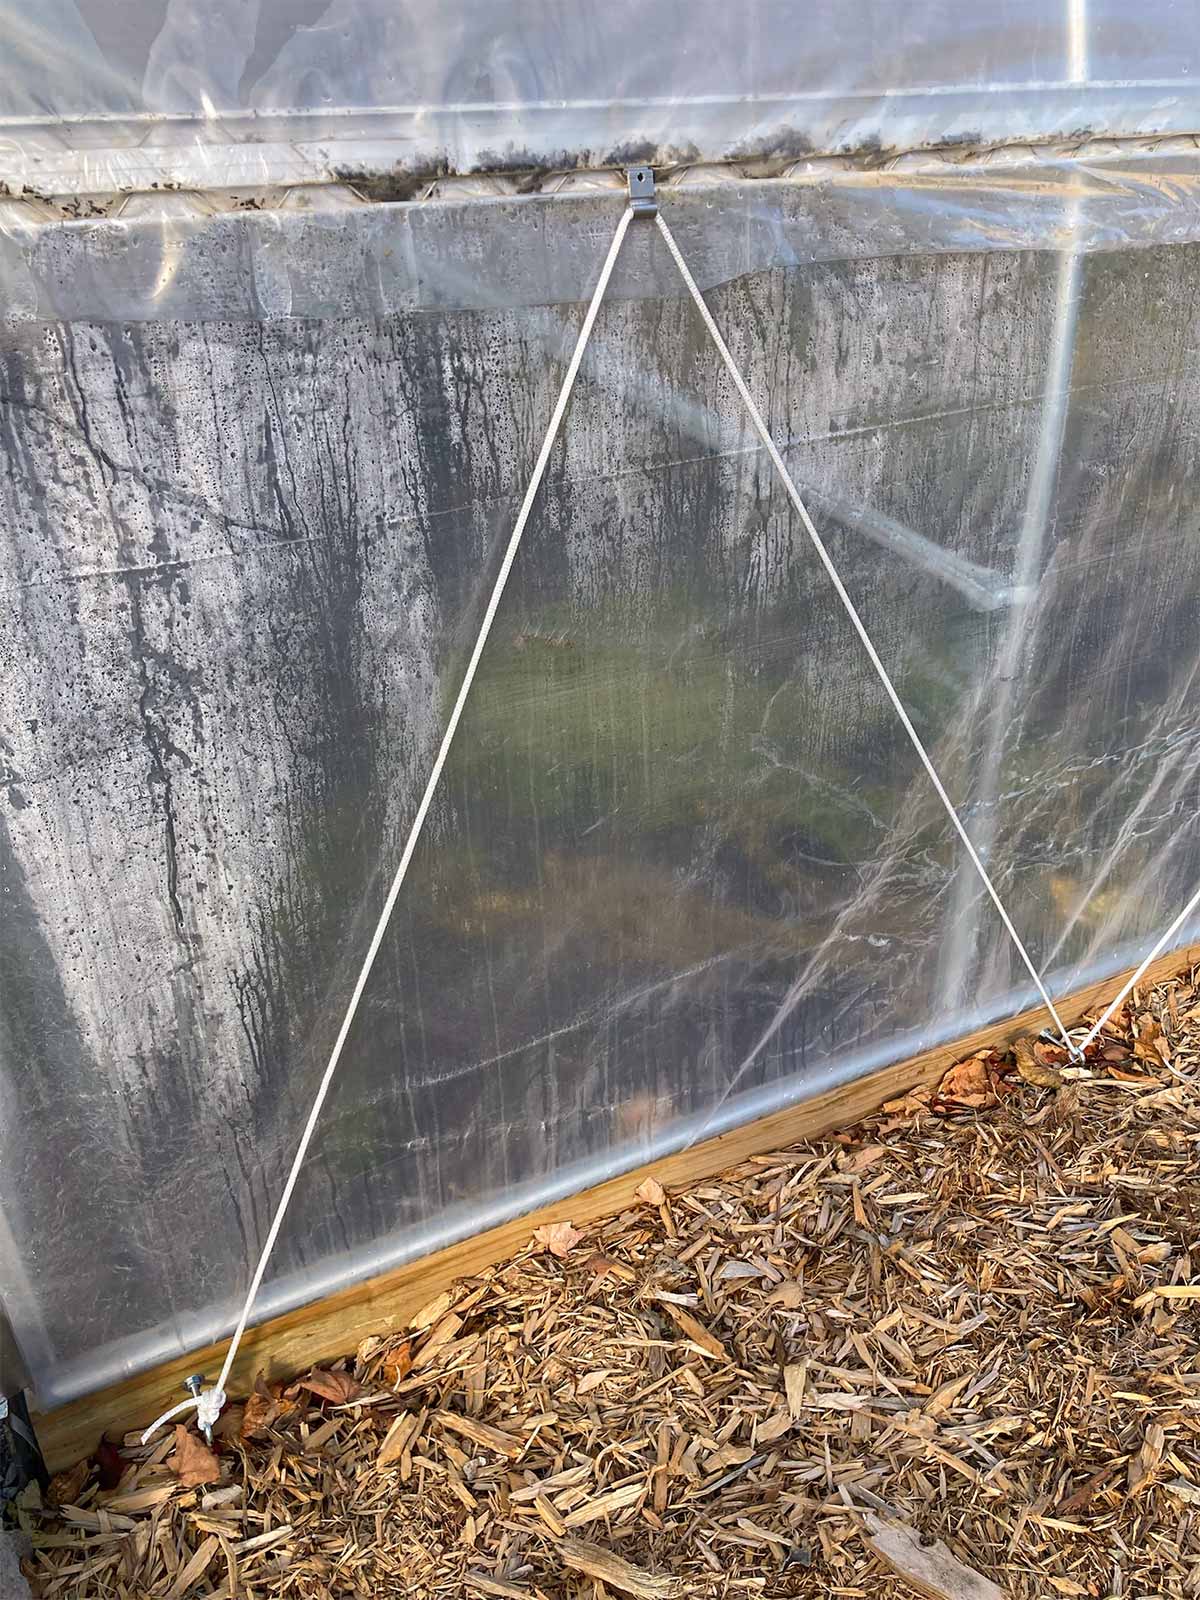
To complete the roll up sides, we attached rope through the eye bolts at the baseboard and a clip at the rail.


Greenhouse Pt. 3
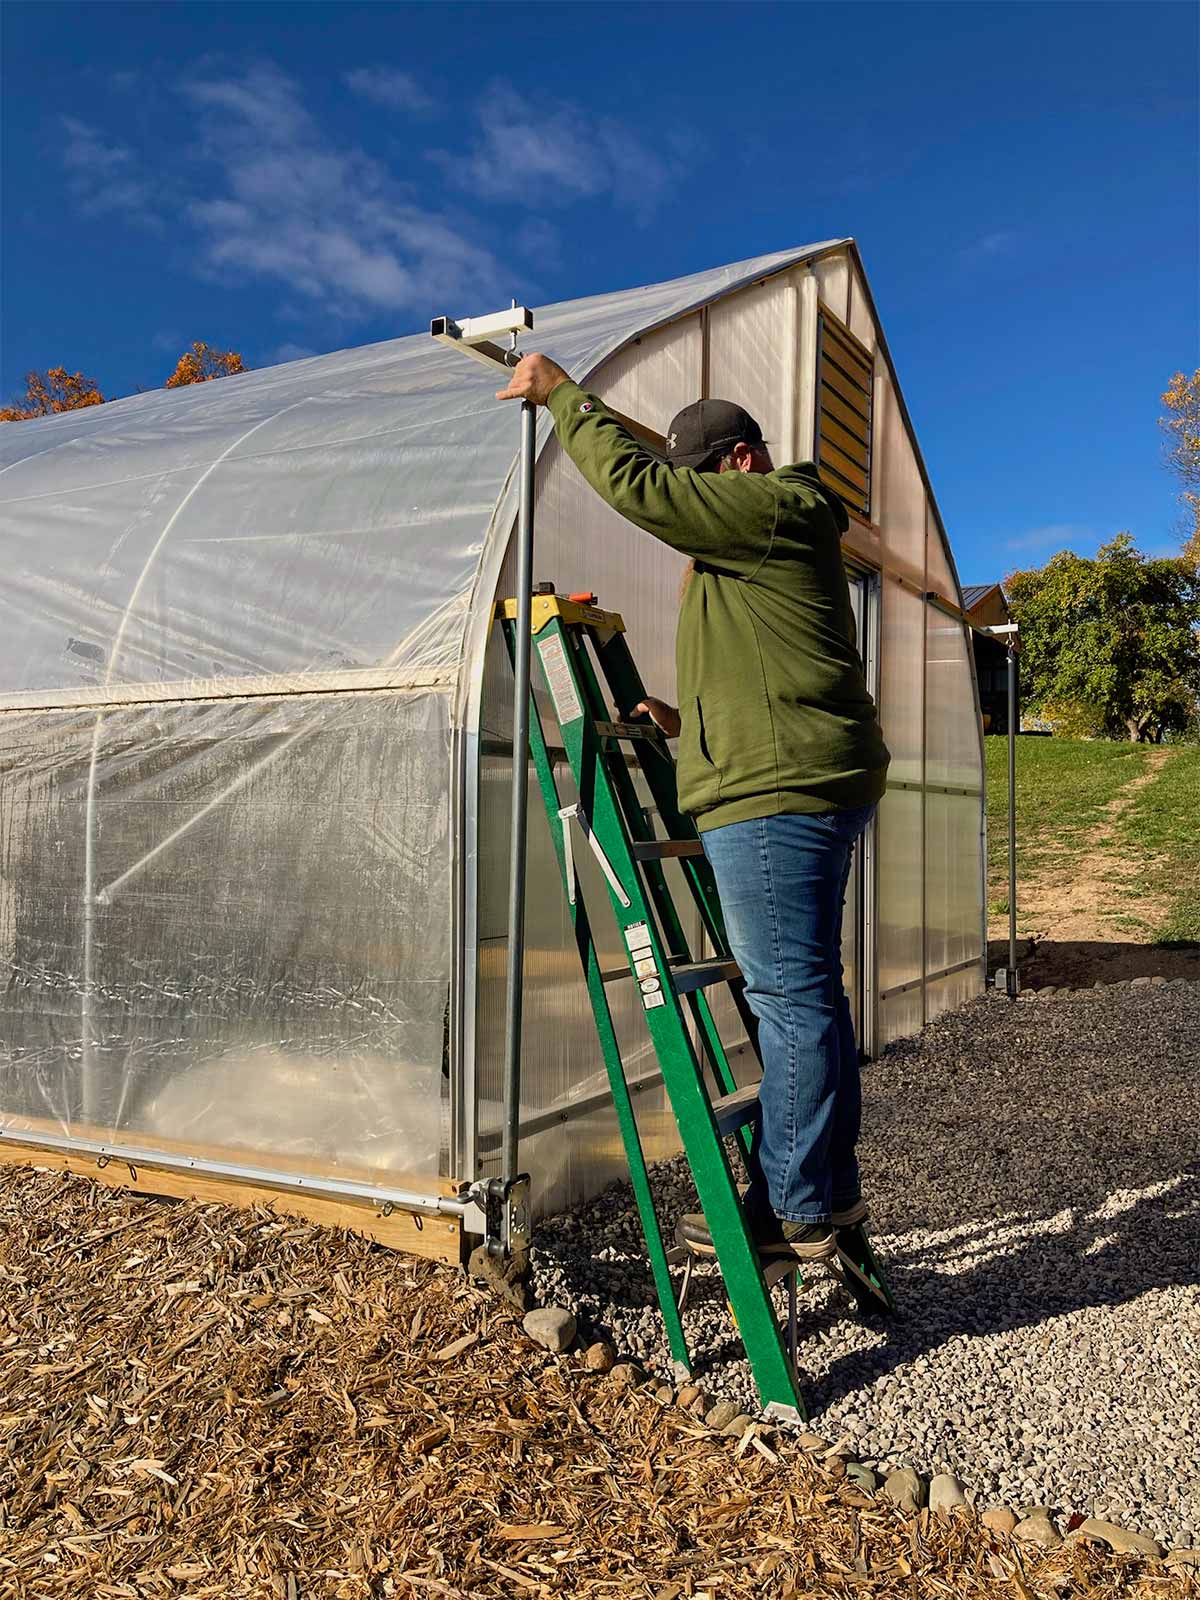
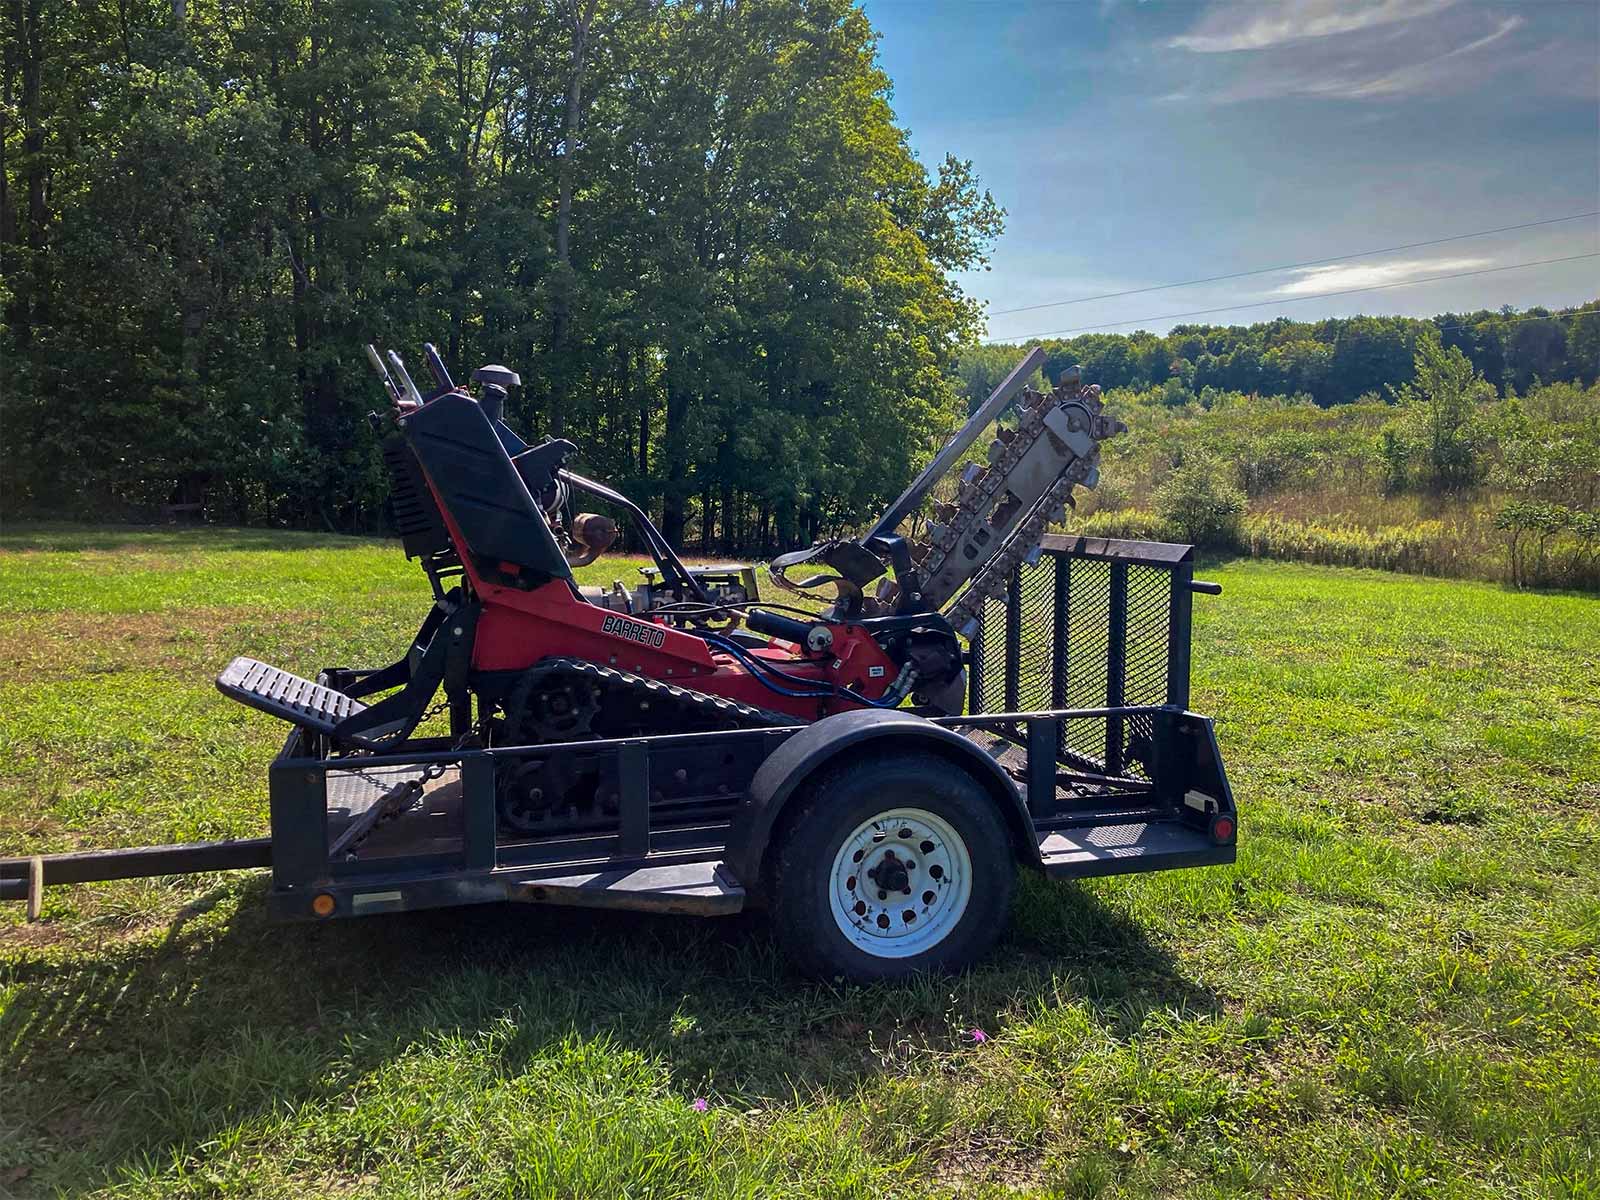
To complete the Greenhouse, Andy had to run electrical down the hill from the garage (he rented a trench digger that made quick work of that!) to wire the inside of the Greenhouse for the fans, blower and thermostat. He ran wiring through conduit. But the completed wiring would have to wait until spring. Andy needed to get back to the siding as we are approaching November already!


Compost Area
We purchased a Lomi composter for the kitchen when we first purchased the house. We also started a cold compost pile with grass, dirt and other yard waste. But with all the produce from the garden, we needed an outdoor compost area to help with all the waste. (The deer would lose a feeding area)


Compost Area Pt. 2
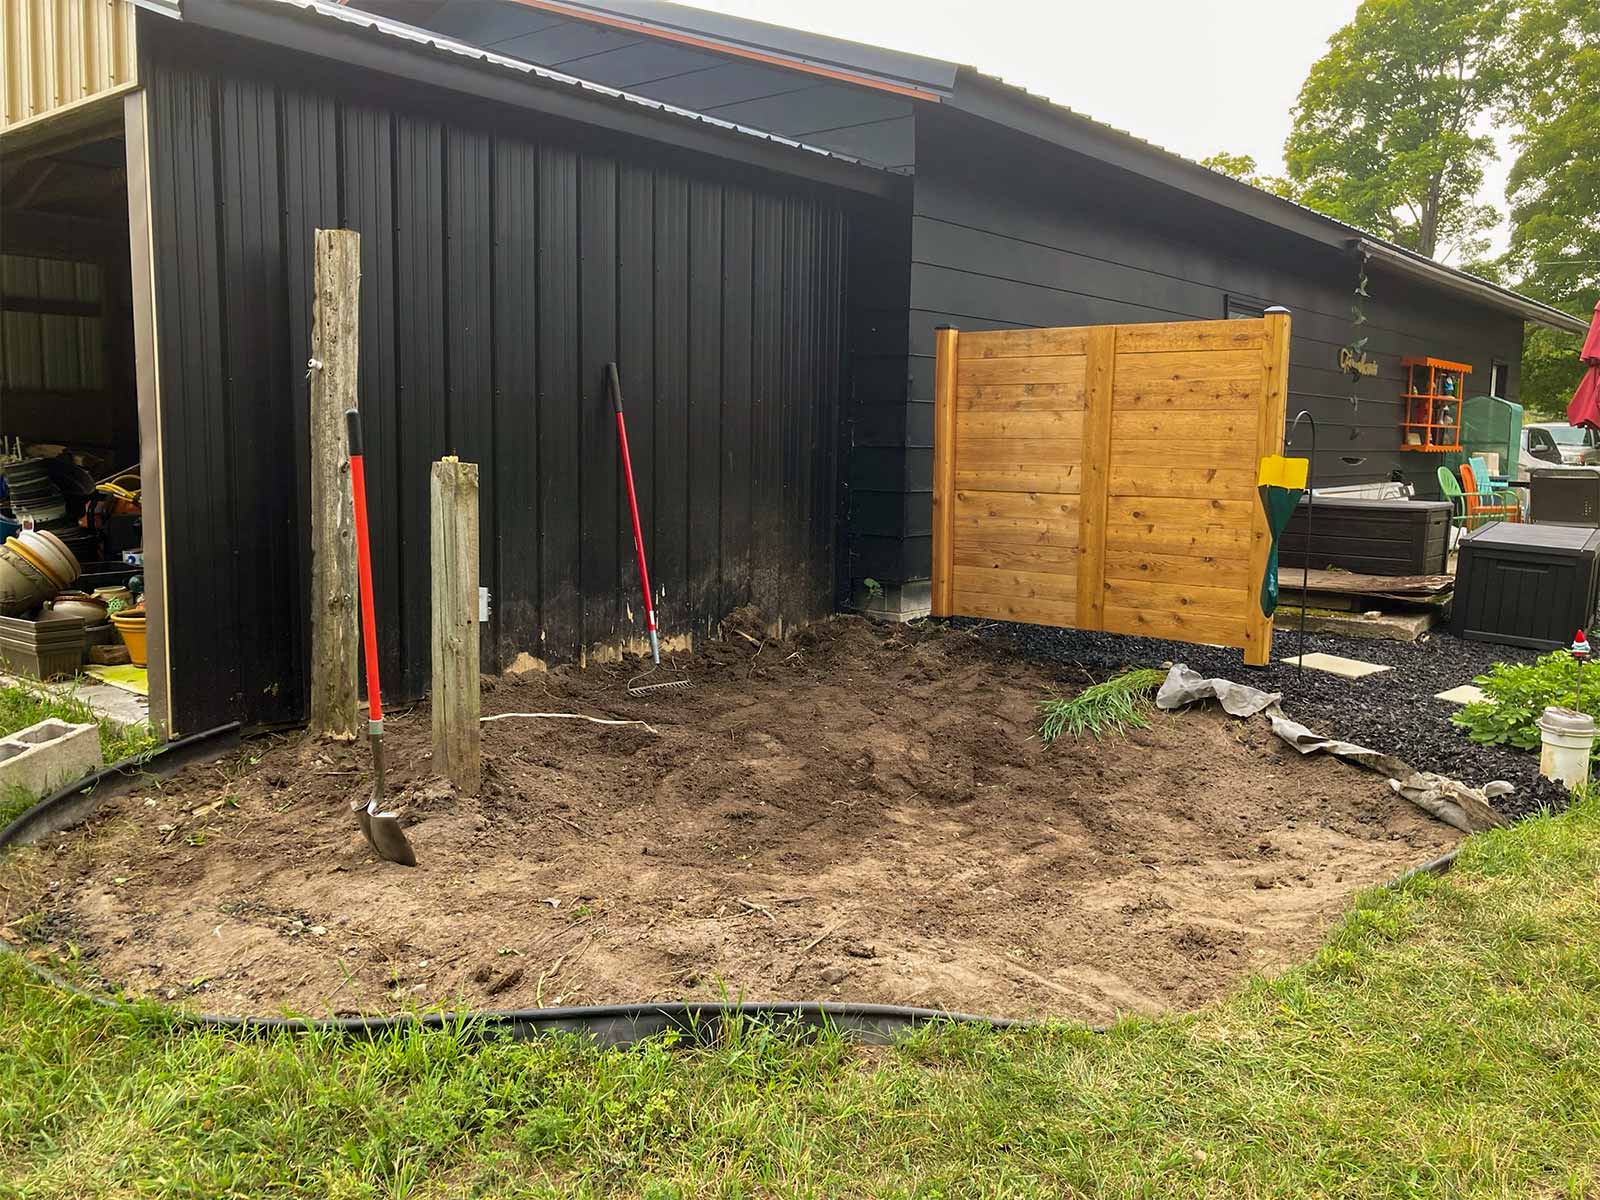
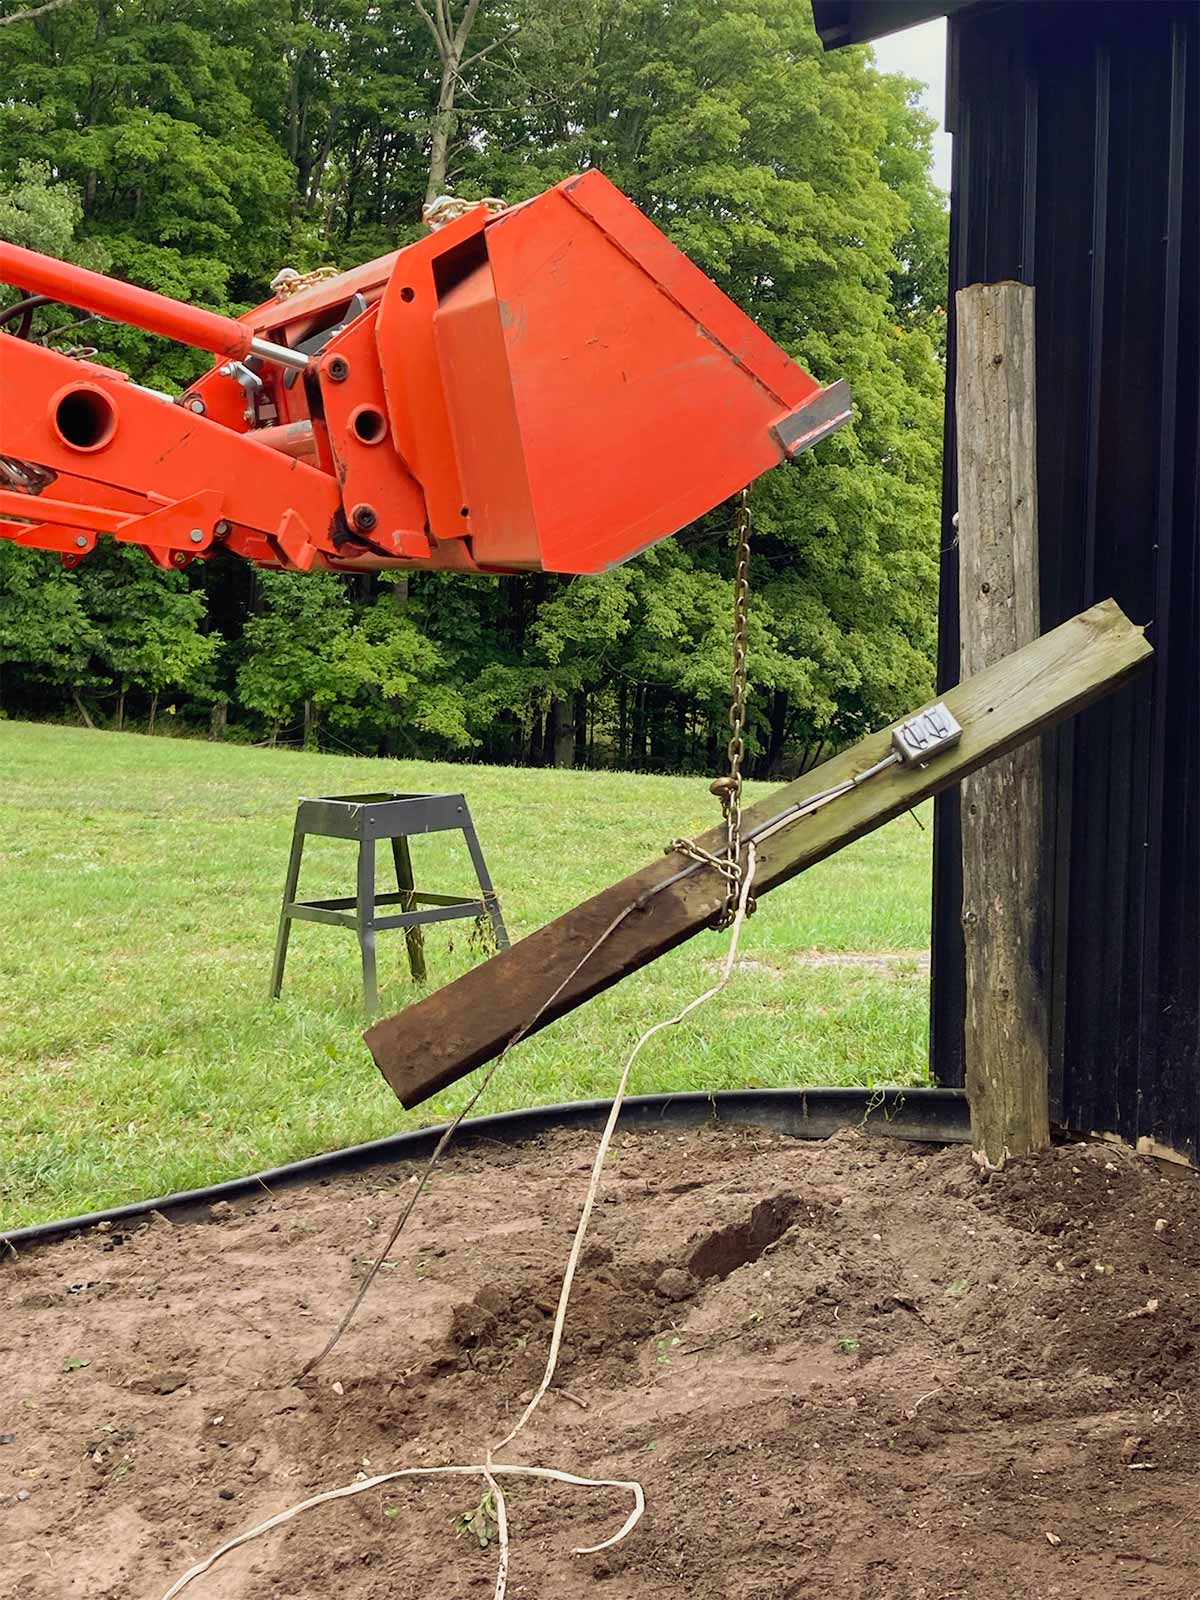
Andy removed the posts, we leveled the area and added weed fabric. We had to make a trip to Menards in Traverse City to purchase rubber mulch. The stepping stones are from Lowe’s. The garbage cans were from our home in Waterford. Andy drilled holes to let worms and other bugs in. The lids should keep larger critters out. The storage box is for cushion storage for the fire pit area.


Canning and Pantry
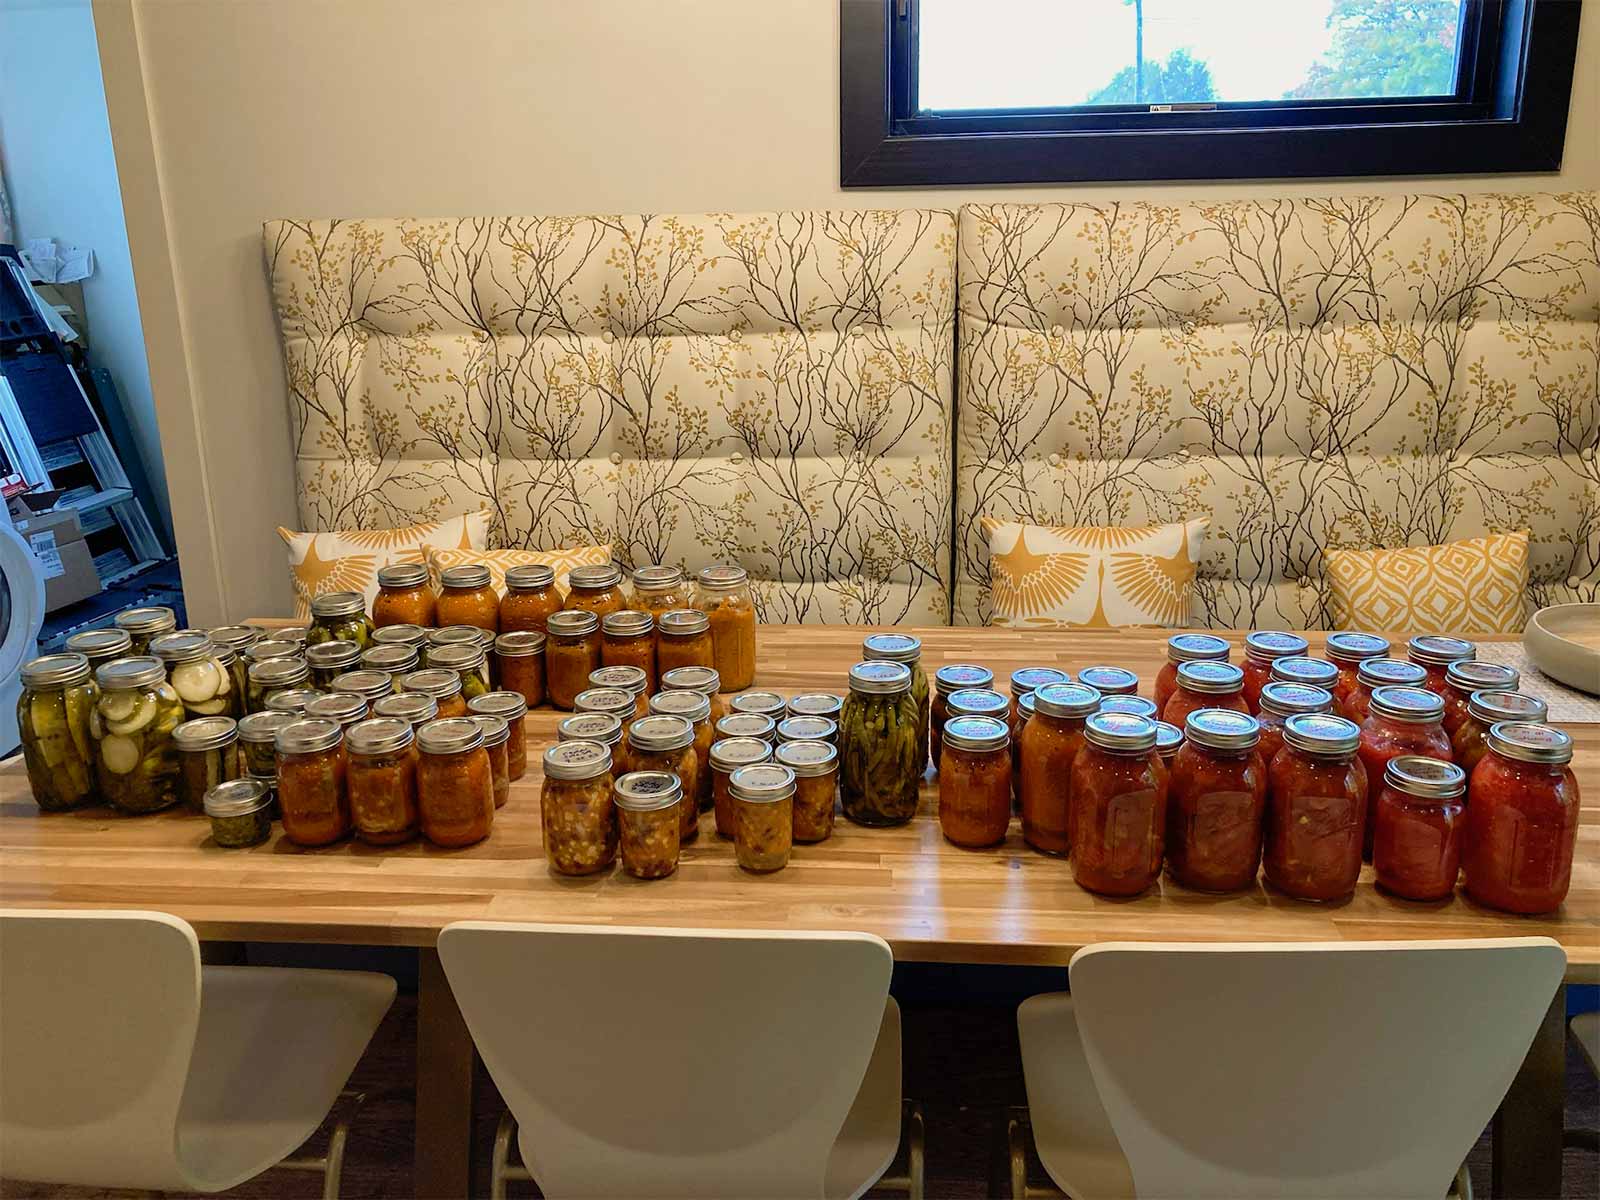
We were blessed with a bountiful harvest from our first crops in the greenhouse. We froze a lot of sweet corn and green beans, along with tubs of kale and basil pesto. We decided to try canning- tomatoes, pickles, salsa, spaghetti sauce, hot sauce, chiles, and dilly beans. When I began stocking the pantry with all our goods, I started to worry about the strength of the existing wire shelves. I discovered that the shelves were secured with small screws into drywall only. No anchors. So, yet another project to delay work on the siding.


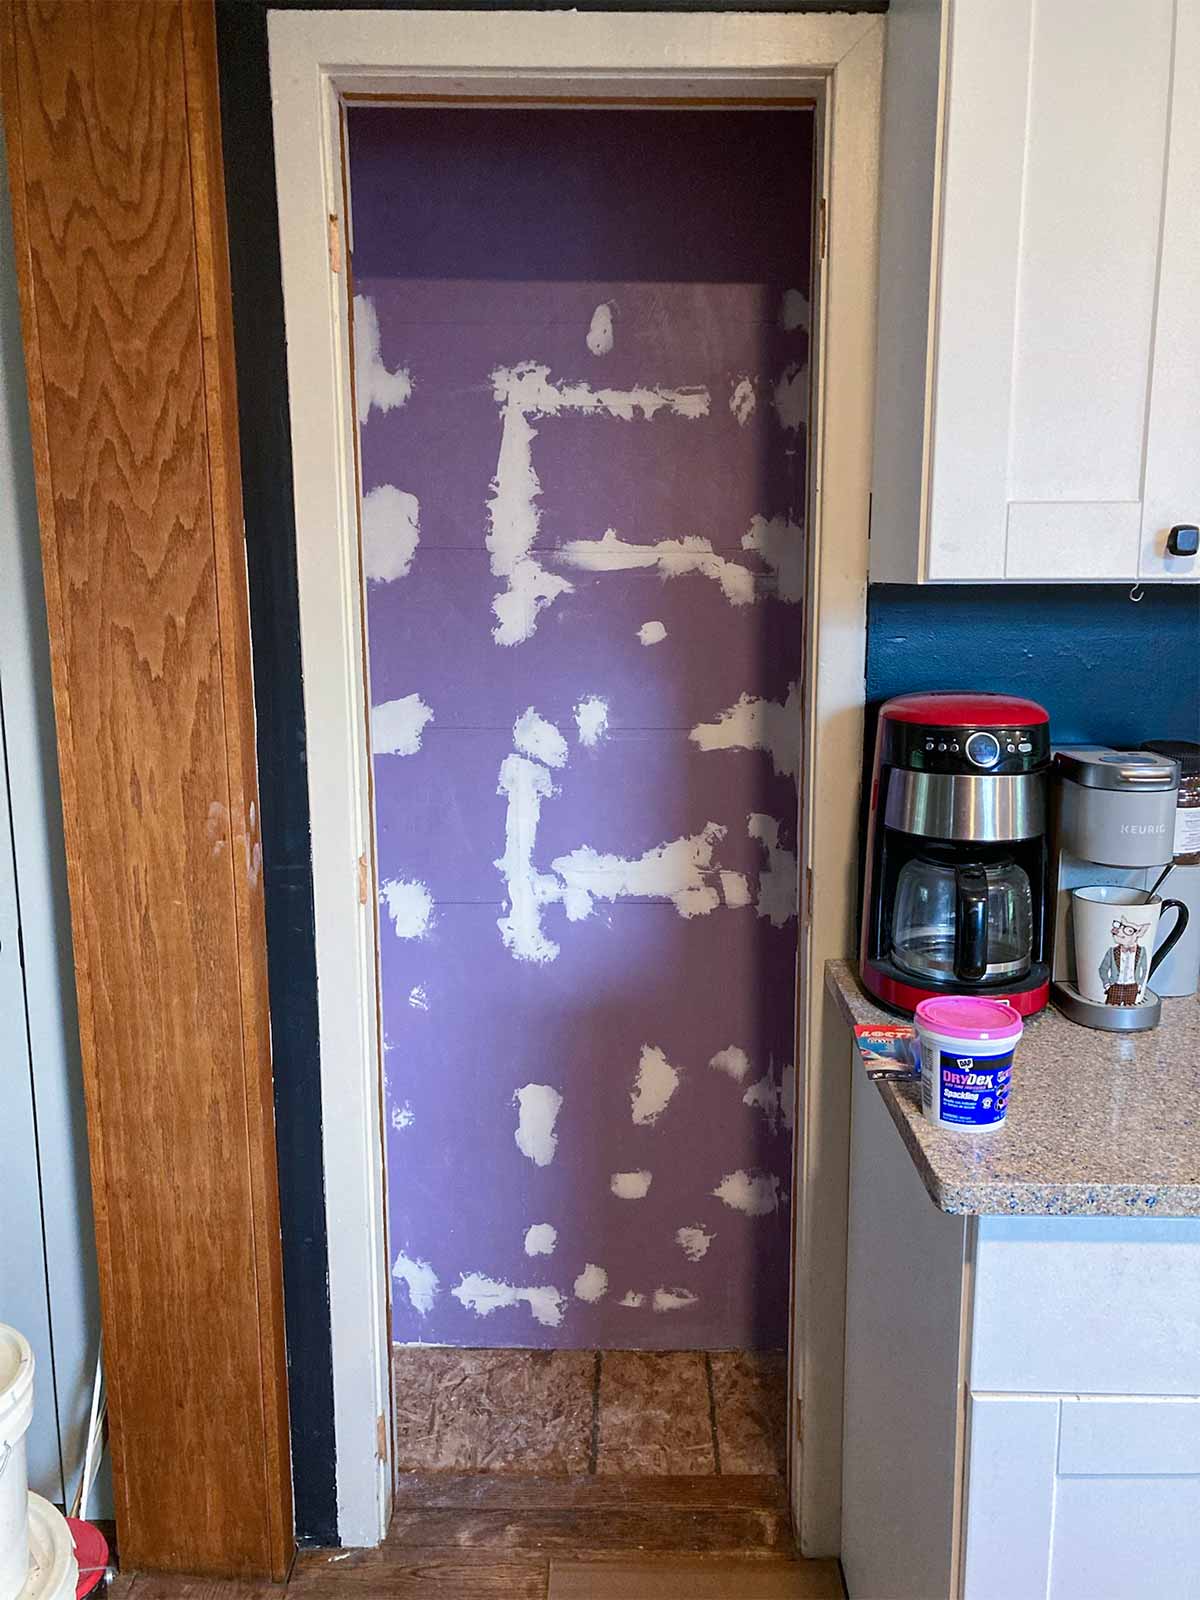
Pantry Pt. 2
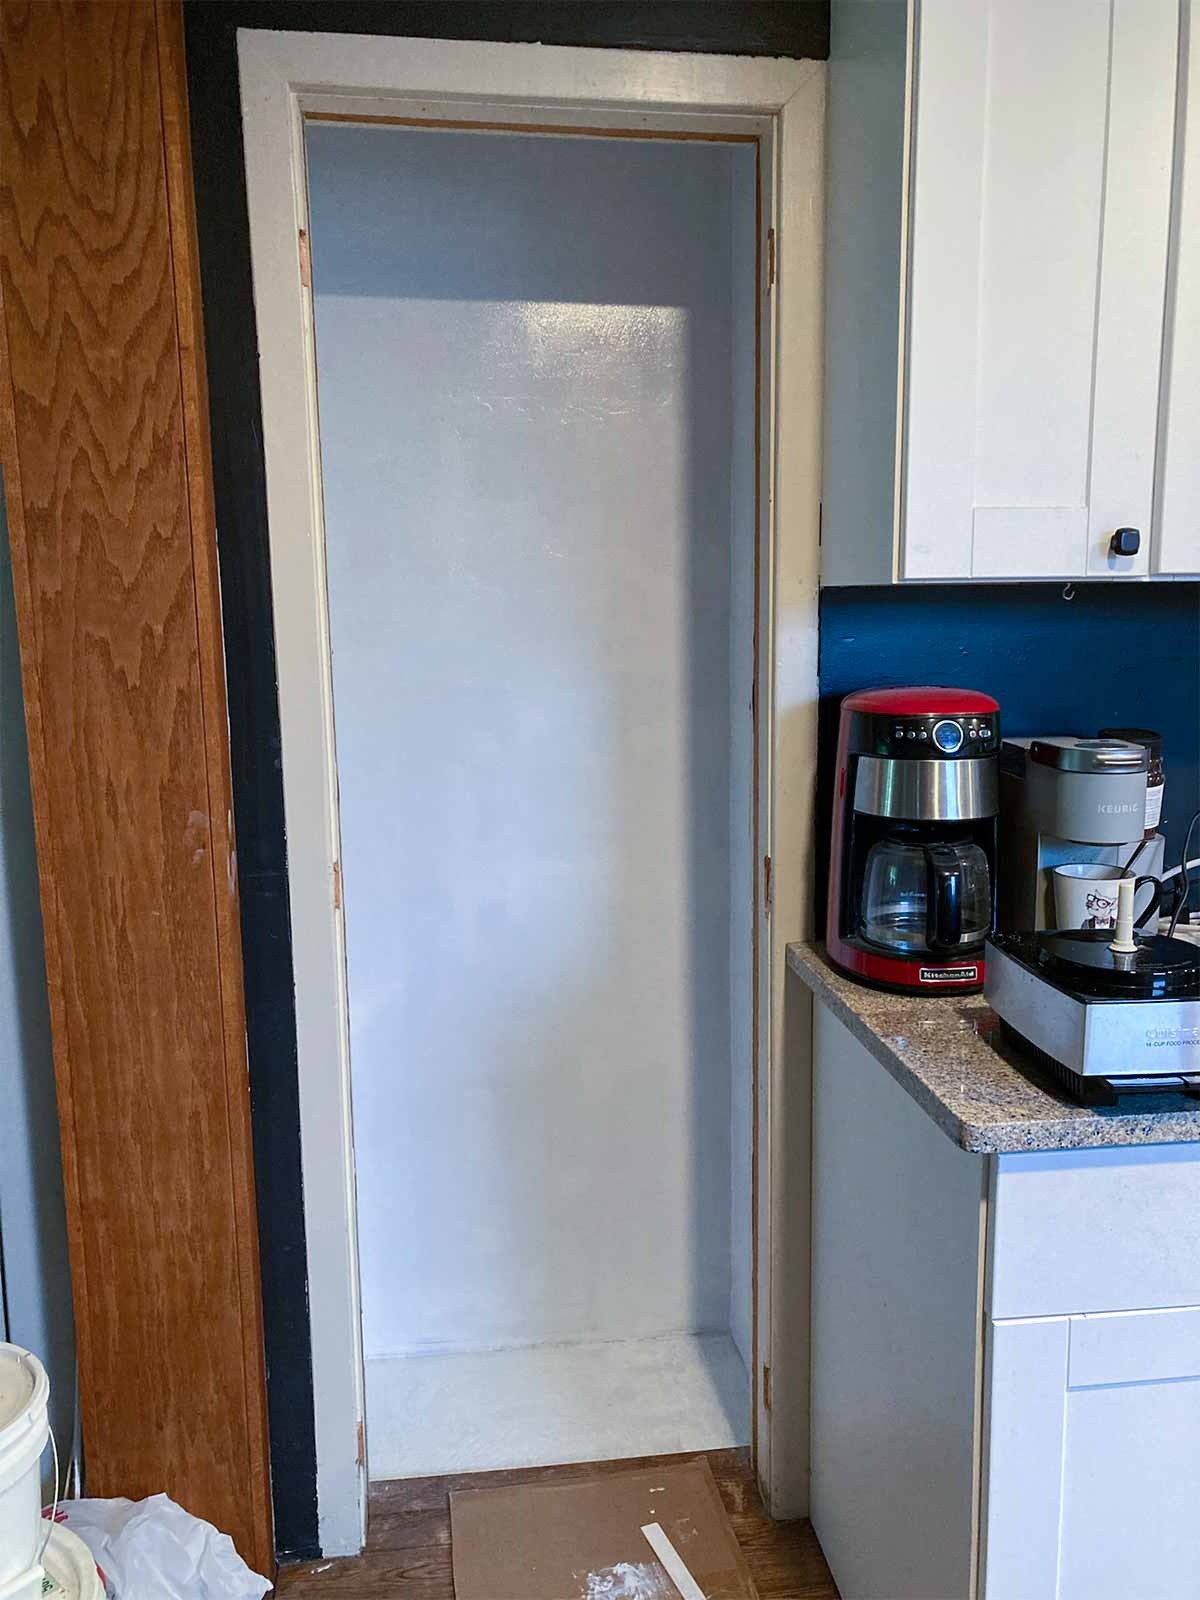
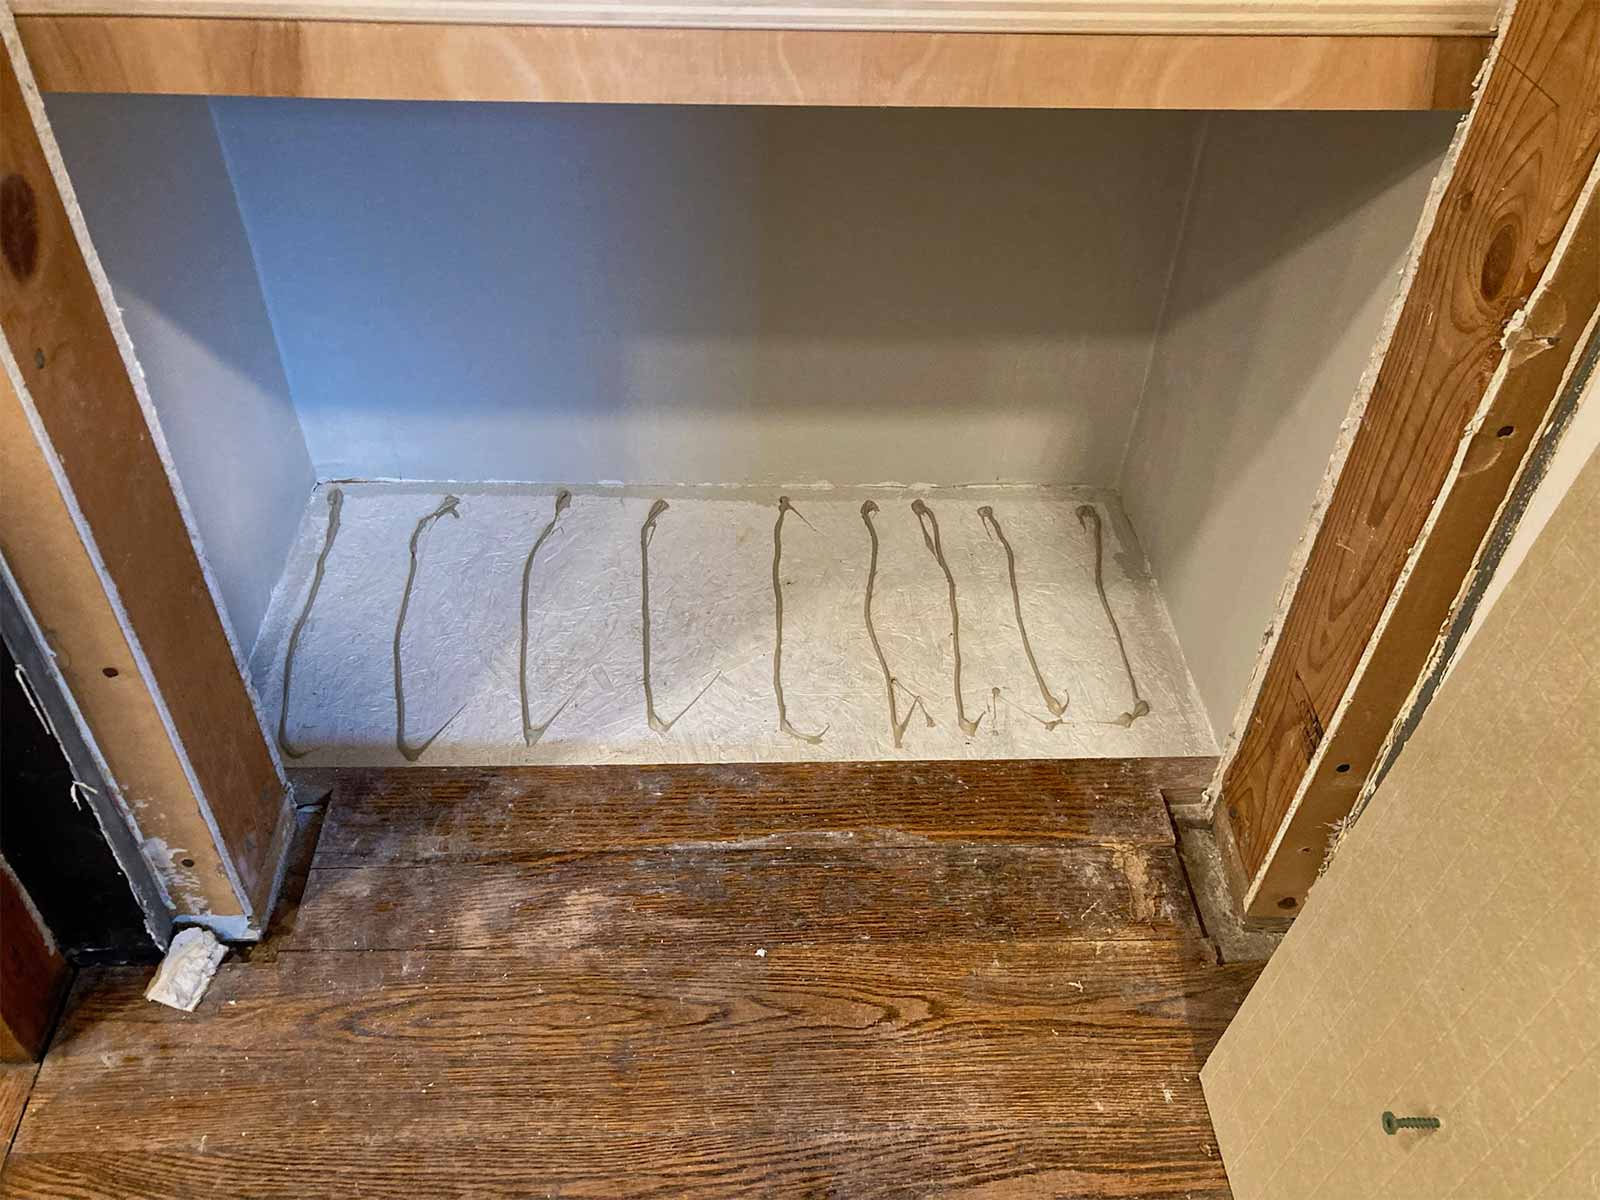
I removed the wire shelves, filled holes and imperfections in the drywall, sanded, primed, (no more purple walls!) and painted repose gray (the color in the dining room). Andy began with removing the old door jamb and trim. The plumbing for the bathroom shower is in the back wall of the pantry. So, Andy built frames for shelves to sit on, and secured them in the corners, directly into studs.


Pantry Pt. 3
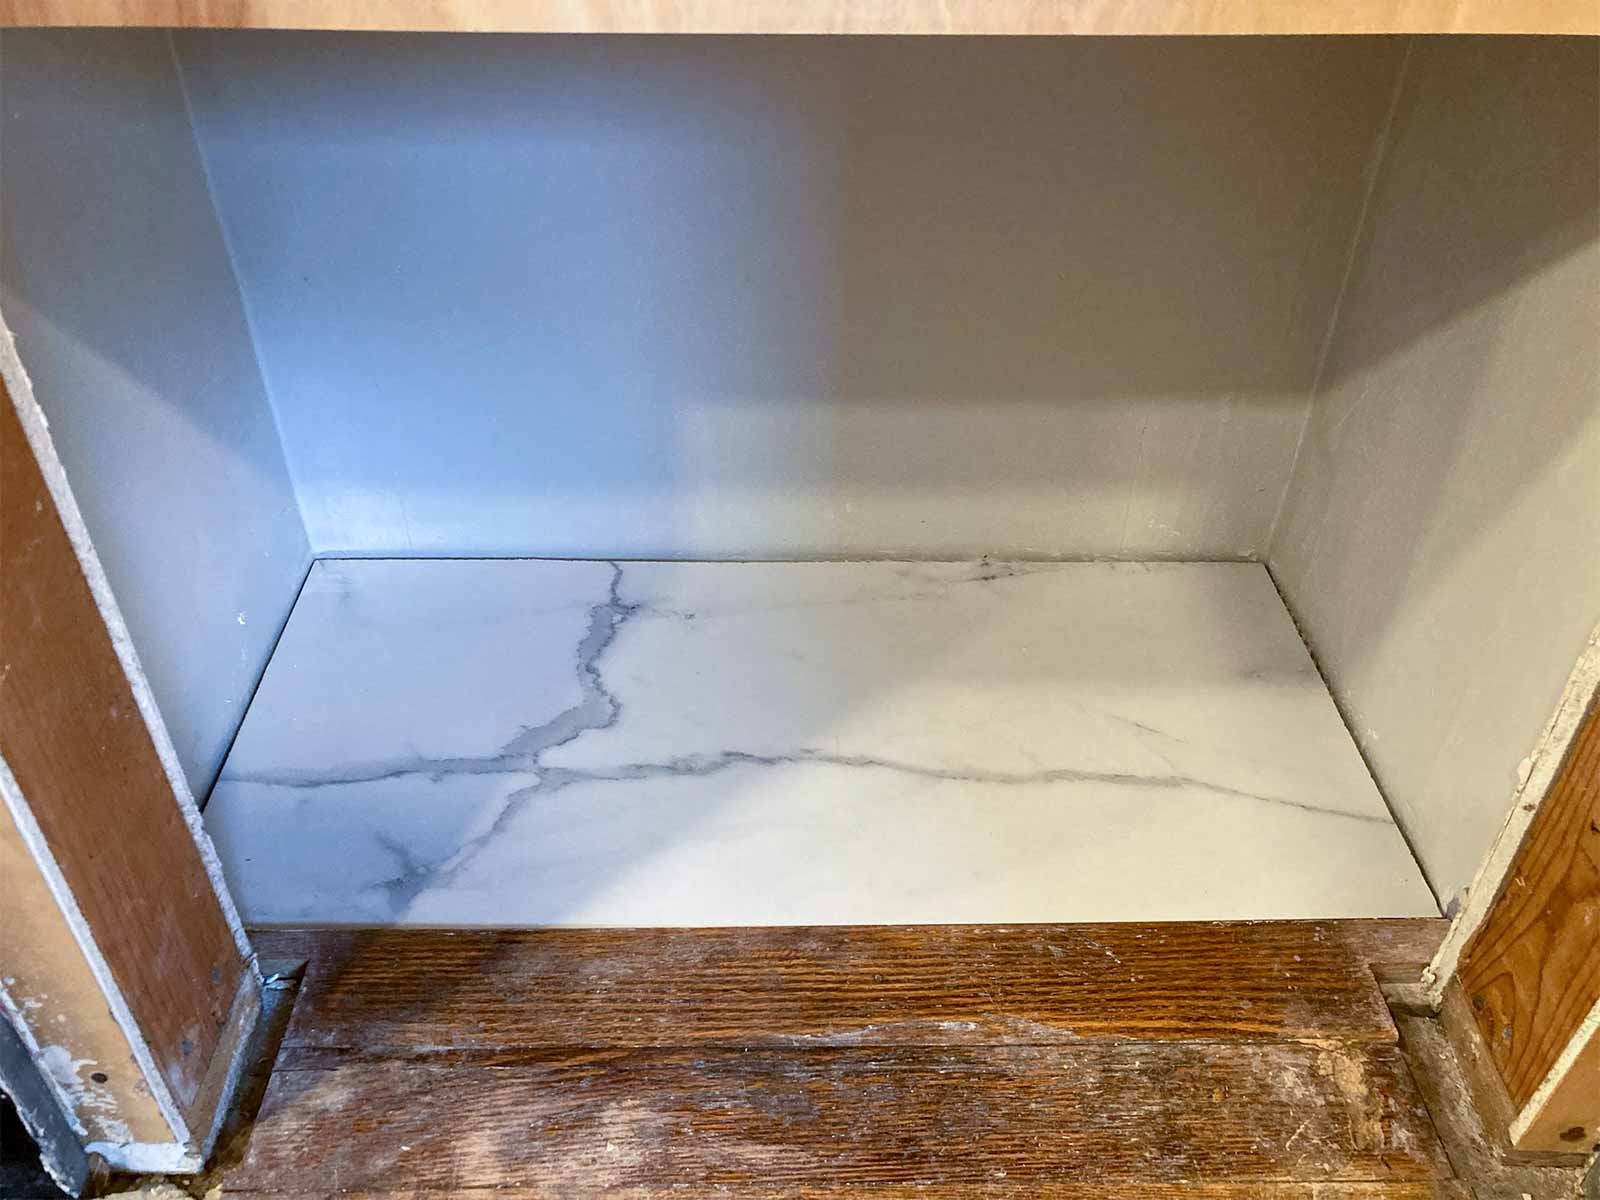
I stocked the new pantry shelves with all our canned goods. Andy got a large porcelain tile that looks like marble from his boss at MI North Flooring in Alanson—thanks David! The door trim and baseboard in the pantry will eventually be finished when we do the kitchen project. But for now, I know our canned goods will not come crashing down to the floor.


Roof Repair
We had a very heavy rain in early September. Thankfully I was home at the time. We had water pouring down the inside wall of the mud room closet! I went through a number of towels propped up with my ski pool at the ceiling. When the rain slowed down, it stopped coming down the wall but I could hear it dripping inside the wall. Andy discovered the water was coming in at the chimney so he rebuilt that section of roof to run past the chimney. The chimney will get new siding when we complete the siding project in next month’s blog. See you then!


