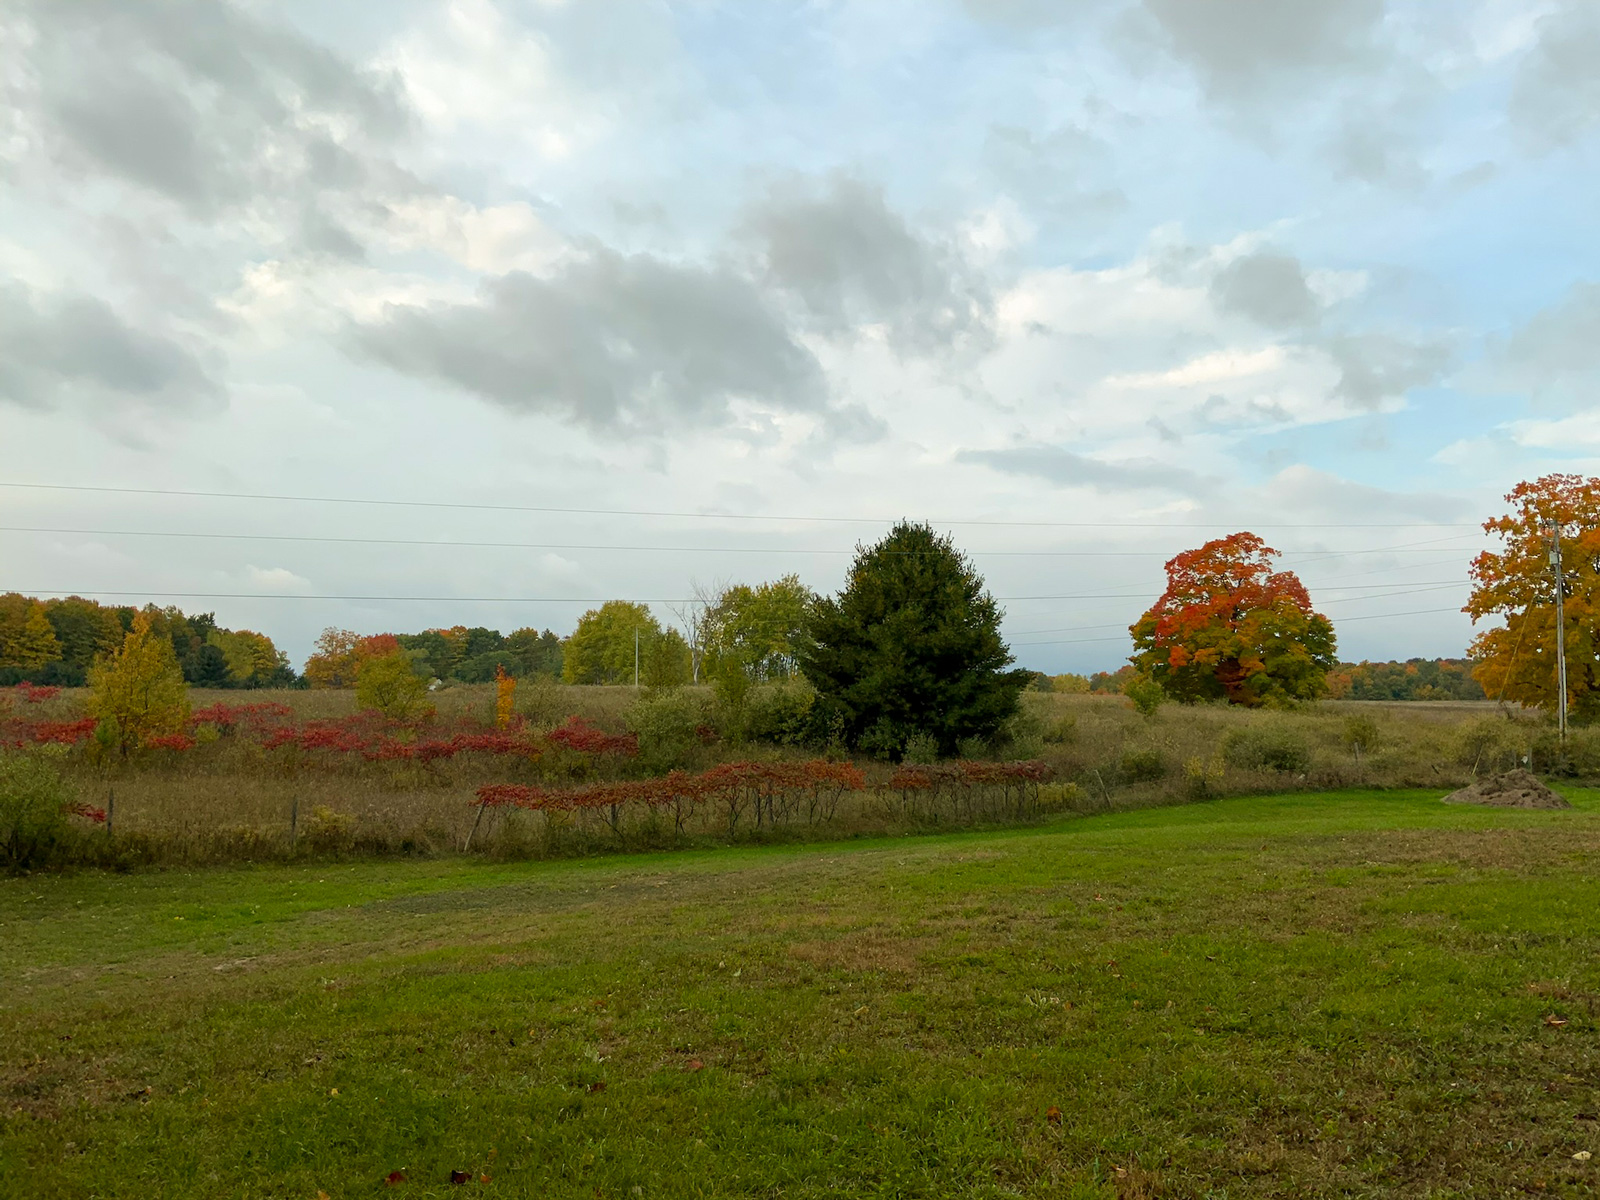
With two acres of land, we have plenty of space for a vegetable garden. The best space is the south side of the garage and down into the valley. It gets sun all day long. But first, we begin with a hops garden!

Hops Garden
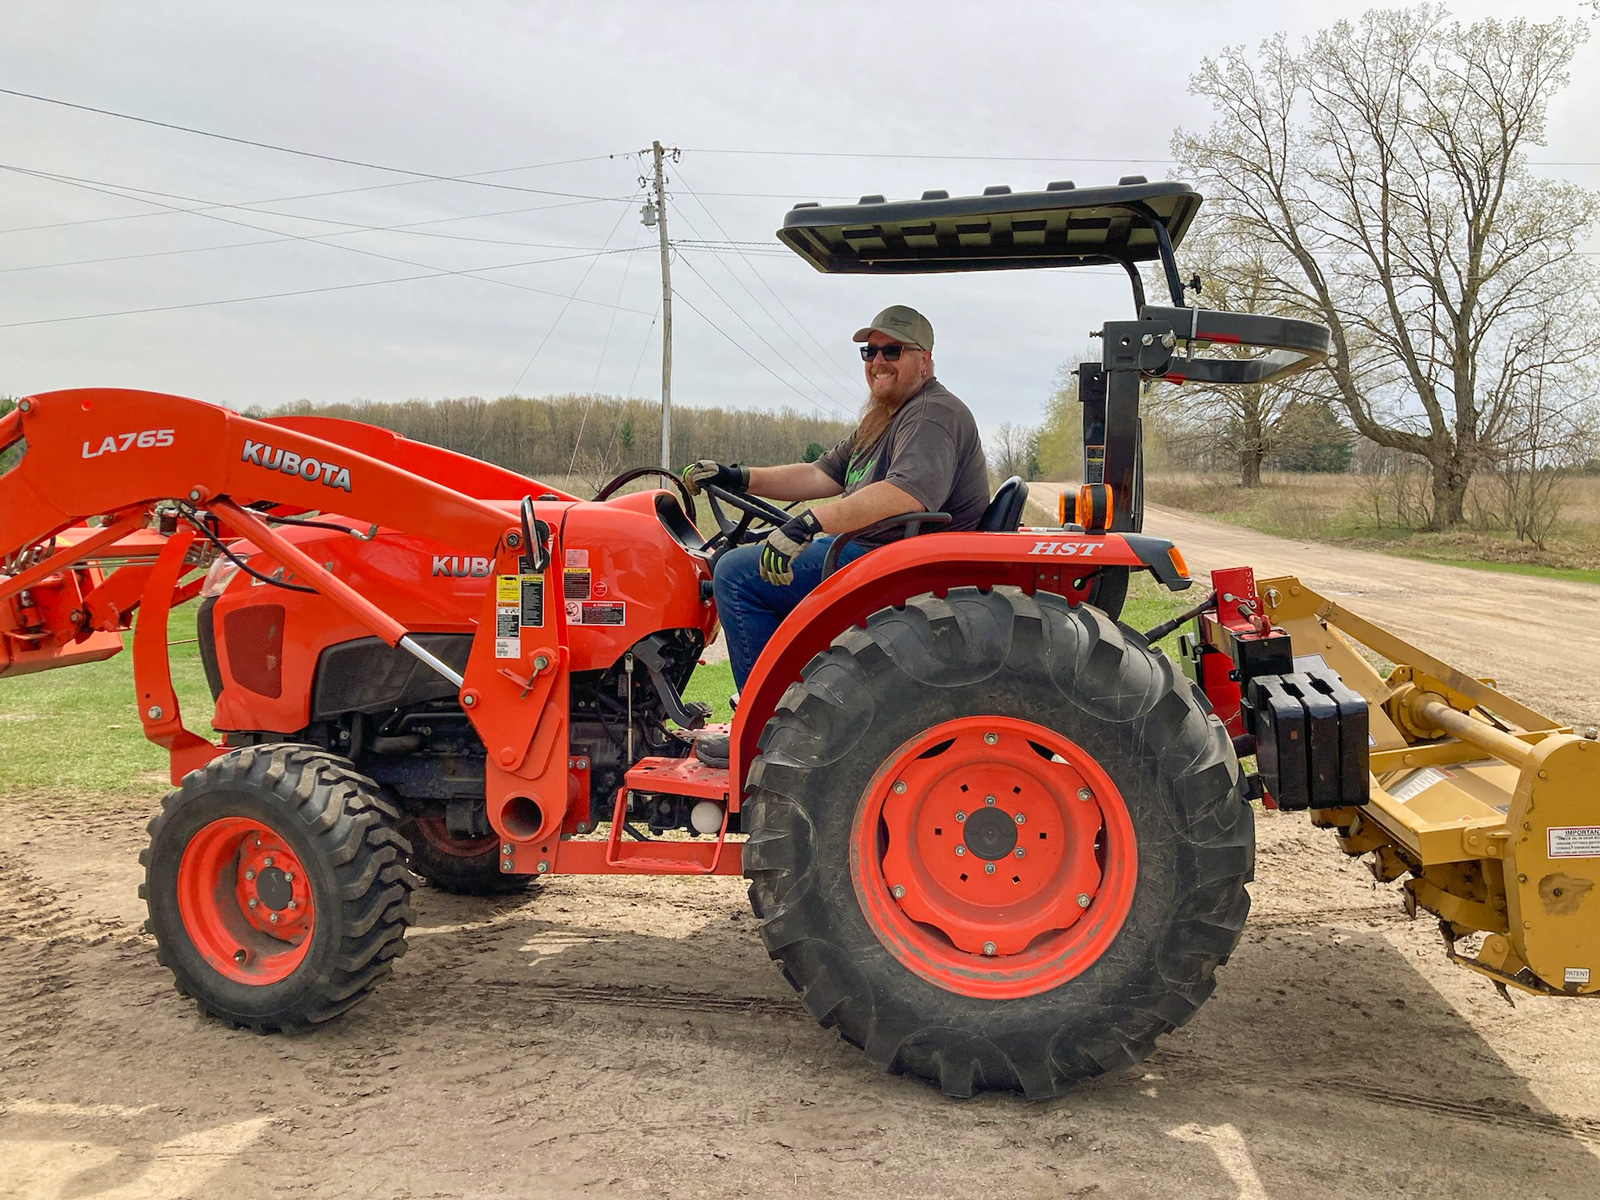
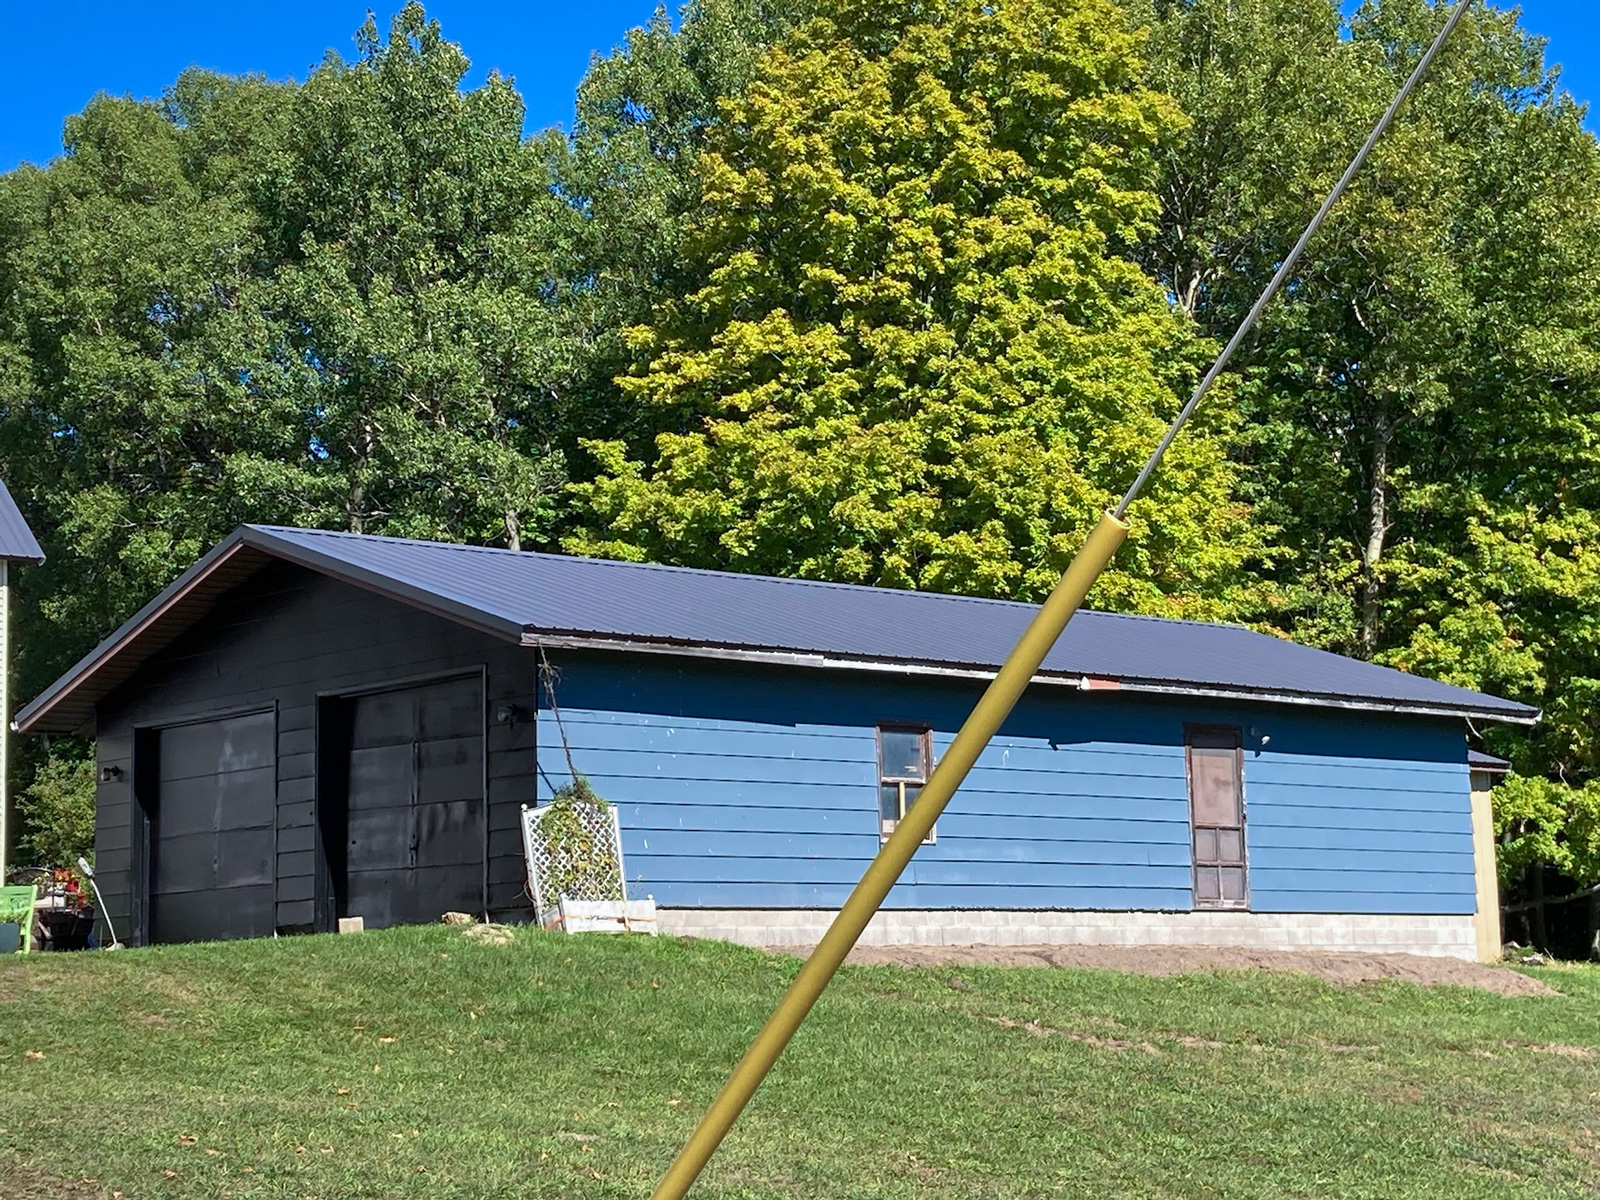
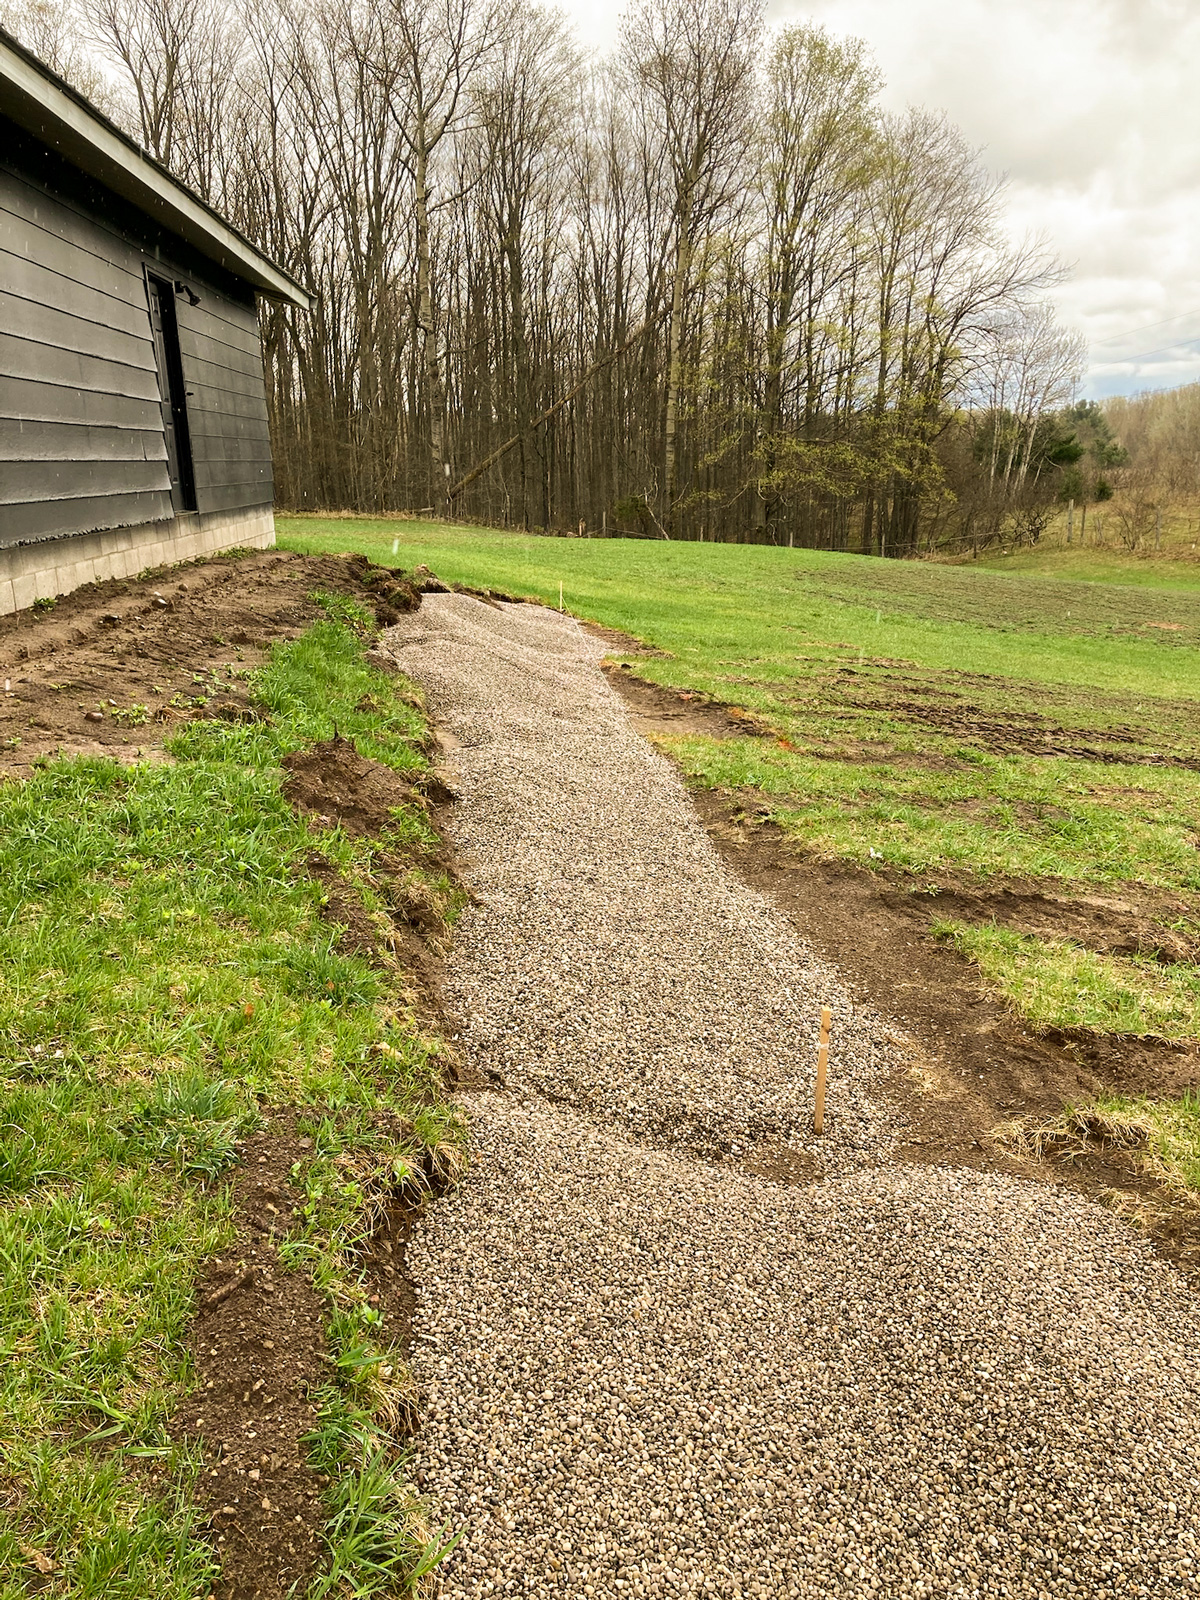
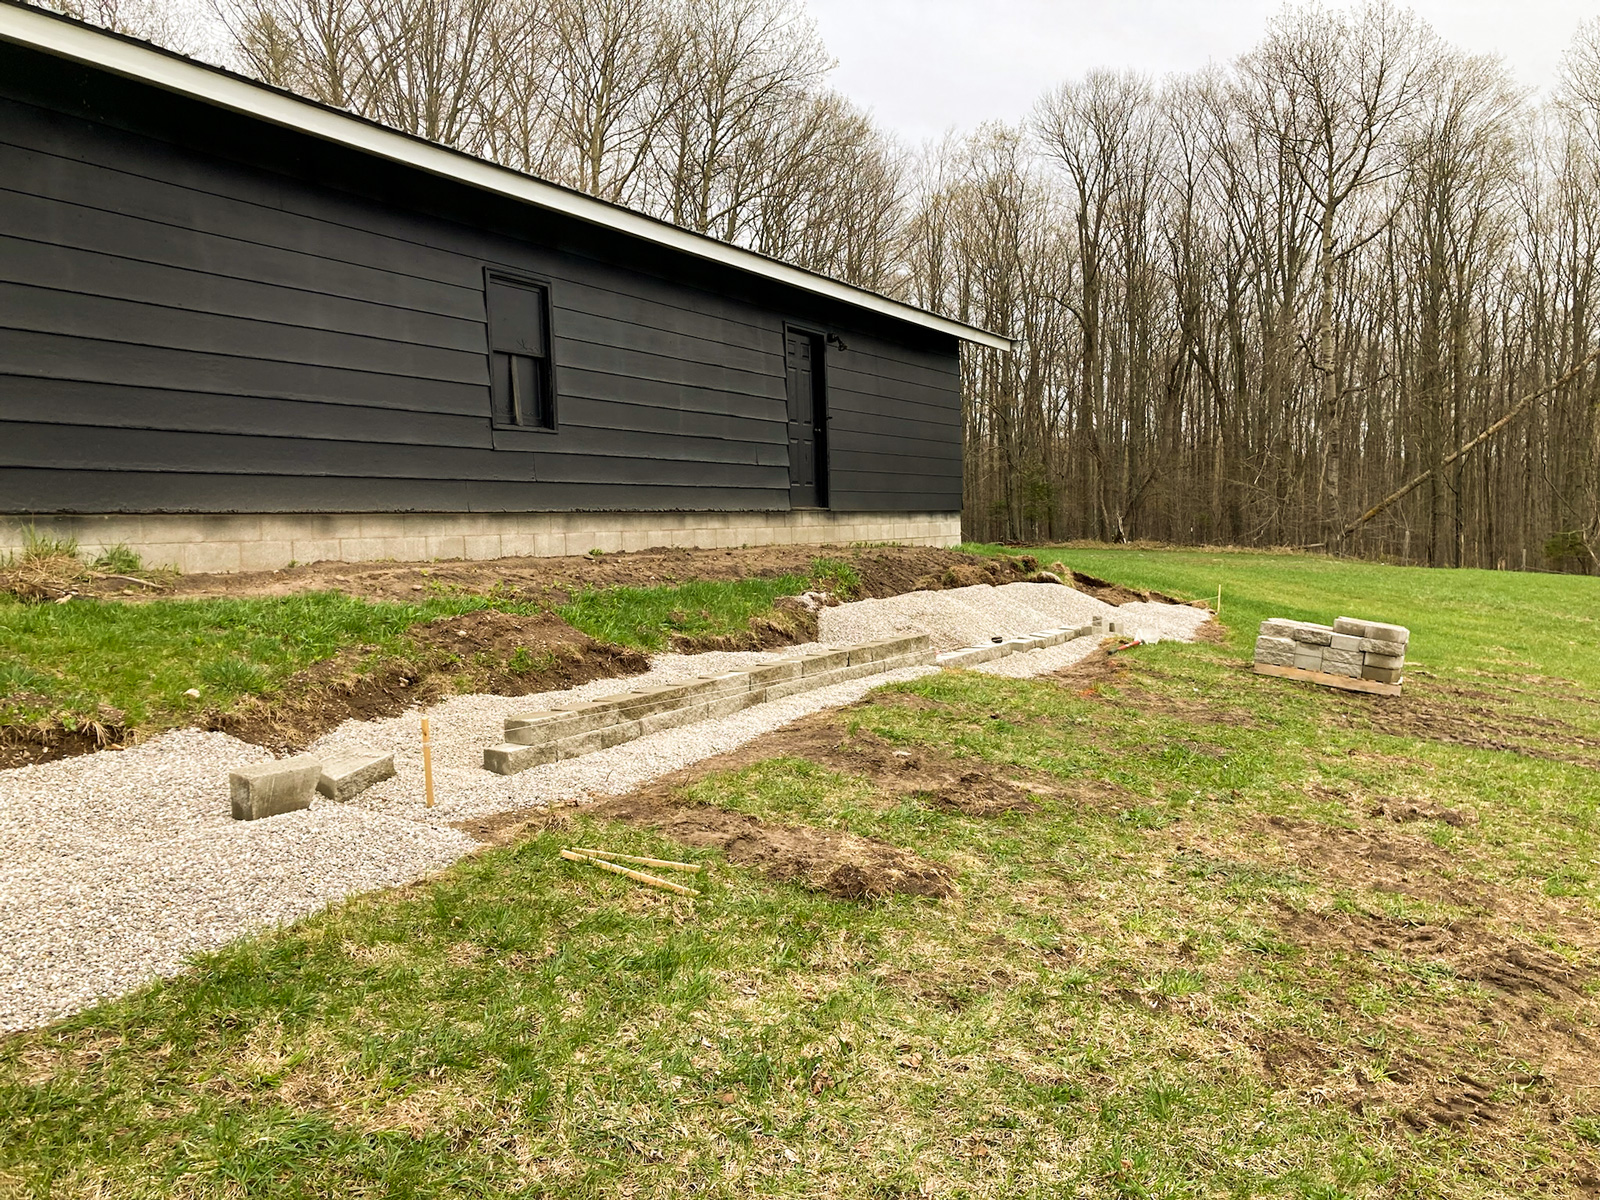
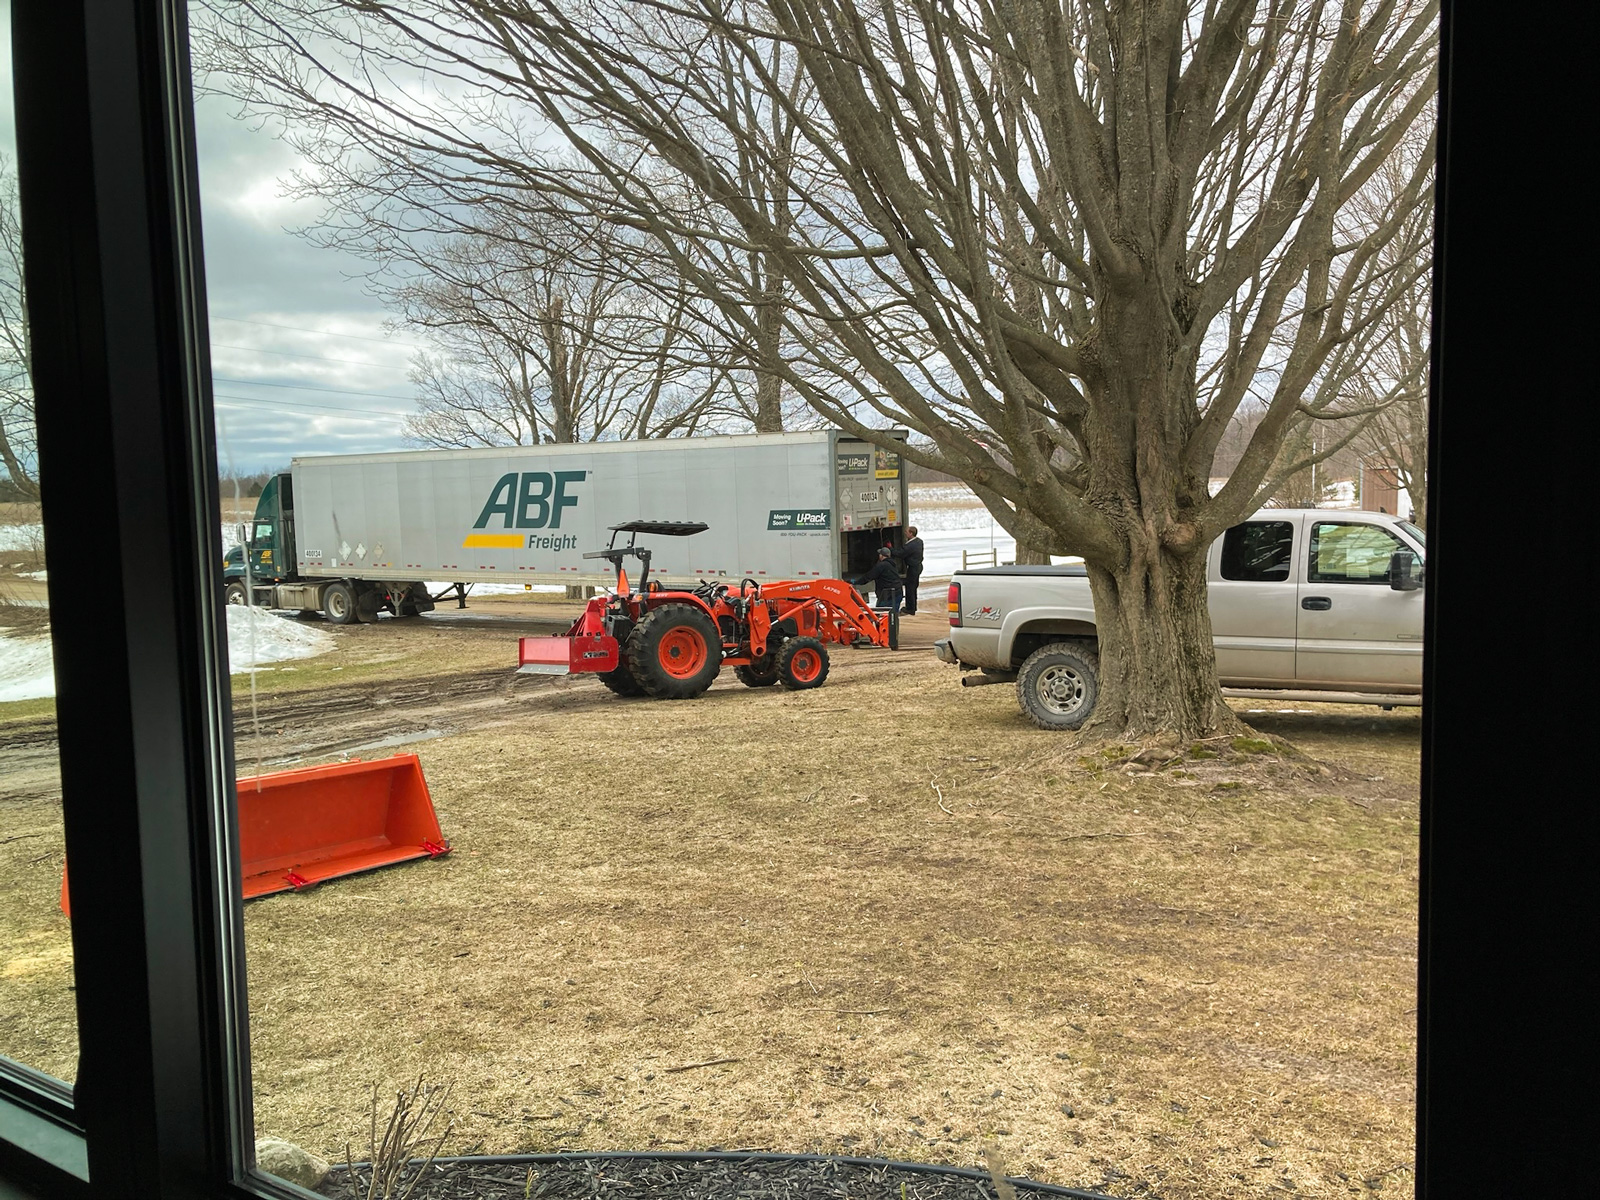
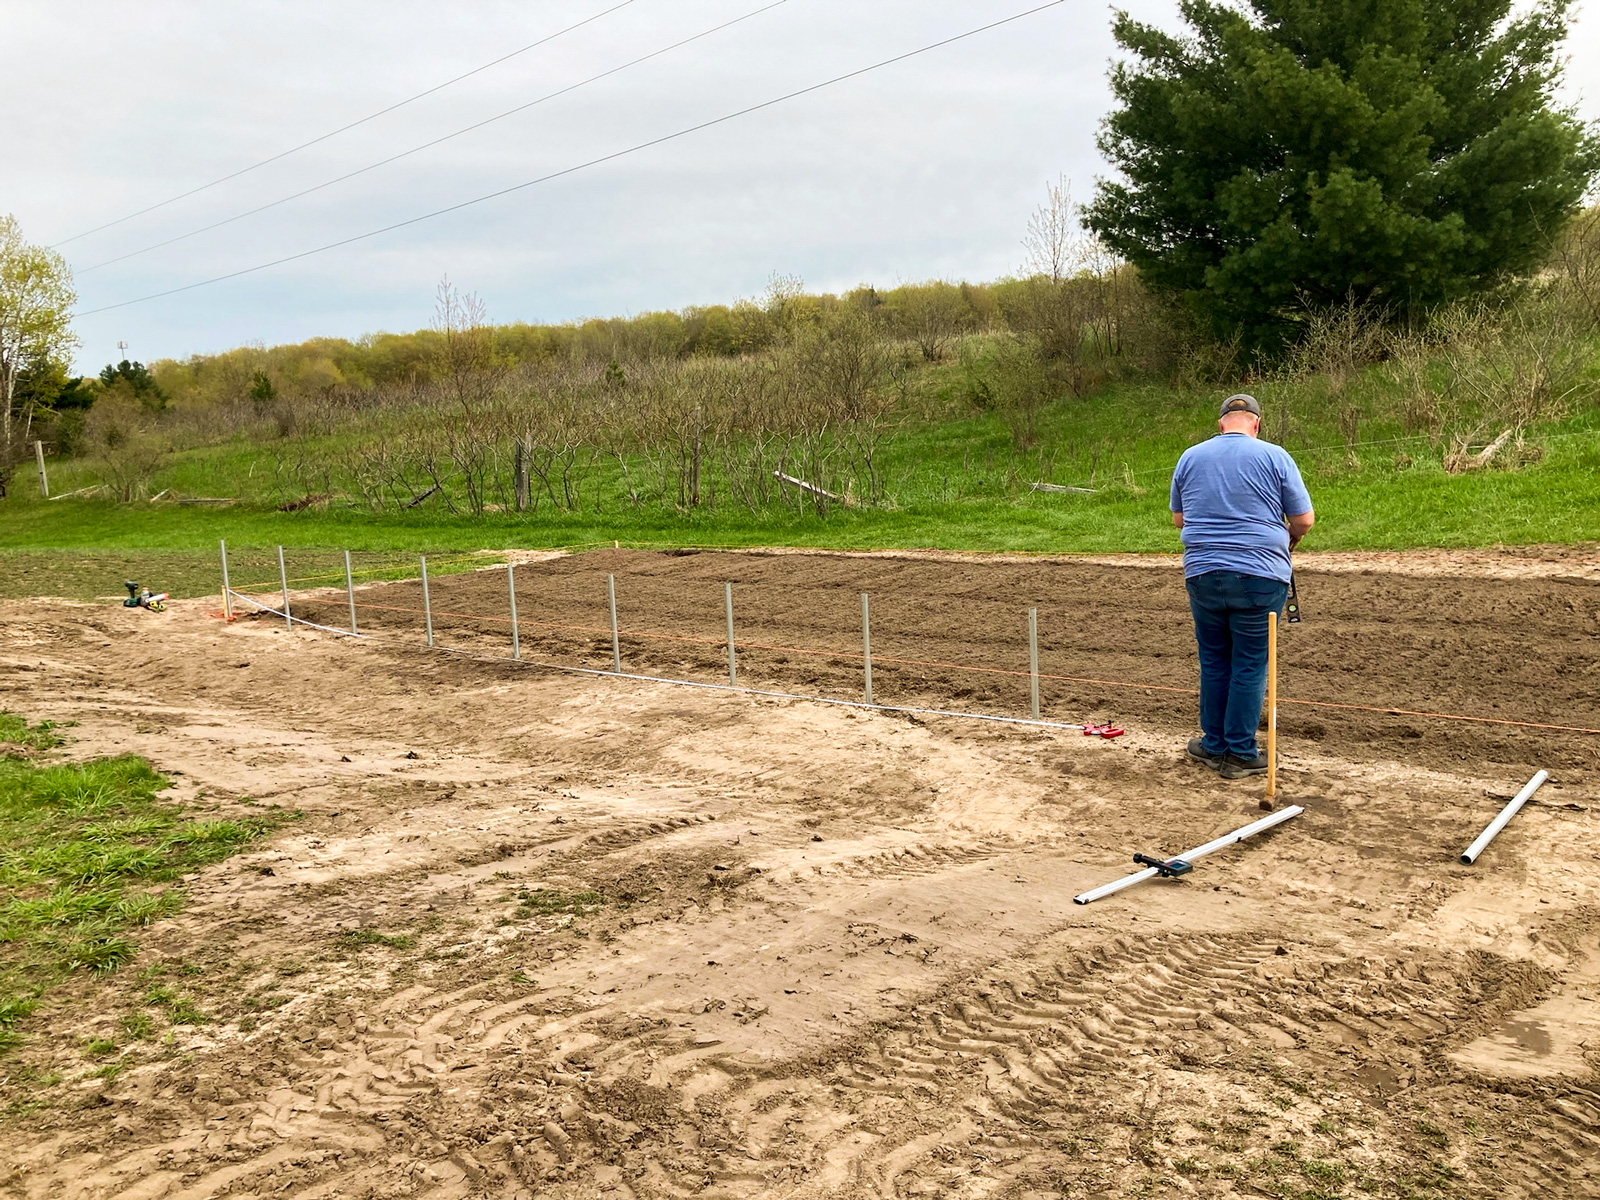
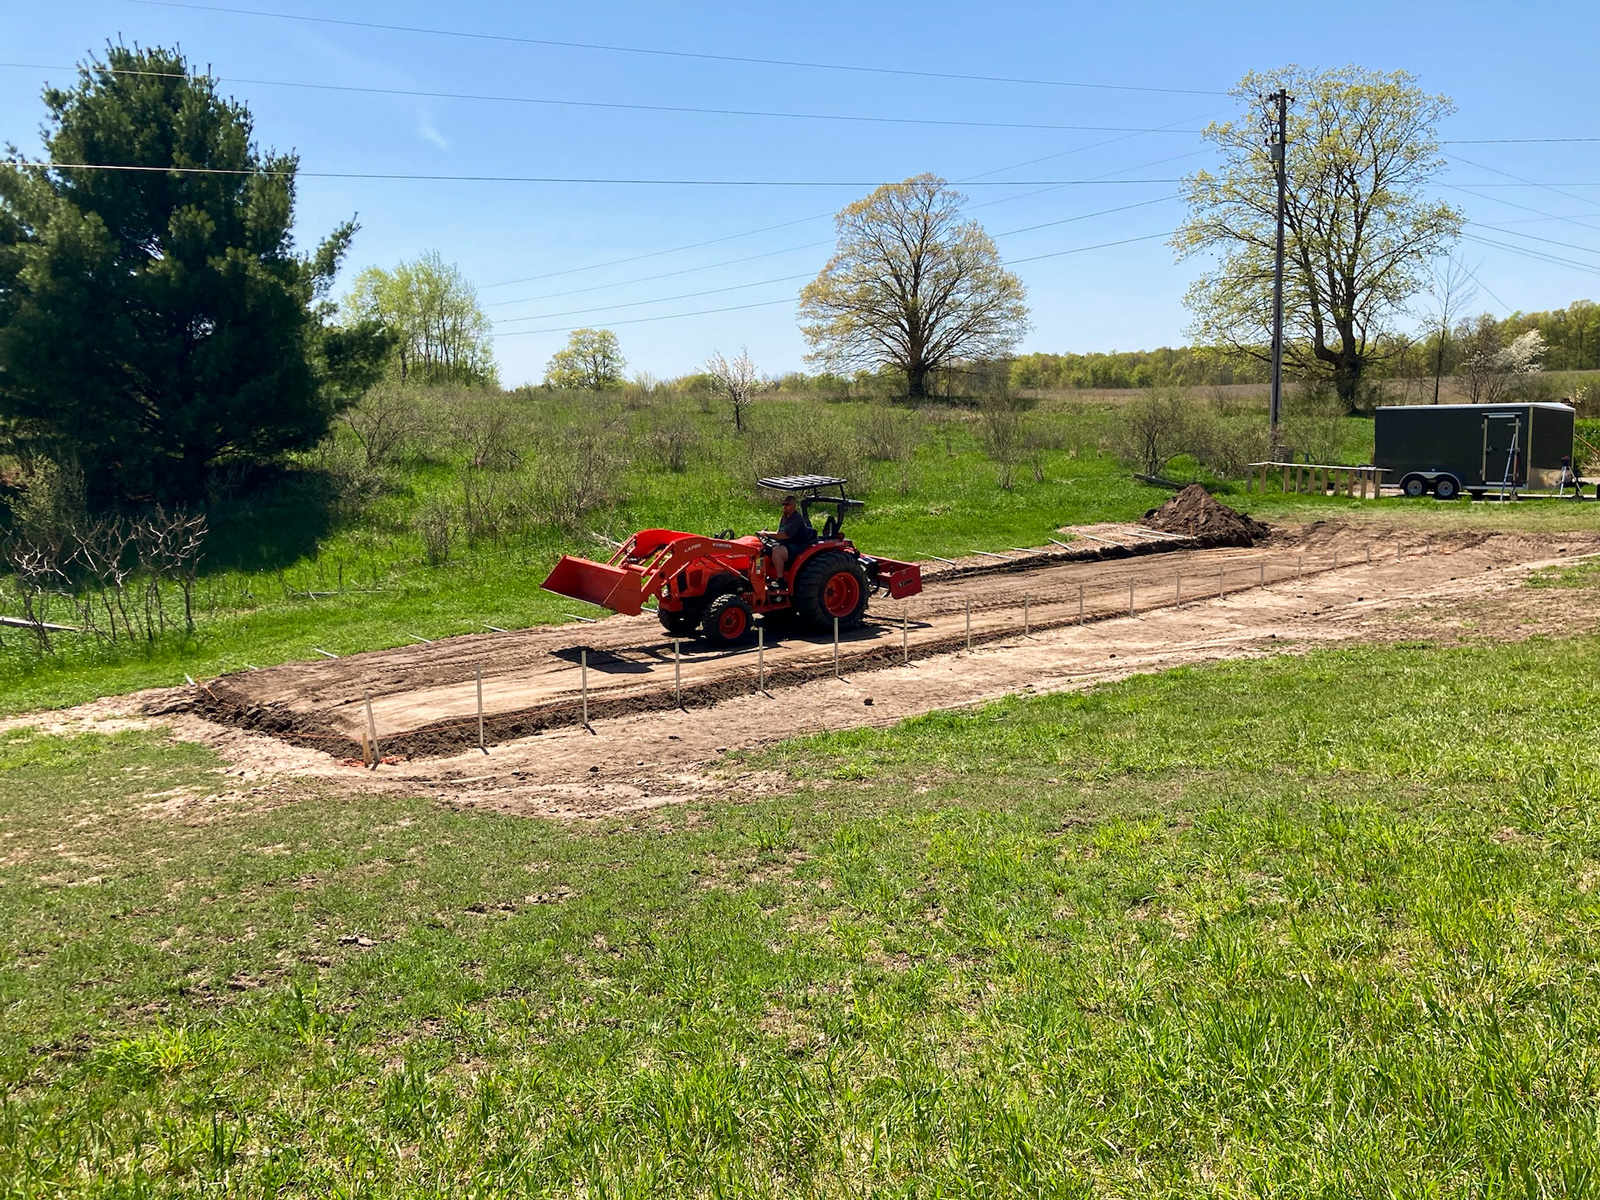
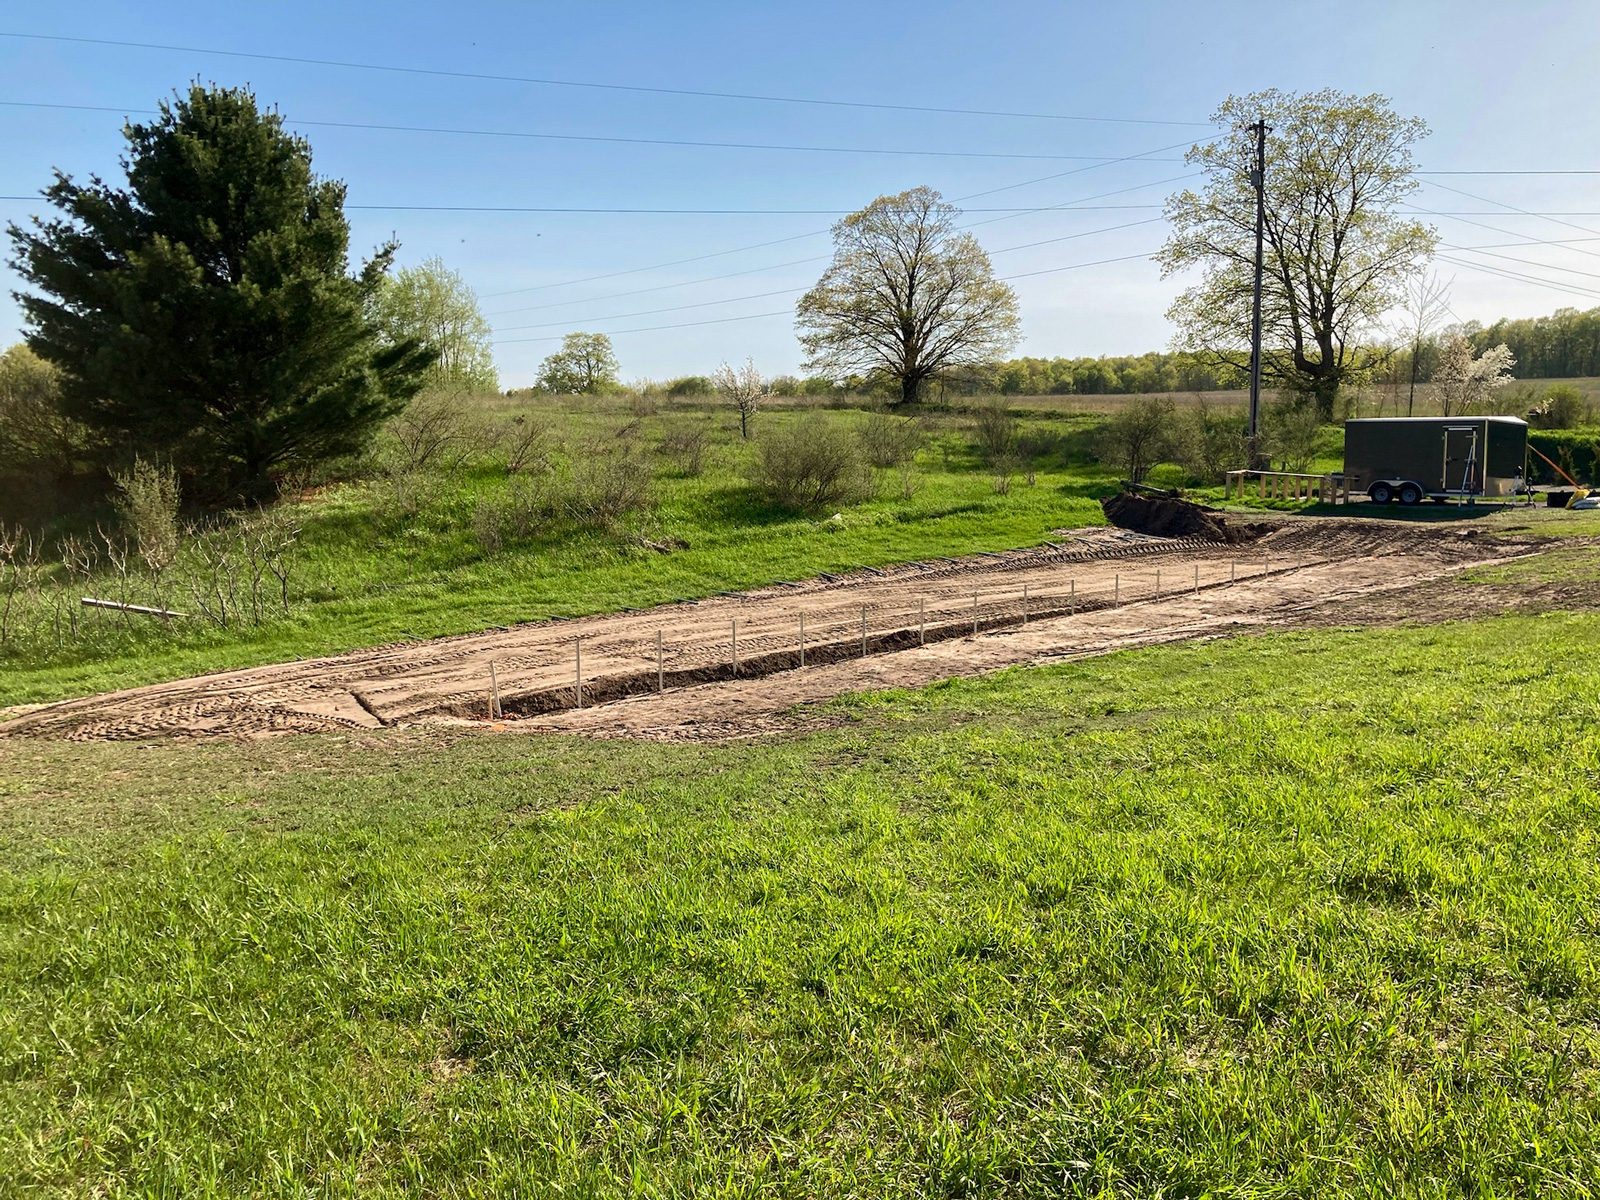
We grew hops at our house in Waterford and brought some with us to transplant. The best place to grow these is on the south side of the garage. So we decided to install a retaining wall to give us room to plant at least three rows of hops. It will take years for these to get established. We began by prepping the site.
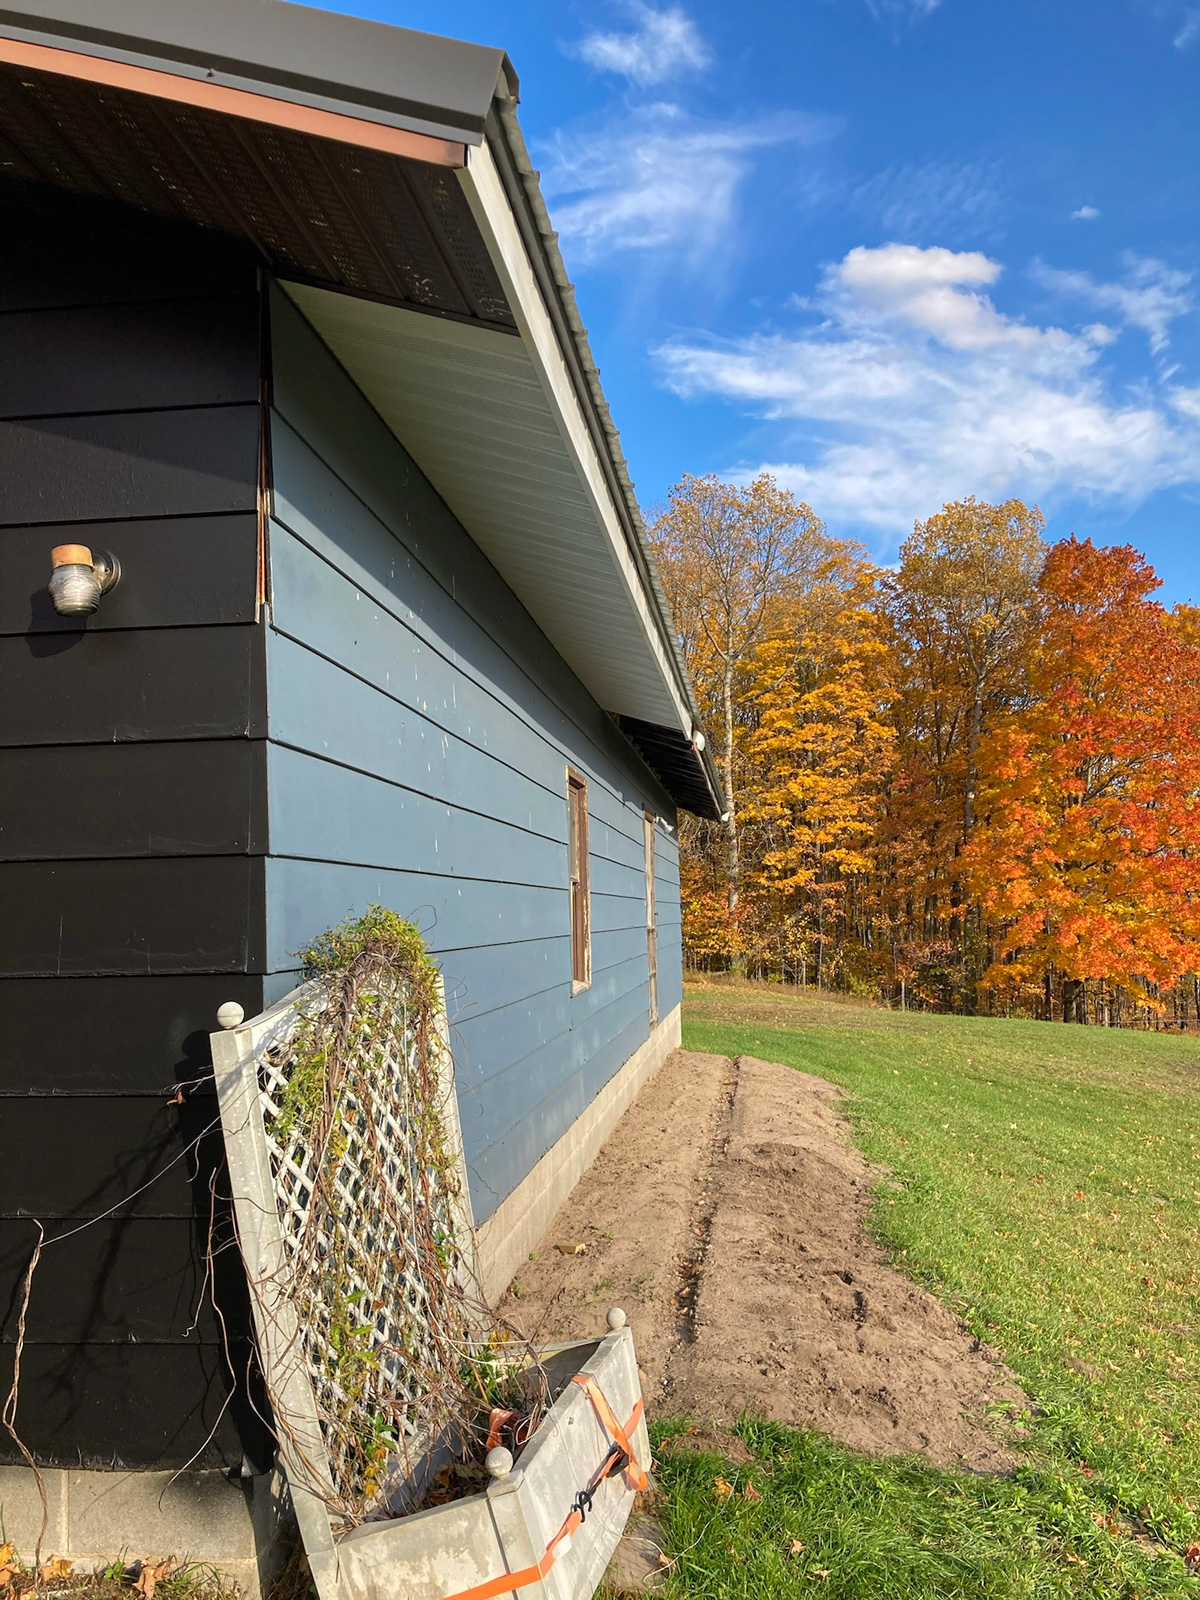
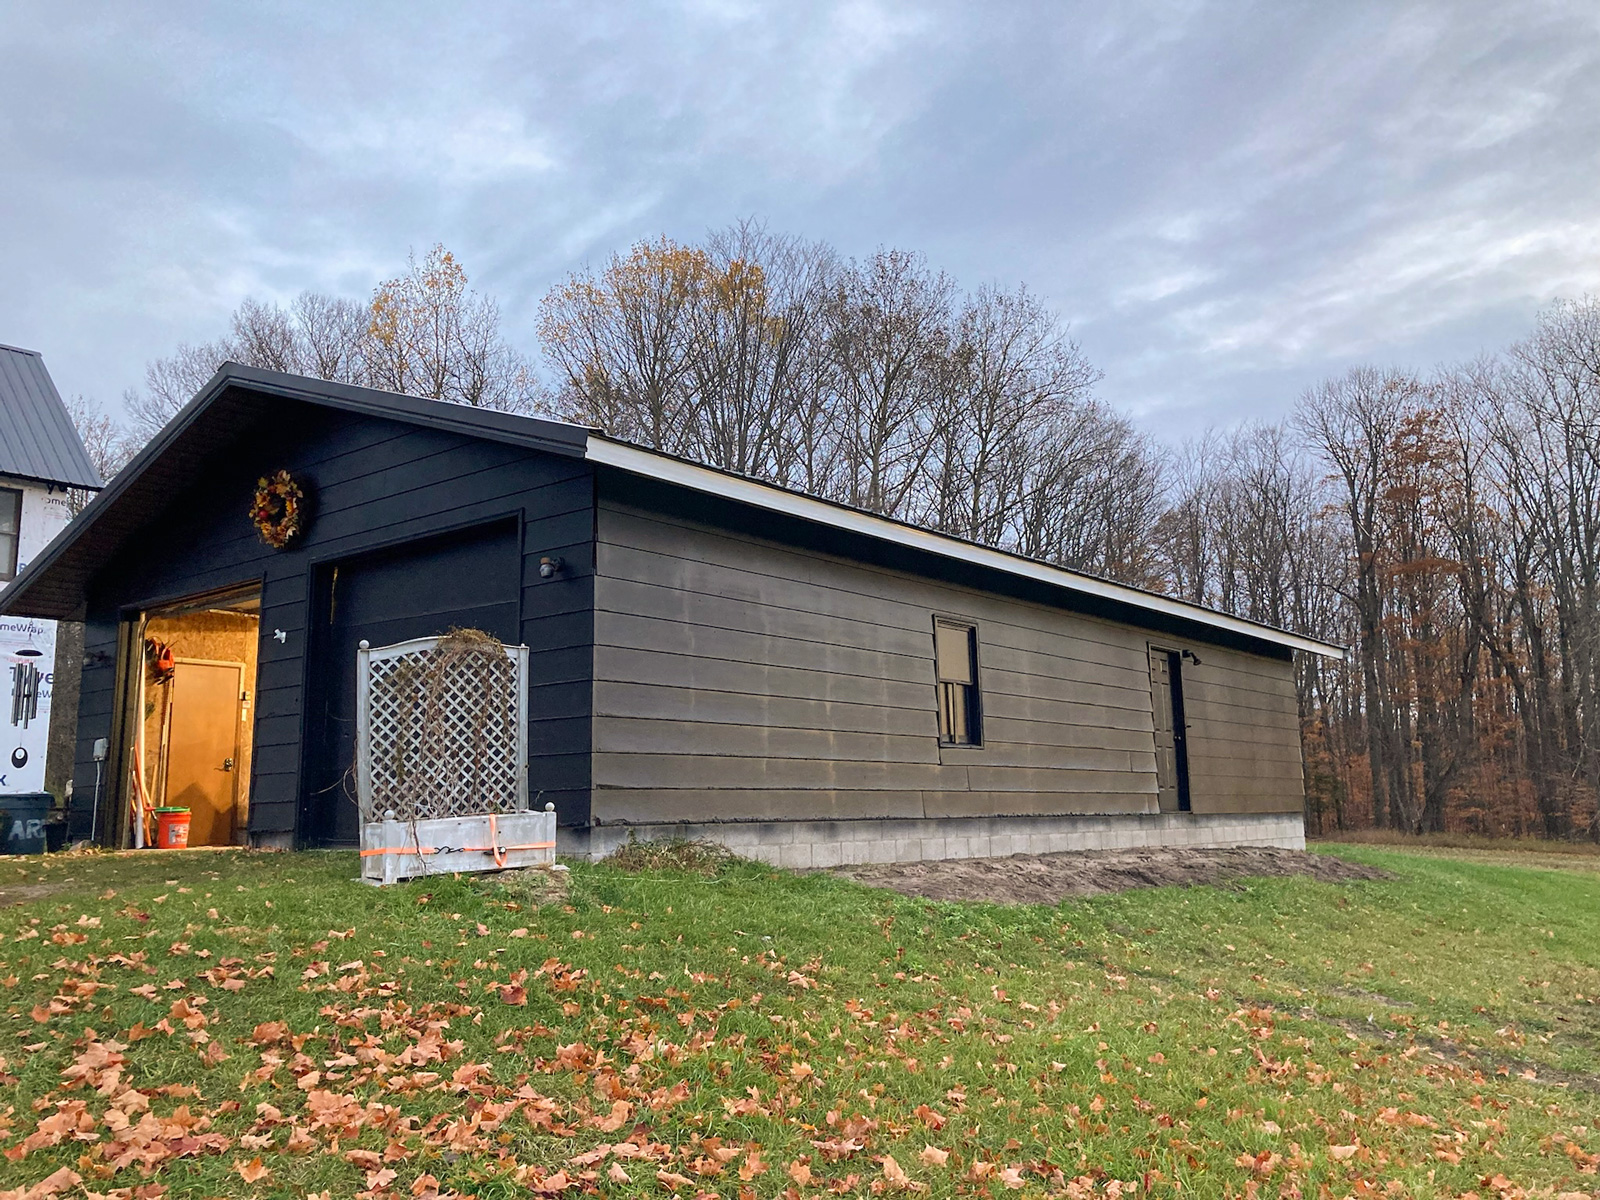

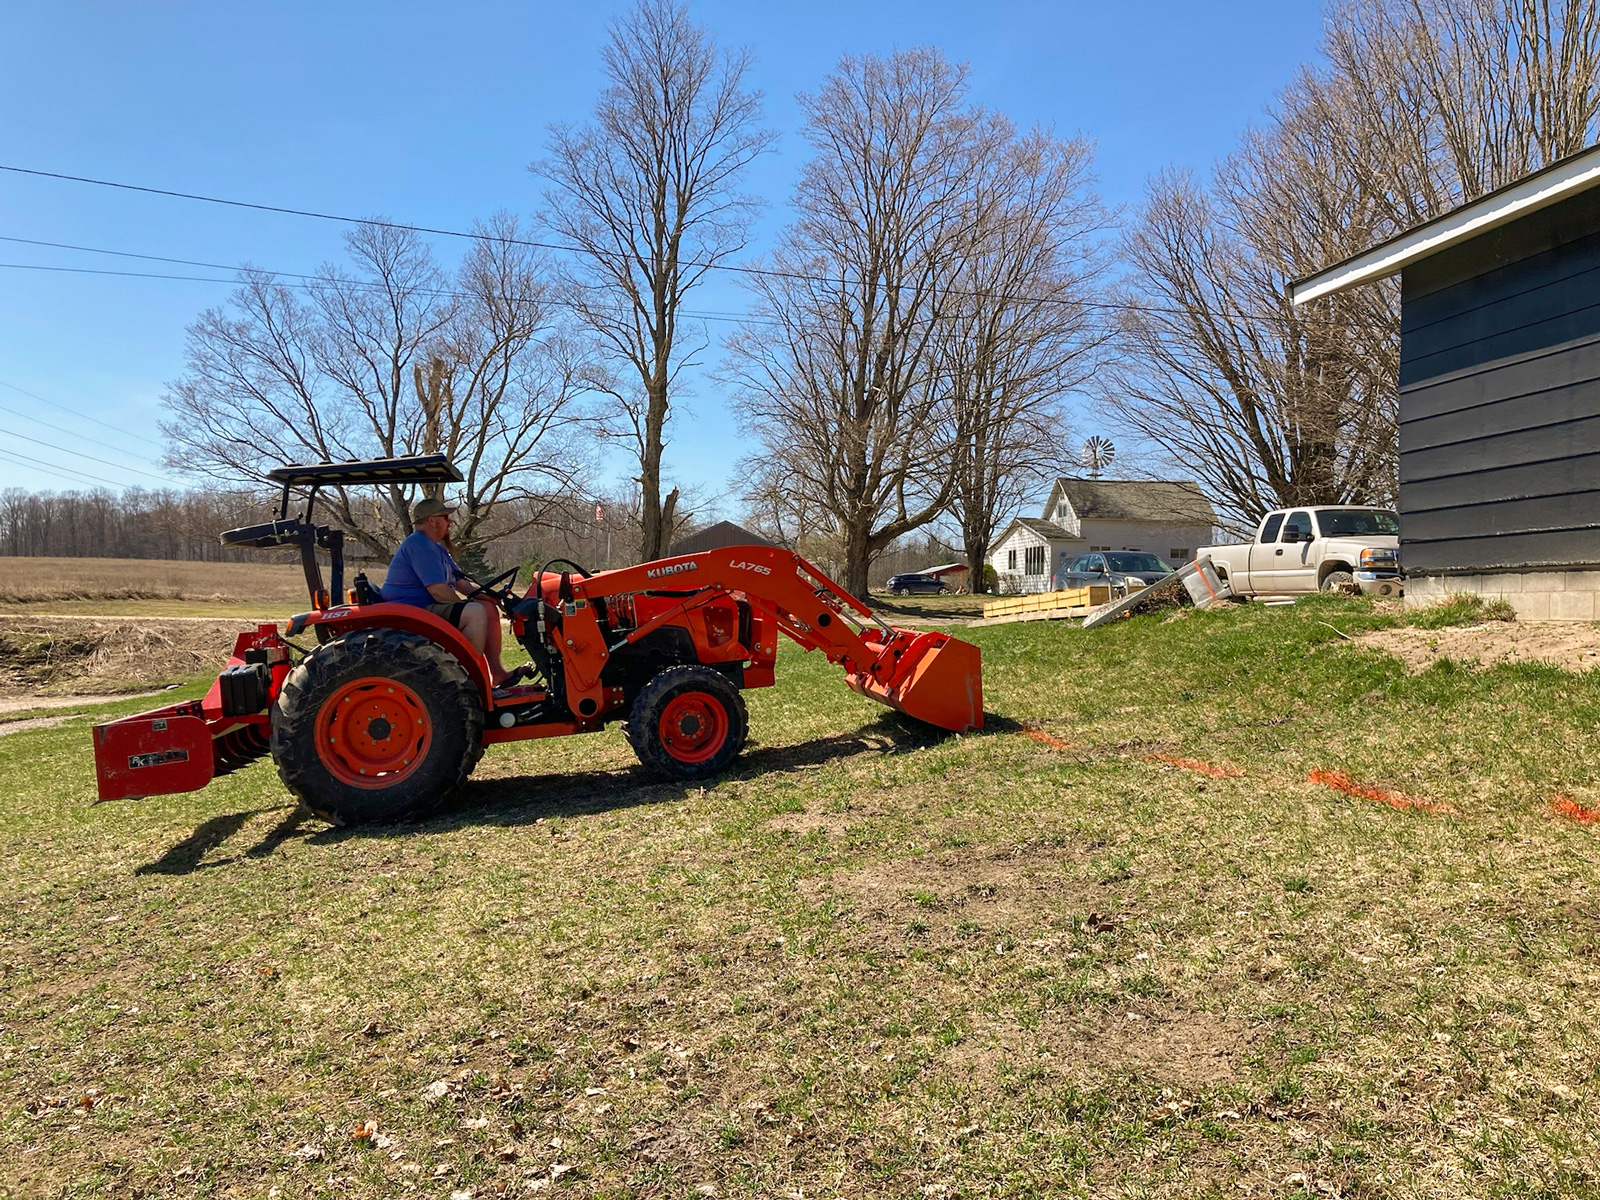
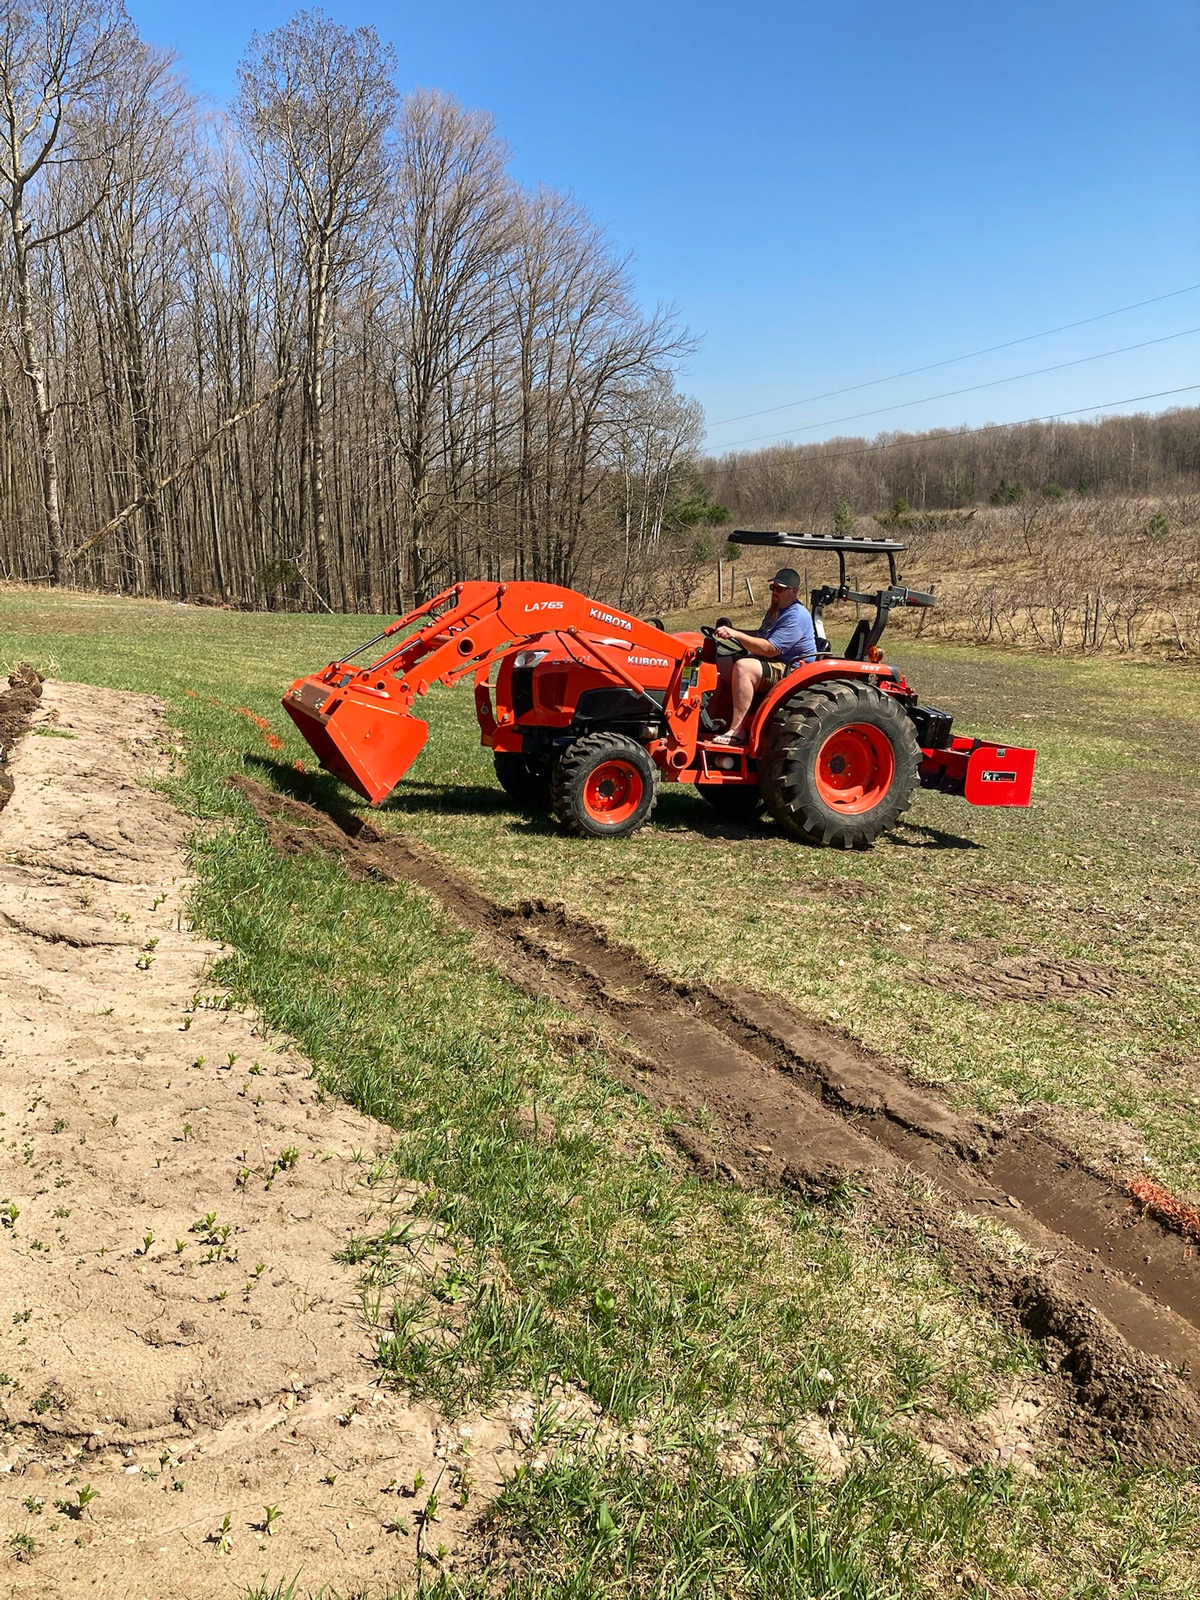
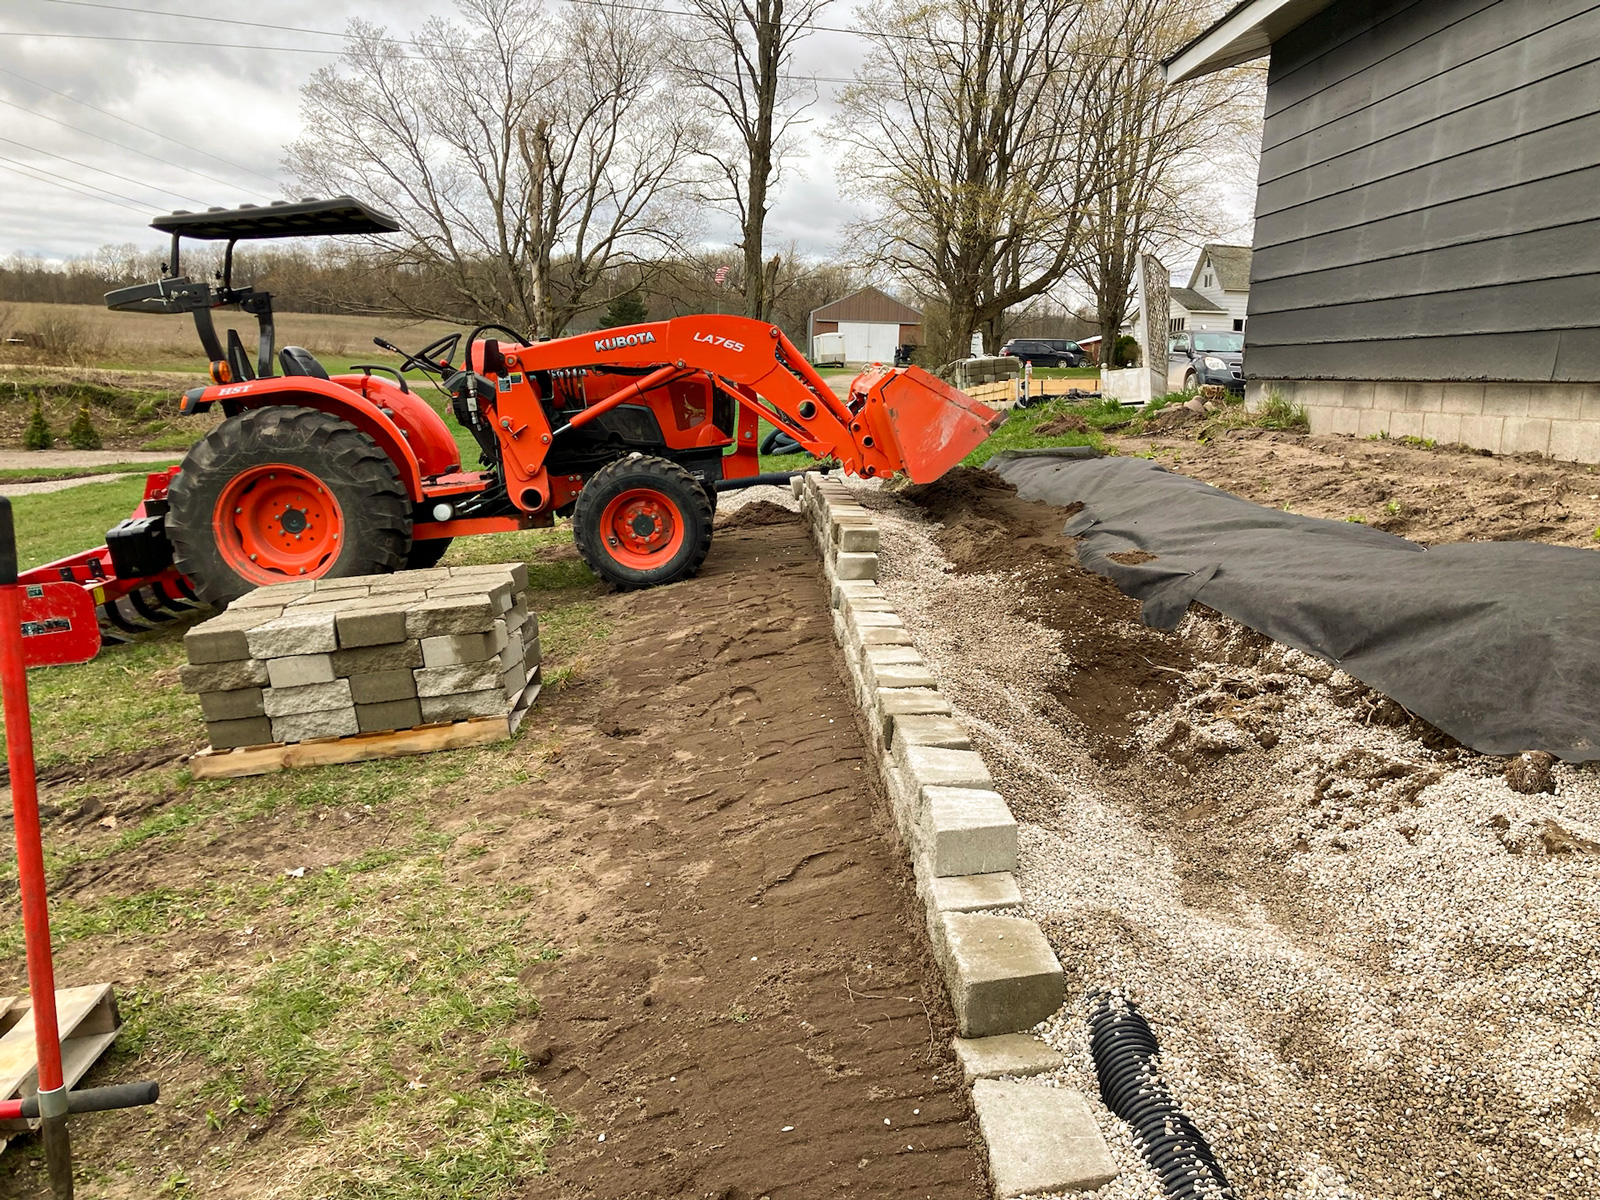
Retaining Wall Prep
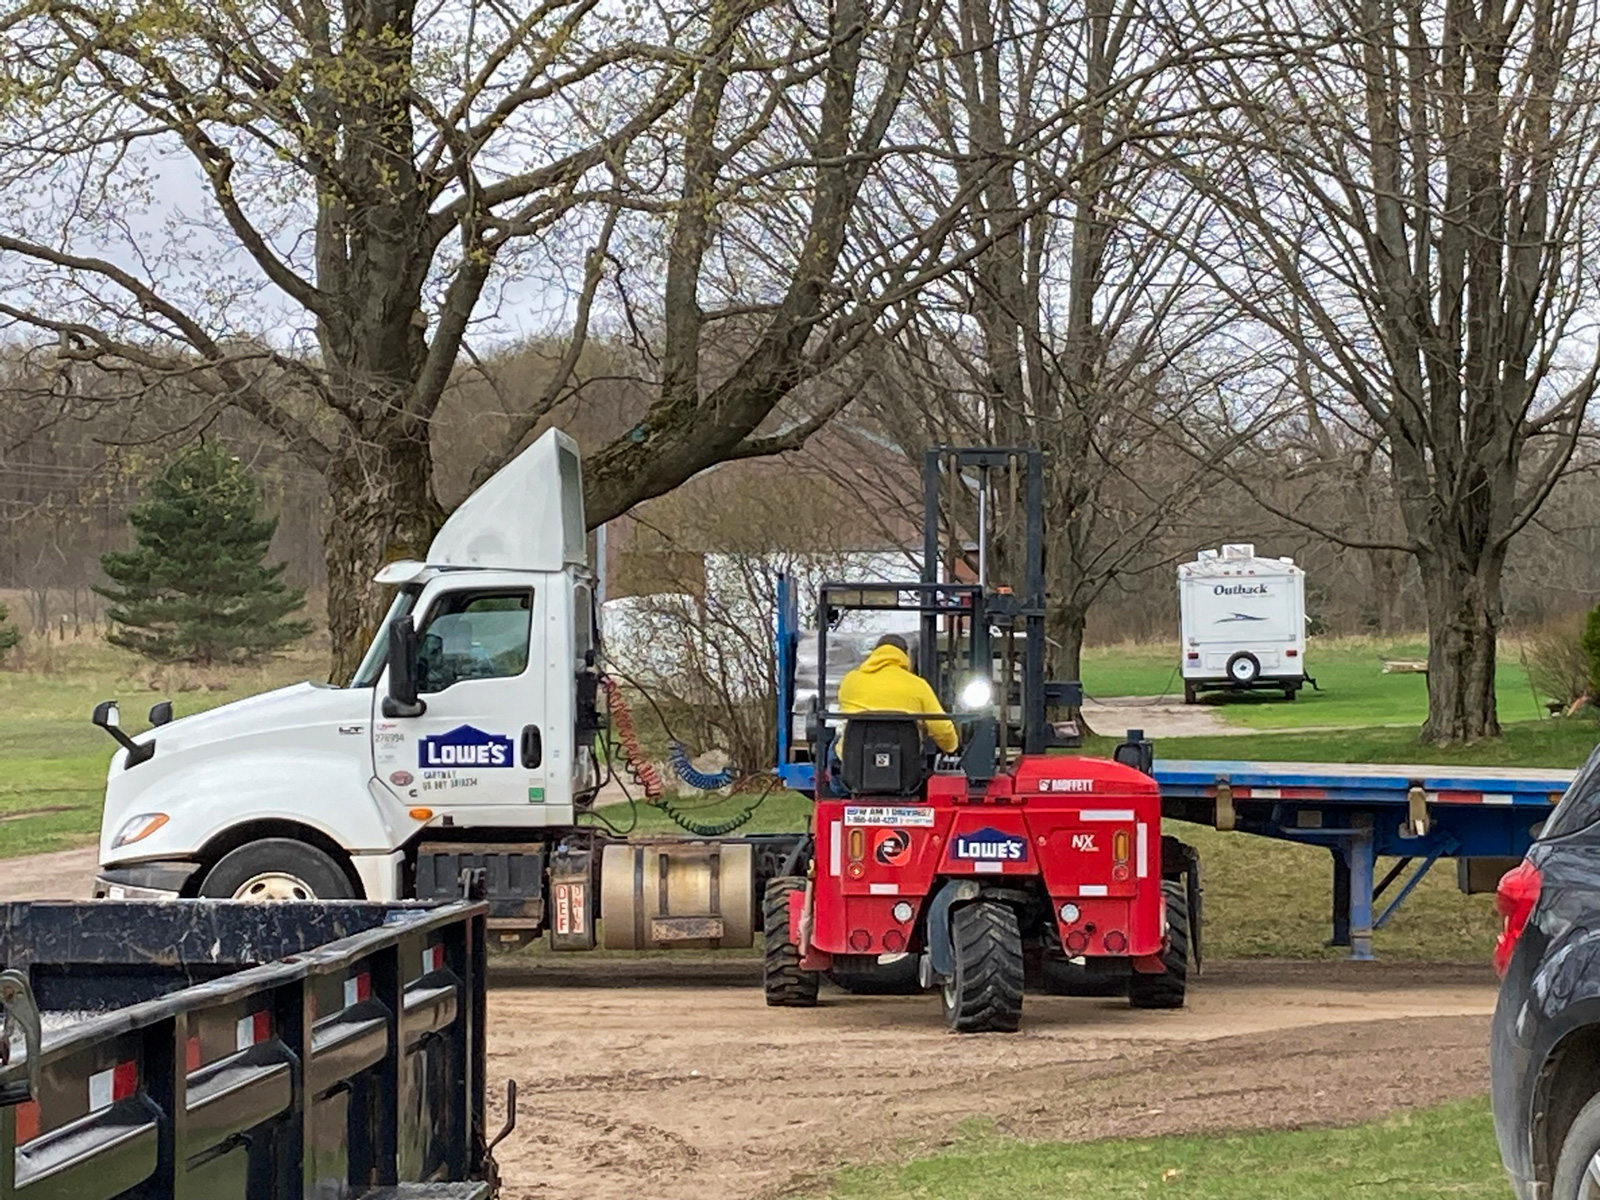
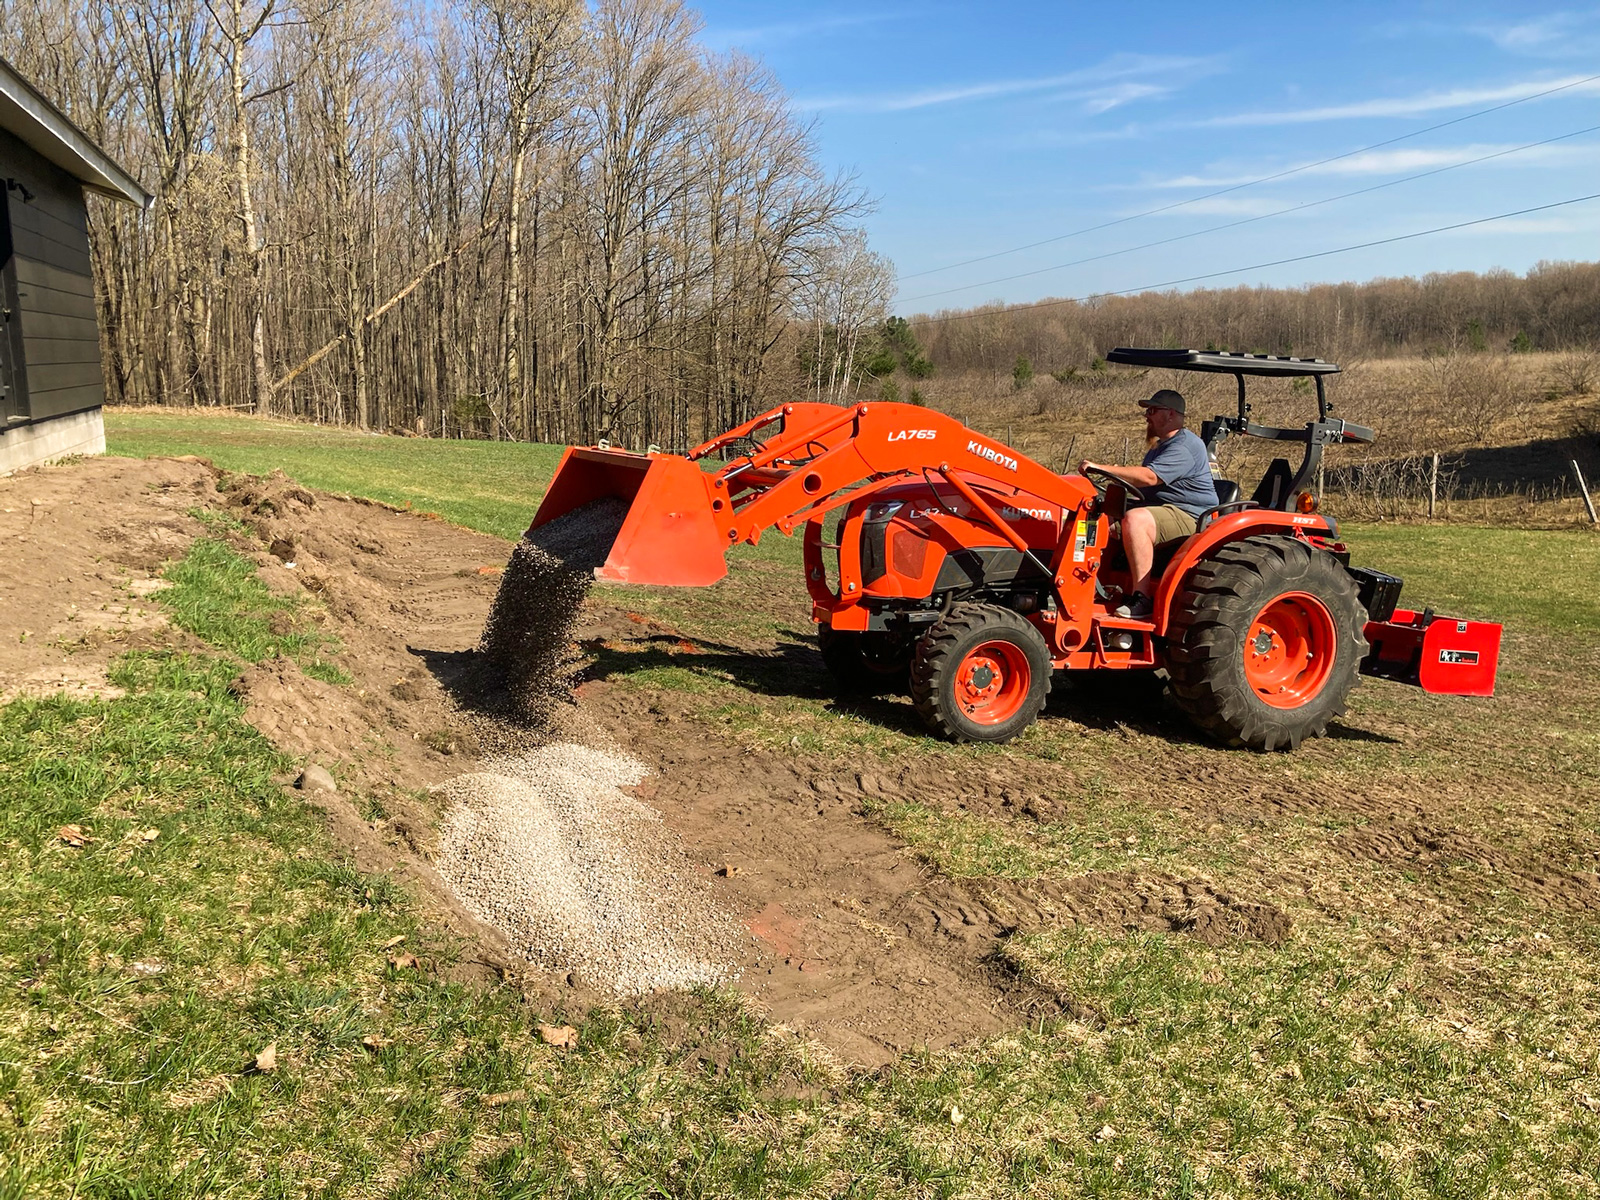
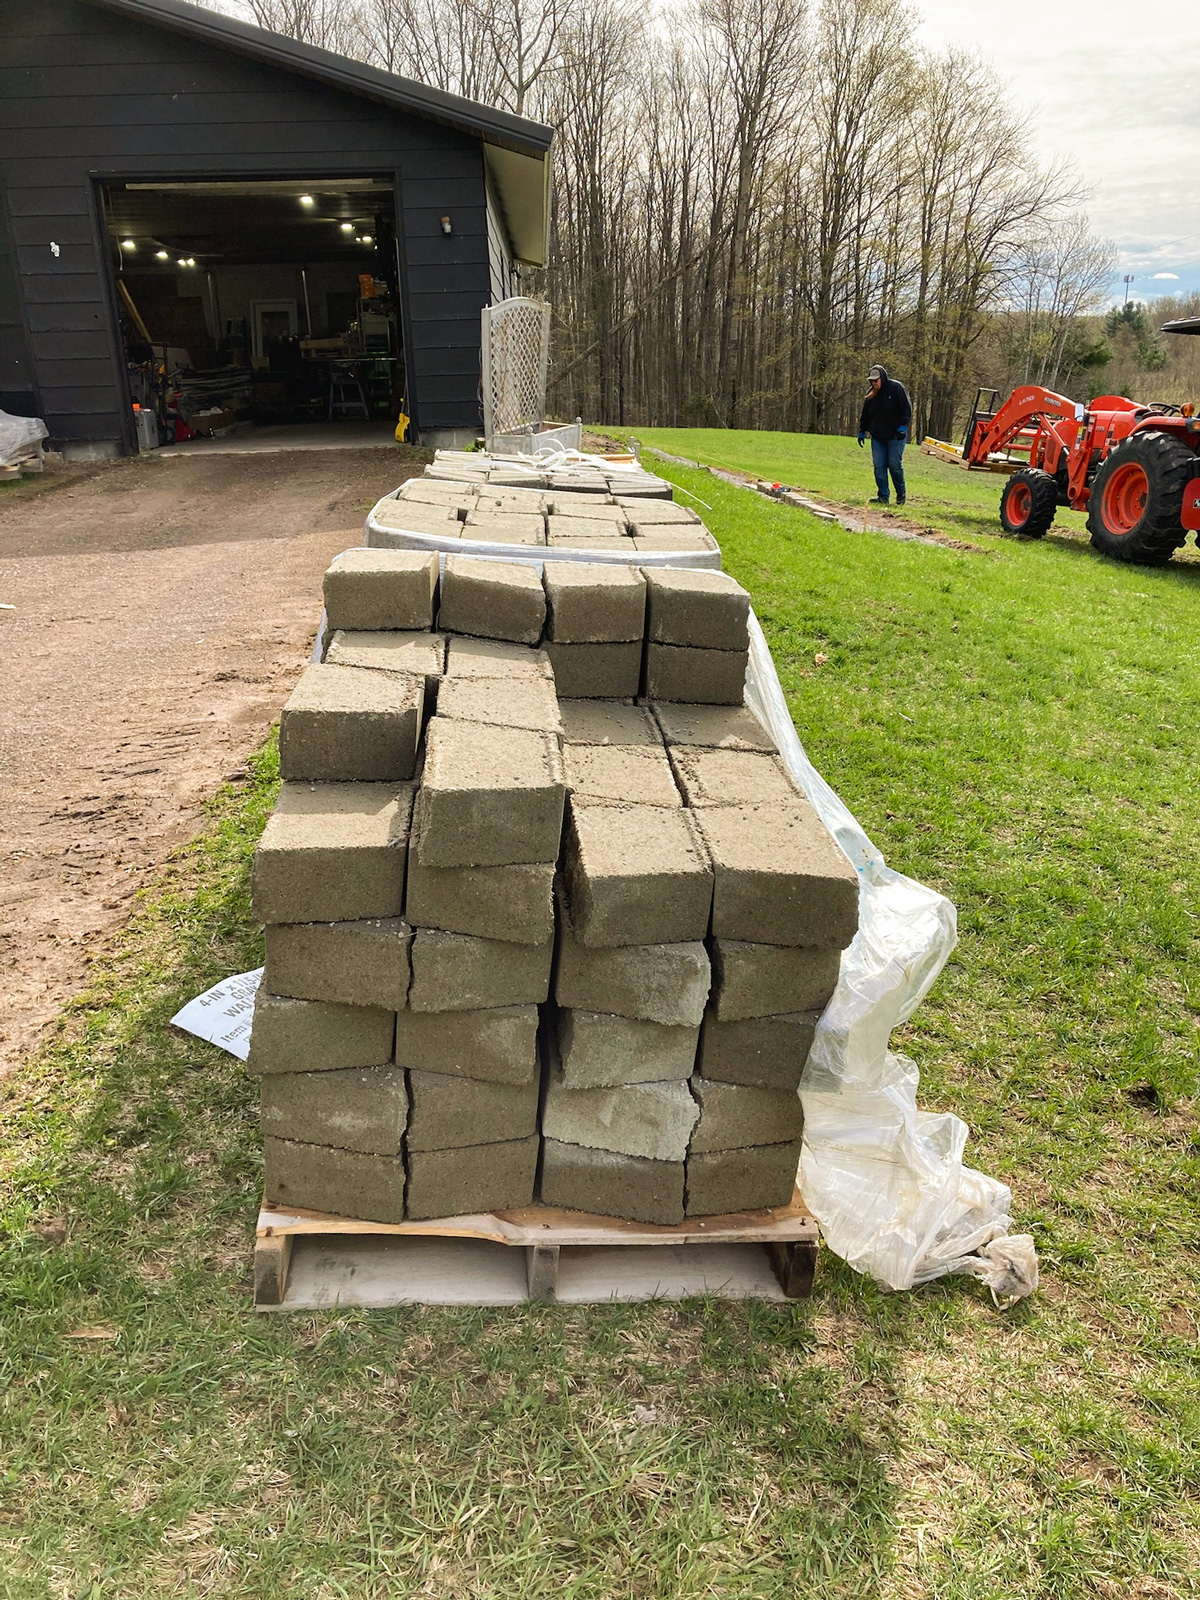
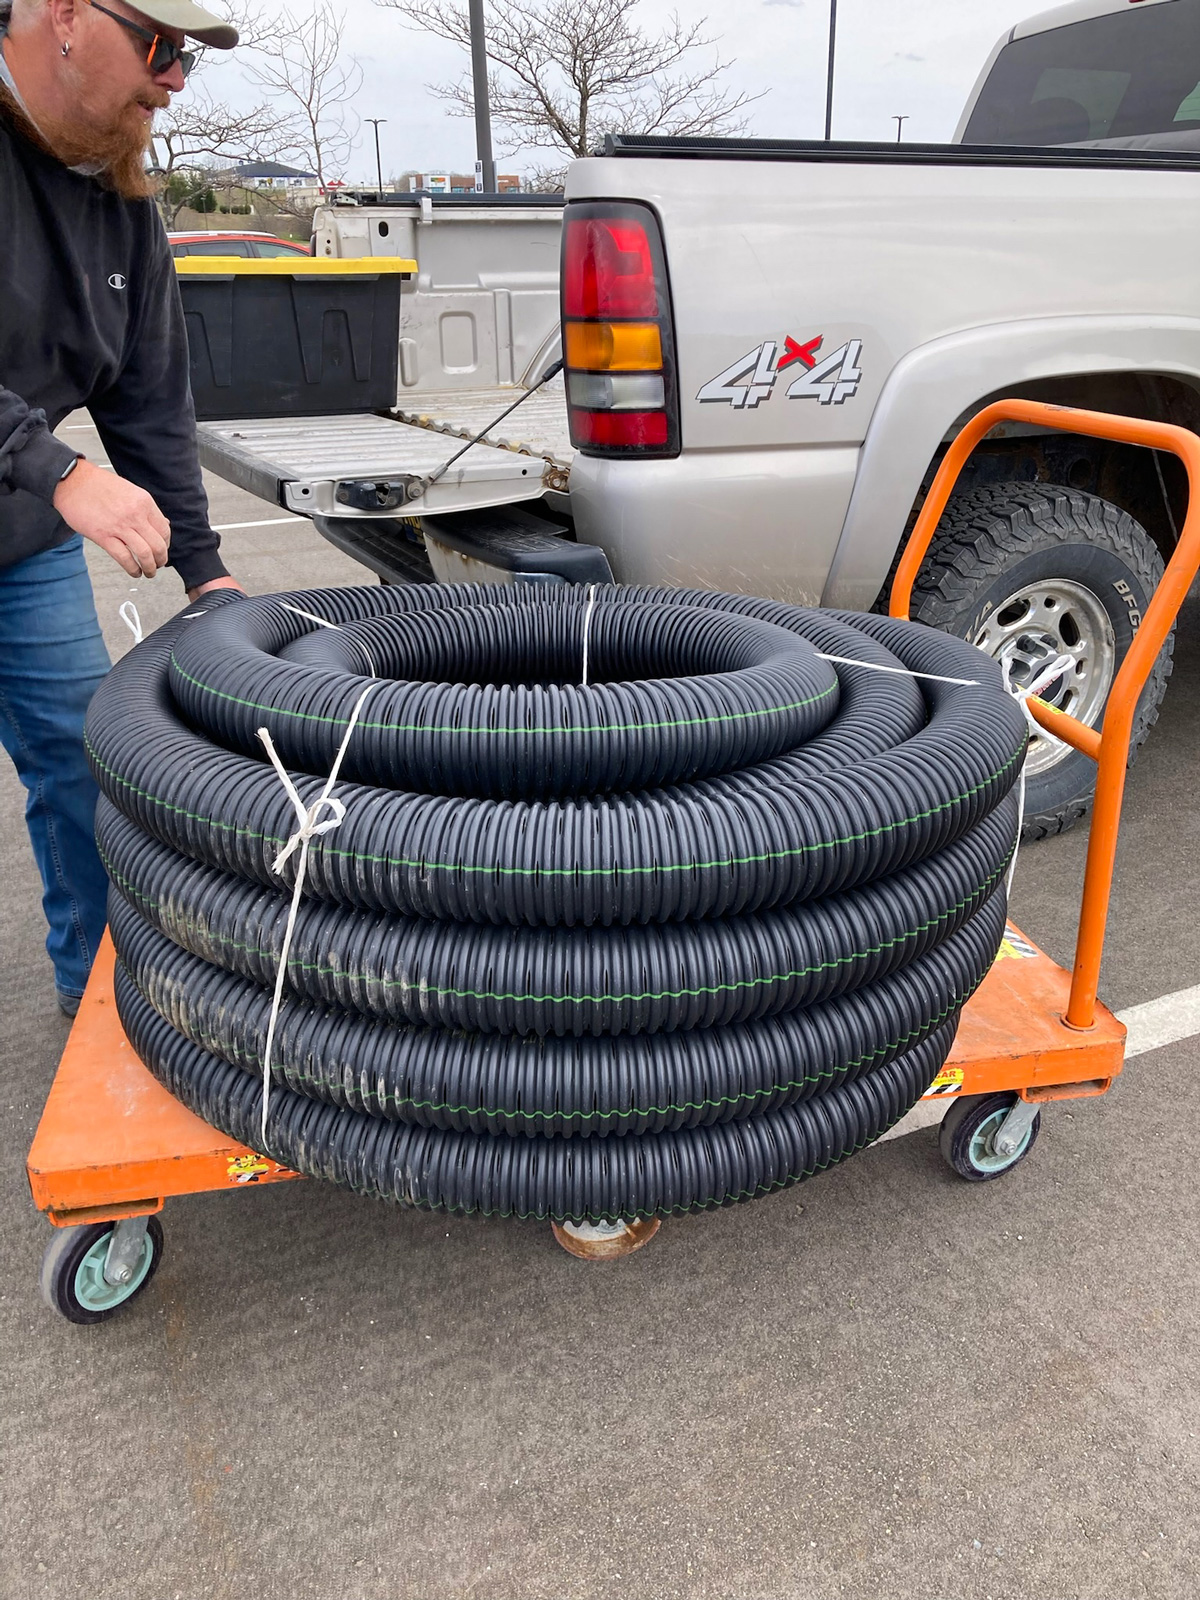
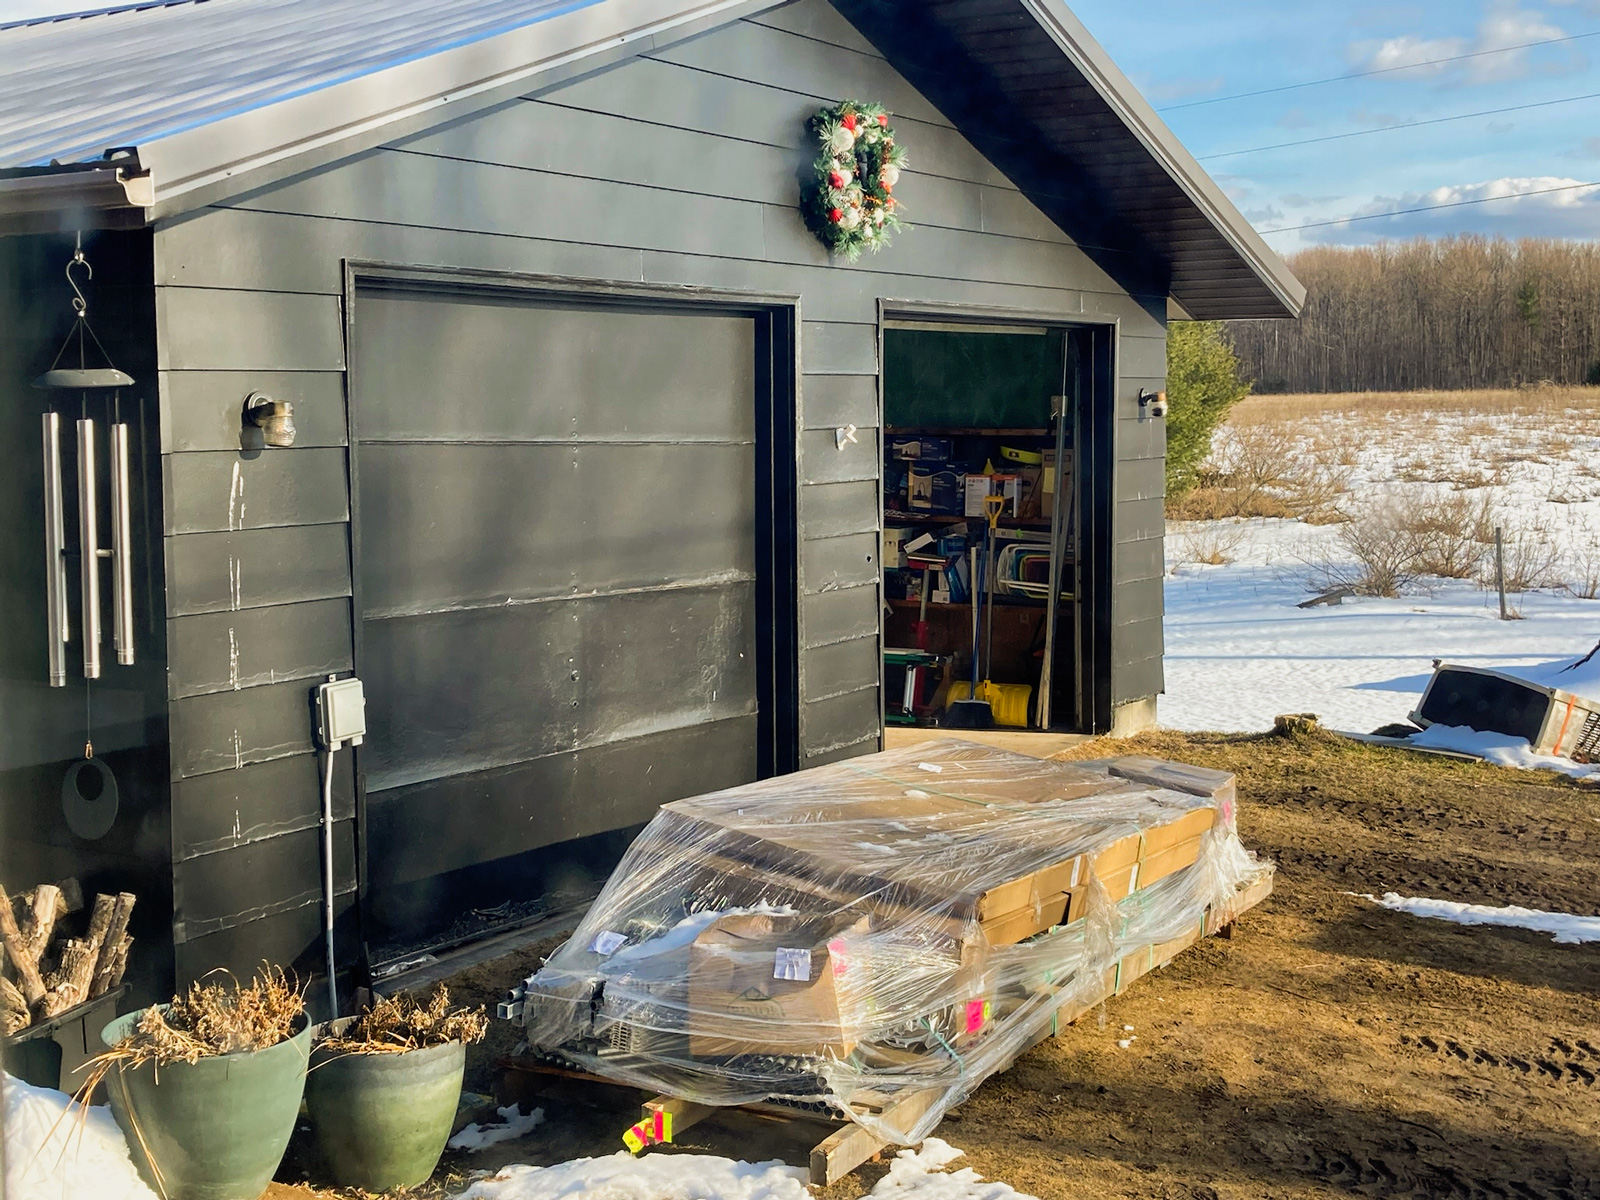
We picked up a load of pea gravel for the base of the retaining blocks and for drainage. Andy worked on prepping the site with his tractor. We had the retaining blocks delivered from Lowe's.

Retaining Wall
Andy worked on the first layer of blocks, leveling each. I added the next layers and back-filled with pea gravel and drain tile.

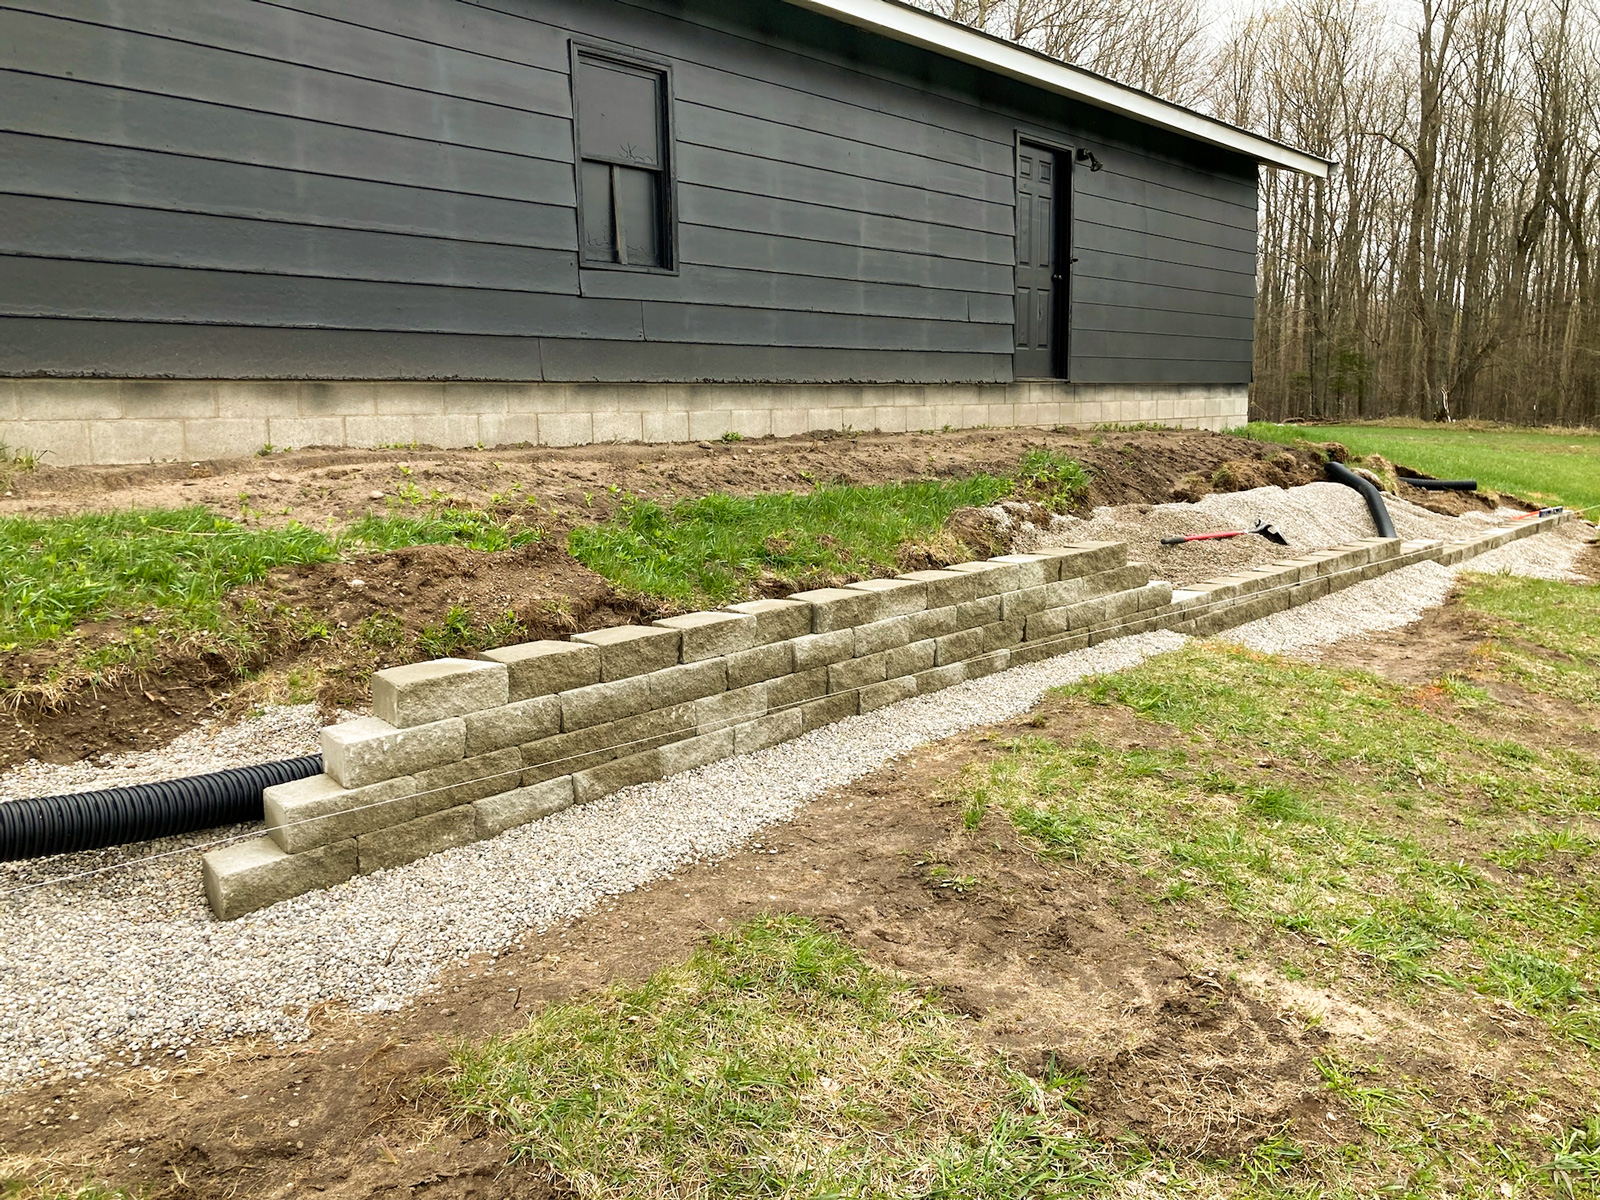

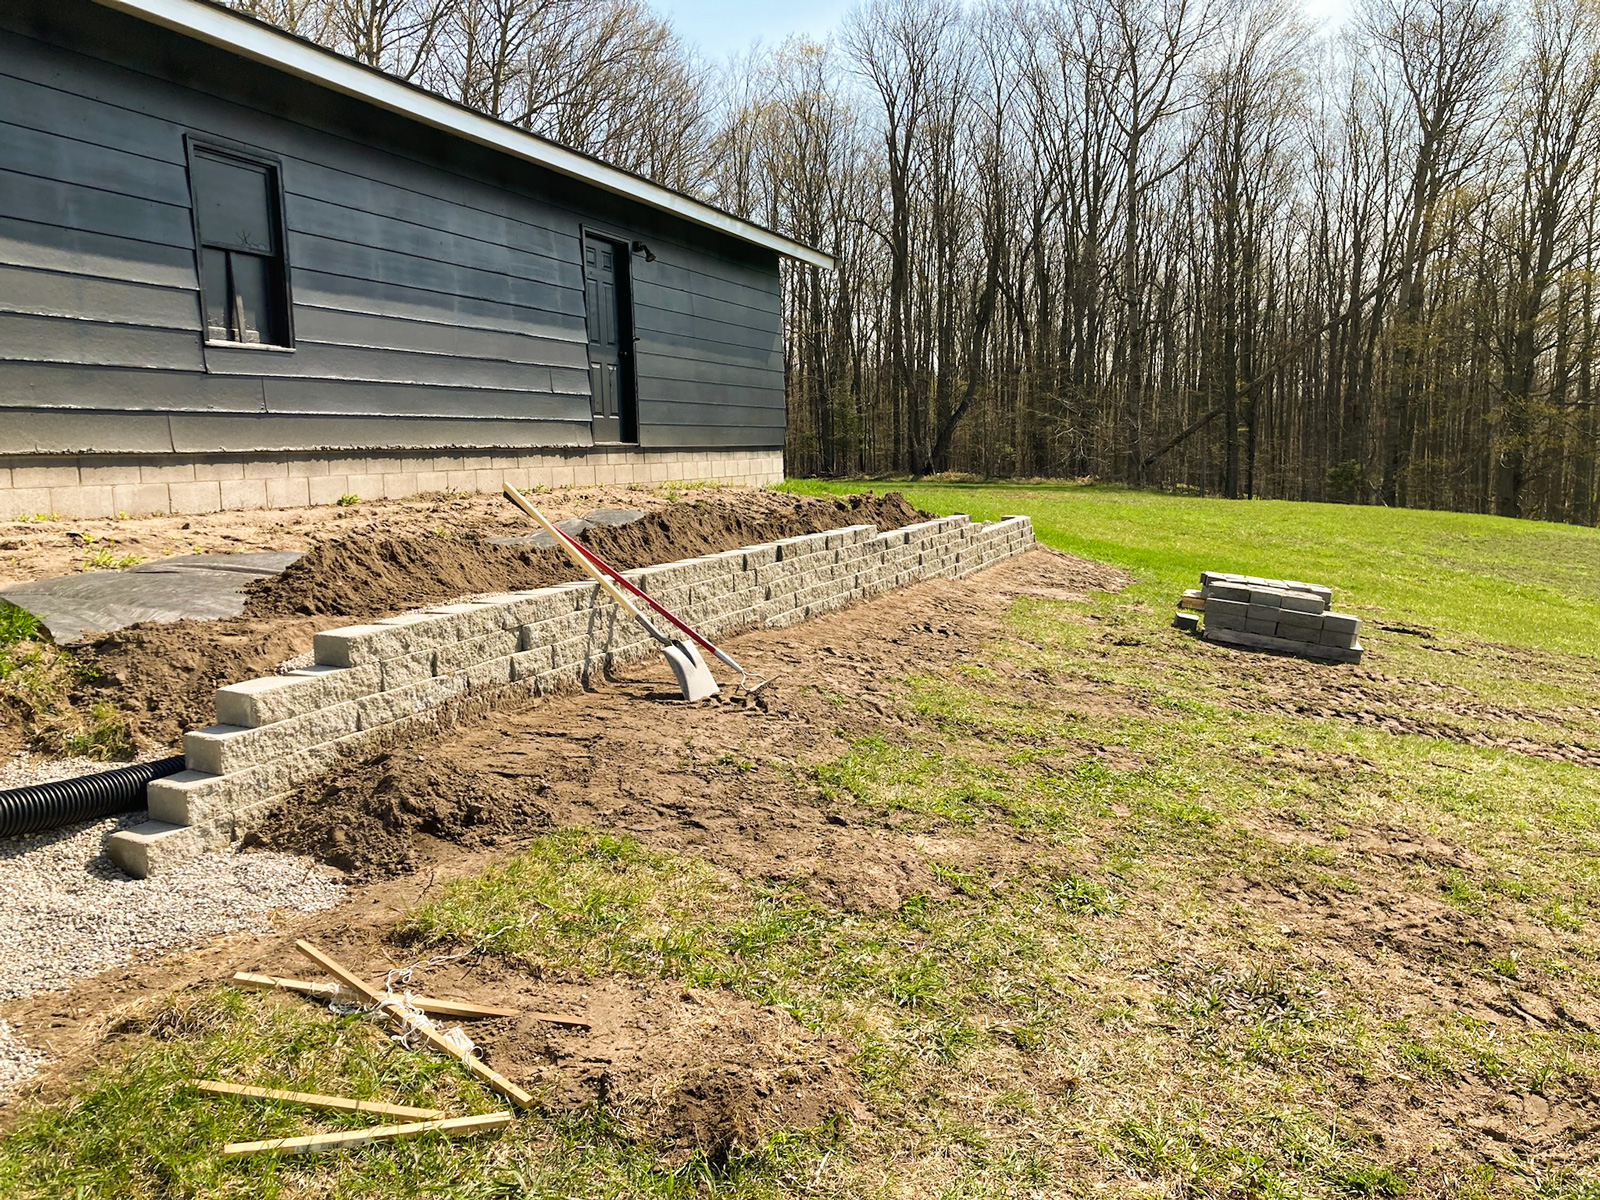
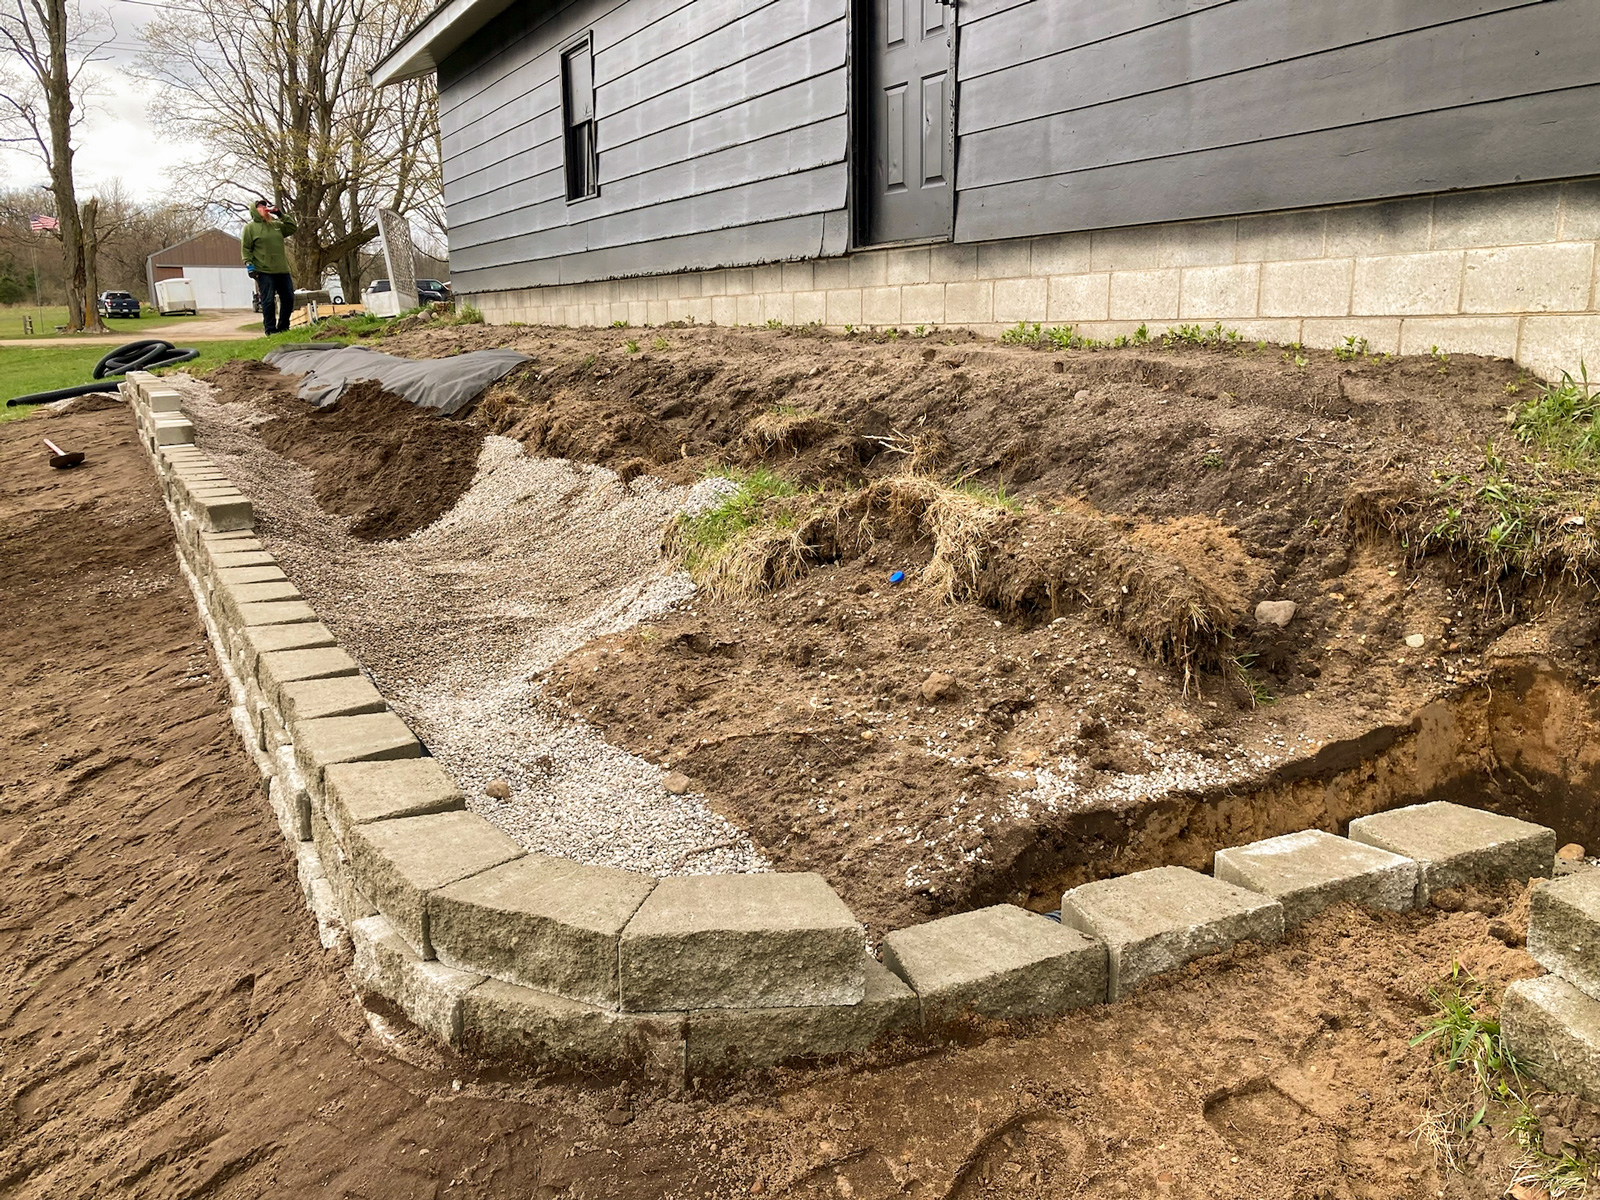


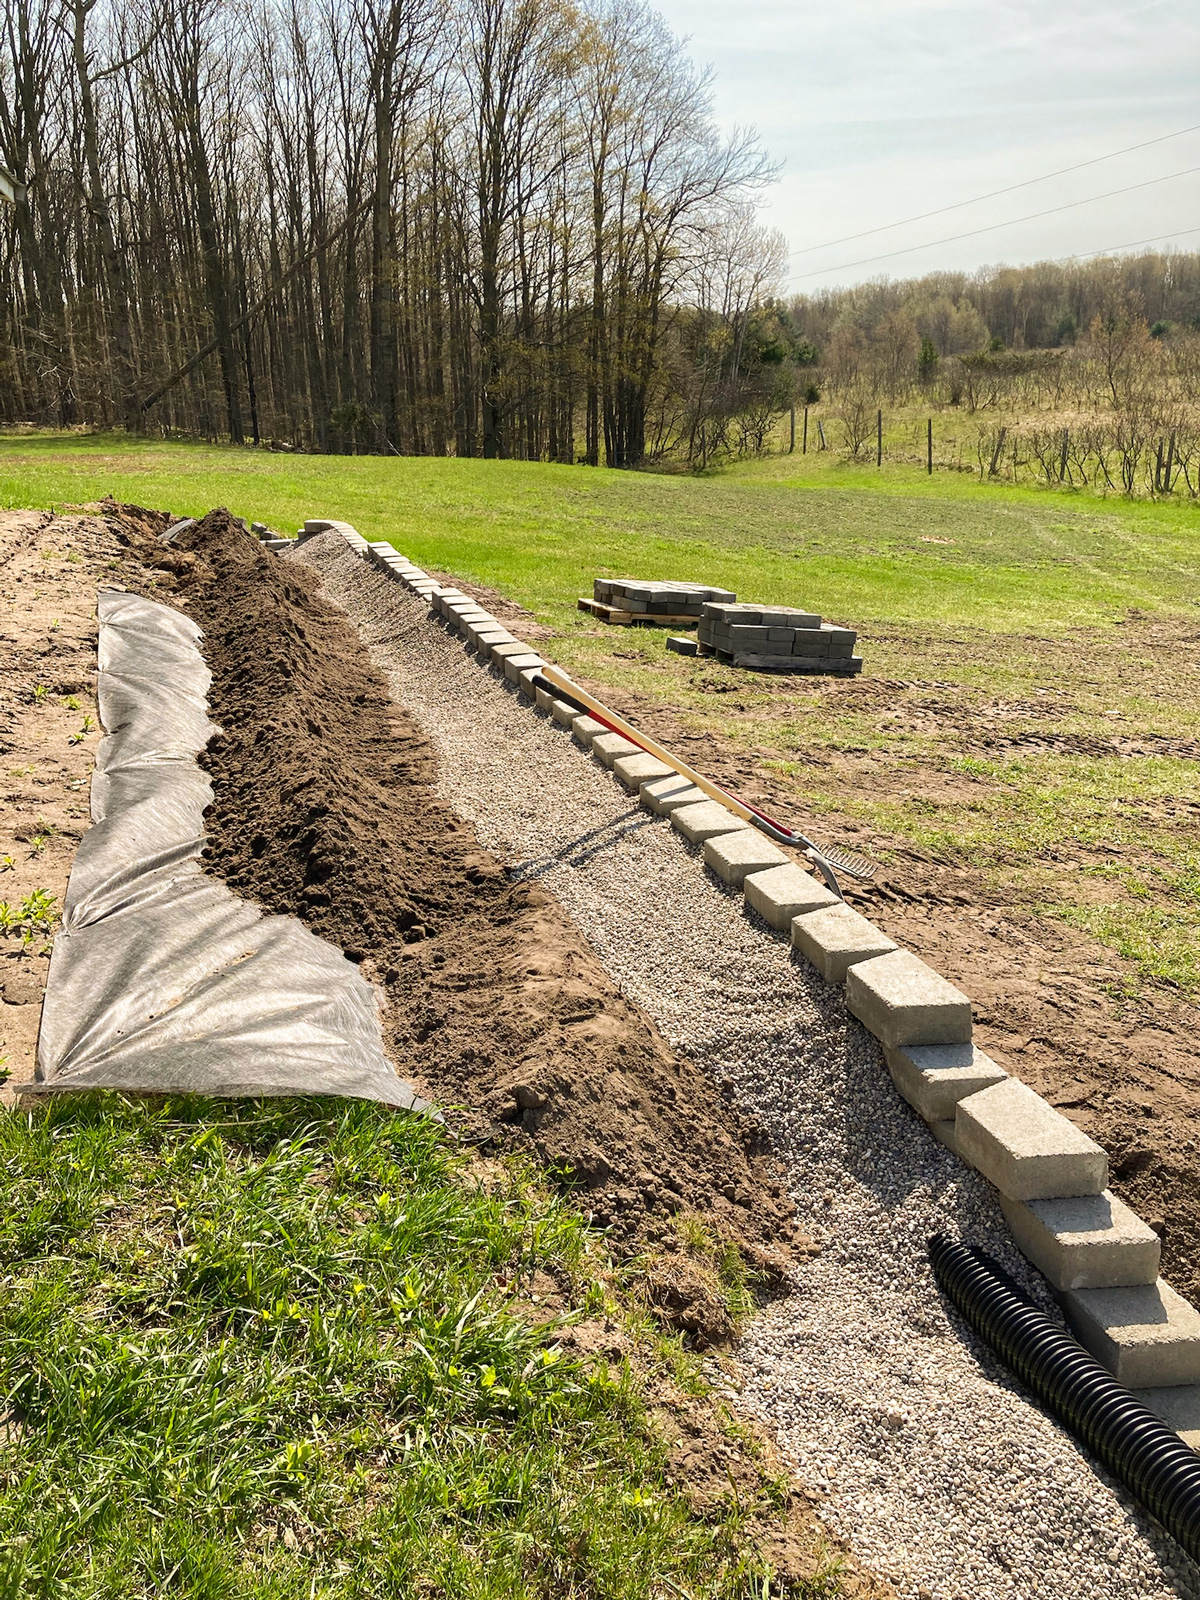
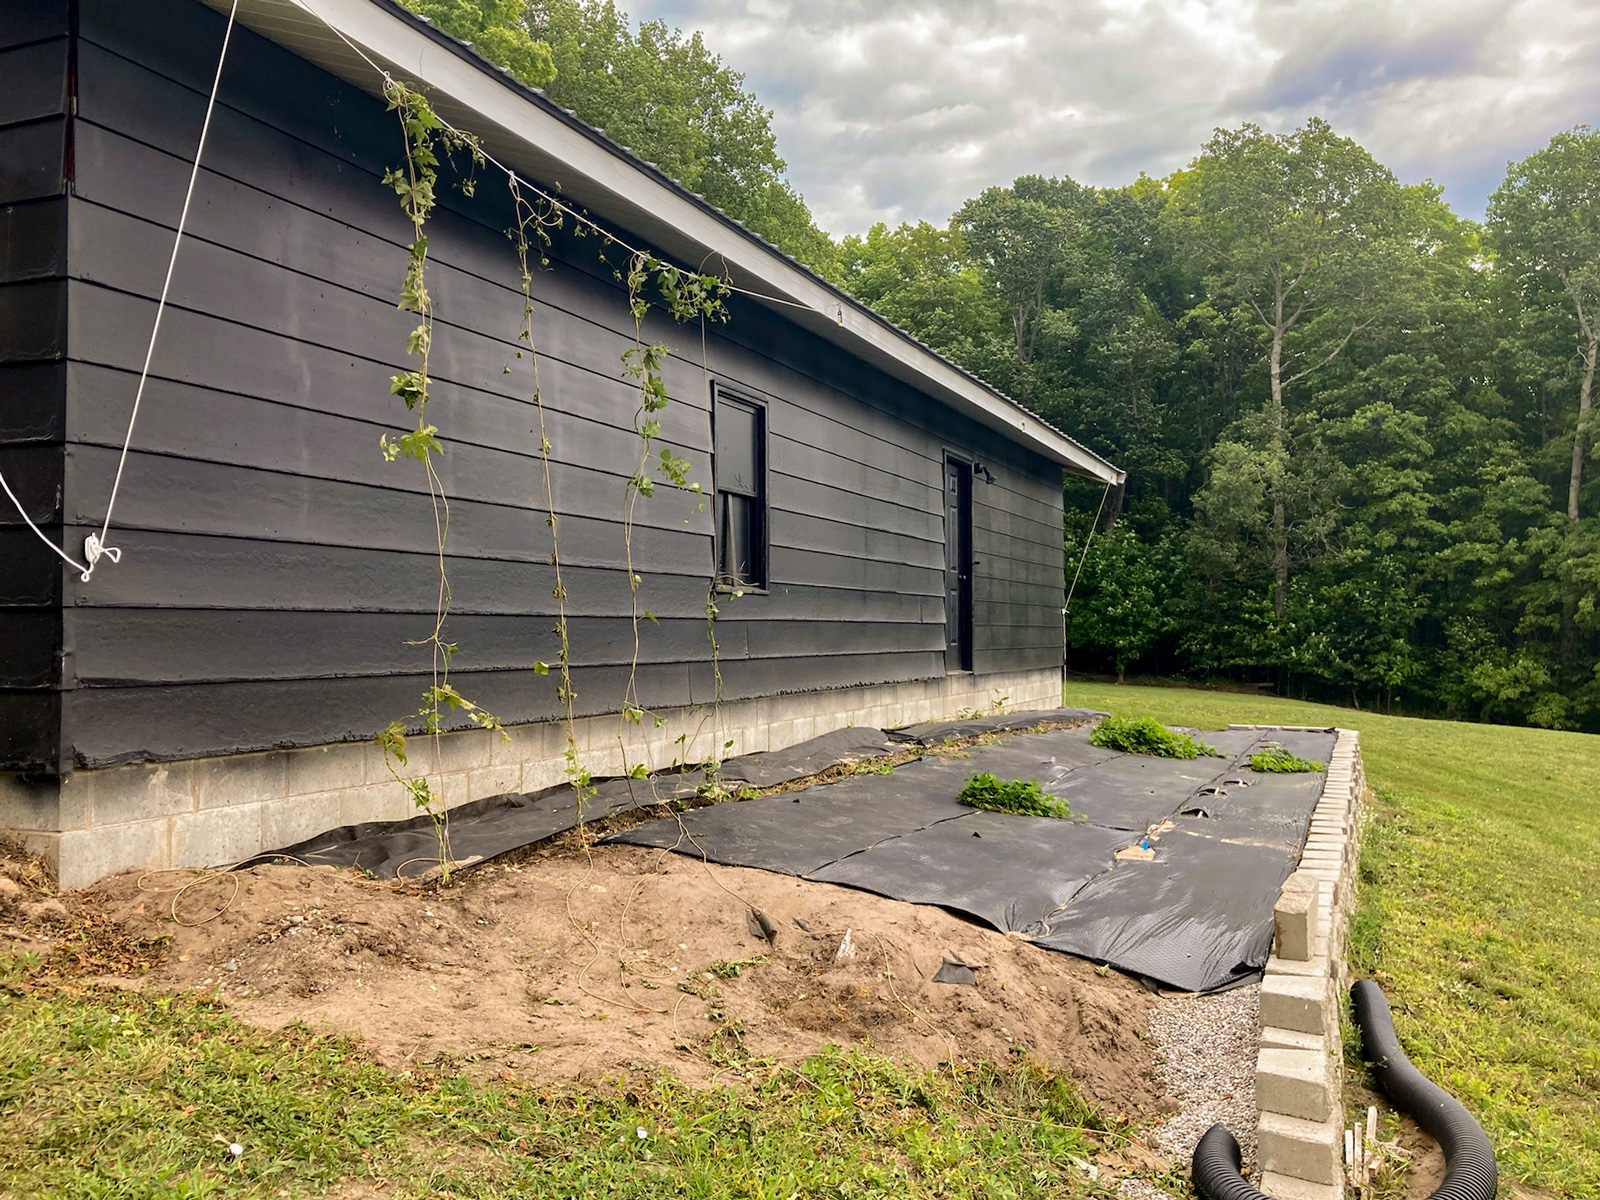
Retaining Wall Completion
As you can see, on one end the pea gravel and drain tile continue past the completed wall. We will eventually add steps down to the greenhouse with retaining blocks and one step will continue from this wall. This is not a priority, so it may look this way for a while! I transplanted our Waterford centennial hops closest to the garage and ordered eight more varieties and planted those as well. I added weed fabric to keep the weeds out and to contain the hops so they don't intermingle.


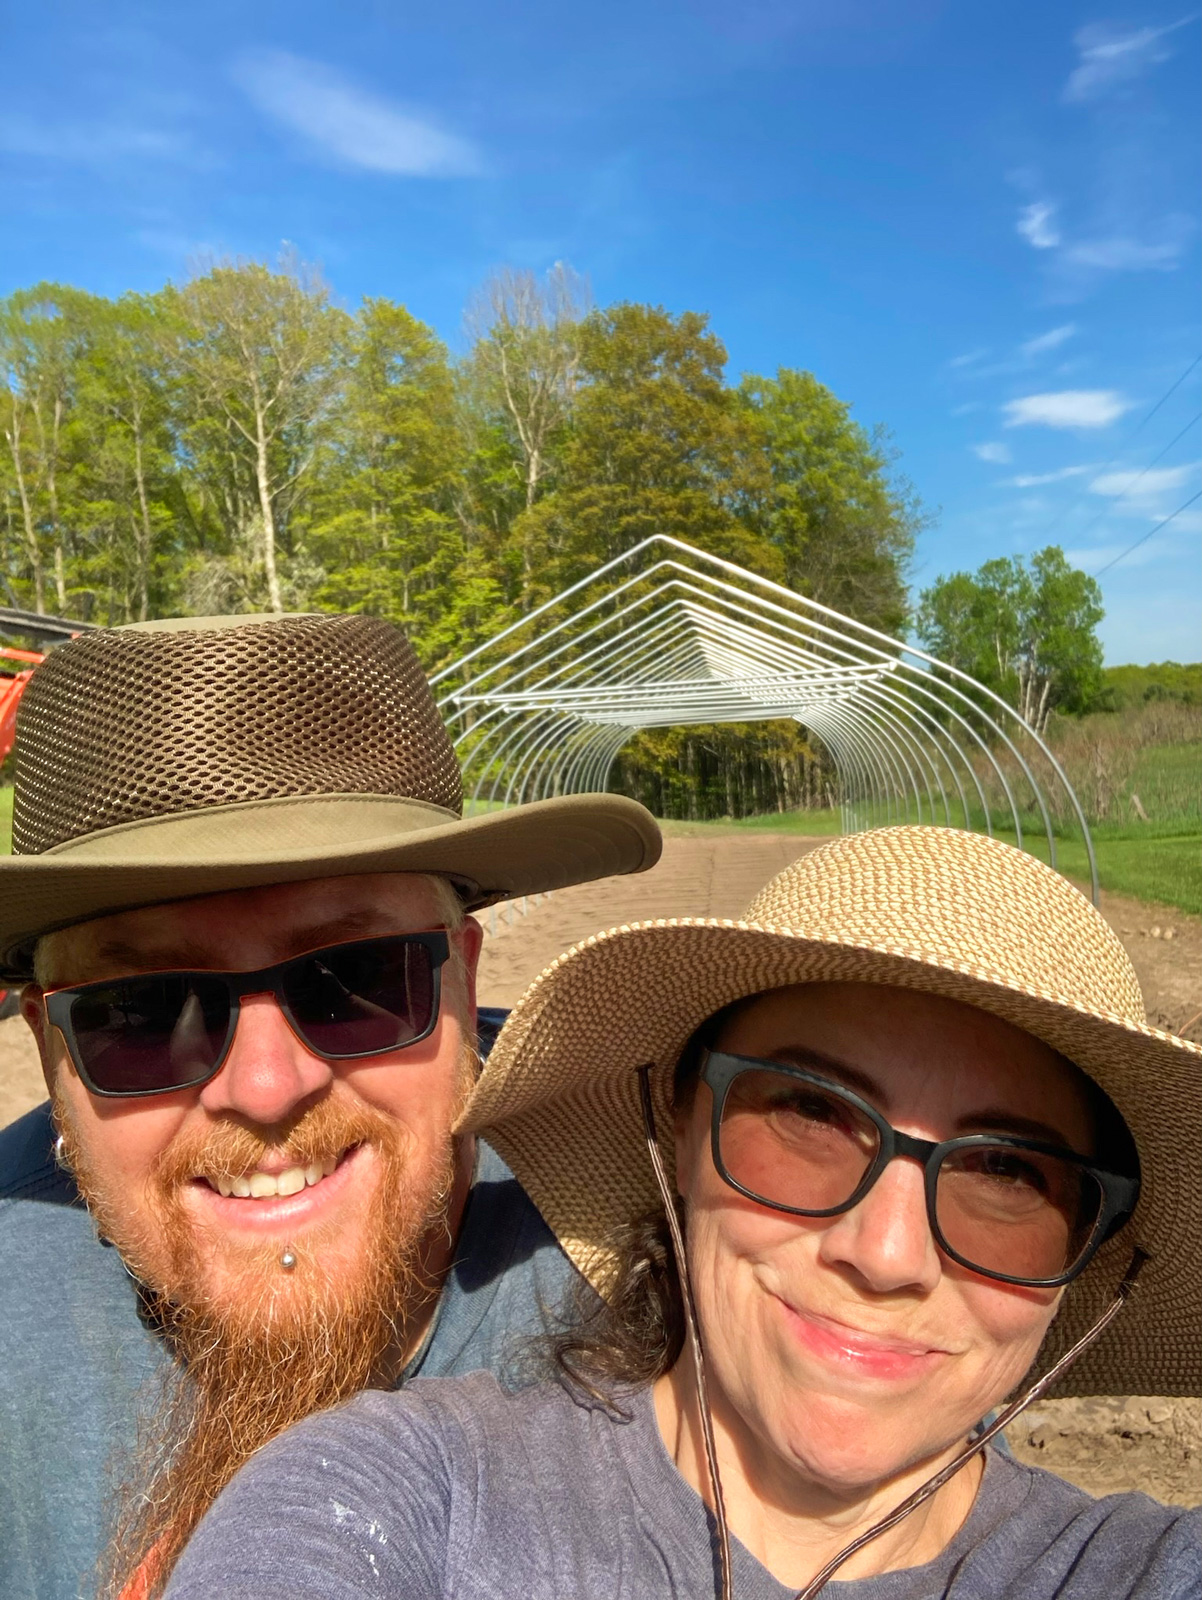
Garden Structure
With our first spring and summer behind us, we learned that northern Michigan has a lot of unexpected frosts. So, we decided it would be beneficial to install a garden structure to extend our growing season of fruits and vegetables. We purchased a kit online from Rimol Greenhouse systems.


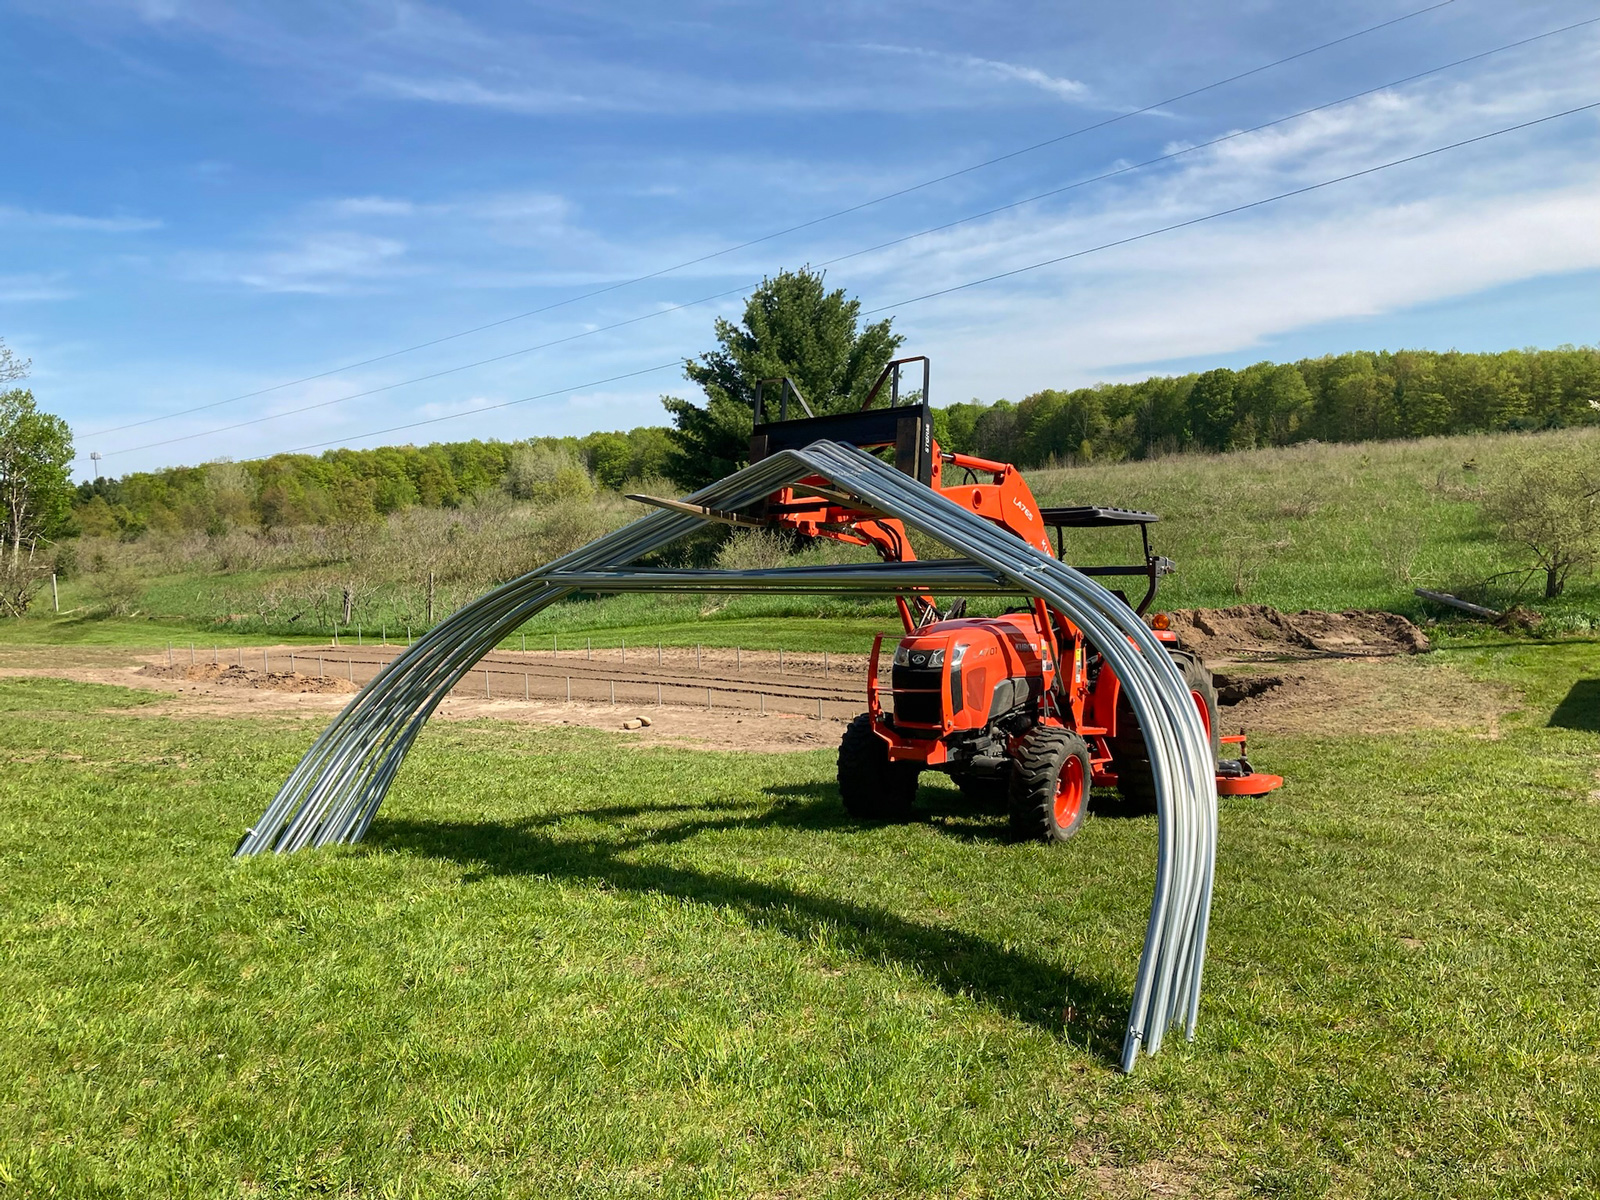
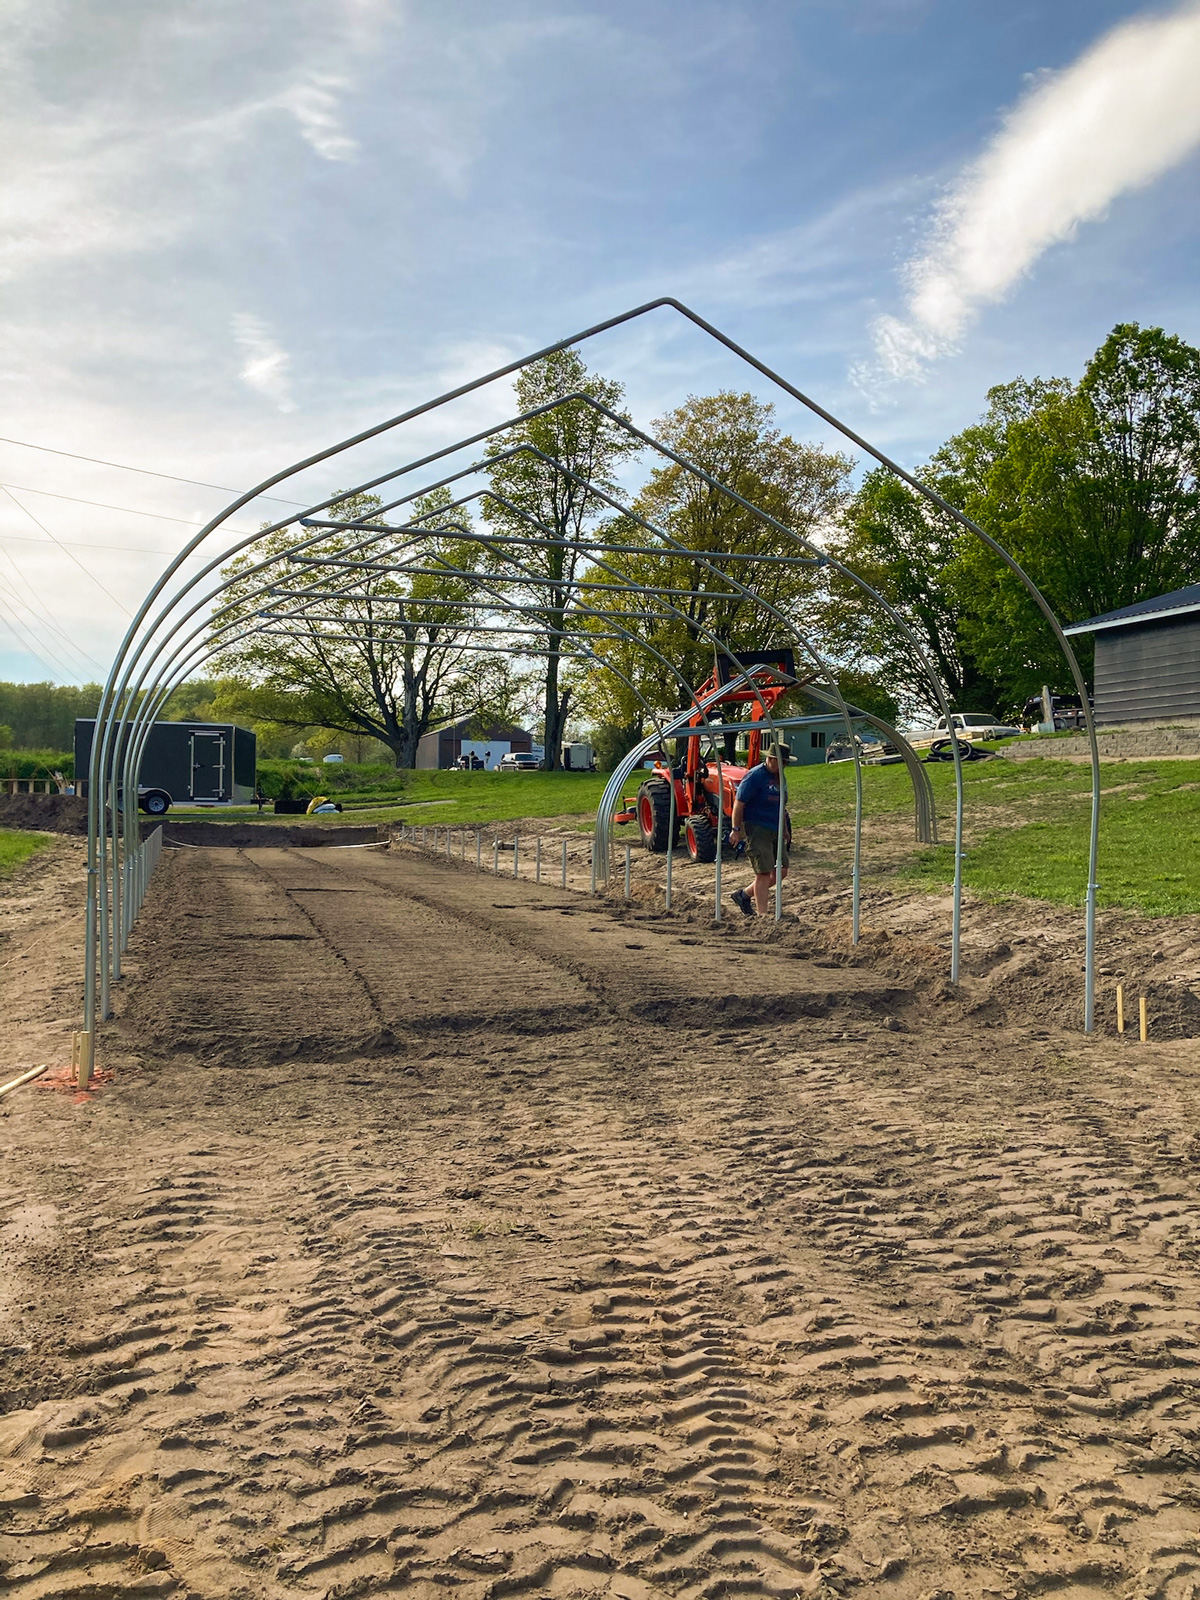
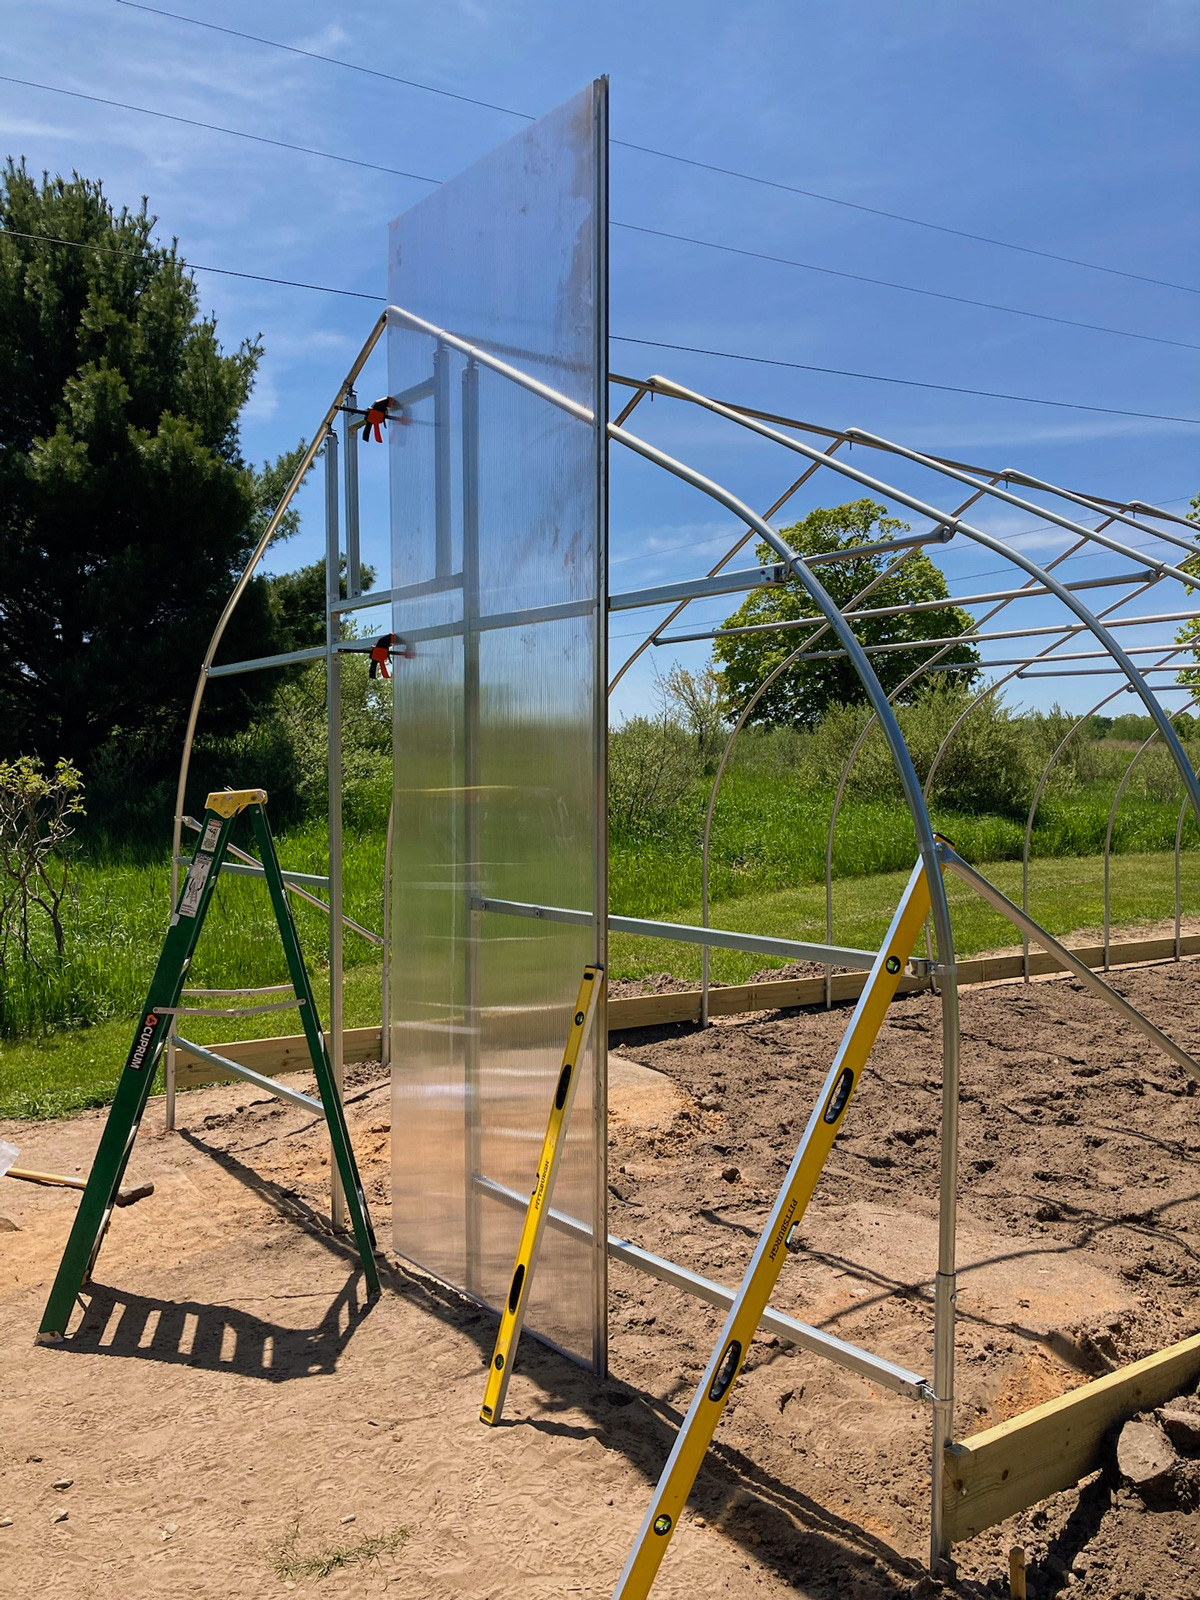
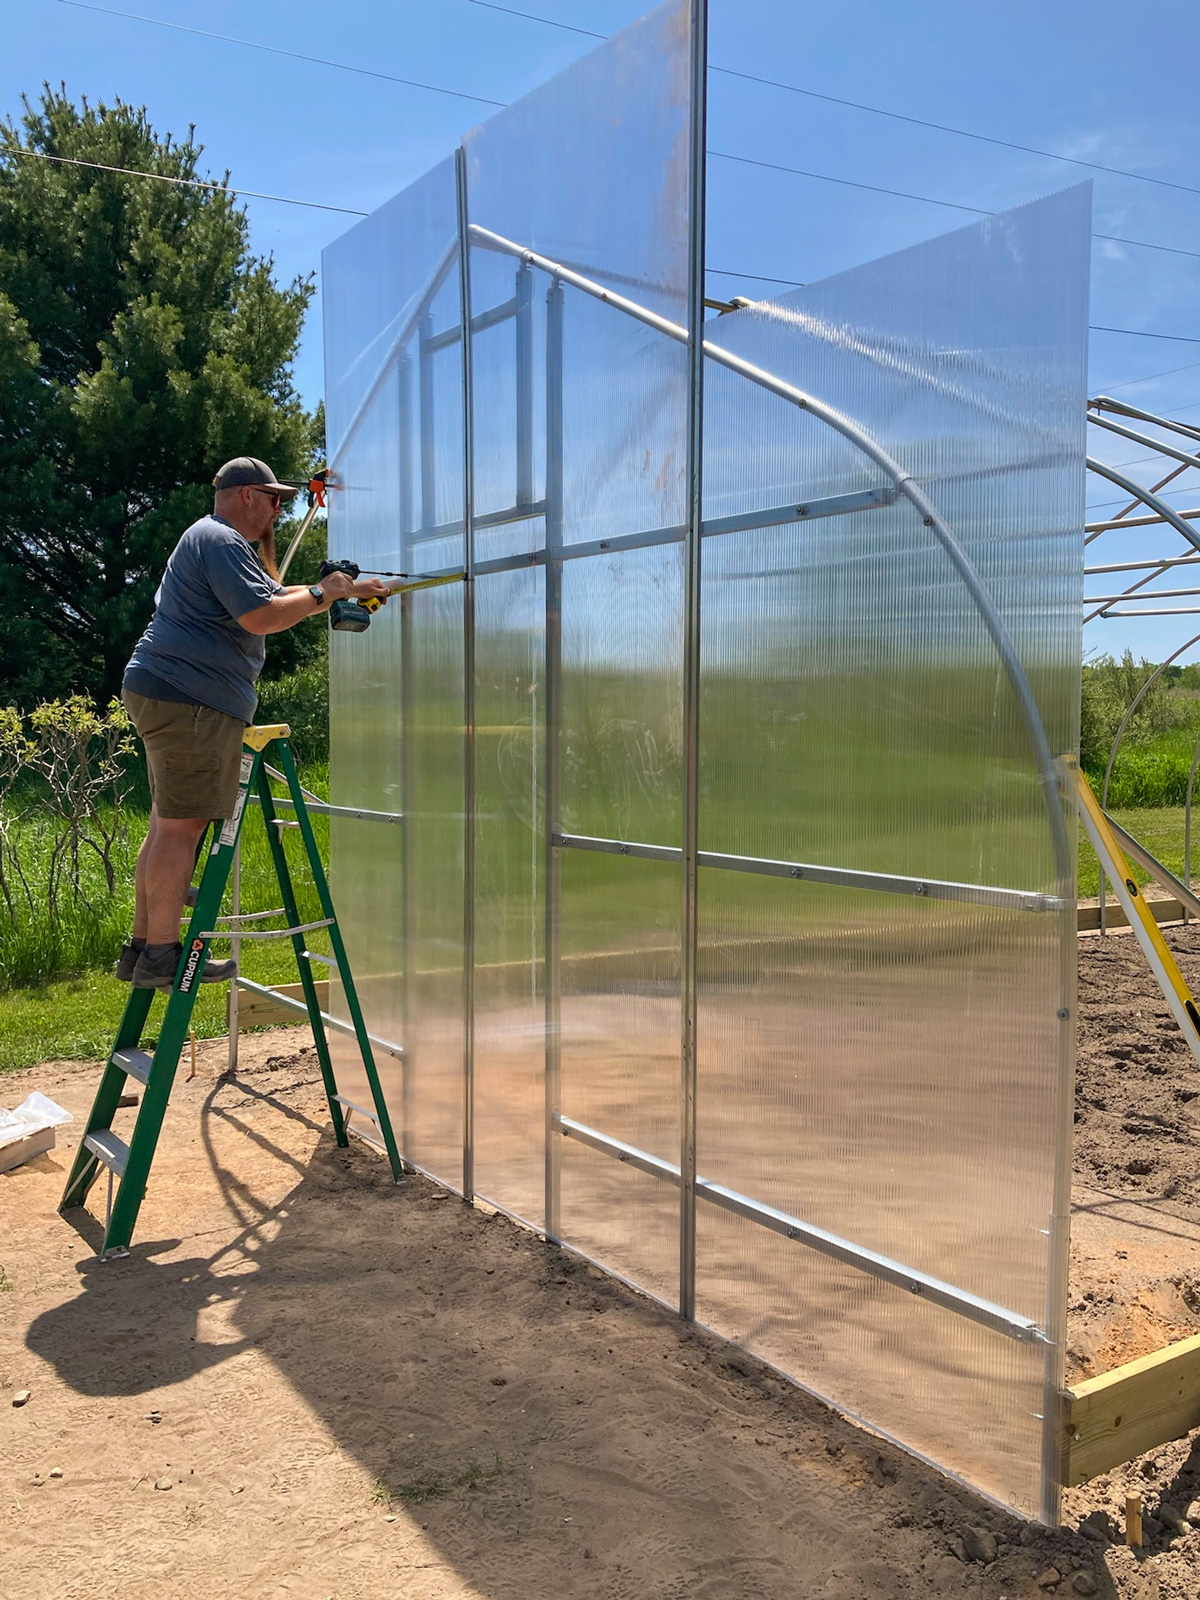
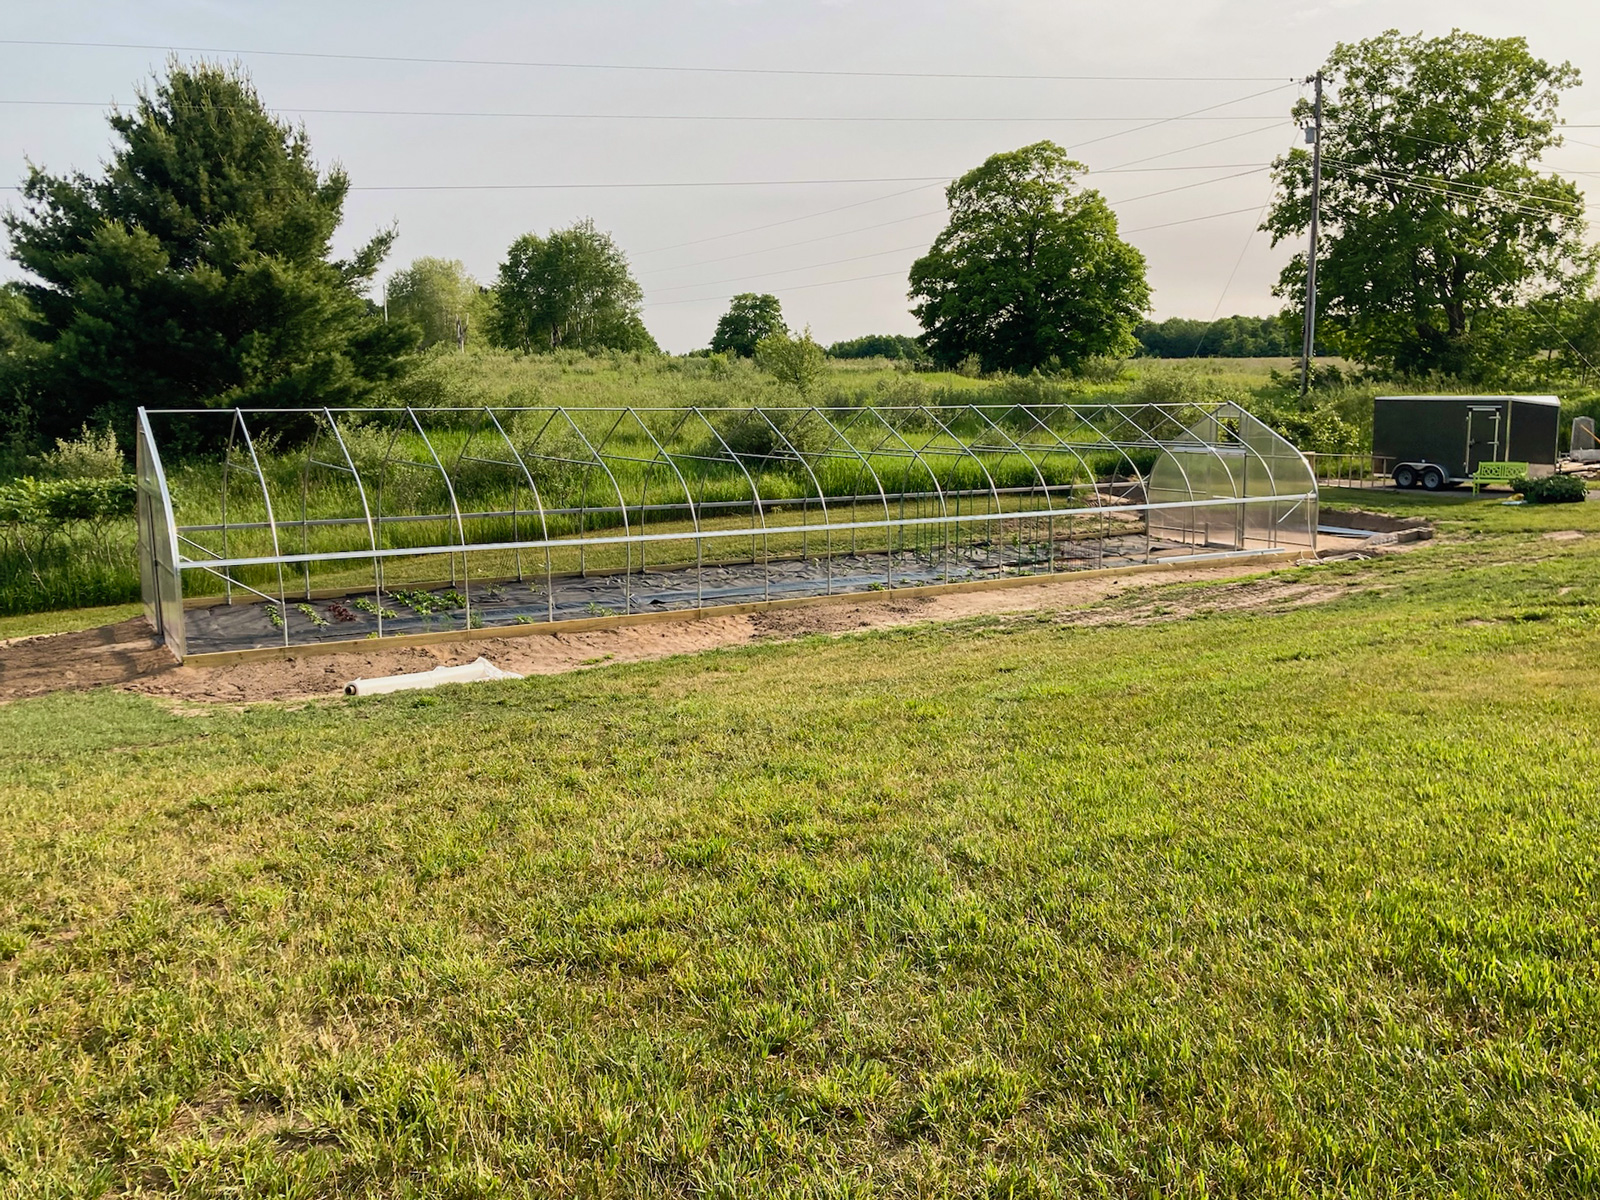
The Greenhouse ″Kit″
When we first began the install, things were going smoothly and going up relatively quickly. The first framing, the hoops, were all in the correct size, length, shape, etc. Then we discovered what the company really meant by ″kit″ is a detailed instruction manual with plenty of pics and all materials needed. You will need tools to cut the rest of the metal and poly-carbonate sheets into correct lengths and shapes, and a lot of know how to put this thing together. You also need to purchase lumber for a baseboard around the perimeter.


Memorial Day has arrived!
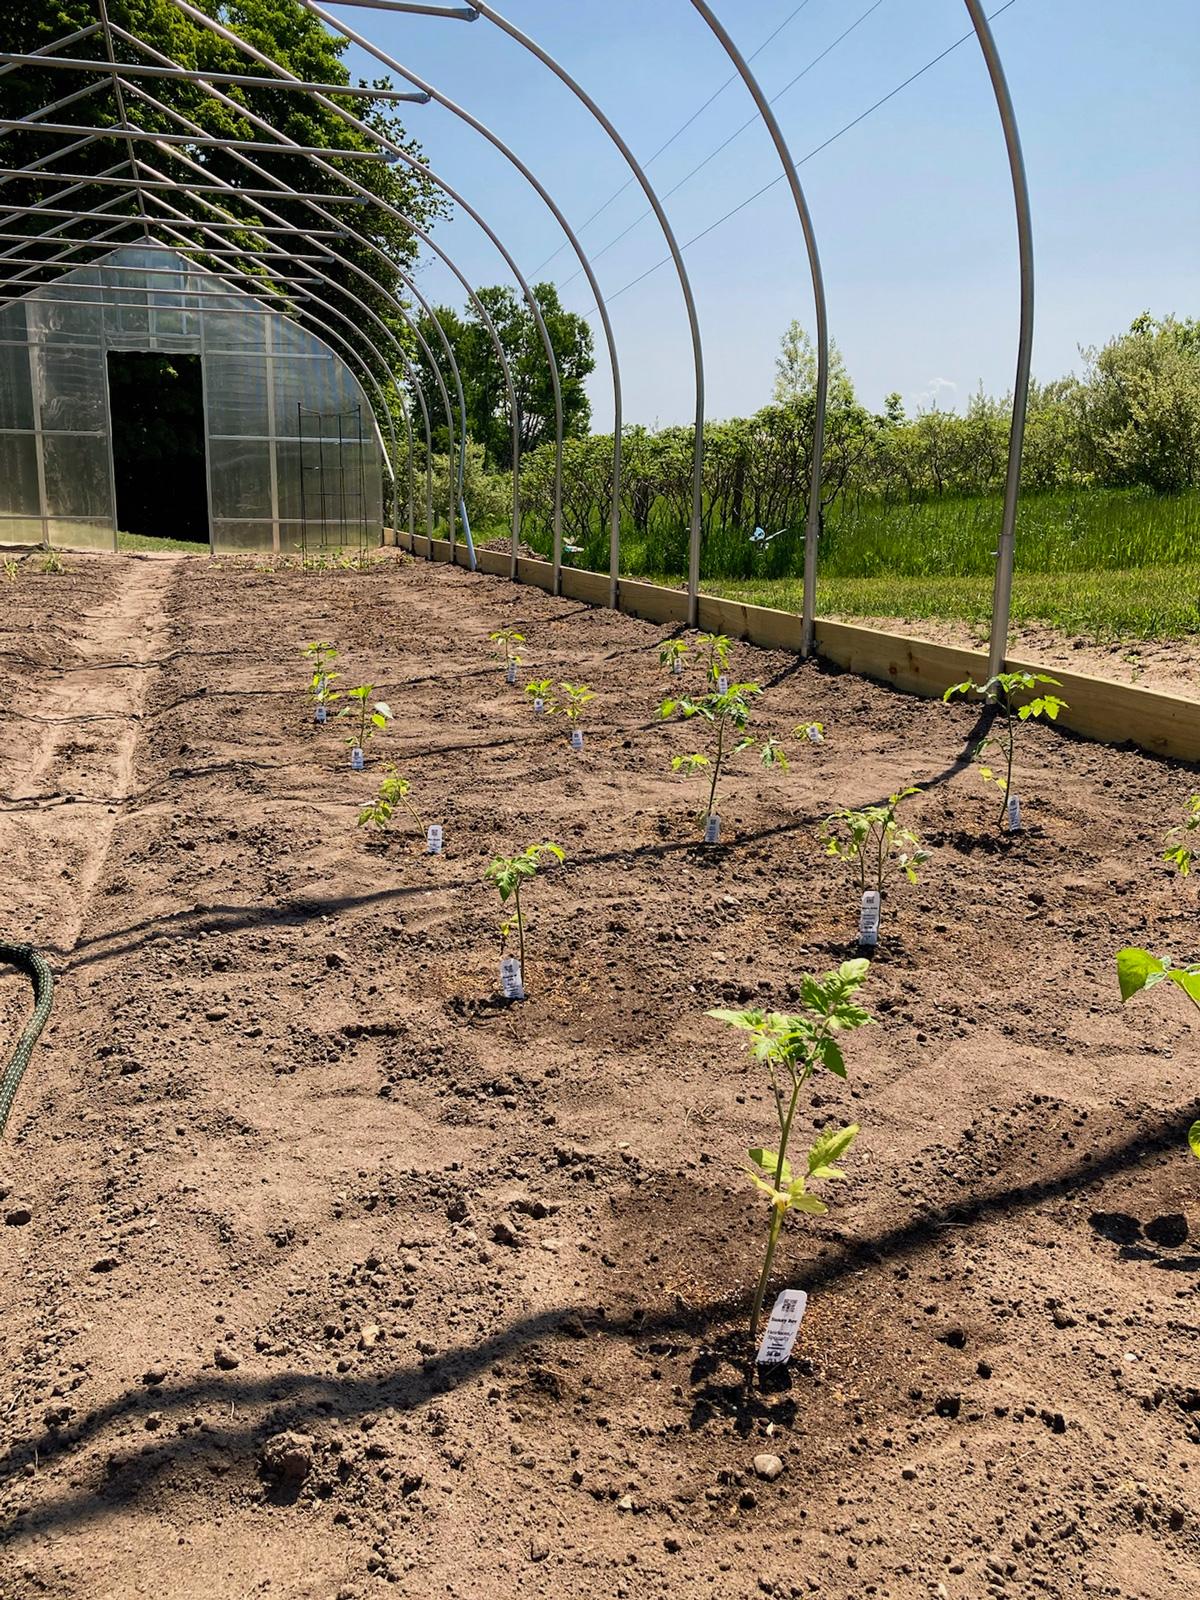
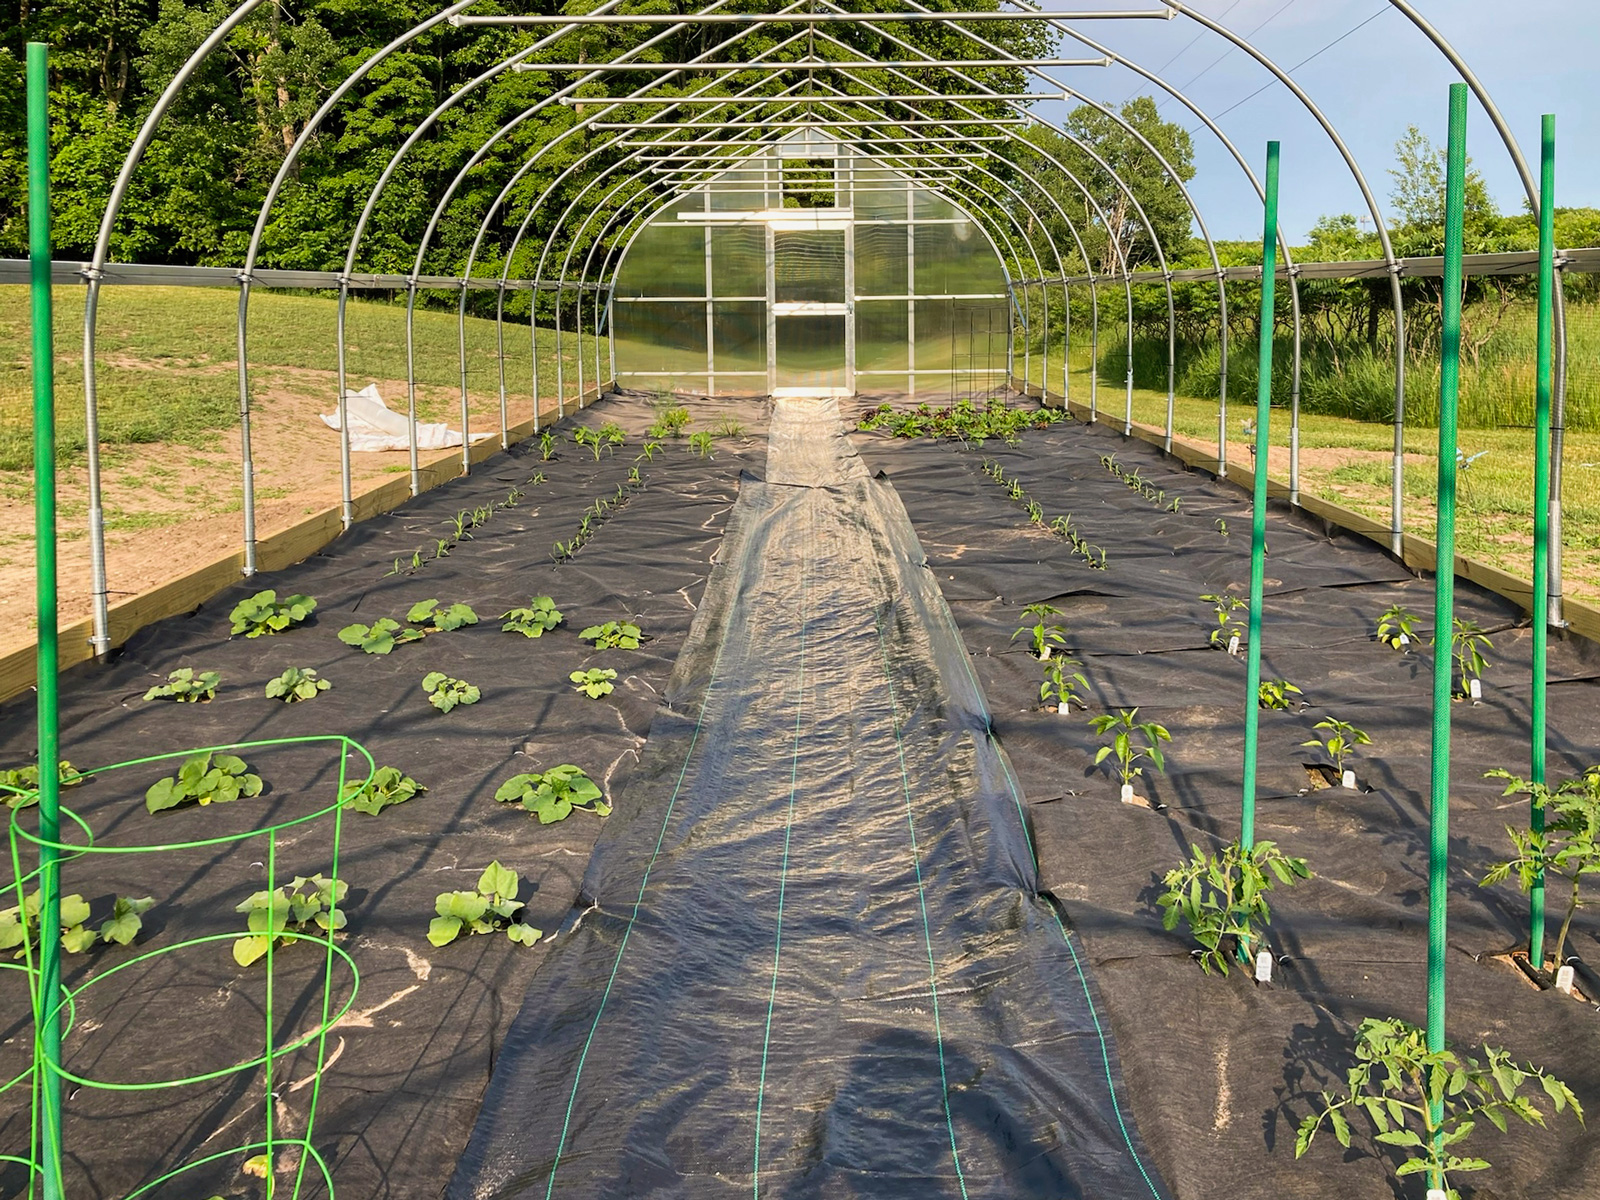
Our goal was to have the greenhouse install finished no later than Memorial Day. Memorial Day came and went and this thing was taking way too long for a ″kit″. We had purchased plants from Bear Creek Organic Farm in Petoskey and have been keeping them ready and waiting for planting, but they were starting to get too big for their containers. I planted some of them up by the house (see the July blog). I planted the rest of them a couple weeks later in the greenhouse area. Hopefully they will not get too much sun/heat with our unseasonably warm temps. And hopefully they will not get damaged when the plastic roof is eventually added overhead.

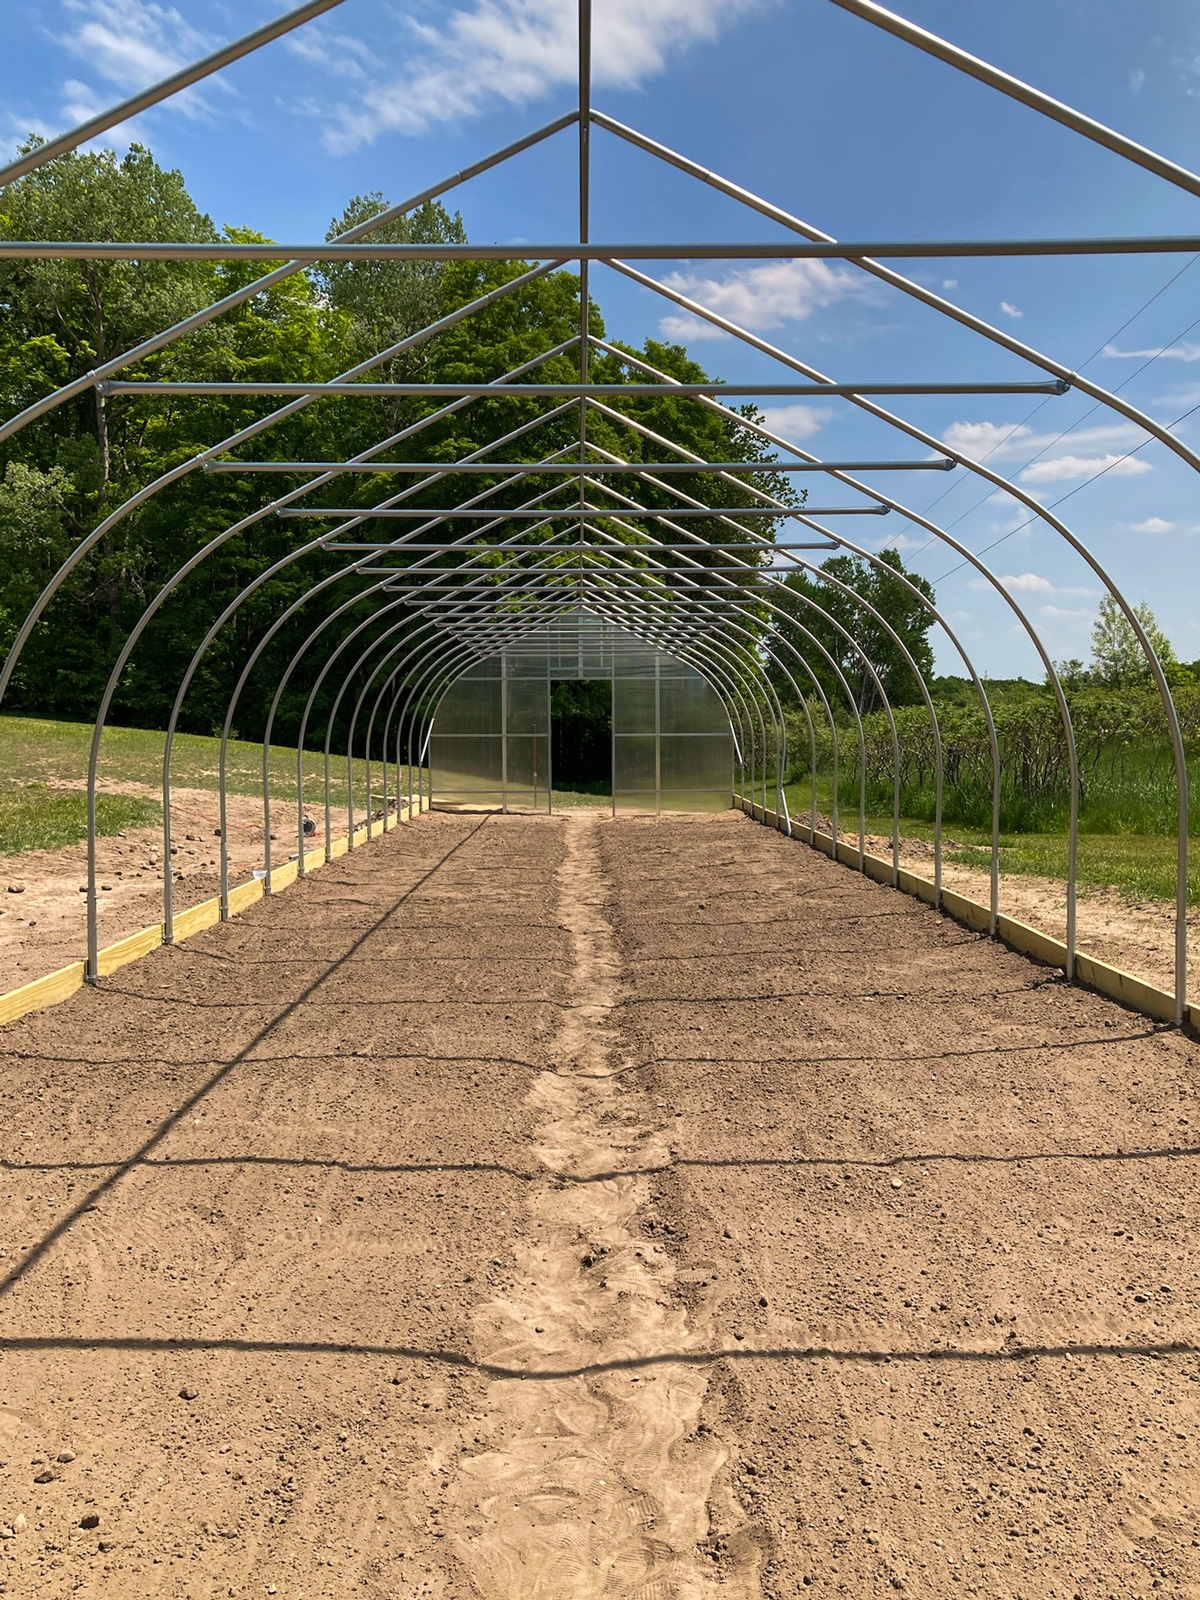

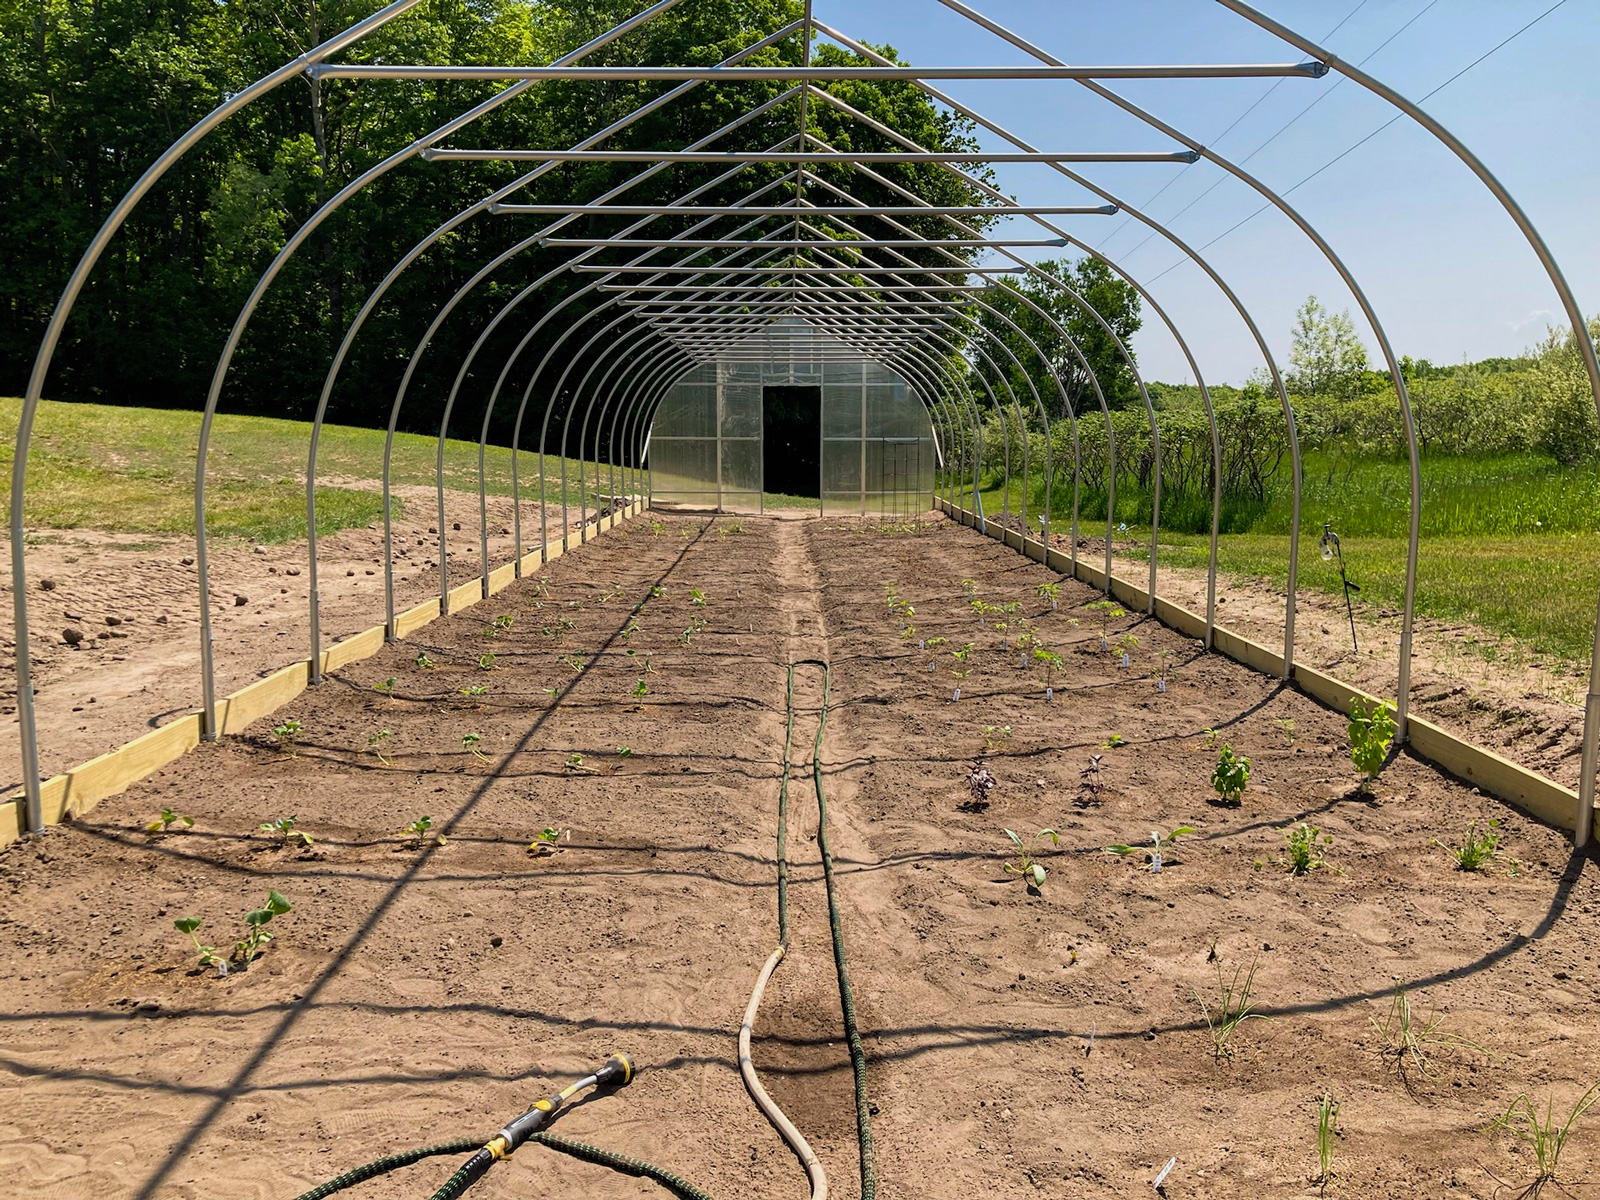

Plants & continuation of the ″KIT″
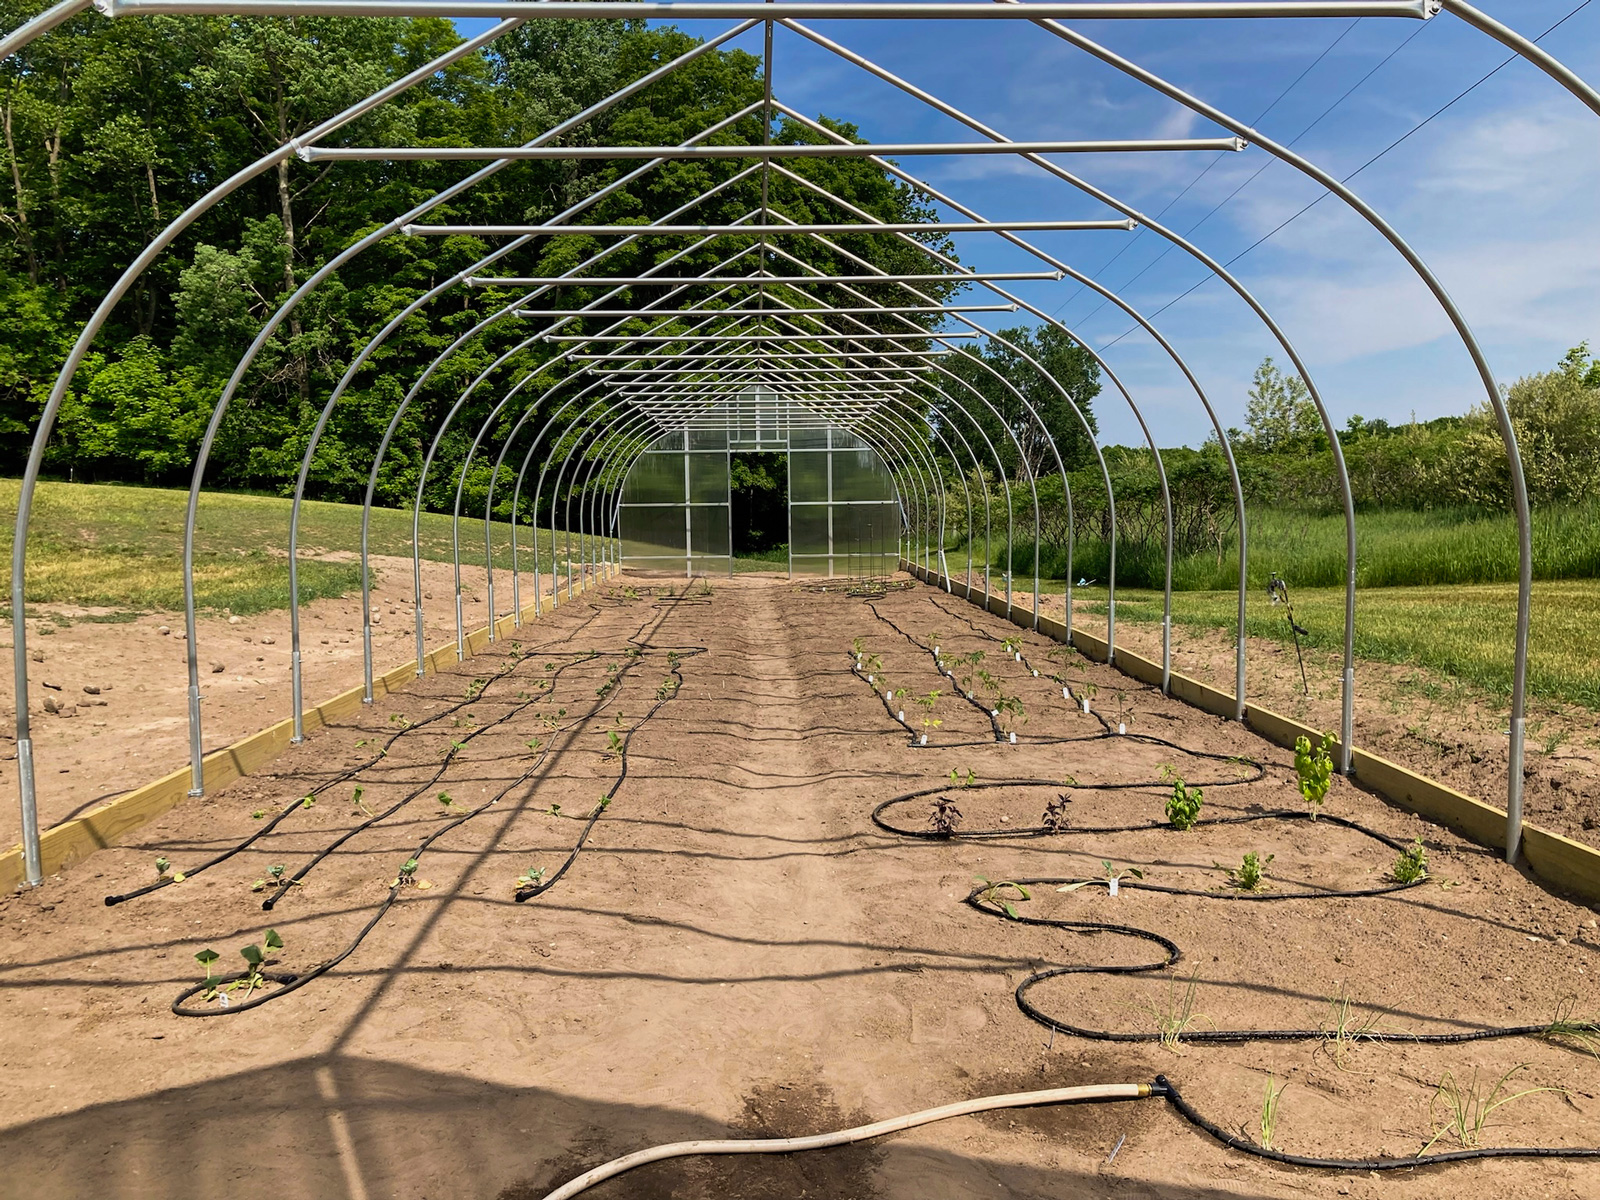
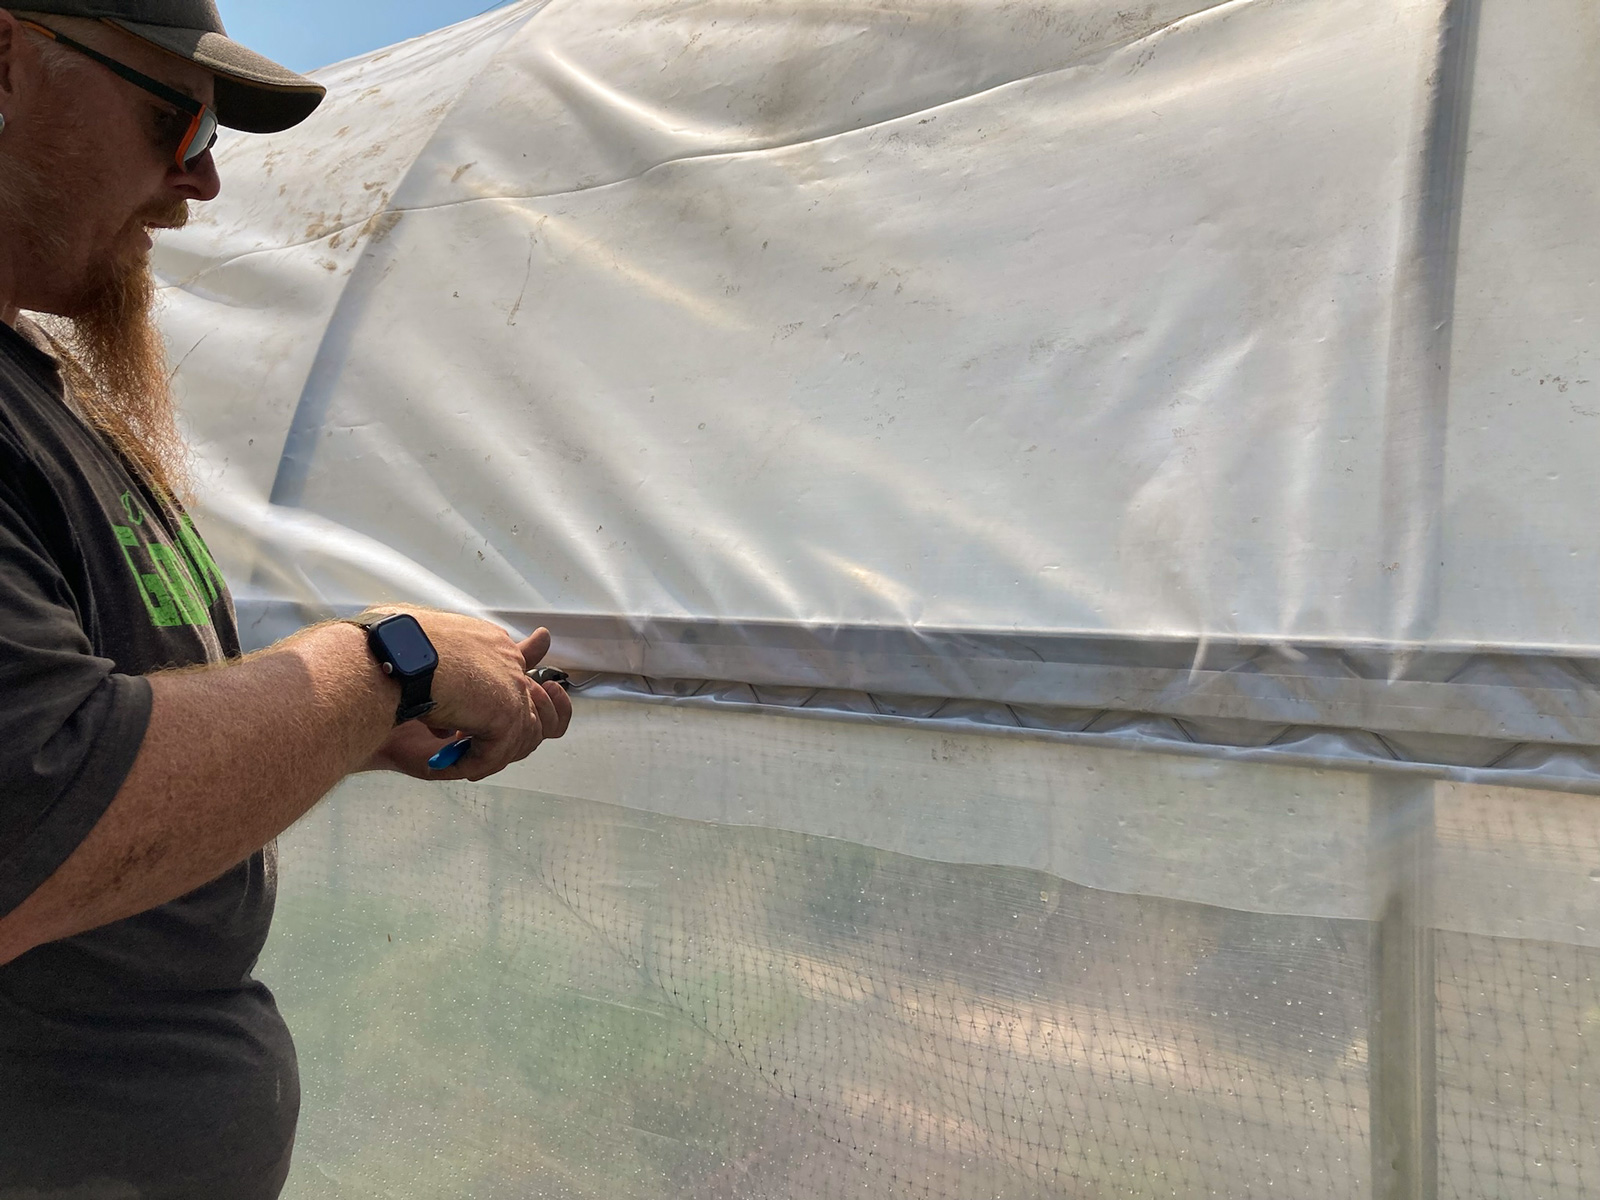
The plants are growing. We were both going to be gone for a weekend and were in the middle of a dry, hot period of weather. So we purchased drip hose and I installed it to water the plants while we were gone. They worked well. Nothing died anyway! Andy continued working on the endless kit. He installed the side horizontal pieces that will hold the plastic roof as well as the roll up sides. One step closer to a roof going on!


Weed Fabric
The weeds were beginning to be a problem in the greenhouse. So I decided to install weed fabric so I didn’t have to spend all summer weeding. One of the ground squirrels had a hole in the greenhouse area that I filled in. He immediately made a new hole and chewed through the fabric. I continued covering holes and filling with rocks. I think he has gotten the hint, for now anyway.
The Roof Goes On!
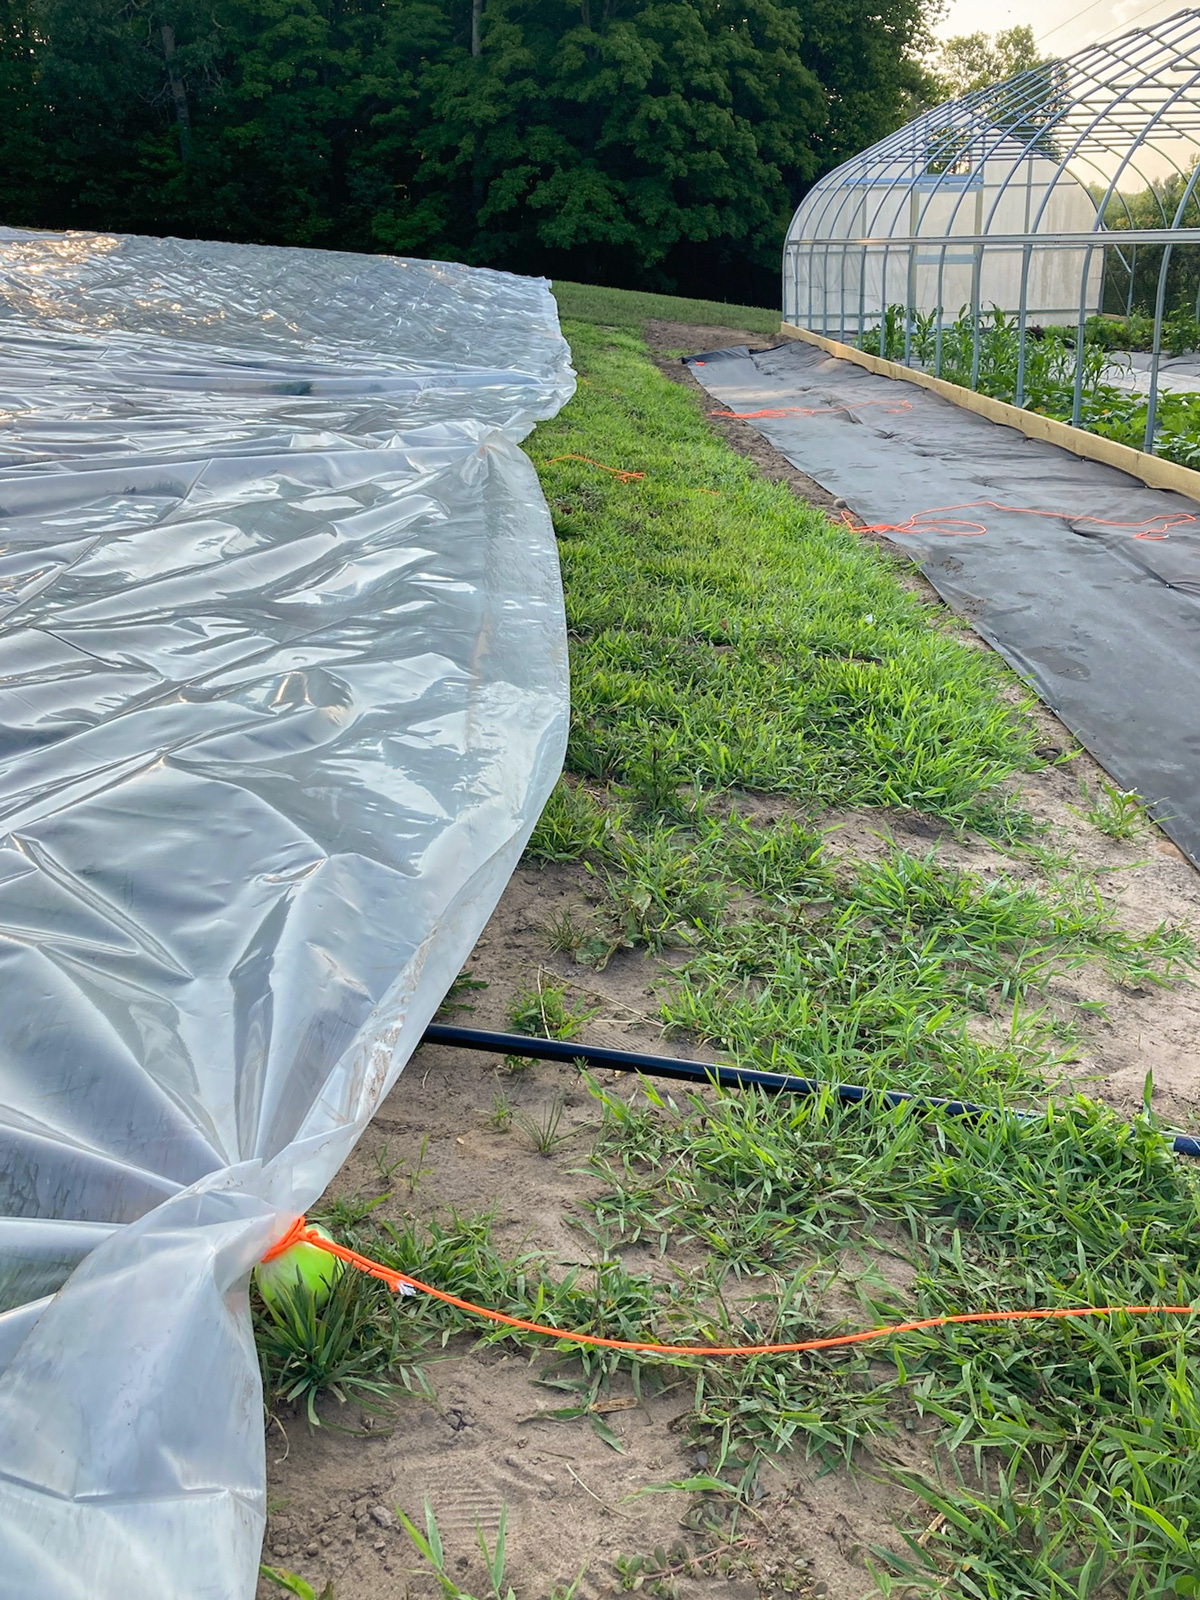
It was the day before Independence Day and we finally had a day without wind to put the roof on the greenhouse. Again, this was not an easy task with the kit. It came as one long piece of plastic that is to be used for two layers of roofing and two roll up sides. To get it over the framing, you tie tennis balls to the plastic and pull it over to the other side with string (para-cord).
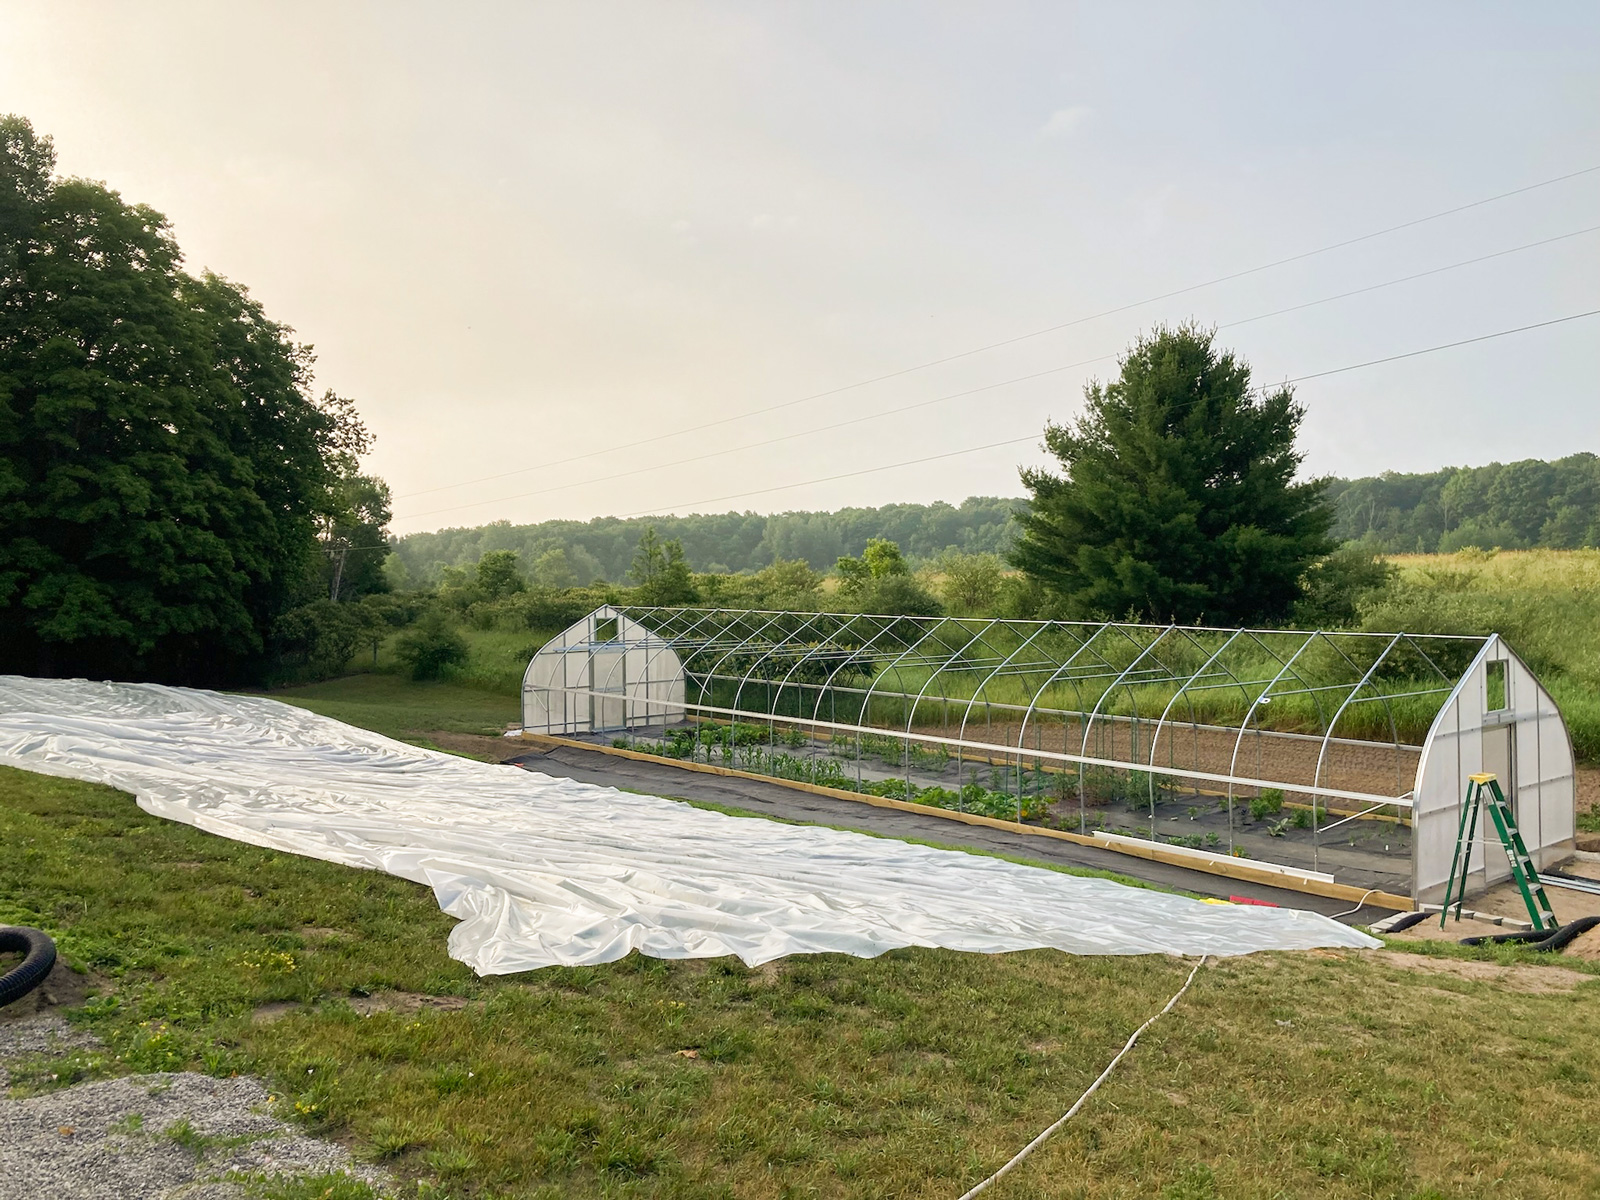
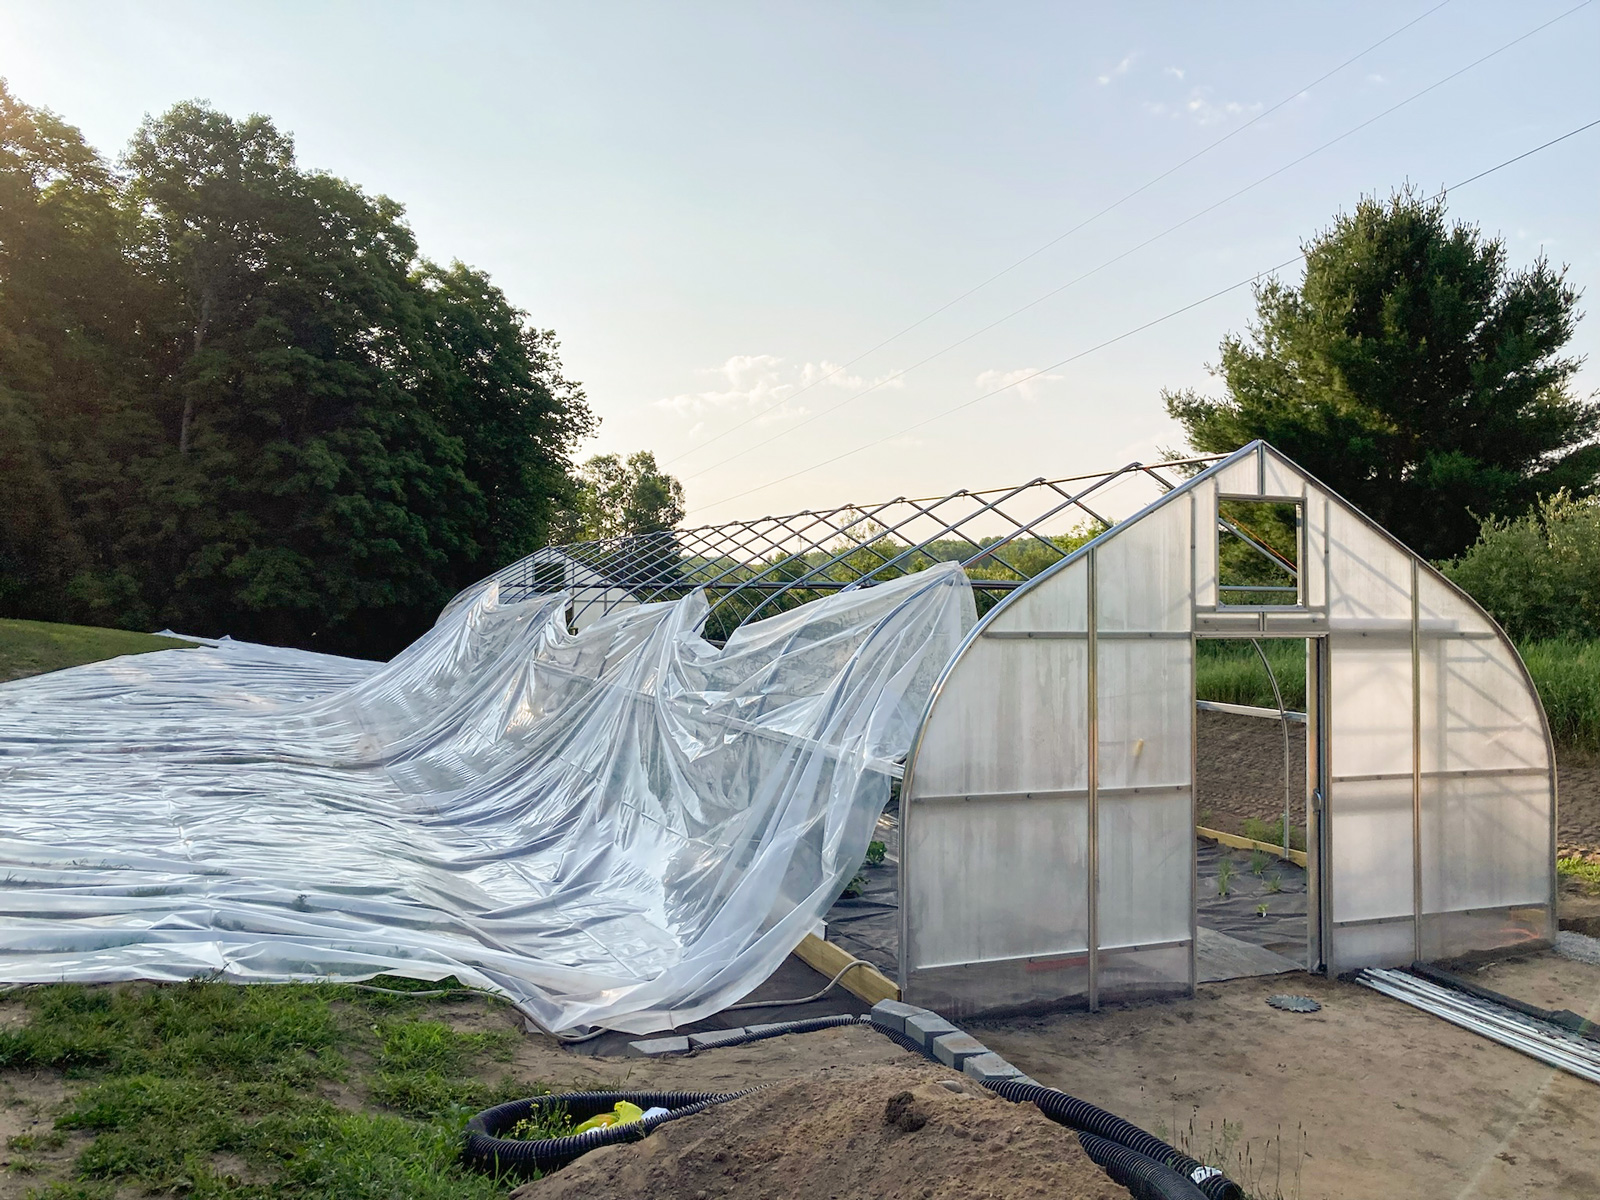


The Roof cont'd
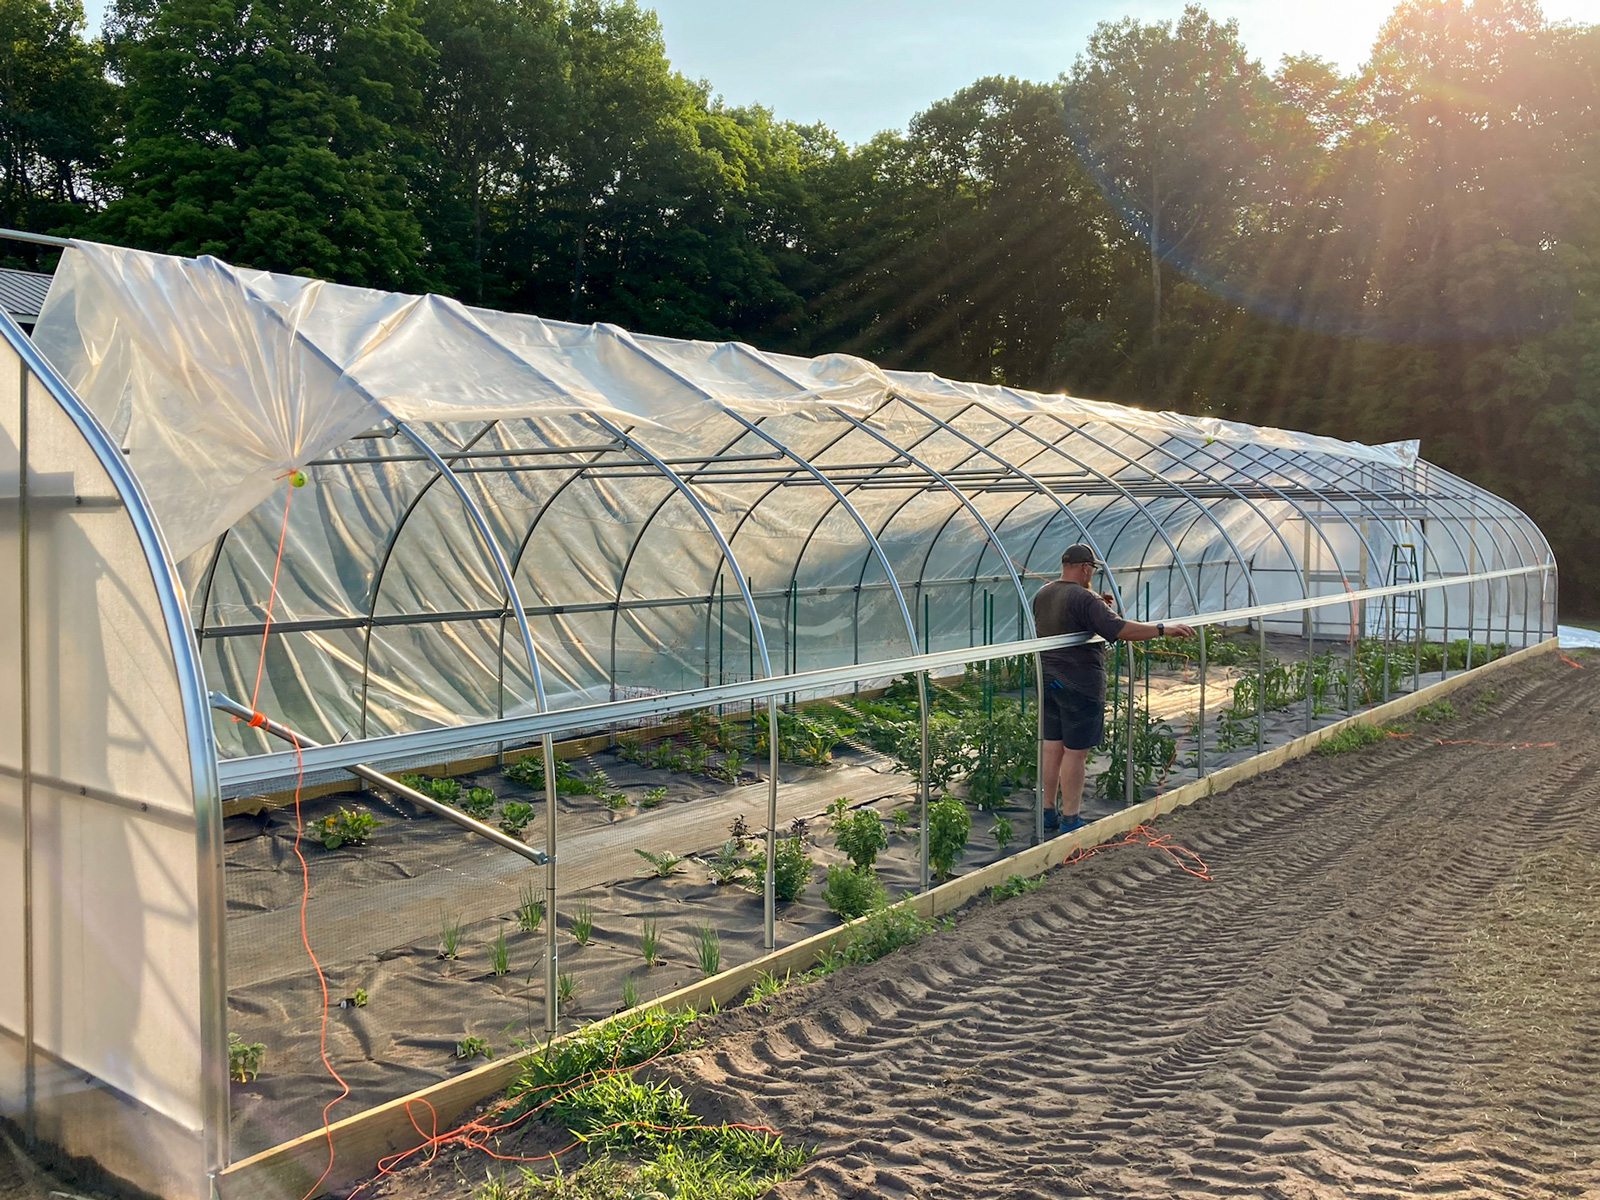
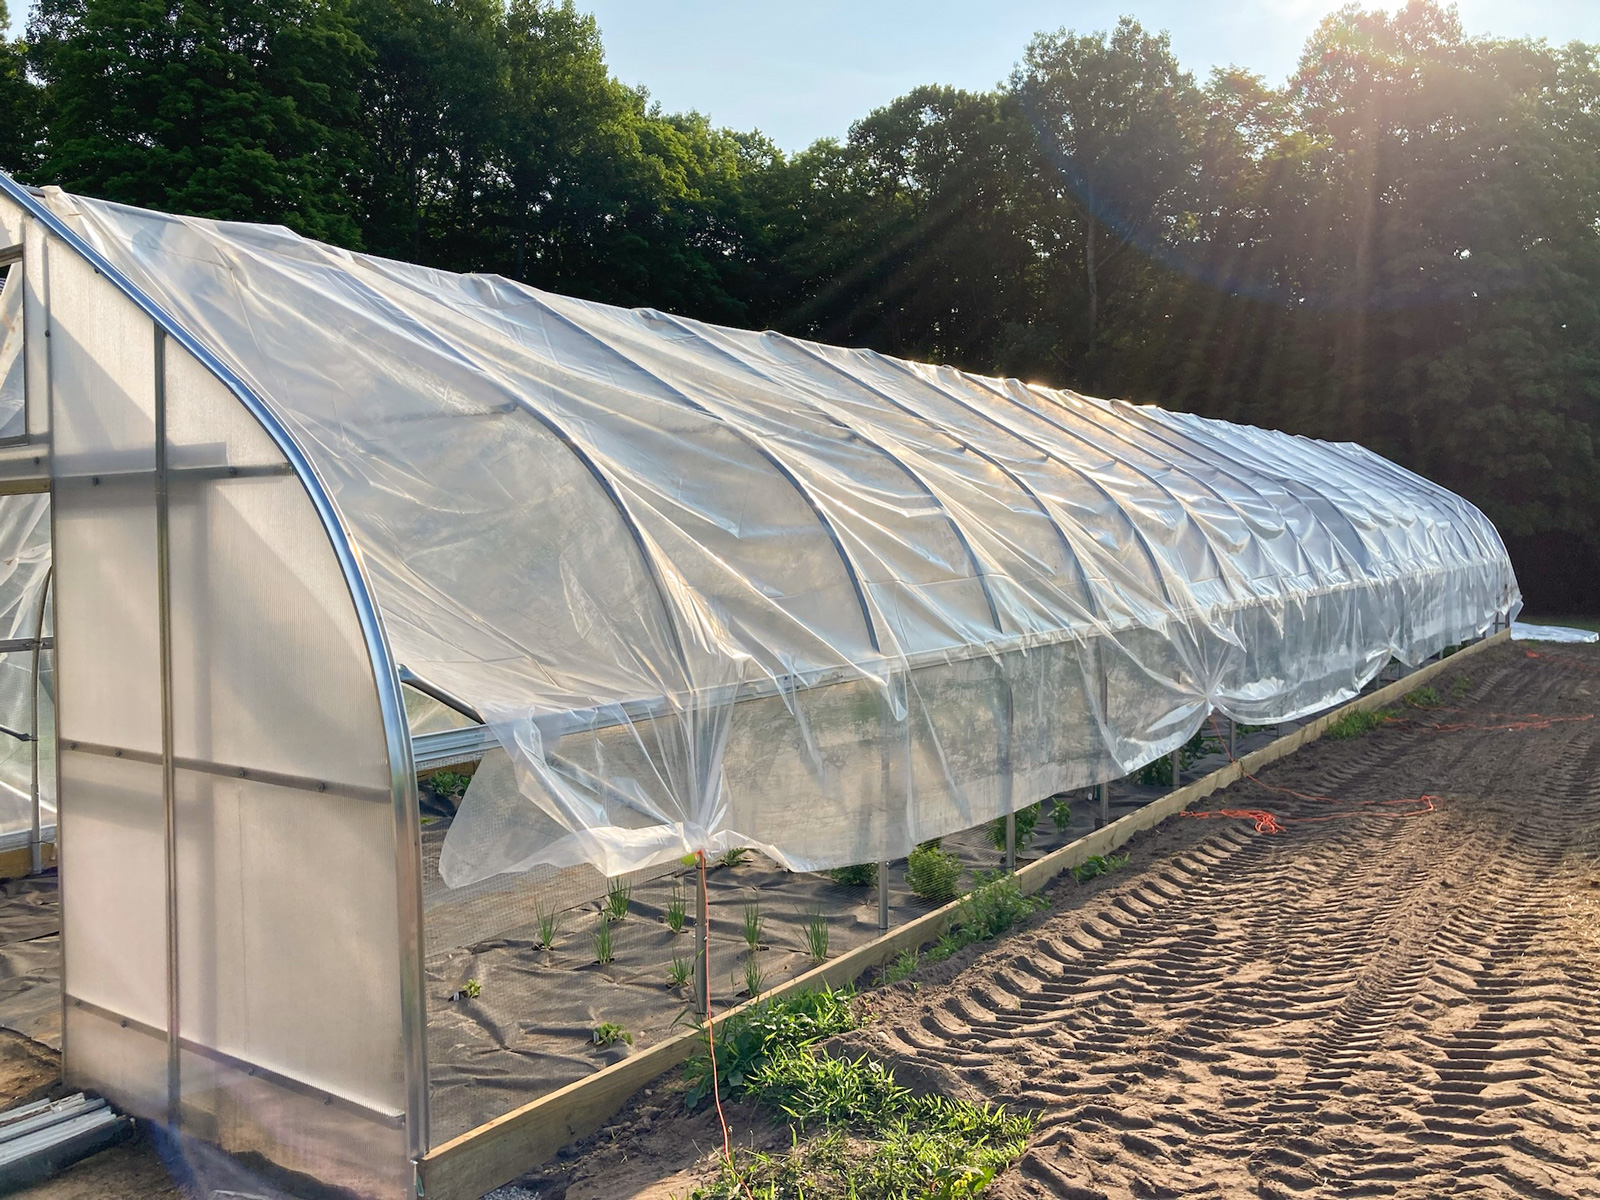
Unfortunately, we had a couple of tears in the second layer. But, at least it's up! We will wait to put on the roll up sides, fans, and blower. We will need to run electrical down the hill from the garage. Hopefully we will get to that in early fall.


The ″KIT″ is finished, for now…
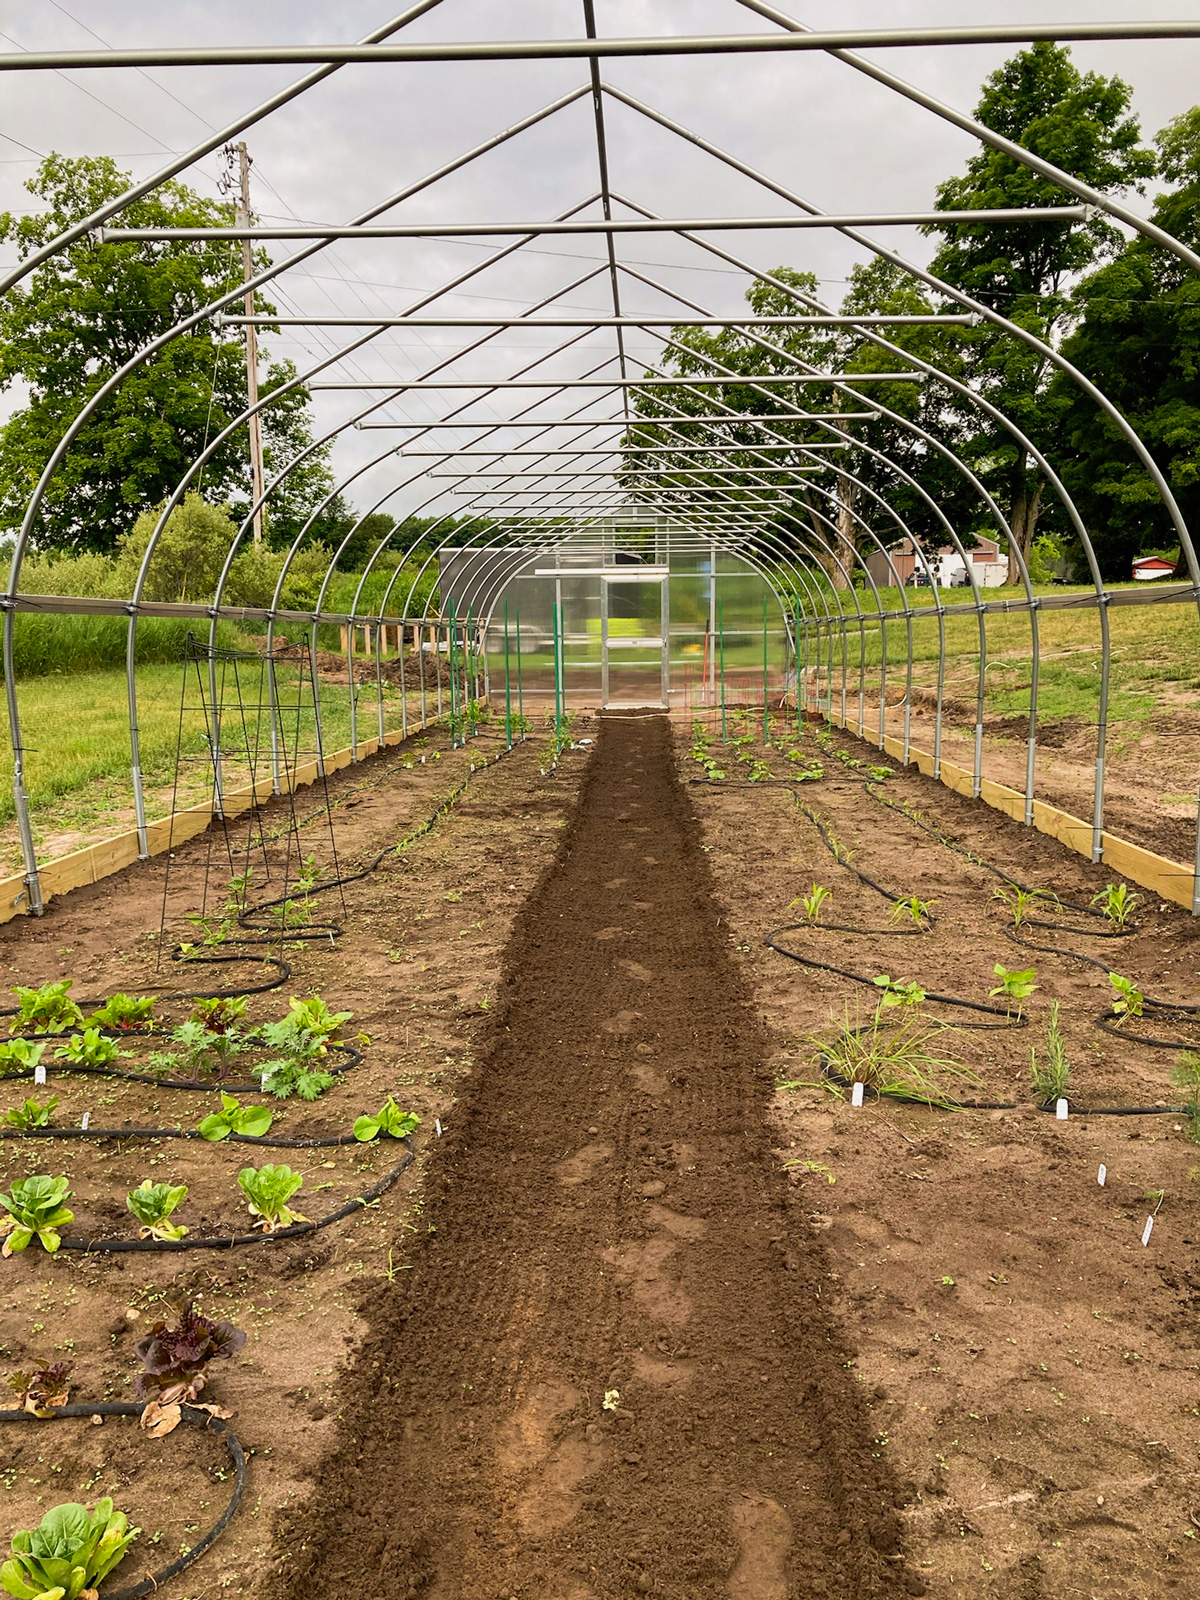
We need to get back to the siding, so until fall, the greenhouse project is finished. Our plants are loving it!


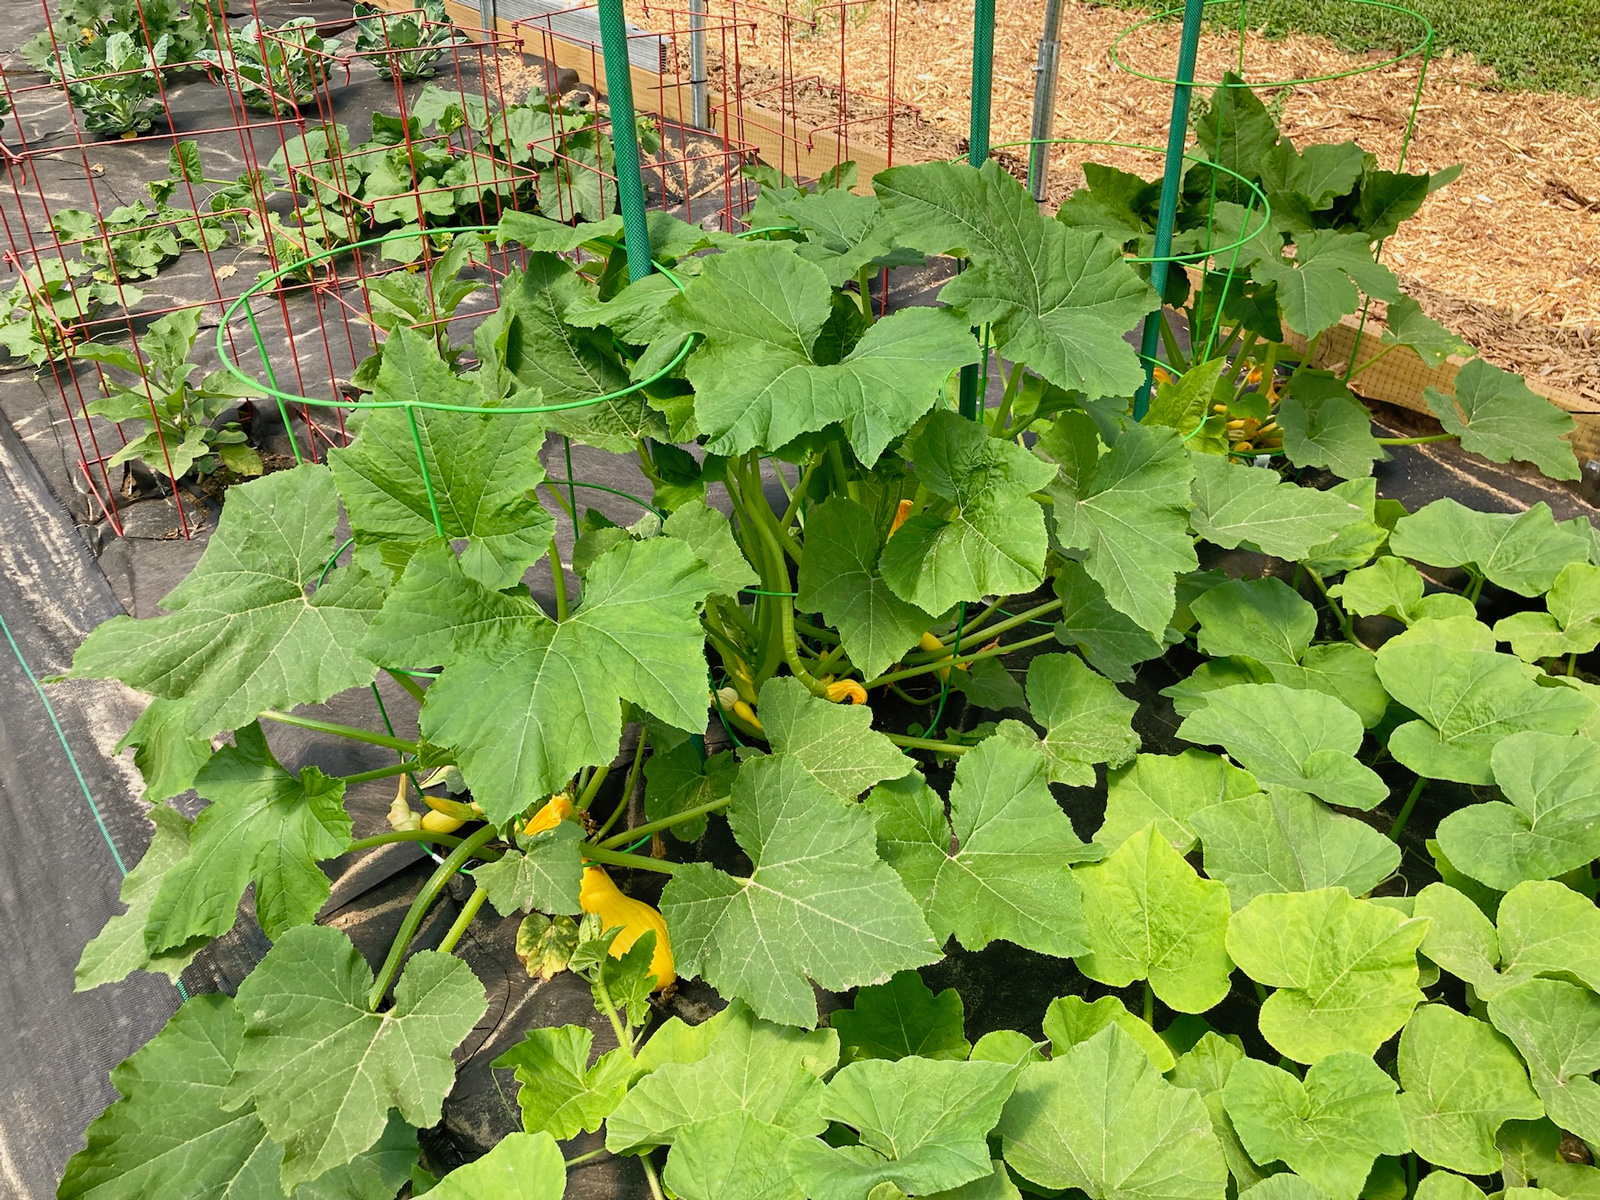


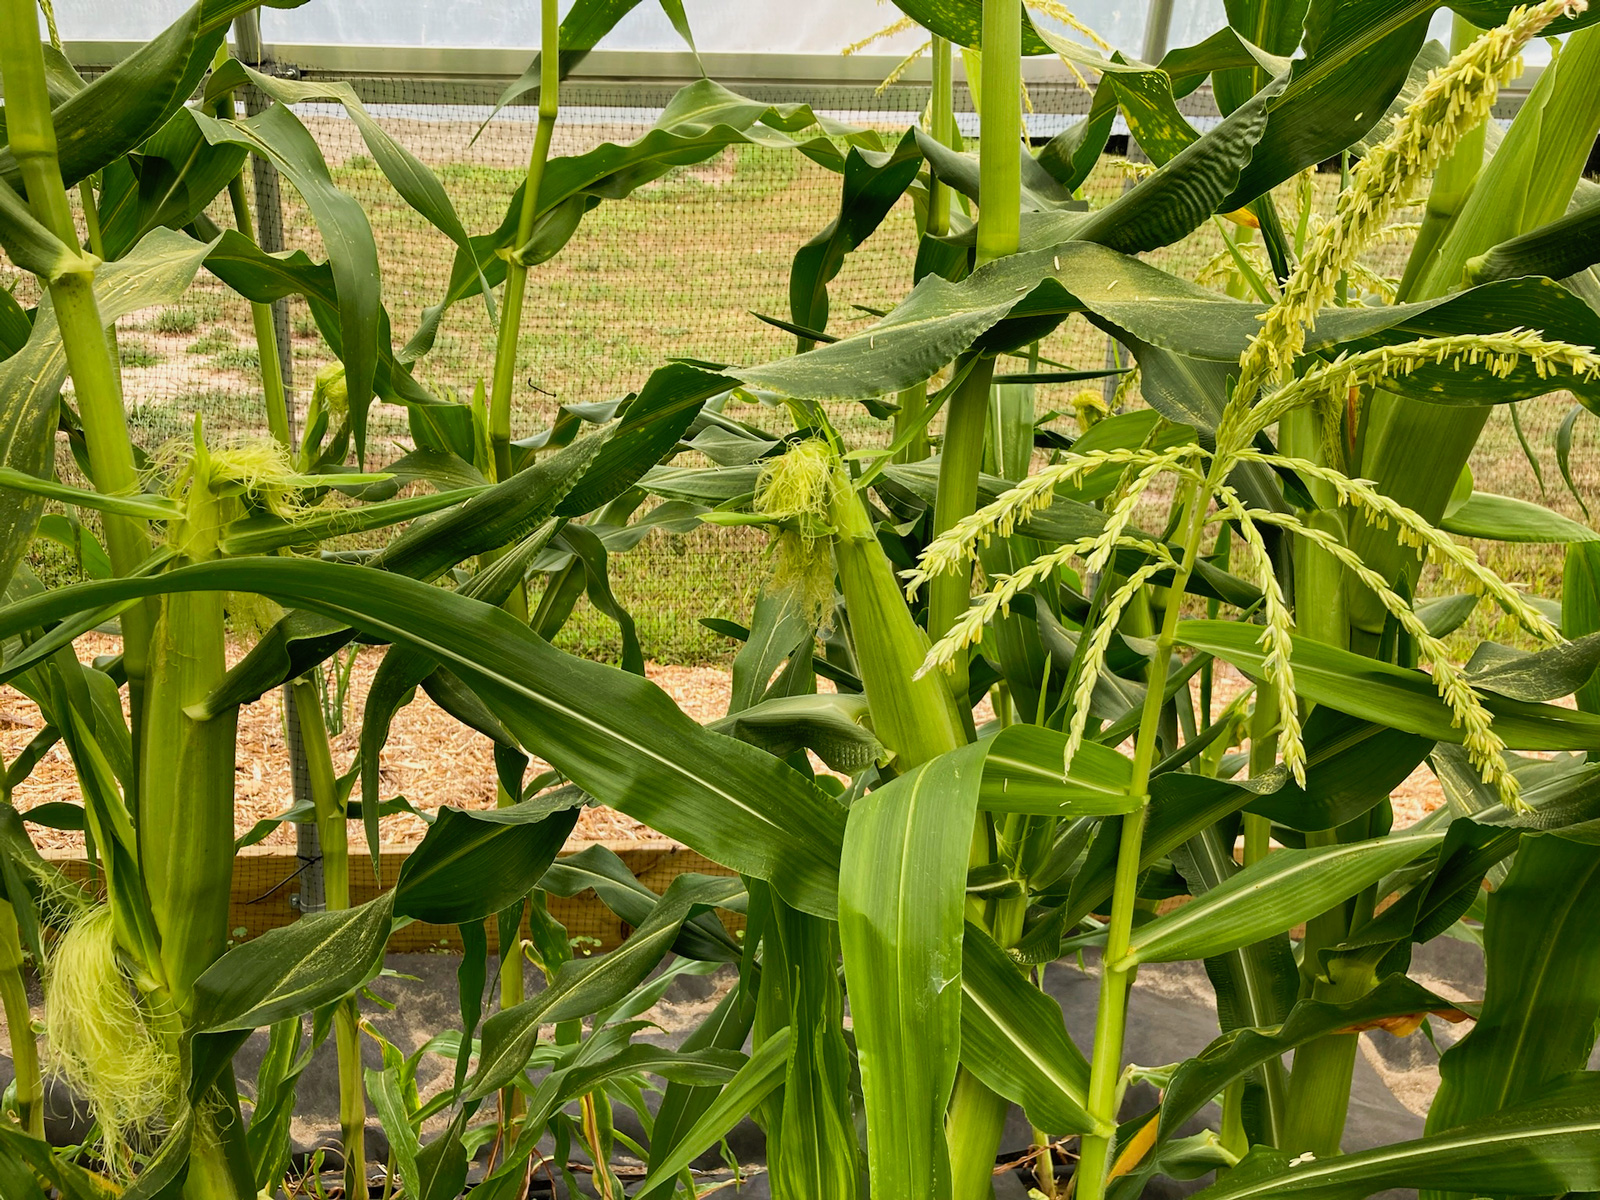
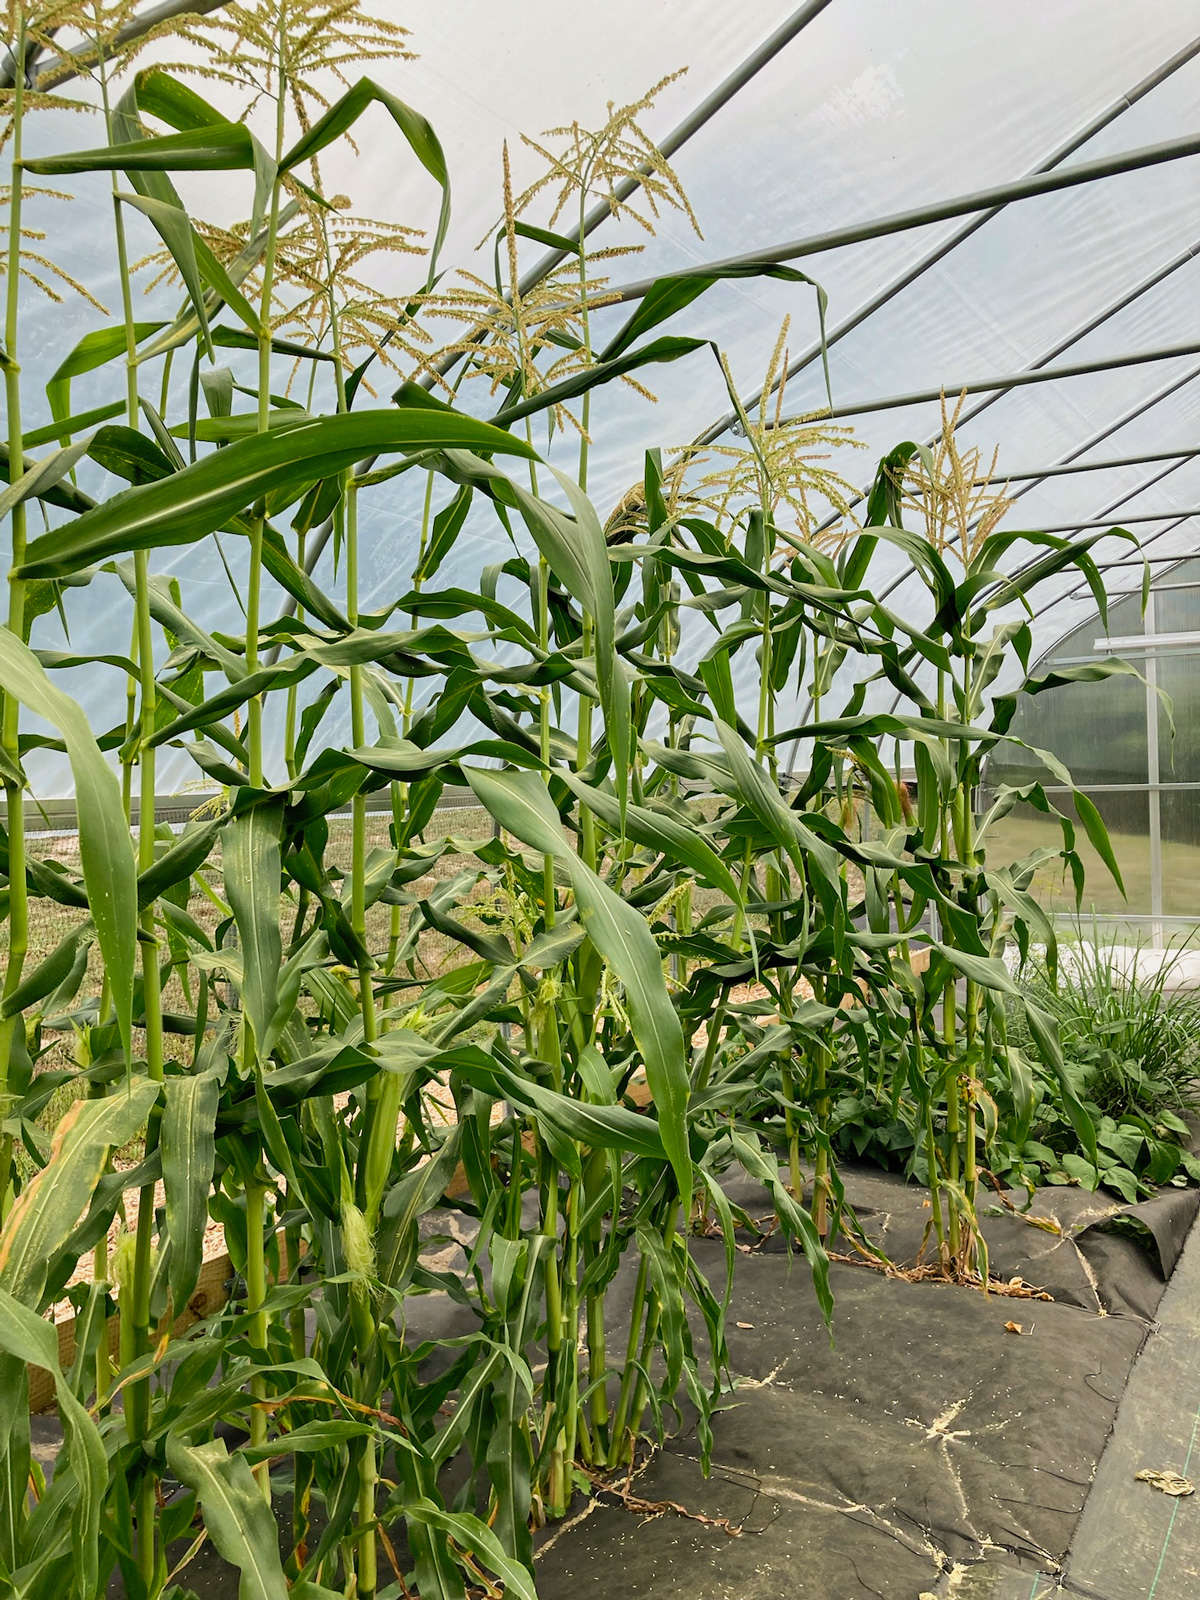


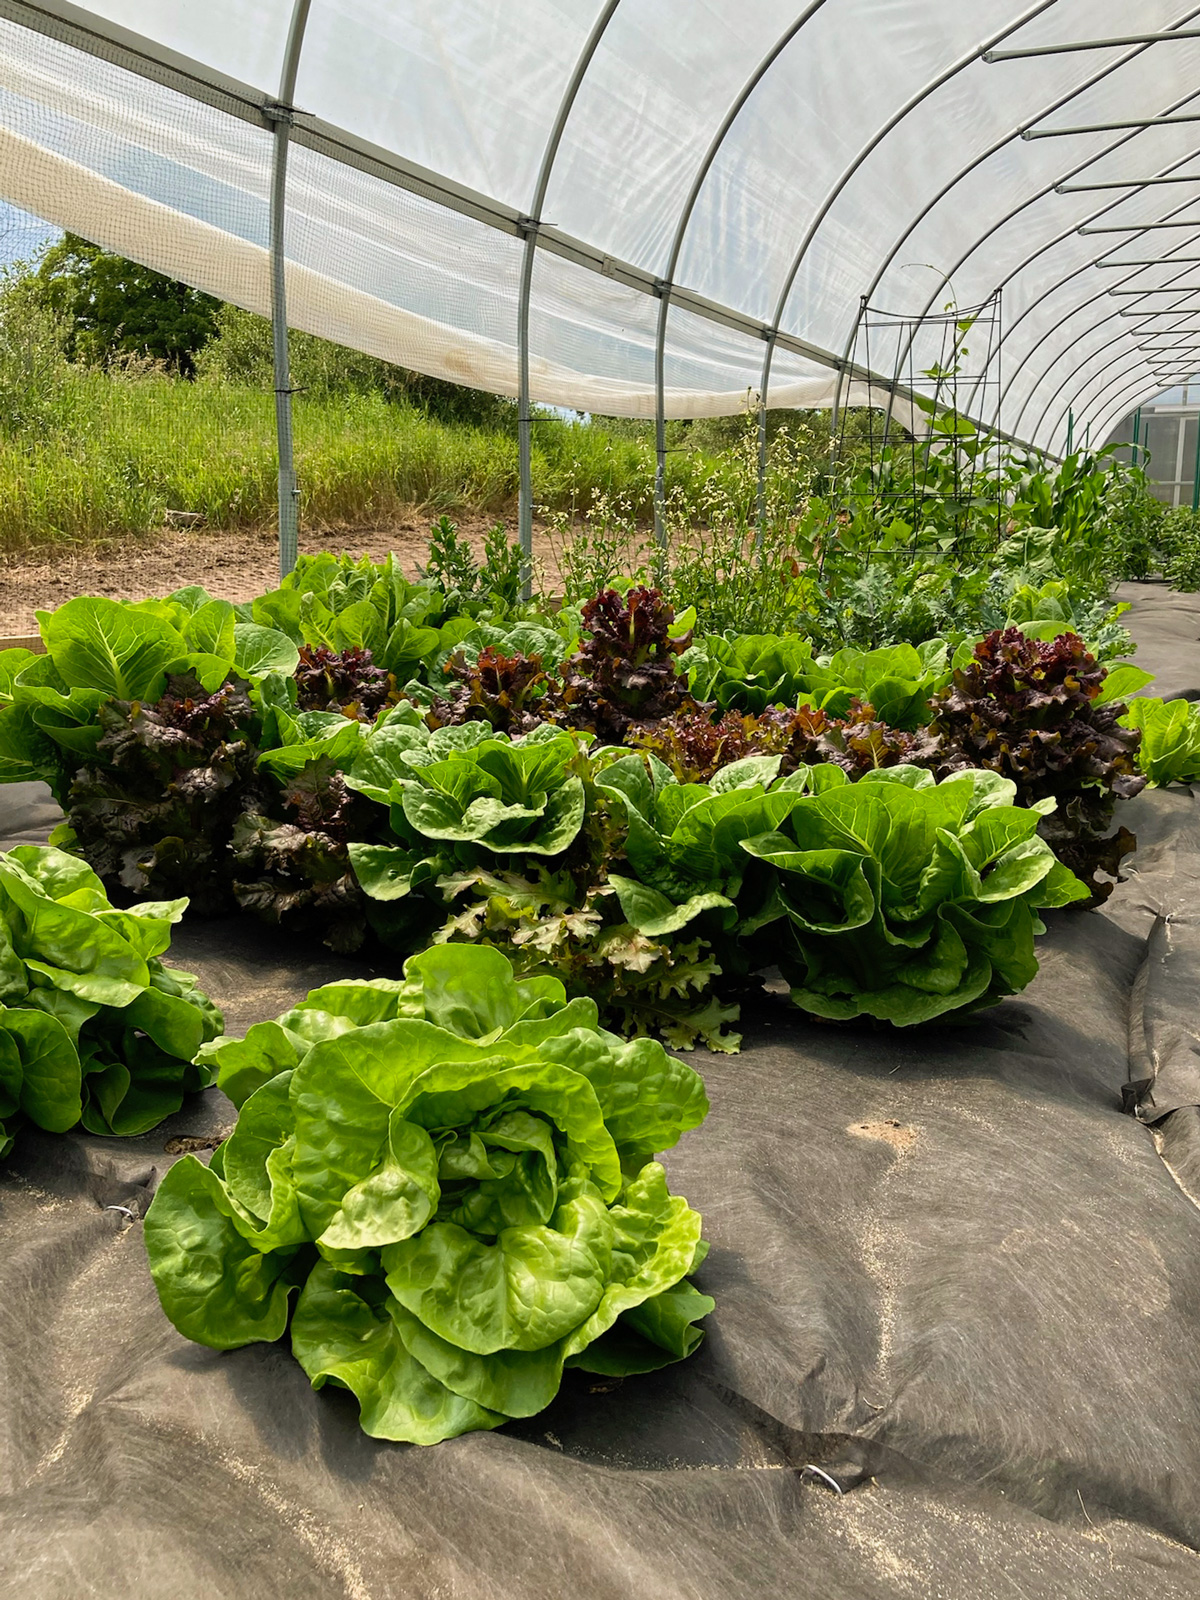
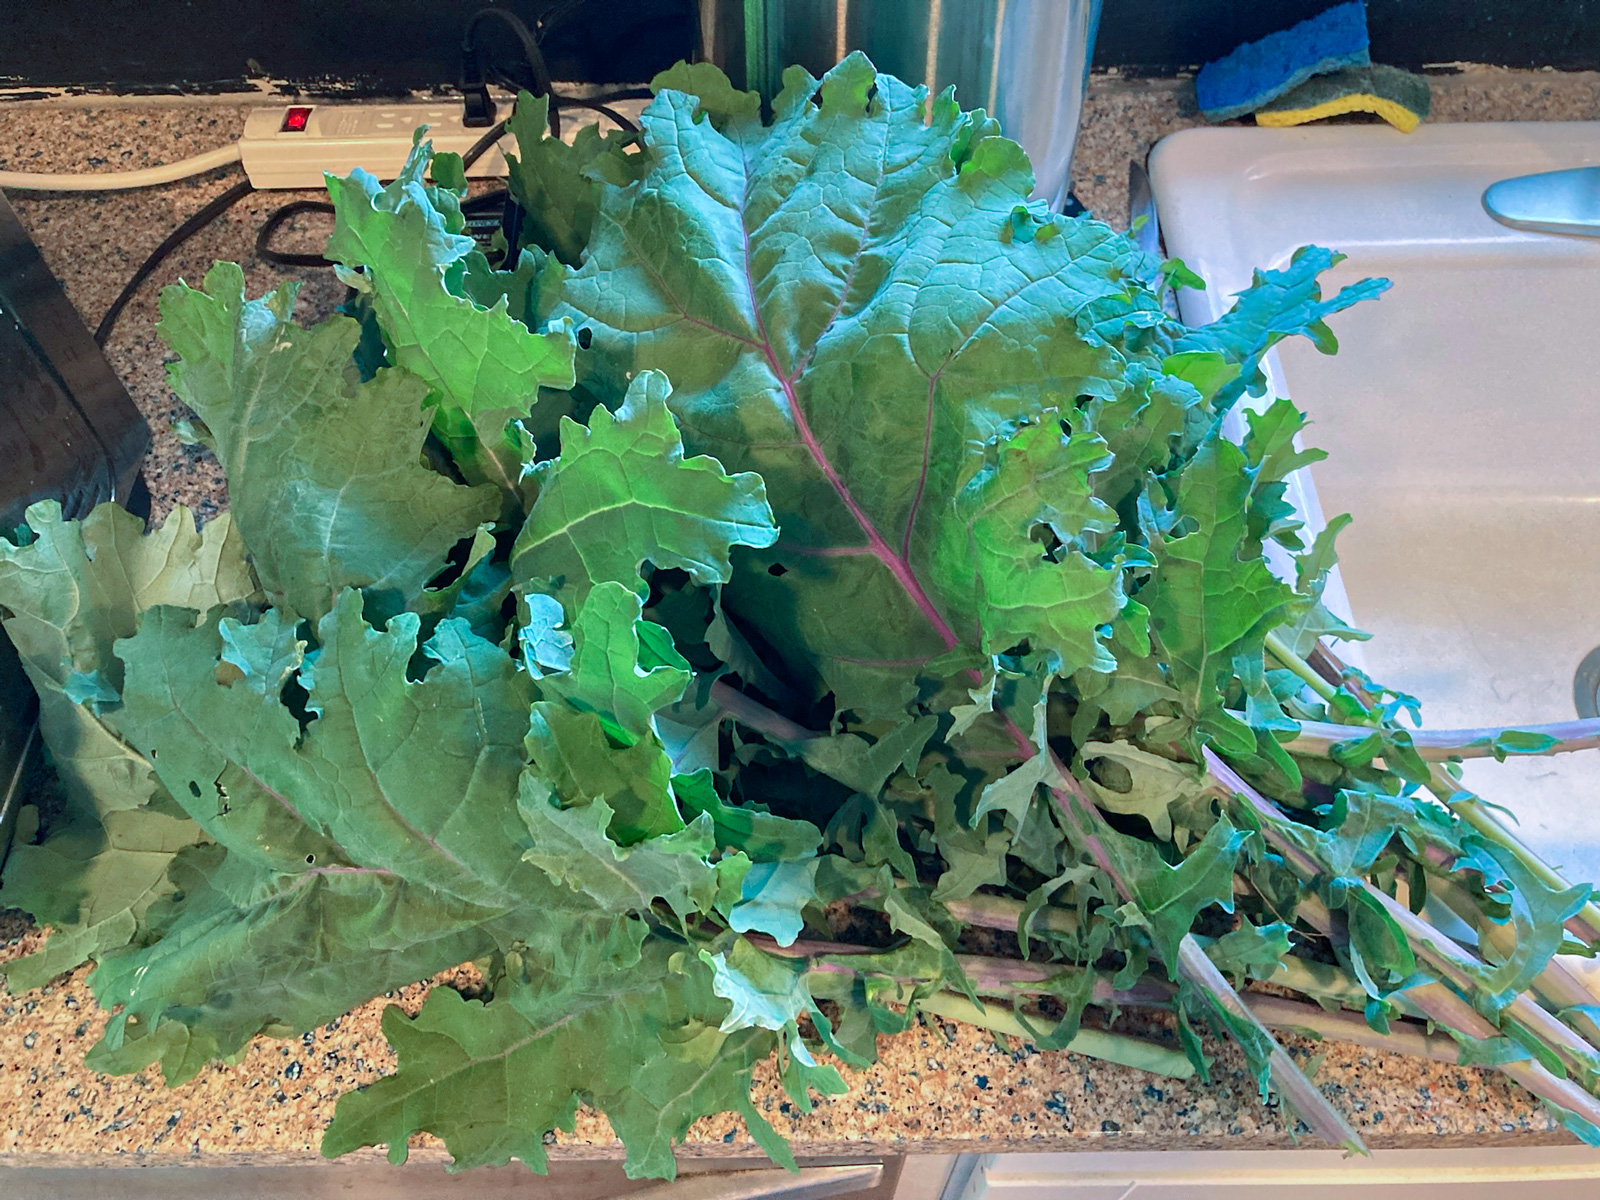
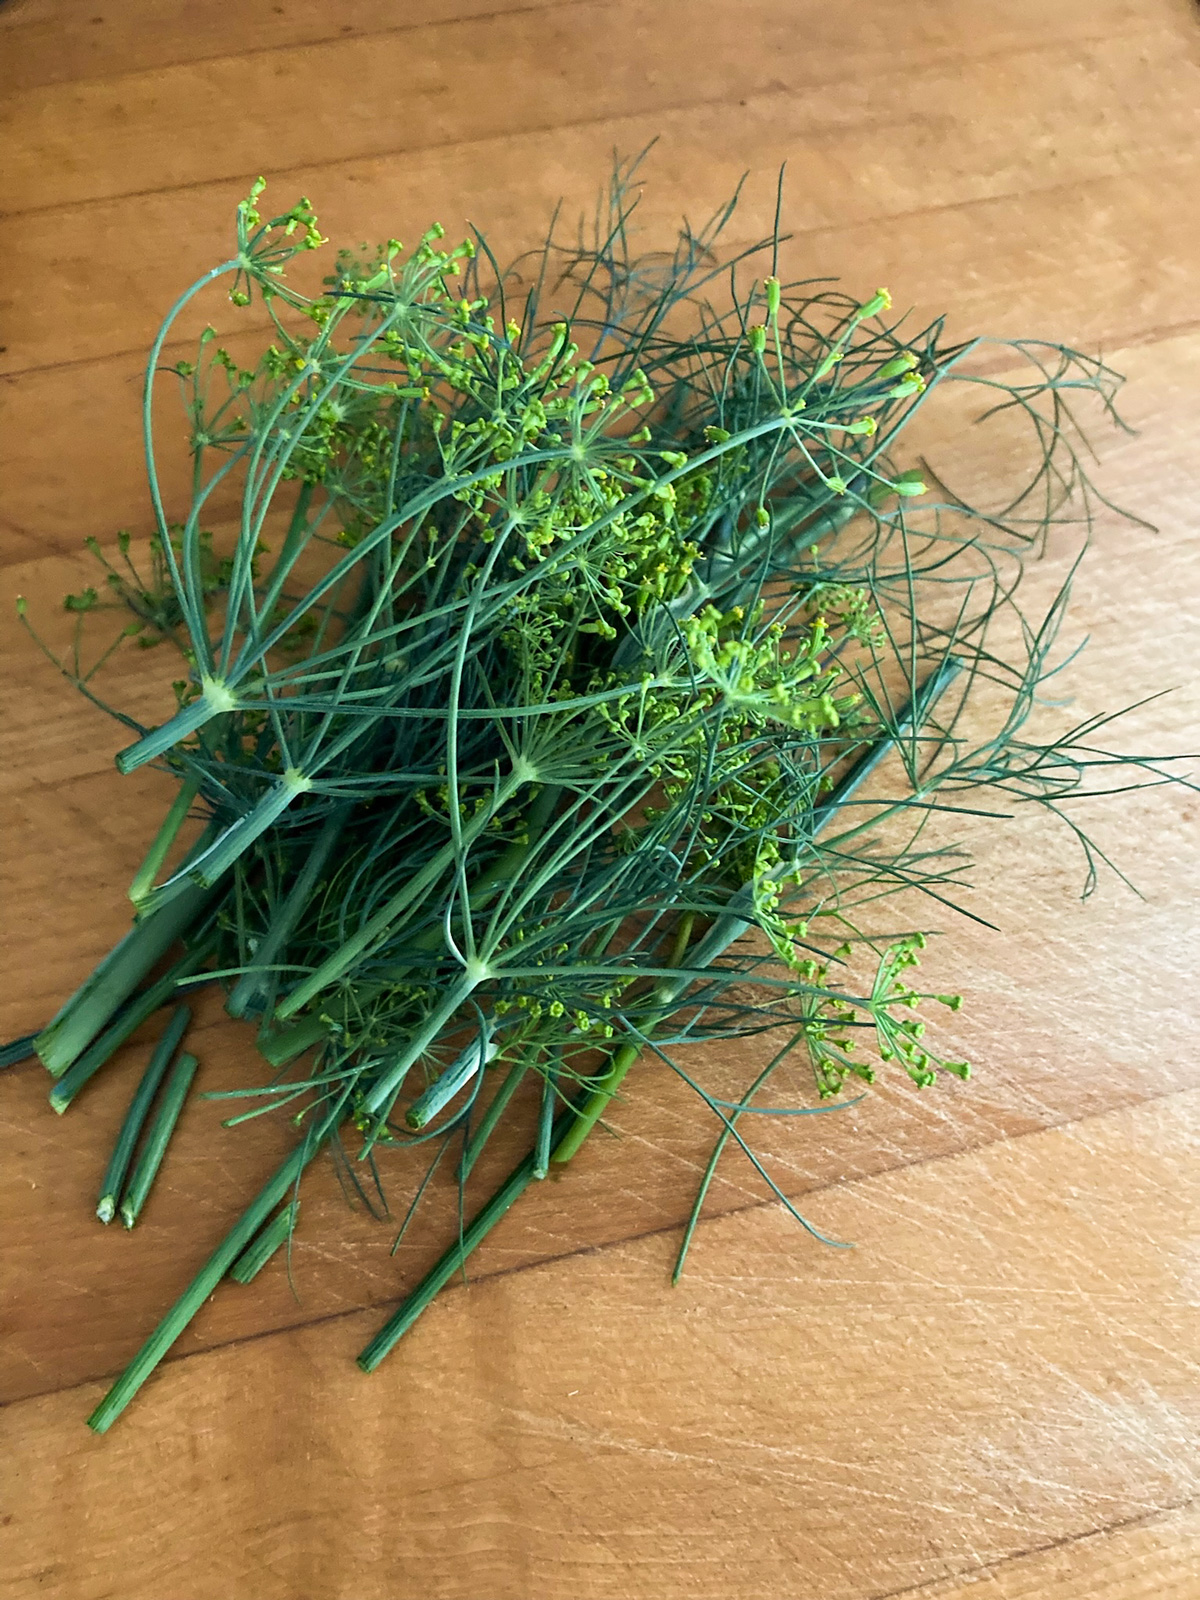
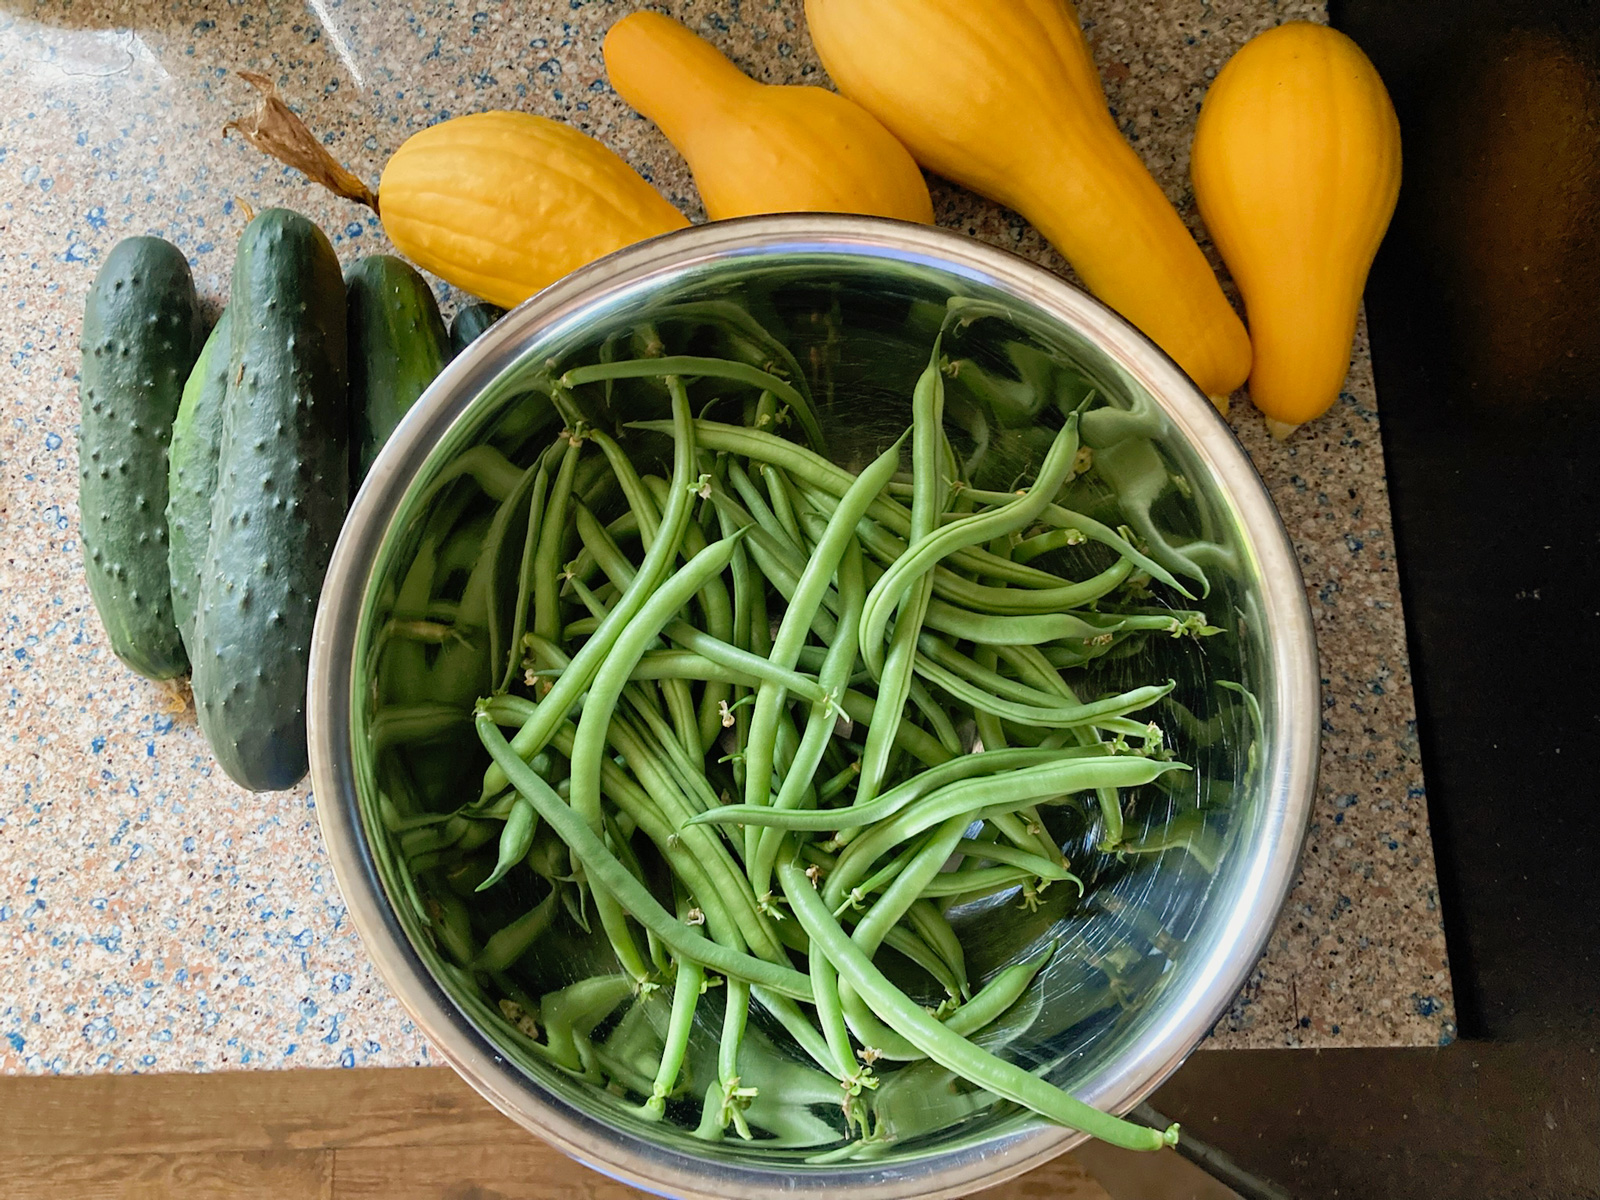
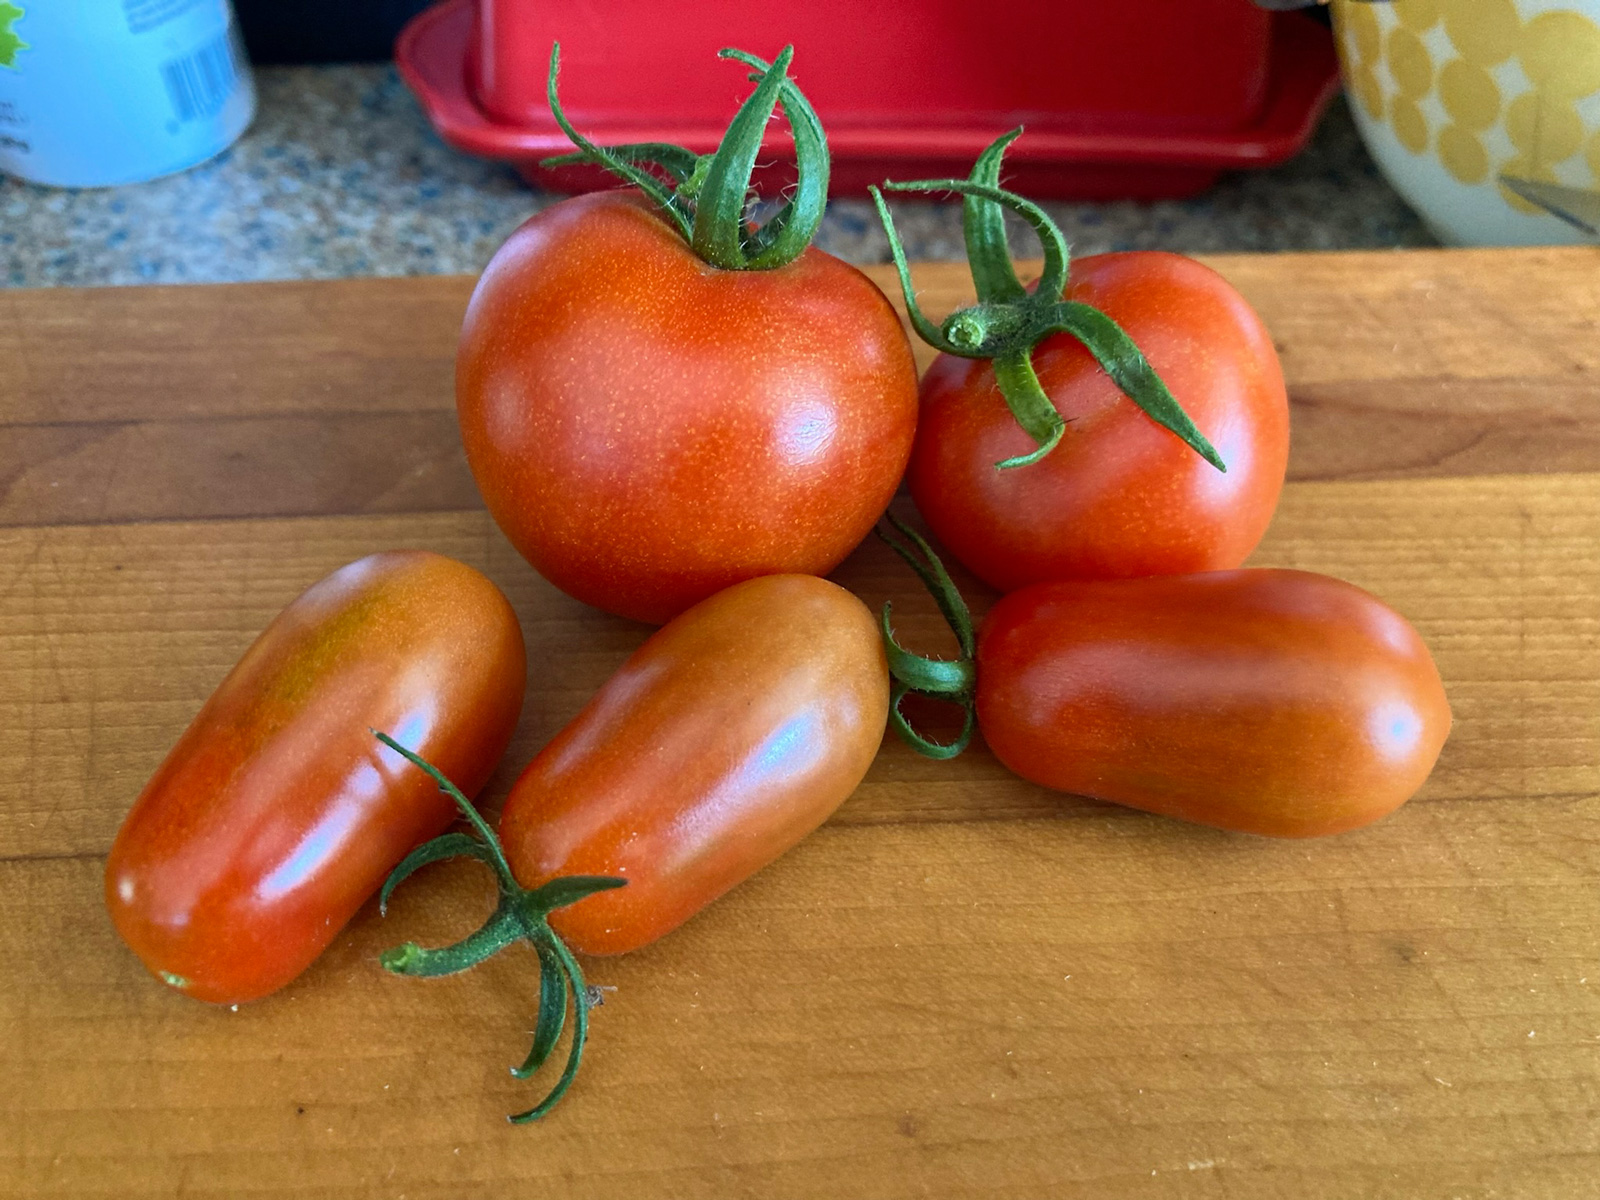
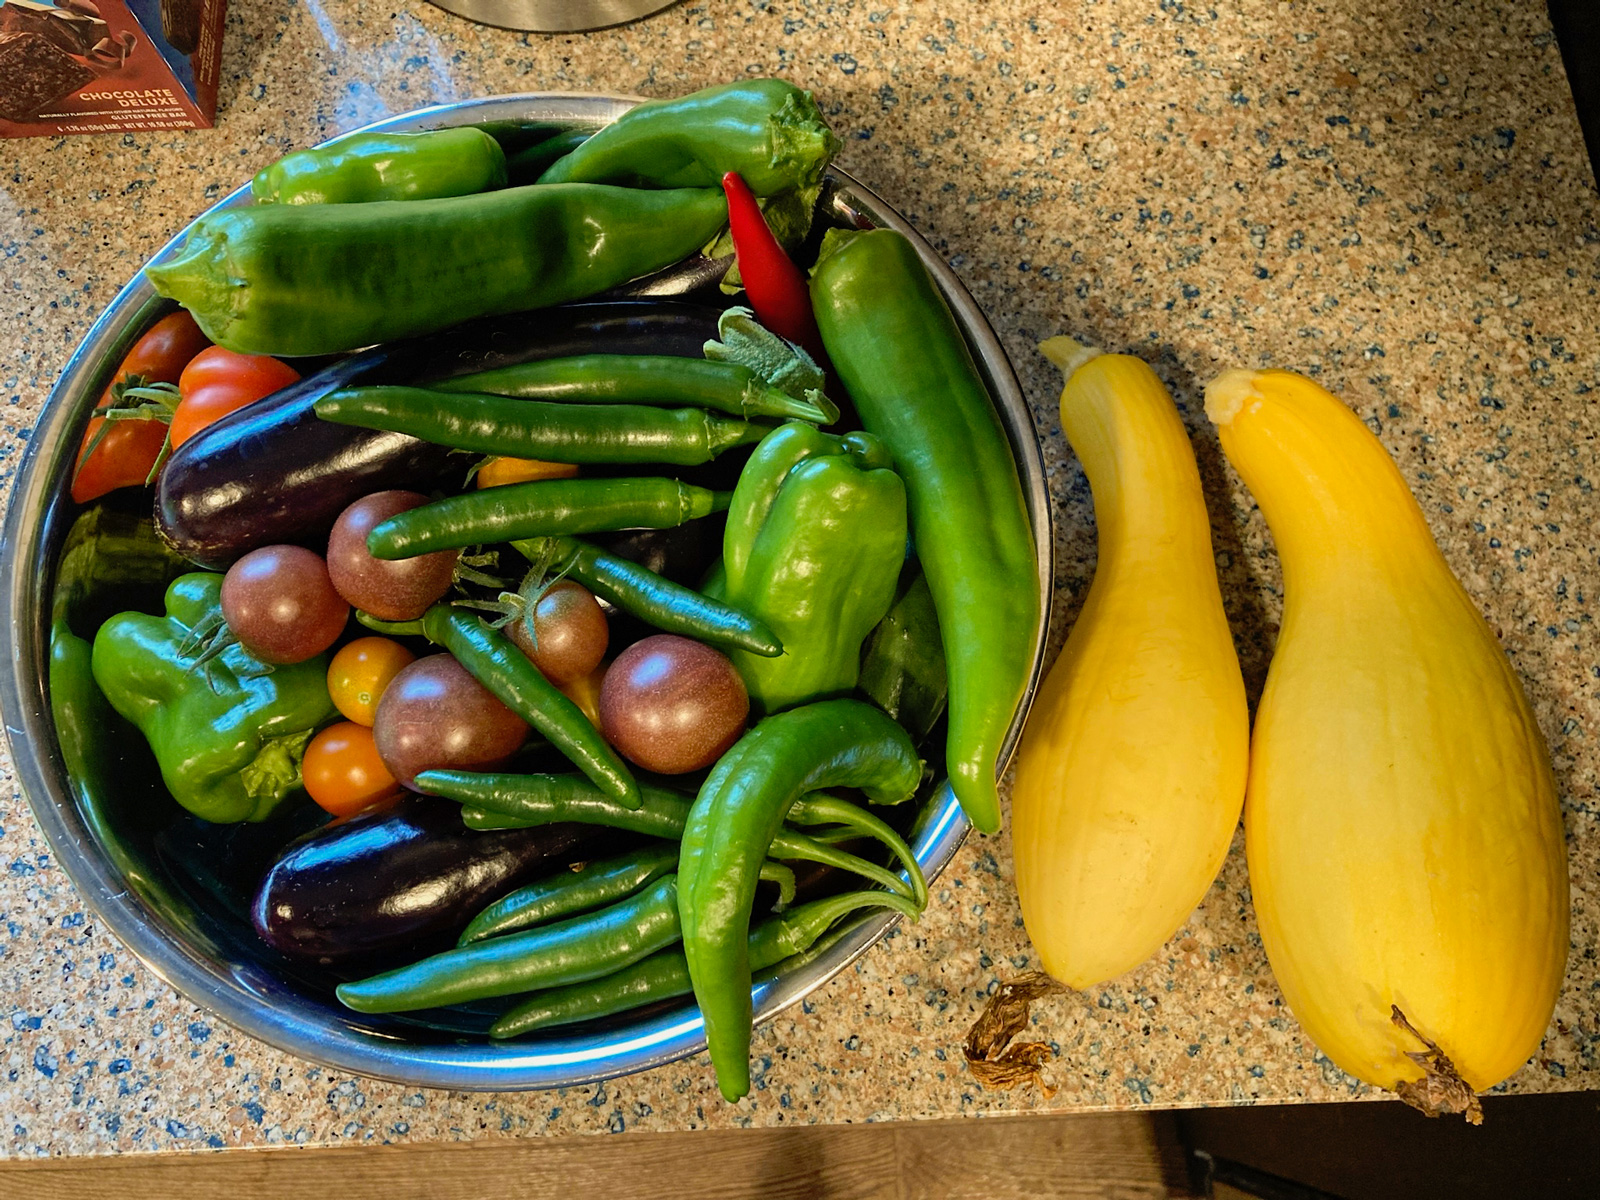
Veggies!
Some of our crops: kale, dill, butter lettuce, green beans, summer squash, eggplant, pickling cucumbers, chilies/peppers, tomatoes, and corn. Much more to come!